Enter your email below & we'll send it to your inbox. Plus get great new recipes from us every week!
I've been drooling over all the pictures of the caramel apples I've been seeing on Pinterest lately and I don't even really like apples. But smother them with caramel and chocolate, and they're all of a sudden, a bit more attractive. I planned to attempt to make some for my kids' carnival-themed birthday party this last weekend, so I did some research first.
I found this post from The Farmer's Wife that gave me all the visual inspiration I needed, and I loved her tip about soaking the apples in a water and vinegar solution so the caramel sticks to the apples better. Then, I read Kristyn from Lil' Luna's post, titled, Tips on How to Make Perfect Caramel Apples. I went back and forth with her a bit on Pinterest and she helped me decide how many bags of caramels I needed, etc. I printed out both tutorials, and went shopping. I actually found the lollipop sticks Kristyn used in her tutorial, and I thought they would be cute for my fall carnival party, too. These ladies make things look so simple! And their photos are FAB! So, why are you here? Well, because I'm just going to tell you the honest-to-gosh truth about my caramel apple making experience.
Here's what I used:
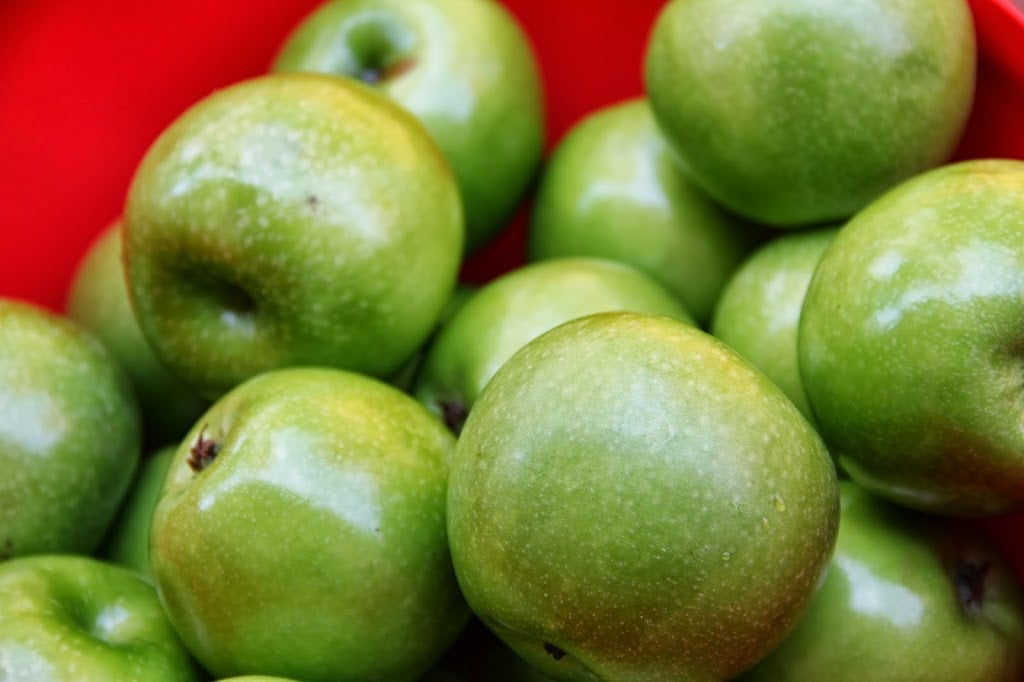
20 Granny Smith apples
4 bags of caramels (I used Kraft brand)
Popsicle or lollipop sticks
Vinegar
Sprinkles, nuts, etc. (optional for dipping)
Waxed paper or jumbo baking cups (sprayed with non-stick spray) (Note: I got 10 caramel apples out of two bags of caramels)
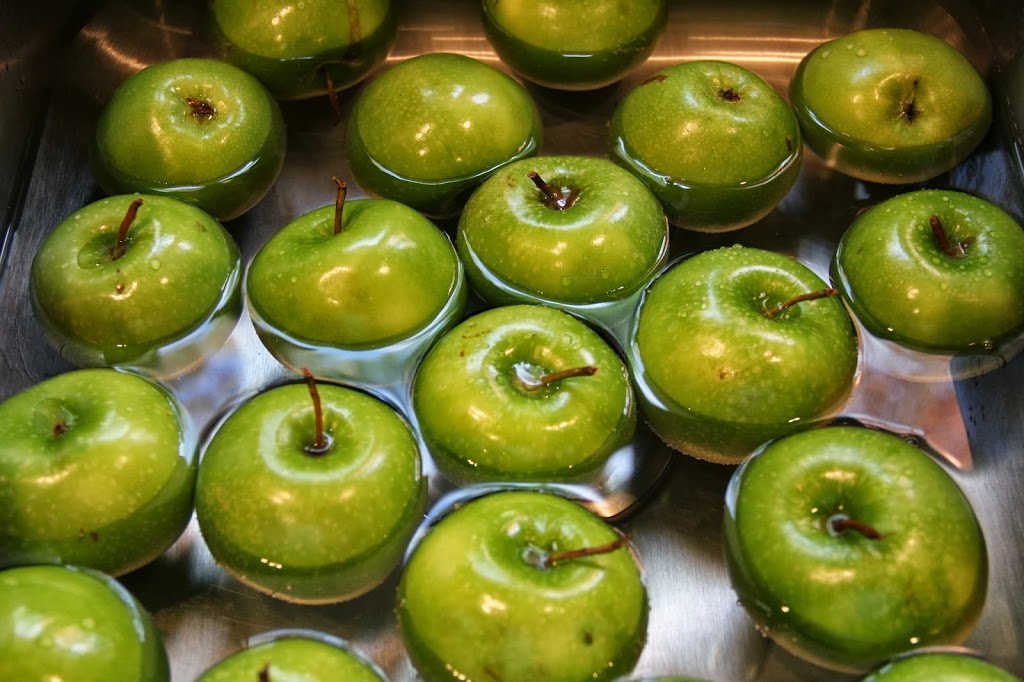
I started out my soaking my apples for 15 minutes in a vinegar/water mixture -3 parts water to 1 part vinegar.
Then I dried them off and removed all of the stems. Everything is going great. Couldn't be better. Piece of cake.
I unwrapped my caramels as I watched an episode of 19 Kids and Counting. Love that show. Just so you know, I made these on a day off from work when the kids were still at daycare. When they're home, I never get to watch my shows, so I Tivo my favorite shows on an on-going basis and still only get to watch about ¼ of the episodes before Tivo deletes them. And no, I don't watch my shows at night because I'm usually pinning or blogging after the kids go to sleep if my hubby is traveling.
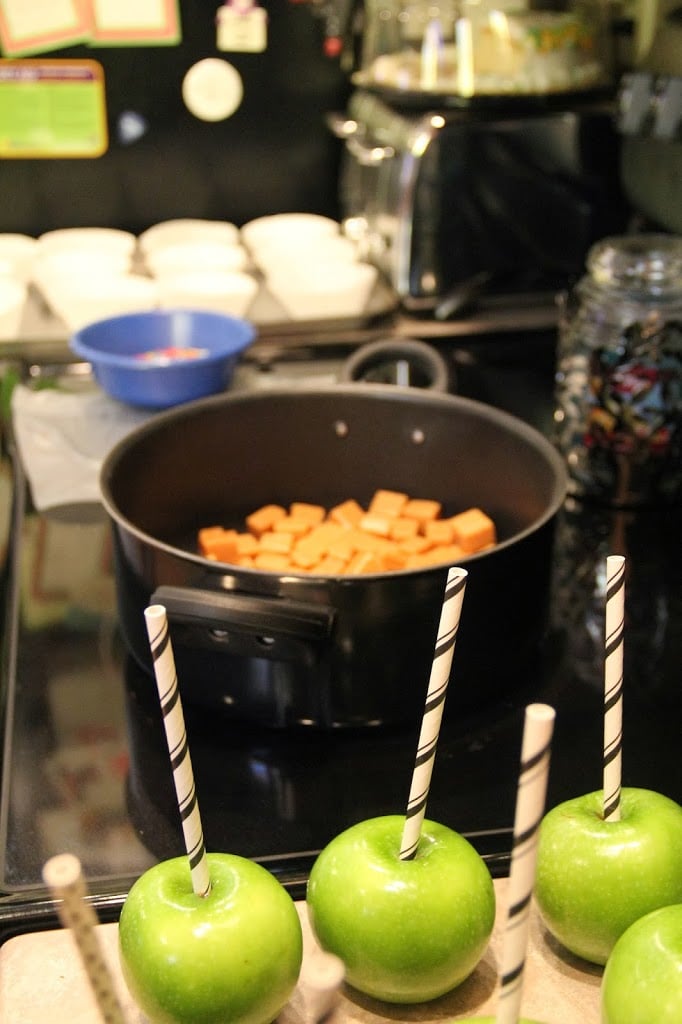
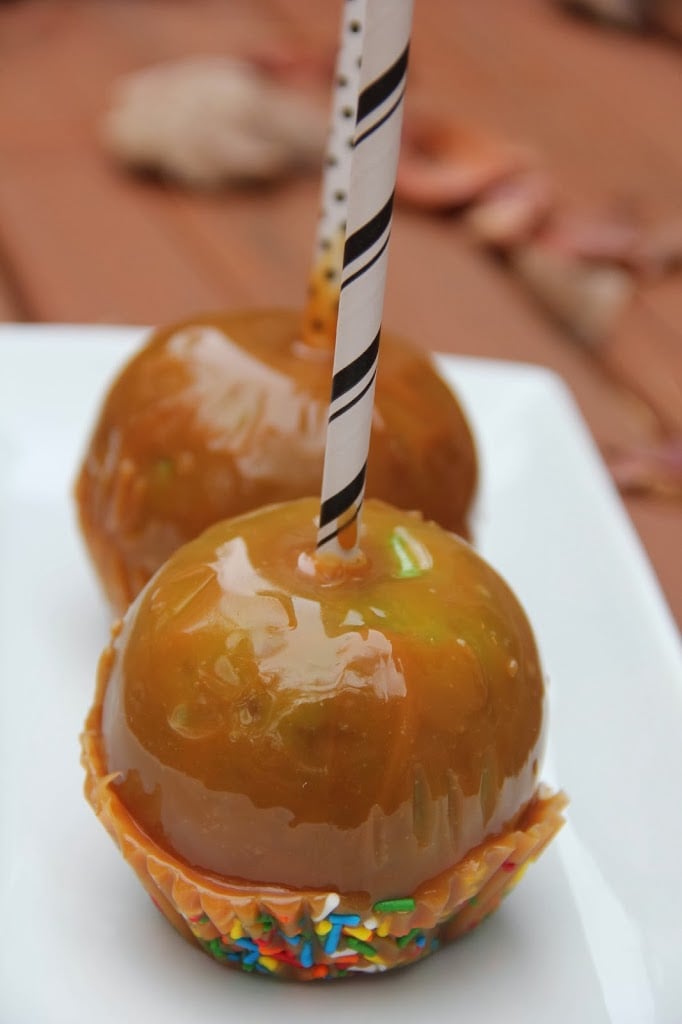
Next came the part where you stick the lollipop sticks into the apple. It was at that point, I wished I would have opted for popsicle sticks. I was using too much force to try to jam the stick into the apple. After ruining two or three lollipop sticks, I finally got the hang of it and was able to get sticks into all 20 of my apples. Why did I decide to do 20? Really? To keep myself going, I took a few apples with the sticks in them outside to take a picture since they looked kind of nice the way they were. If this was the farthest I got, at least I accomplished what you see below.
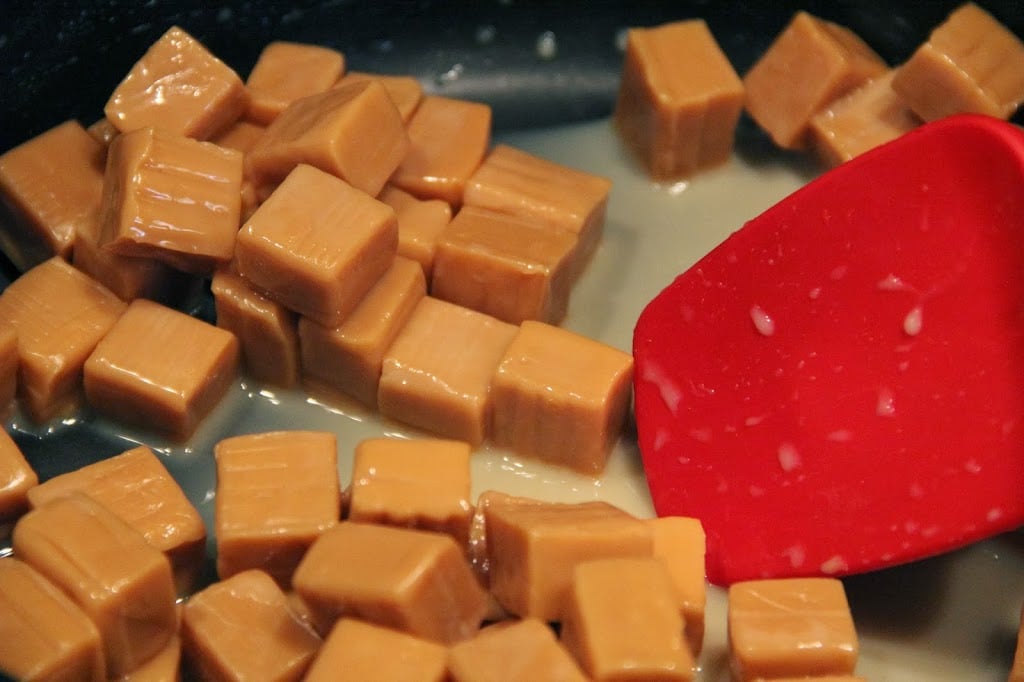
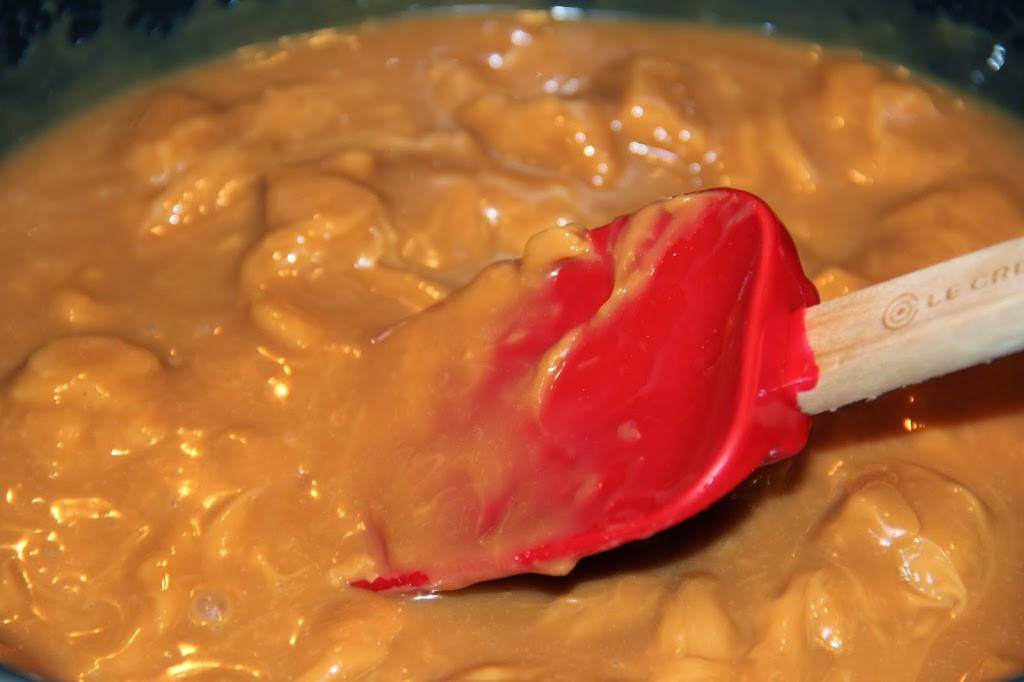
I read Kristyn's warning about melting too many caramels at once and not being able to dip fast enough so I took her advice and just started with two bags of caramels for 10 apples first. I put the caramels in the pan with six tablespoons water on LOW heat and stirred constantly.
This took awhile - it was kind of like watching paint dry, but then I began to see progress.
While I waited for the caramels to melt, I set up my whole dipping station. I was going to succeed, people. Here's what my station looked like. From right to left: my apples with sticks, the pan with the melted caramel, a spoon with a plate to rest it on (I was smart enough not to use a napkin), my dish of sprinkles to dip them in and the jumbo baking cups sprayed generously with non-stick spray awaiting the gooey apples. Nothing more could go wrong.
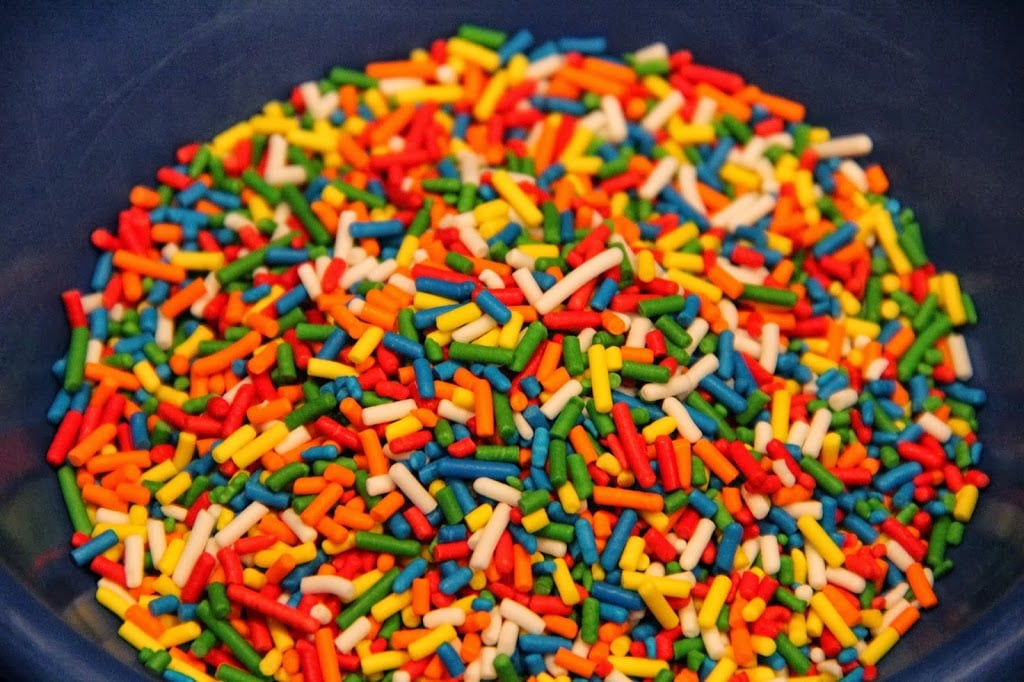
Oh, and just for another close-up, here's my dish of sprinkles.
I really wish I could have provided you with pictures of the dipping process because it was quite hilarious. But since I was busy dipping, I couldn't man the camera as well. This was definitely a two-handed job. So, I got ready to dip my first apple and realized there's no such thing as dipping. Nope. At least not in my house at that moment. I was "SPOONING" caramel on top of my apples as fast as I could. And there was no half covered apple allowed. The Farmer's Wife blog told me to do whatever made my skirt fly up so I figured a full apple dip was the way to go. I tried dipping, twirling, you name it. Nothing worked as well as just spooning the caramel over the apple as the apple rested on the bottom of the pan.
After I got the last spoonful on the apple, I'd twist it a little to get it over to the sprinkles without making a major mess and dripping caramel all over my stove top. To do that, I needed to let go of my spoon - my now caramel-covered spoon that shouldn't-even-be-set-on-a-plate-because-it-would-start-to-harden-spoon. I tried to keep it propped up against the edge of the pan with the melted caramel. I lost three spoons to the caramel throughout this process. I also learned not to go in after the spoon with your fingers. Bad idea.
Dipping the caramels into the sprinkles went well for the first two or three until a big glob of caramel sat in the middle of sprinkles bowl. Halfway through I needed to get a new bowl of sprinkles to dip the rest successfully.
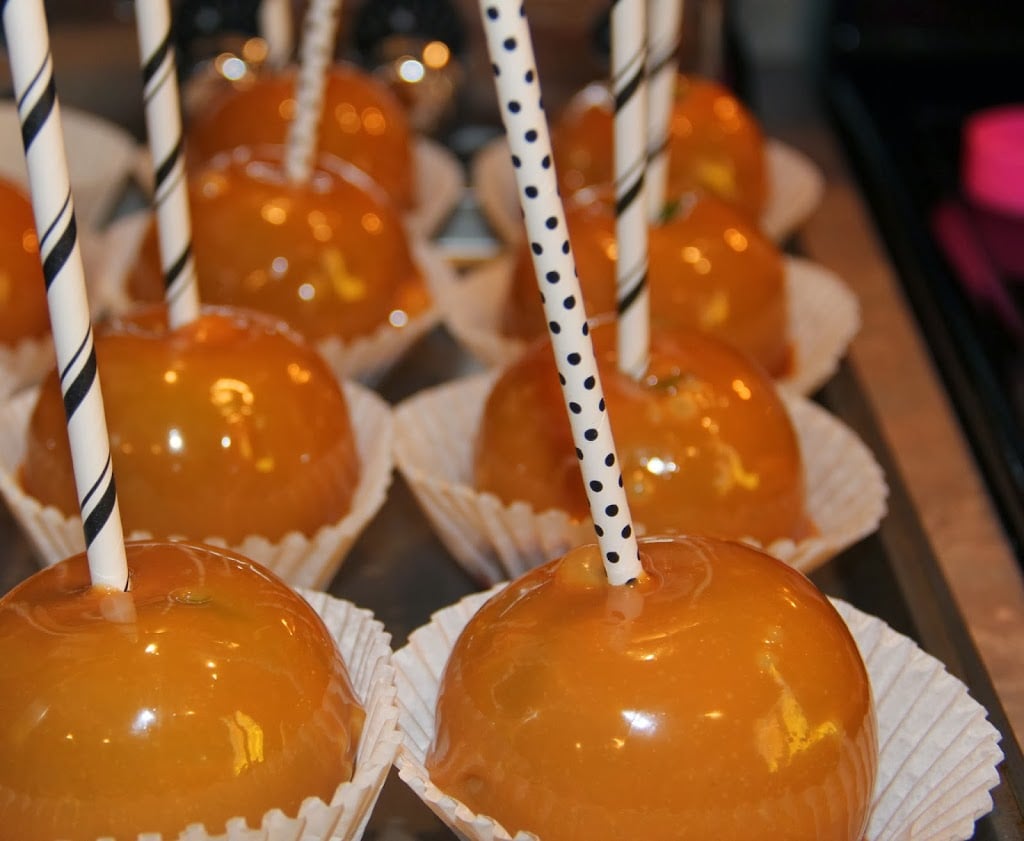
Once I got them over to their home on the jumbo baking wrappers, I breathed a sigh of relief. Here's a picture of the first 10 apples I did before I put them into the fridge. For those of you wondering if I even bothered with the rest, I certainly did. I got better at it the second time around, but it still wasn't less of a pain. I did lose another spoon.
I had high hopes to drizzle the tops with white and dark chocolate, but instead, I raised my surrender flag and called it good. The clean-up process was just as horrible as the rest. I learned quickly that just eating the caramel off of the spoons and plates was easier than trying to rinse it off before I put it in the dishwasher (yep, I'm one of those women). And the way that caramel was hardening, I didn't want to take the chance of it clogging our pipes (I did that once with candle wax). I may as well just consume it. Another bright idea I had during this wonderful experience.
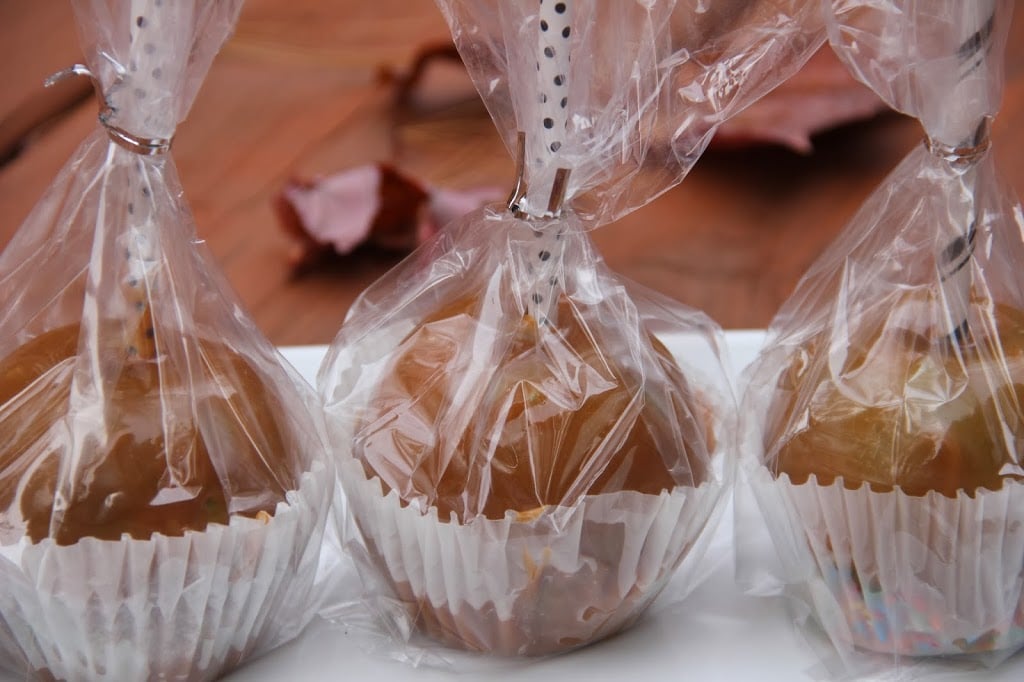
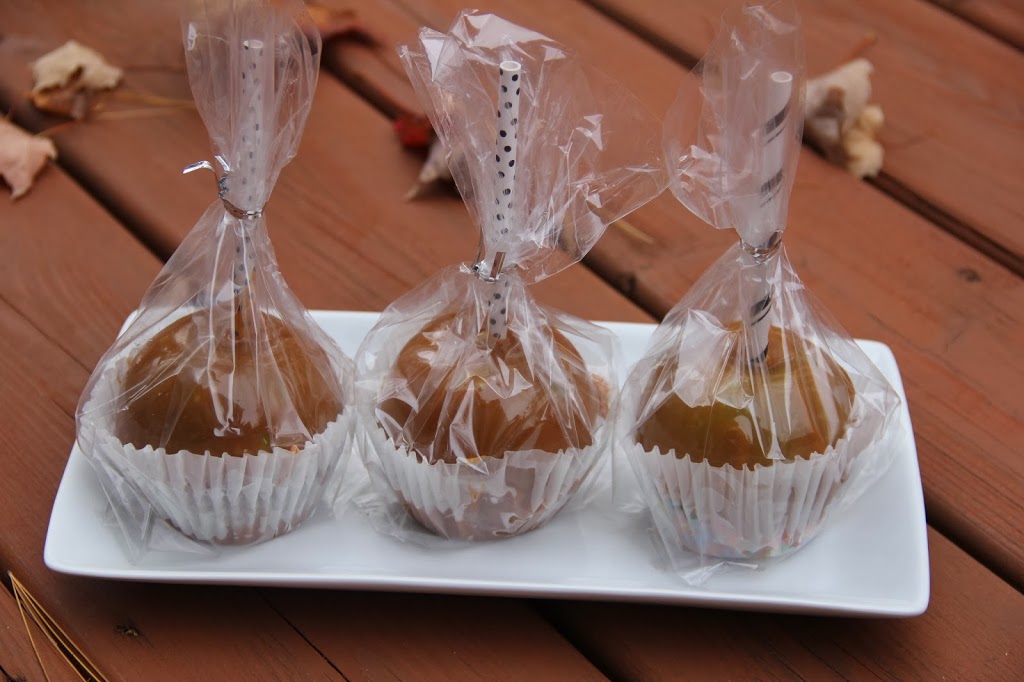
Once the apples were set, I placed them into individual favor bags and just used the ties provided to close them up.
For best results, keep the caramel apples refrigerated until you're ready to eat them. My family who took them home from the party said they were delicious. I've yet to try one. With the luck I've had making them, I'm afraid these evil apples have it in for me. It is nearing Hallow's Eve. I may have gotten a haunted batch? That's got to be it!
Have you run into any of the problems I did when making your own caramel apples or are you an apple dipping pro? Share your tips and secrets here so we can all learn how to avoid the pitfalls I ran into. Will I ever attempt caramel apples again? Of course. But for this year, Apples = 1, Me = 0.
The Truth About Making Caramel Apples
Crispy, juicy , sweet apples combine with caramel for a delicious fall treat.
20Granny Smith apples 4 bags of caramels(I used Kraft brand)
Popsicle or lollipop sticks
Vinegar Sprinkles
Nuts(etc. (optional for dipping))
Waxed paper or jumbo baking cups(sprayed with non-stick spray)
Instructions
Soak apples in vinegar water for 15 minutes. dry.
Insert sticks into apples.
Melt caramels over low heat.
Dip apples into melted caramel, then into sprinkles.
Allow to cool
Notes
Proper Apple Preparation: Soaking the apples in vinegar water helps remove any wax coating or residues that may inhibit caramel adhesion. Ensure the apples are thoroughly dried after soaking to prevent excess moisture, which can cause the caramel to slide off. Use a clean kitchen towel to pat the apples dry before inserting the sticks.
Caramel Melting Technique: Melt the caramels over low heat to prevent scorching or burning. Stir the caramels continuously to ensure even melting and to prevent them from sticking to the bottom of the pot. For a smoother caramel coating, consider adding a tablespoon of water or heavy cream to the melted caramels to thin them slightly and make them easier to dip.
Creative Toppings: Experiment with various toppings to customize your caramel apples. In addition to sprinkles, consider dipping the caramel-coated apples in chopped nuts, crushed cookies, mini chocolate chips, or drizzling them with melted chocolate. Be sure to apply the toppings immediately after dipping while the caramel is still tacky to ensure they adhere properly. Allow the caramel apples to cool completely on waxed paper or in jumbo baking cups before serving or packaging.