Want to Save This Recipe?
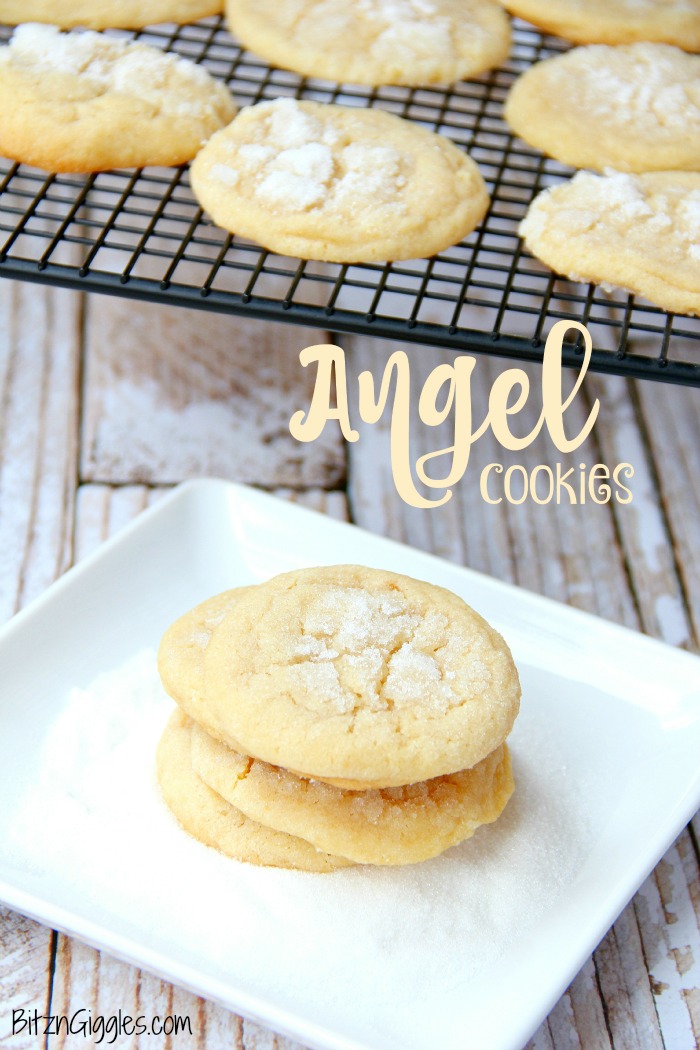
I'm so excited to share this cookie recipe with you today! These Angel Cookies have been in my family for as long as I can remember and, while some of you may have this recipe in your family as well, it's one that I don't see around too often. Let me tell you what. . .it's a hidden gem.
My grandma, Catherine, would make these soft and chewy vanilla cookies for my sister and me around Christmastime and, really, throughout the year. My favorite part is the gorgeous sugar glaze that looks just like glistening snow. So pretty for the holidays.
When I bite into one of these cookies, it's pure nostalgia for me. I just know you're going to love 'em, too.
I thought it would be helpful to show you the step-by-step process of how the cookies come together. If you're anything like me, photos help a ton especially when I'm trying a new recipe for the first time! So, roll up those sleeves and let's make some cookies!
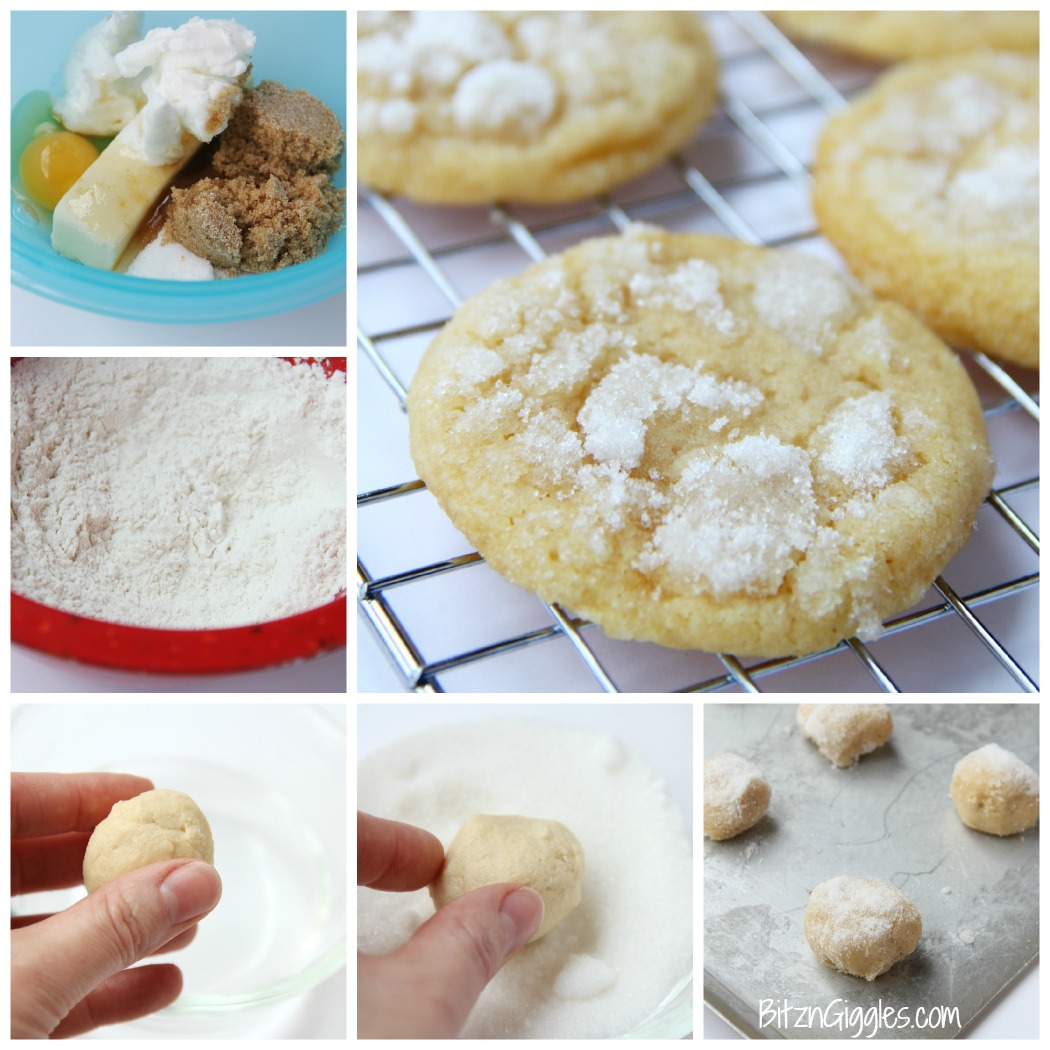
- Cream together the butter, shortening, sugars, egg and vanilla by hand (no mixer!)
- In a separate bowl mix together the flour, baking soda, cream of tartar and salt. Add the dry mixture to the butter and sugar mixture and combine.
- Roll the dough into walnut-sized balls and dip half of the ball in cold water.
- Dip the dough in white sugar to form a glaze on top of the cookie.
- Place onto greased cookie sheet and bake 9-11 minutes at 350 degrees Fahrenheit.
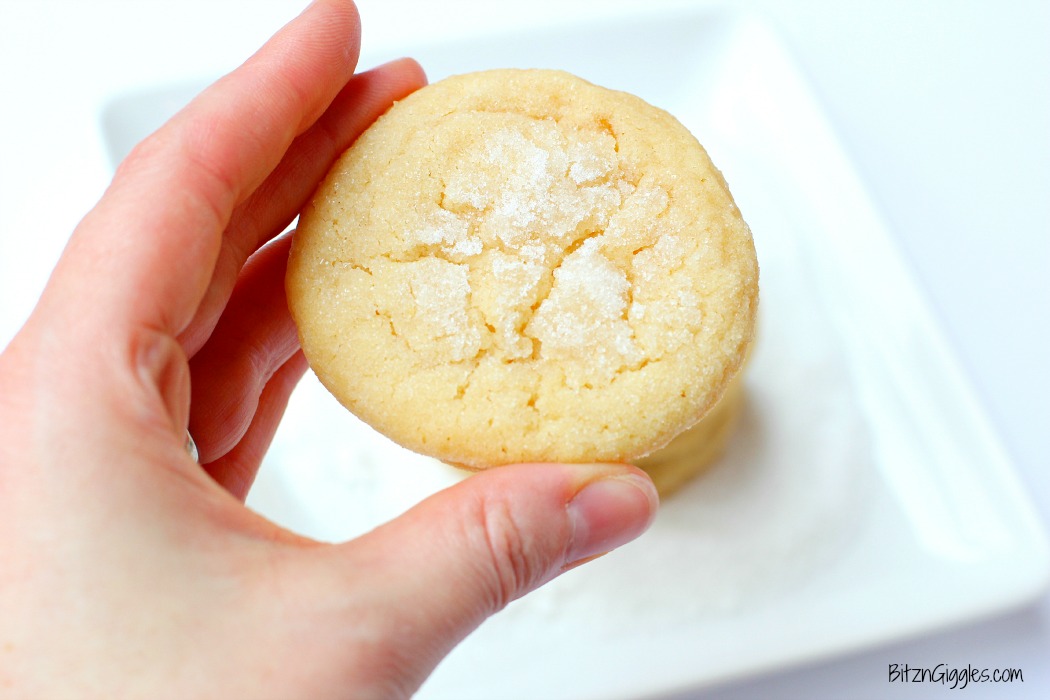
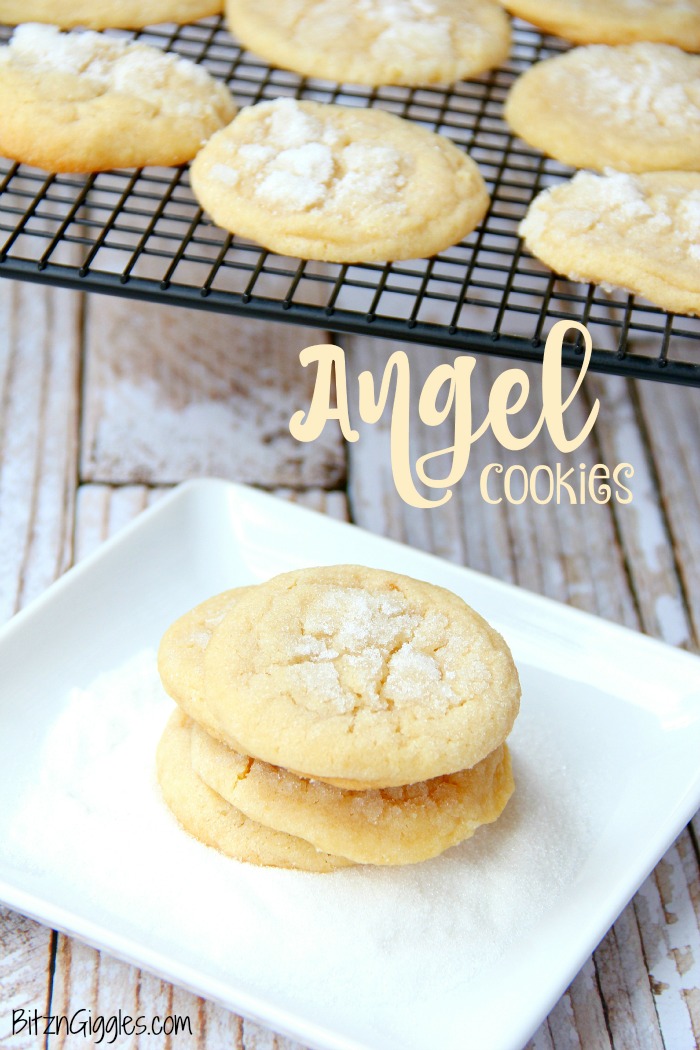
Just look at this deliciousness! These cookies are so worthy of a spot on your Christmas cookie platter this year. I really think these are called Angel Cookies because they taste like pure heaven when you bite into them. So, SO good.
And that sugar cookie glaze. I mean, just look at those beautiful crystals. I remember coming home from school, running to the kitchen and grabbing a stack of these cookies to enjoy with a big glass of milk. Those were the days, let me tell you! It's so much fun to relive those memories each time I bake these sweet treats.
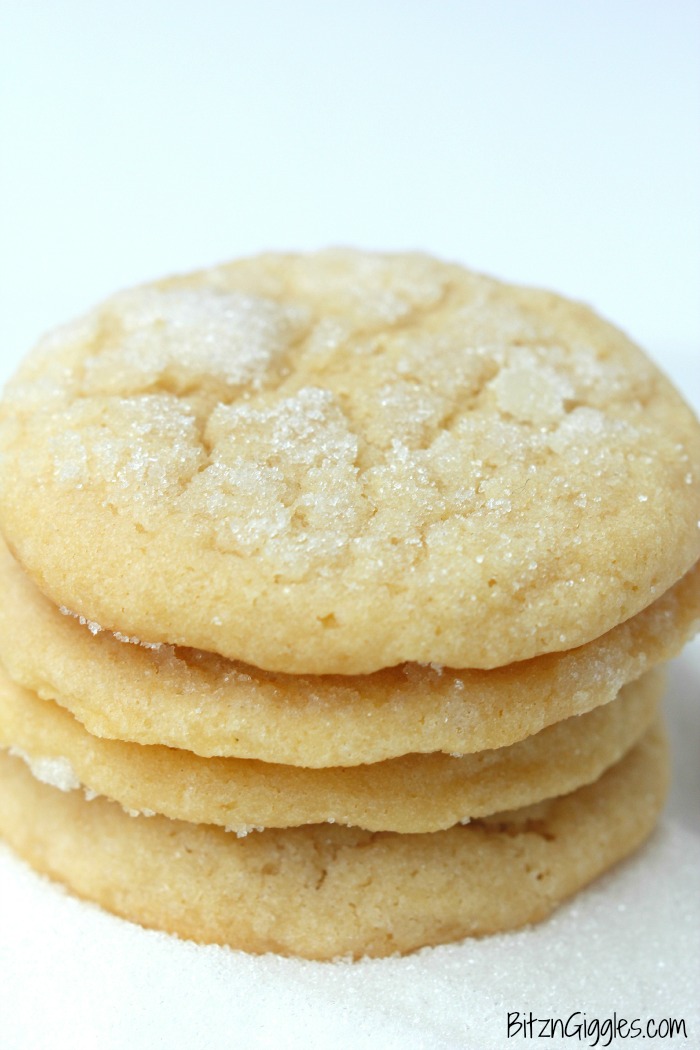
Today, it makes my heart happy to make these cookies for my family. My kids love them as much as I did when I was young. These Angel Cookies will forever be in my heart and I can't wait to pass this recipe down to my children. I hope you enjoy these as much as we do. Happy baking!

For more recipes, DIY and fun, subscribe to my newsletter, and check me out online!
CONNECT WITH ME HERE:
Twitter | Instagram | Pinterest | Google+ | Facebook | Bloglovin'
This post was originally published on I Heart Naptime.
HUNGRY FOR MORE COOKIE GOODNESS?
Angel Cookies
Ingredients
- ½ cup butter (softened)
- ½ cup shortening
- ½ cup white sugar
- ½ cup brown sugar
- 1 egg
- 1 teaspoon vanilla
- 2 cups flour
- 1 teaspoon baking soda
- 1 teaspoon cream of tartar
- ½ teaspoon salt
Instructions
- Cream together the butter, shortening, sugars, egg and vanilla by hand (no mixer!)
- In a separate bowl mix together the flour, baking soda, cream of tartar and salt.
- Add the dry mixture to the butter and sugar mixture and combine.
- Cover bowl and refrigerate for 1-2 hours.
- Preheat oven to 350 degrees Fahrenheit.
- Roll dough into walnut-sized balls.
- Dip half of ball in cold water and then in white sugar to form a glaze on top of the cookie.
- Bake 9 to 11 minutes or until cookies are just barely turning brown around the edges. Do not over bake.
Notes
- Hand Creaming Method: Creaming the butter, shortening, sugars, egg, and vanilla by hand instead of using a mixer adds a personal touch to the cookies and ensures a tender texture. Take your time to thoroughly incorporate the ingredients until the mixture is light and fluffy.
- Chill for Flavor and Texture: Chilling the dough for 1-2 hours in the refrigerator allows the flavors to meld and the dough to firm up, resulting in cookies with better flavor and texture. It also prevents excessive spreading during baking, resulting in thicker, more uniform cookies.
- Glazing Technique: When dipping the dough balls into cold water and then into white sugar to form a glaze, ensure that only half of the dough ball is coated. This technique adds a subtle sweetness and a beautiful, crackly appearance to the cookies while allowing the other half to bake up with a slightly different texture, creating a delightful contrast in each bite.

Carol Sears
I can’t wait to try this recipe! I can’t wait to use the colored sugar on the cookies.
Traci Kraemer
Thank you for this post! I have been given my grandma's recipe boxes, and her card for this recipe is barely legible from all the grease stains and years passing, so I knew it was a keeper. She passed before my dad even graduated high school, so having her hand-written recipes 50+ years later is a beautiful link to her. Thanks for filling in the gaps on this treasure!
Sara
Oh my gosh, I'm so glad you found this recipe, Traci. I remember making these cookies with my grandmother and I will treasure those memories forever. Having your grandma's recipe boxes is such a beautiful thing! Treasure them!
Anonymous
Hi, it was nice to see someone else with this recipe! I am 55, and my family has been making these since I was a kid! My recipe is the same except mine uses all shortening. I think it is hard to get the sugar to be thick enough on top, so I roll the whole ball in white sugar and then lightly dab top in water and then roll top in a colored sugar (color depending on the season). Maybe not the best approach but want enough sugar on them. I like to chill my dough for awhile before rolling into balls so they do not spread too flat. II saw that the other recipe under angel cookies are not really our "traditional" angel cookies--they had powdered sugar in them and were said to be quite crumbly.
Sara
This was my Grandma's recipe and I have such fond memories of her making these. I love your idea of rolling in colored sugar for the holidays!
Jo-Anne
Oh yeah I do like the look of these, freshly baked they would by oh so yummy
Sara
They really are, Jo-Anne. I hope you try them for yourself!