Want to Save This Recipe?
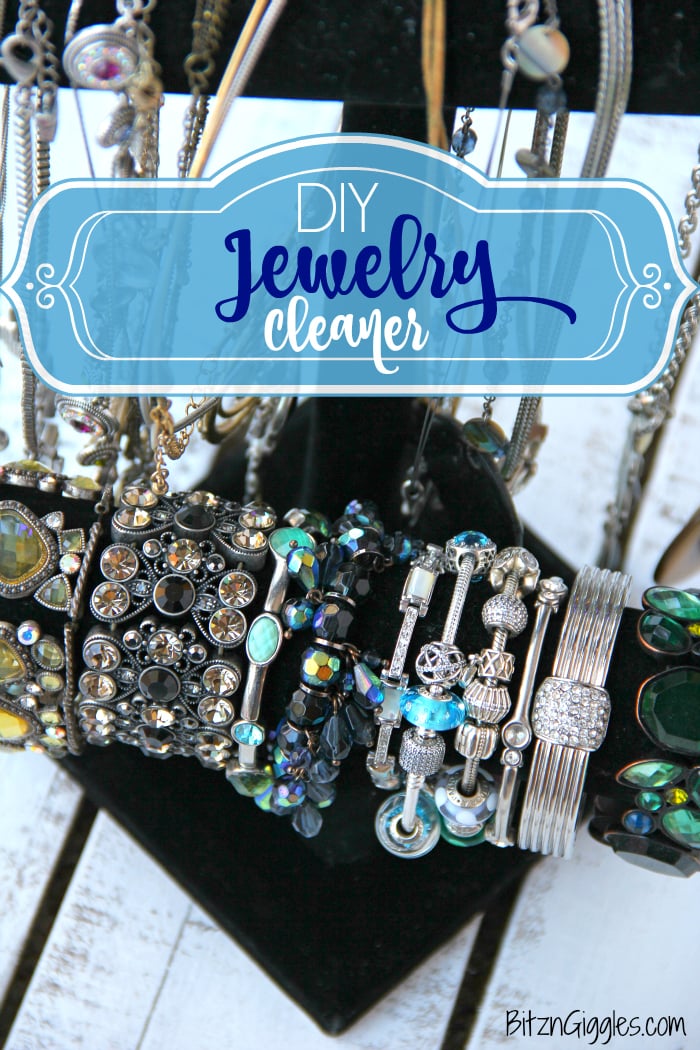
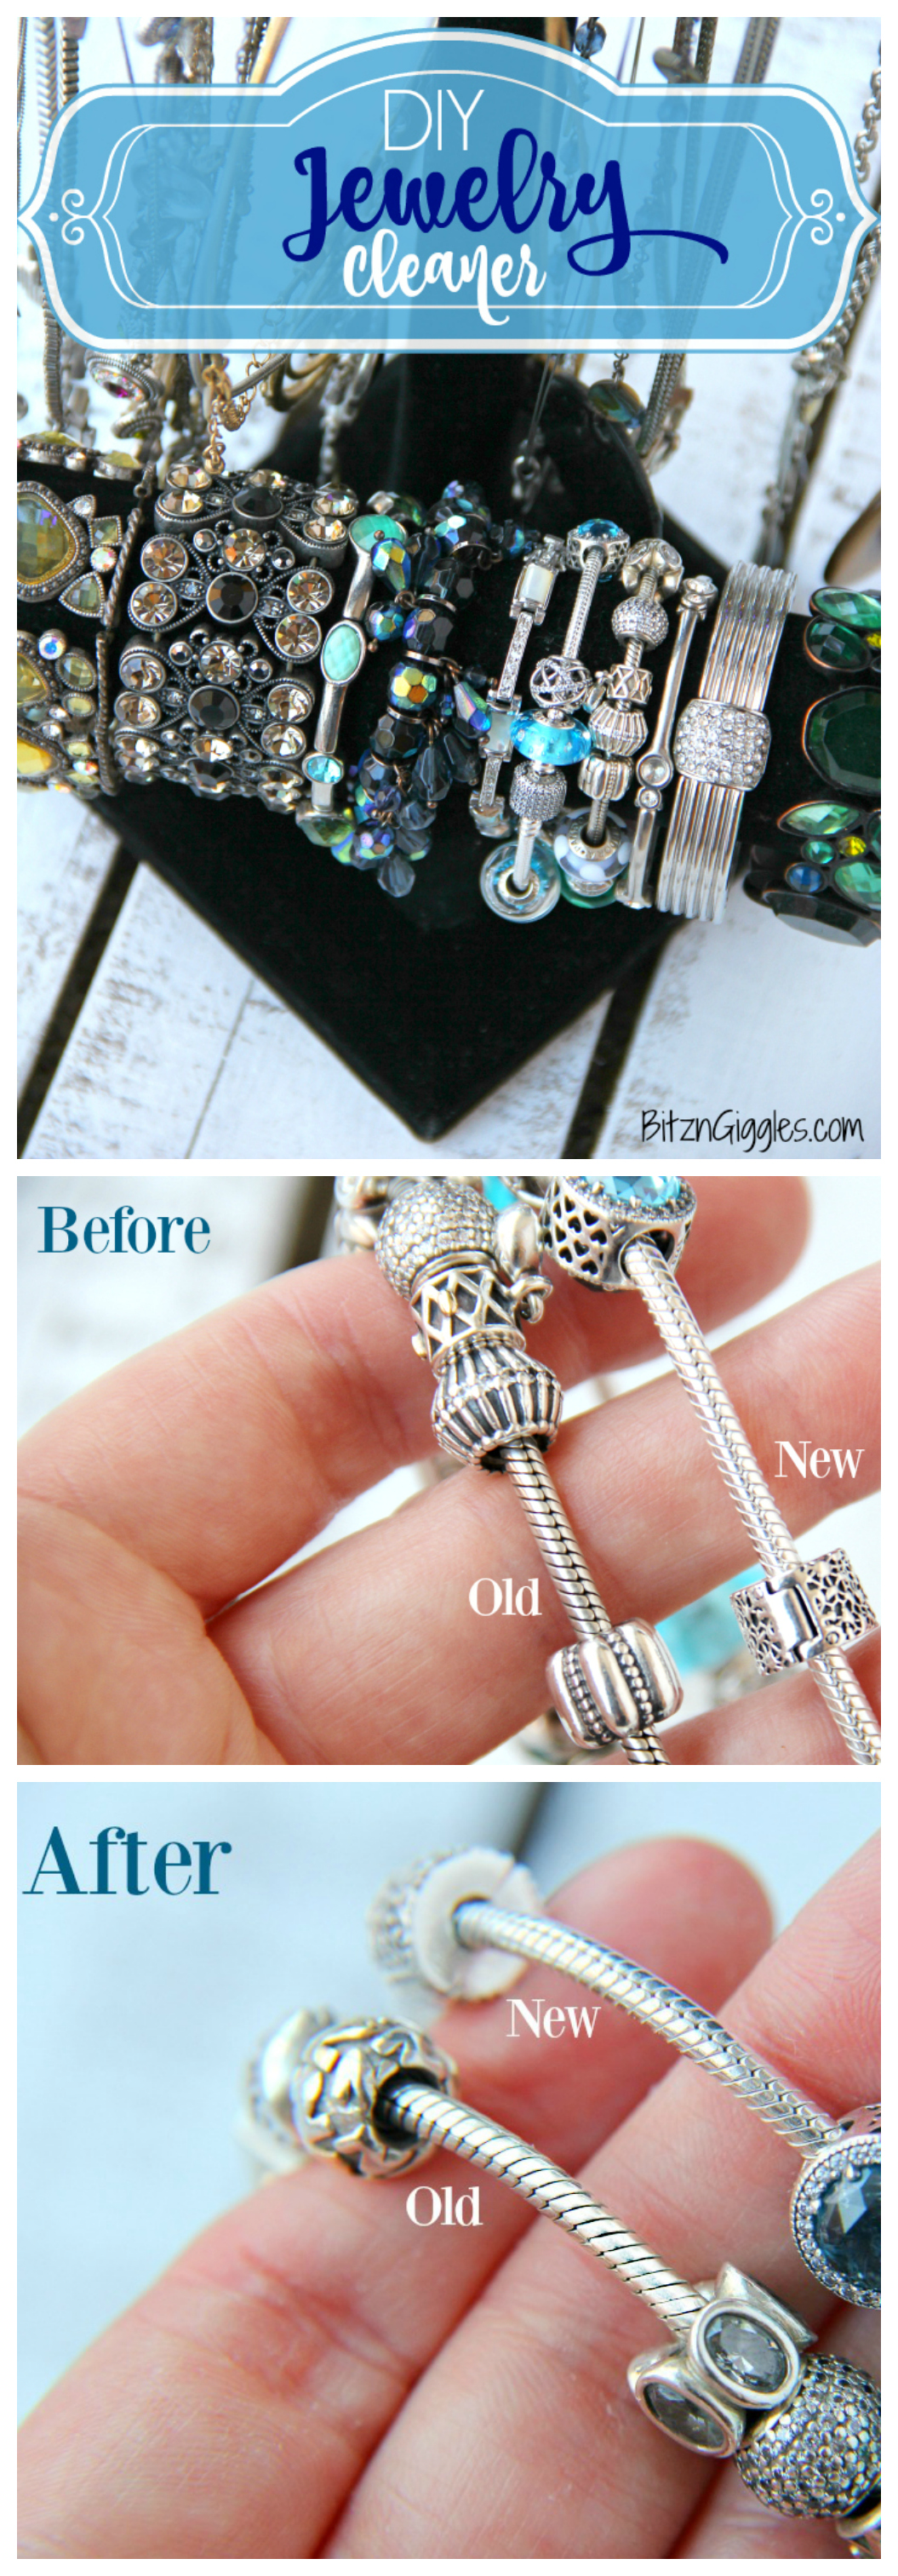
Happy New Year friends! I hope everyone had a wonderful Christmas and is ready to rock 2016! One of the most special gifts I received over Christmas was a Pandora bracelet from Josh. He had gotten me a Pandora bracelet years ago that I wore daily, and then this year, he surprised me with ANOTHER one! When comparing my old bracelet to my new bracelet, I noticed how beautiful, bright and shiny the band of my new bracelet was compared to the old. That's when I knew I needed to mix up some of my DIY Jewelry Cleaner to bring my old bracelet back to life!
Let me just start off by saying that I love jewelry. I never used to wear it at all until my sister-in-law started selling Lia Sophia (LS) years ago. I started mixing and matching necklaces, bracelets and rings, and I ended up with quite a collection before LS went out of business. In addition to all of my Lia Sophia pieces, Josh had bought me a Pandora bracelet a few years ago, and would give me charms for my birthday, Christmas, Valentine's Day, etc.
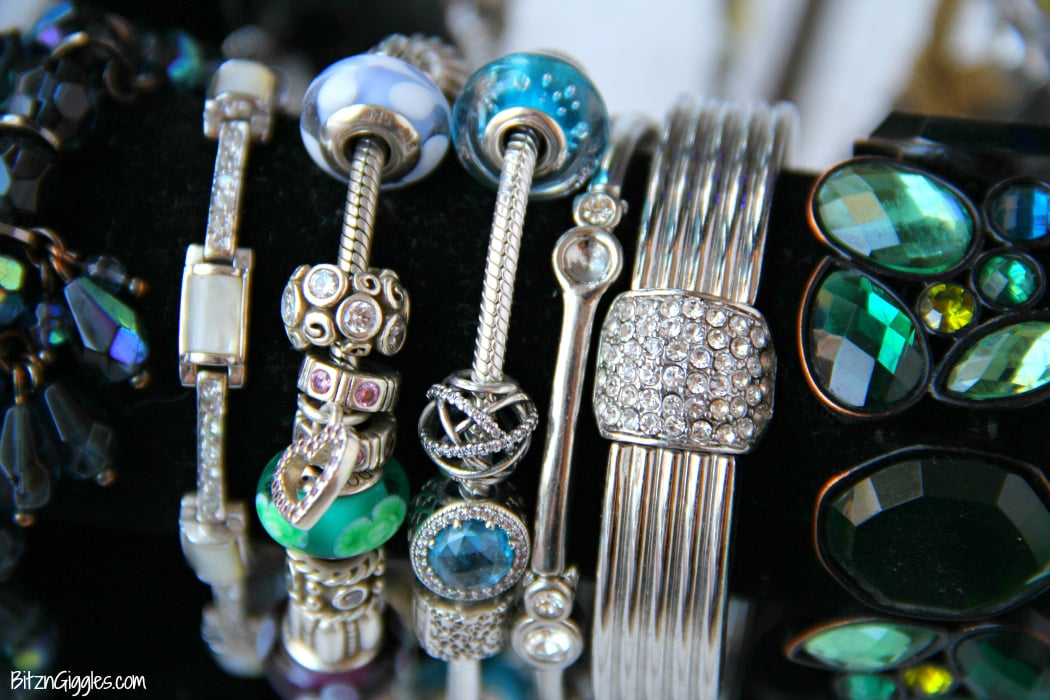
I truly did wear it everyday, as I mentioned before. You can imagine my surprise when I opened a box this Christmas that held yet ANOTHER Pandora bracelet! The charms are in hues of blue (my favorite color), and I couldn't get over how shiny and bright the bracelet band was.
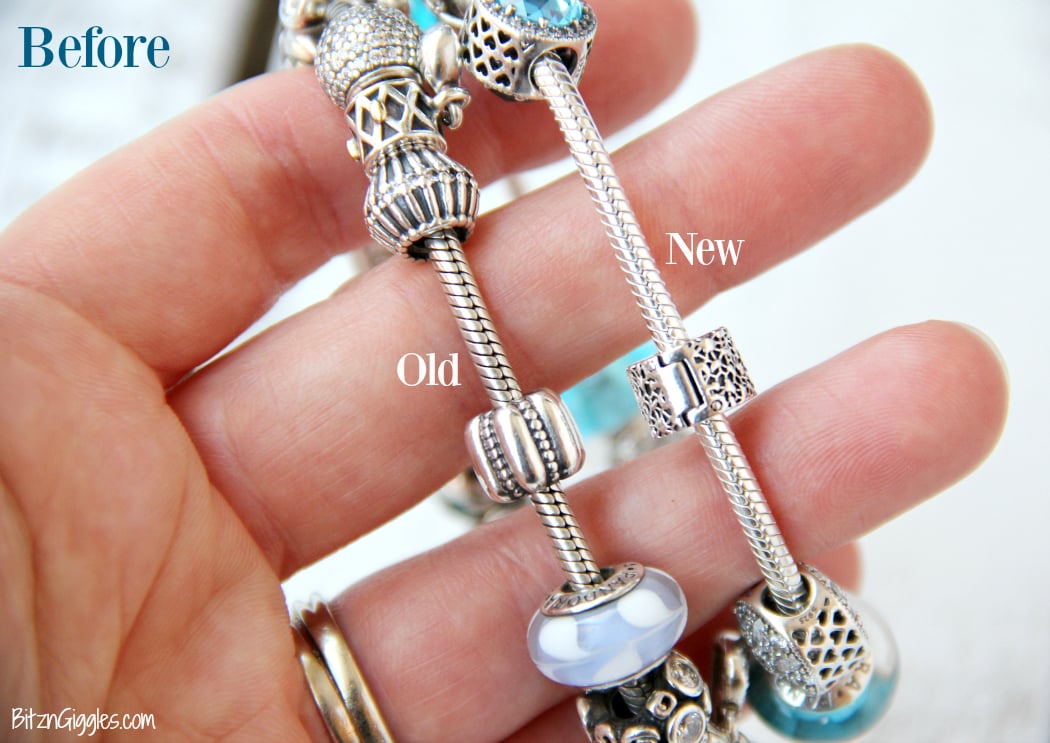
Here are my bracelets side by side. As you can see, the newer bracelet on the right really outshines my old one on the left. Today, I'm going to show you how to make your own jewelry cleaning solution with items you already have in your kitchen and pantry. If you have tarnished or dingy looking silver laying around, gather it up and prepare to be amazed!
Here's what you're going to need to make those older pieces sparkle again:
Materials & Ingredients:
- Small loaf pan or container covered in aluminum foil
- 1 cup boiling or very hot water
- 1 tablespoon baking soda
- 1 tablespoon salt
- 1 teaspoon dishwashing liquid (I used Dawn)
- ½ cup white vinegar
Instructions
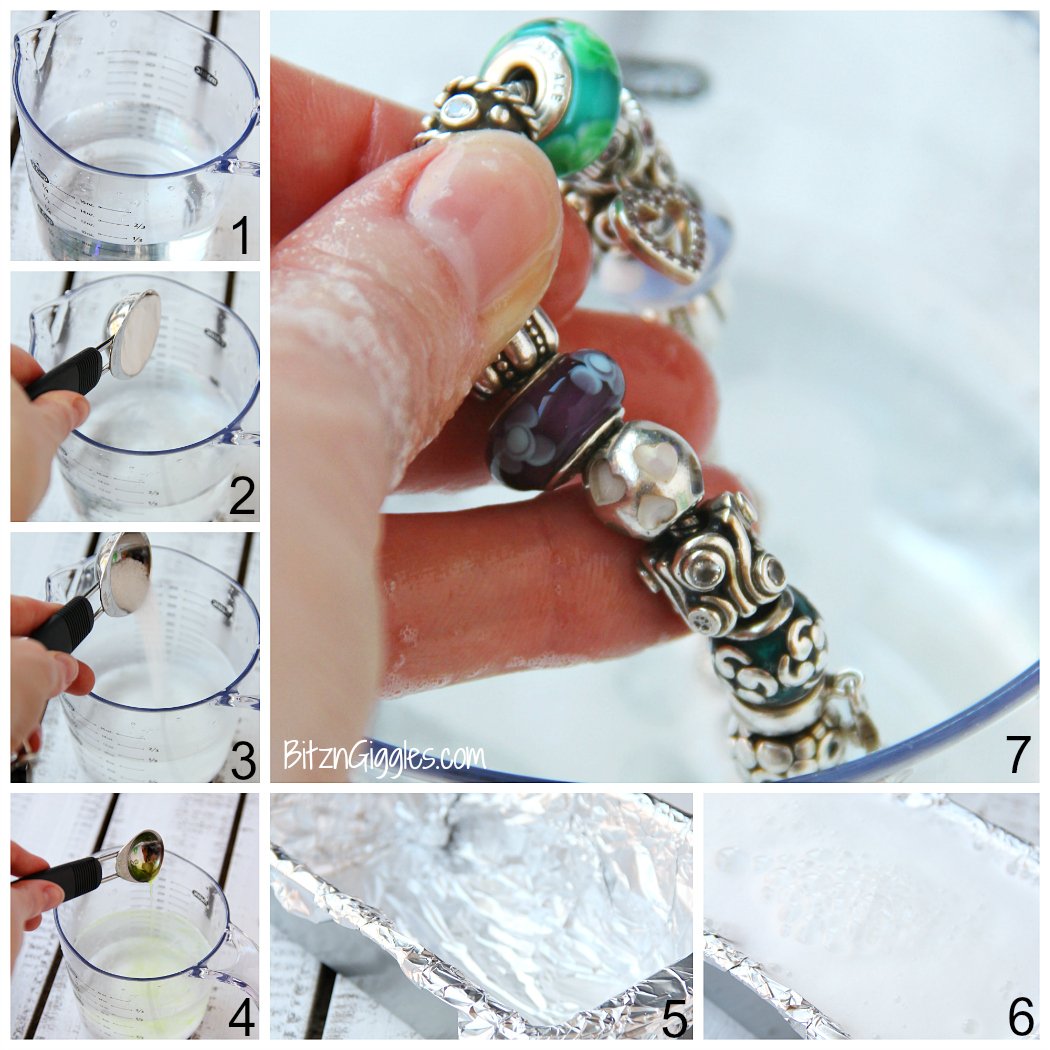
- Fill a container with 1 cup boiling or very hot water.
- Add a tablespoon of baking soda.
- Add a tablespoon of salt.
- Add a teaspoon of dishwashing liquid and stir.
- Add your jewelry (not pictured) to the foil-lined pan and pour in the warm solution.
- Add ½ cup white vinegar to the solution and allow to sit for 10-15 minutes.
I'm someone who needs visuals and if you are too, I hope you find this video tutorial helpful!
Okay, pretty cool, right? I'm sure you're thinking about all of the pieces you're excited to bring to life again!
A few things about this jewelry cleaner before you try it for yourself. . .
This solution basically causes an electrochemical reaction. The aluminum foil which is oxidized returns an electron to the silver and reduces it to its pure metal state. You'll notice a "sulphuric" (is that a word?) smell (kind of like rotten eggs) when you add the vinegar and the bubbling or cleaning is taking place. So, have a clothespin close by to clip on your nose or do it close to a window if you're particularly sensitive of smells. It's really not that bad, I promise.
Note: This solution is specifically for sterling silver jewelry, not silver-plated. If you have silver-plated jewelry that the finish is wearing off of or chipping, this will not work for you. That being said, I have had luck with cleaning my other fashion or costume jewelry that's not sterling silver. I would caution against using this solution on jewelry with pearls or abalones or softer/porous stones like turquoise, emeralds and opals.
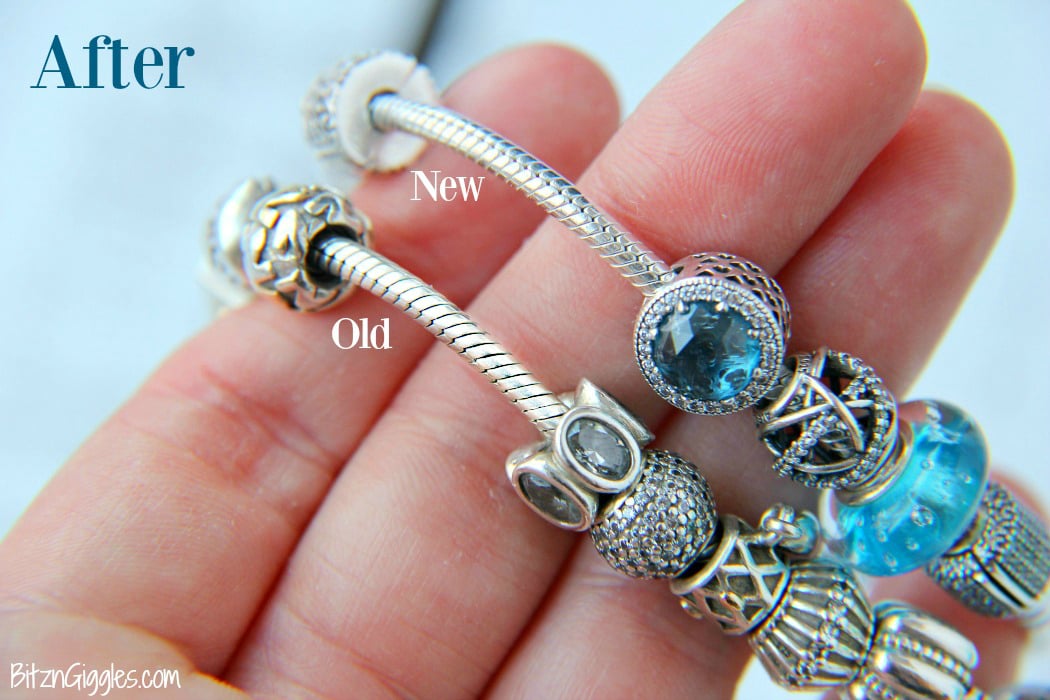
I'm so happy with the results of the bracelet. My older bracelet looks new and shiny now and I can't wait to show off both pieces in the new year. Heck, now I can even wear them side by side if I wanted! While I wouldn't call my older bracelet (tarnished), it certainly was dirty and needed some serious TLC.
It's time to dig out all of those special pieces that you have been hiding in the bottom of your jewelry box and make them sparkle for the new year! After you're finished with your jewelry, start on your silverware - do you have any candlesticks? I'm so excited for you to try this and don't forget to take before and after pics. I would love for you to share them with me on social media!
CONNECT WITH ME HERE:
Twitter | Instagram | Pinterest | Facebook | Bloglovin'
DIY Jewelry Cleaner
Materials
- Small loaf pan or container covered in aluminum foil
- Water
- Baking soda
- Salt
- Dishwashing liquid
- White vinegar
Instructions
- Fill a container with 1 cup boiling or very hot water.
- Add a tablespoon of baking soda.
- Add a tablespoon of salt.
- Add a teaspoon of dishwashing liquid and stir.
- Add your jewelry (not pictured) to the foil-lined pan and pour in the warm solution.
- Add ½ cup white vinegar to the solution and allow to sit for 10-15 minutes.
Anonymous
Hi! Can I keep this for a few months?
Deborah Pamepinto
I just tried this cleaning concoction on my Pandora and a Tiffany chain and it turned some of it BLACK. I was sick and in a nervous
Panic! Will never do this again .
Sara
Hi Deborah, I am SO sorry to hear this. I have only used this cleaner on my "fashion" jewelry and never on anything as expensive as Tiffany. I've never run into any problems. My advice would be to take the jewelry to a professional jeweler to see if they can help with the discoloration. I'm so sorry this didn't work for you.
Mrs Jeannette D Moody
Wow.
I went into thermal spring, and yes my pandora turned black.
Used your cleaning treatment and was amazed. Thank you for sharing.
Sara
I'm so glad it worked for you!!
Daphine
It worked well for me, but I didn't take before and after pictures. ? However, it did kind of destroy one of my charms. I know now to only put silver in the solution. Other than that, it looks as good as new. Thank you.
Sara
Glad it worked for you Daphine! And yes, you need to be careful with certain types of fashion jewelry. I did make sure to caution readers in my post.
Haley
I have a sterling silver ring with a sapphire in it that I wear everyday and it needs some TLC! Do you think this mix would be safe on the sapphire? The ring is a family heirloom so I definitely don’t want to ruin it! Thanks!
Sorry! I put the wrong email with the first comment and I can't figure out how to delete it.. ?
Sara
Oh, Haley. I don't want to steer you wrong. I've never had a problem with the cleaner, but it can be abrasive on softer stones. My recommendation would be to take it into a jeweler and get your ring cleaned professionally. . .especially if it is a family heirloom.
Shelley
Hi Haley, I have always cleaned my jewelry with toothpaste and a soft toothbrush. Wet the toothbrush,put a little toothpaste on the brush and brush gently,rinse and dry with soft cloth. No harm to the stones. Let me know how you like it ?
Debbie Coe
Uhhh oh.... My Pandora Murano beads and a couple other of my Pandora beads turned black on the silver parts!
What am I supposed to do now?!
Sara
Oh no, Debbie. I'm so sorry. I do mention in the post to be cautious with the cleaner as it could be harmful to certain stones. Not sure if some of your beads may be made of more of a porous material? I clean my Pandora bracelets frequently and have never had any problems. 🙁
Rebecca B
You may have left it in the solution too long. Try using a polishing cloth. It may take some patience, but keep rubbing. If that doesn't work, I'd suggest seeing if your local jeweler can polish it for you.