Want to Save This Recipe?
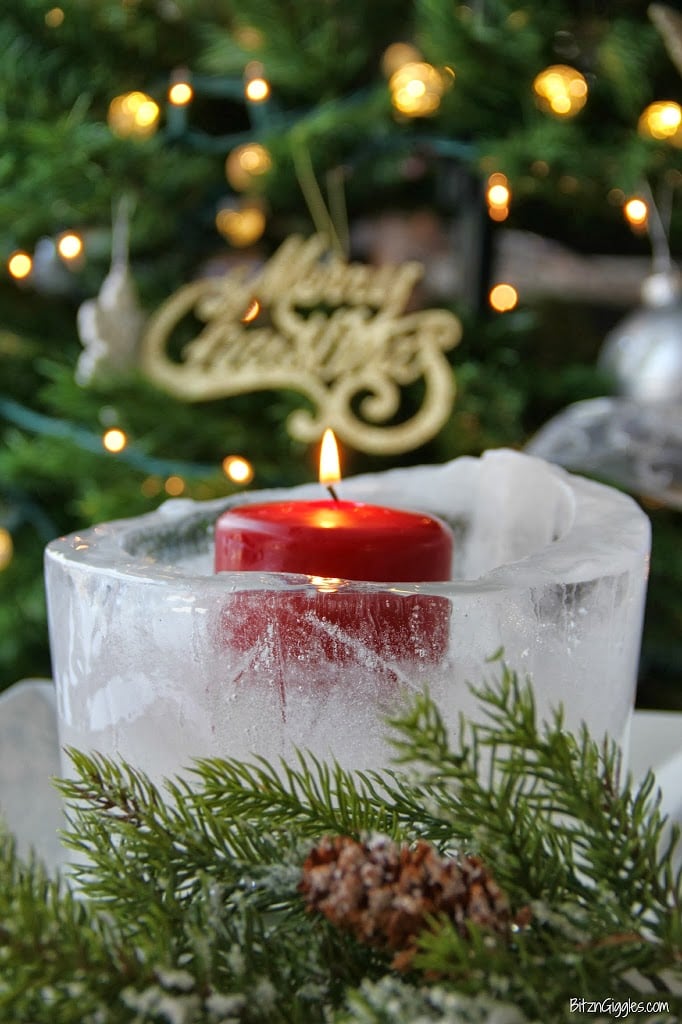
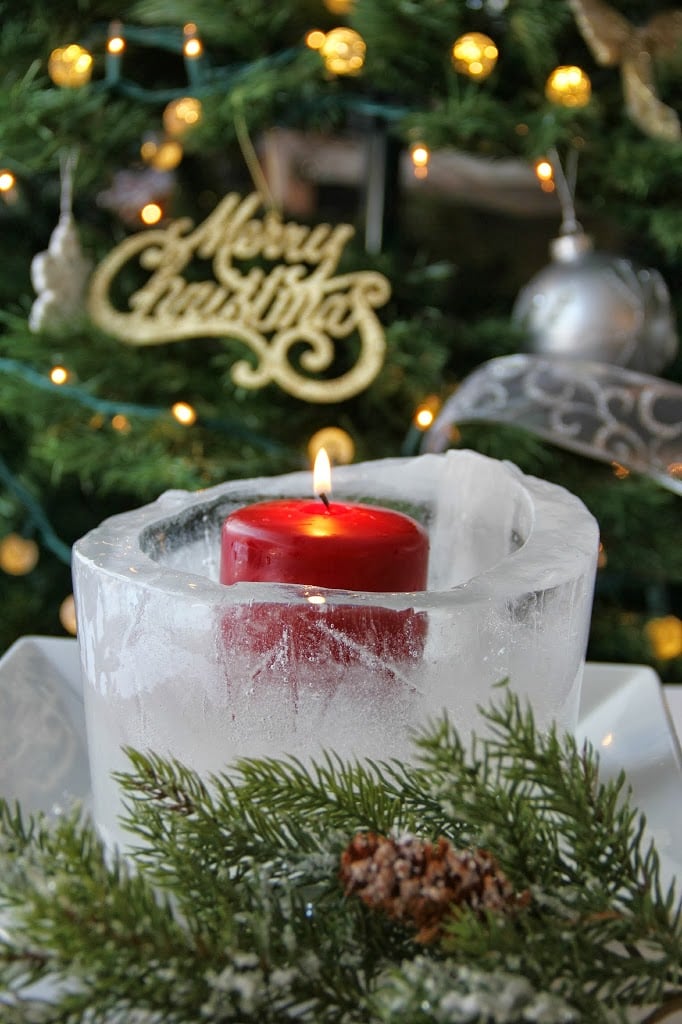
I don't always make them at the same time each year. It really depends on the weather. In weather like this, it only takes a few hours to make luminaries. The best part about ice luminaries is that each one turns out a little different. Many people like to add pine branches or berries to dress up their luminaries, but I prefer just the clear ice alone. The ice is so beautiful just by itself. Why mess with it?
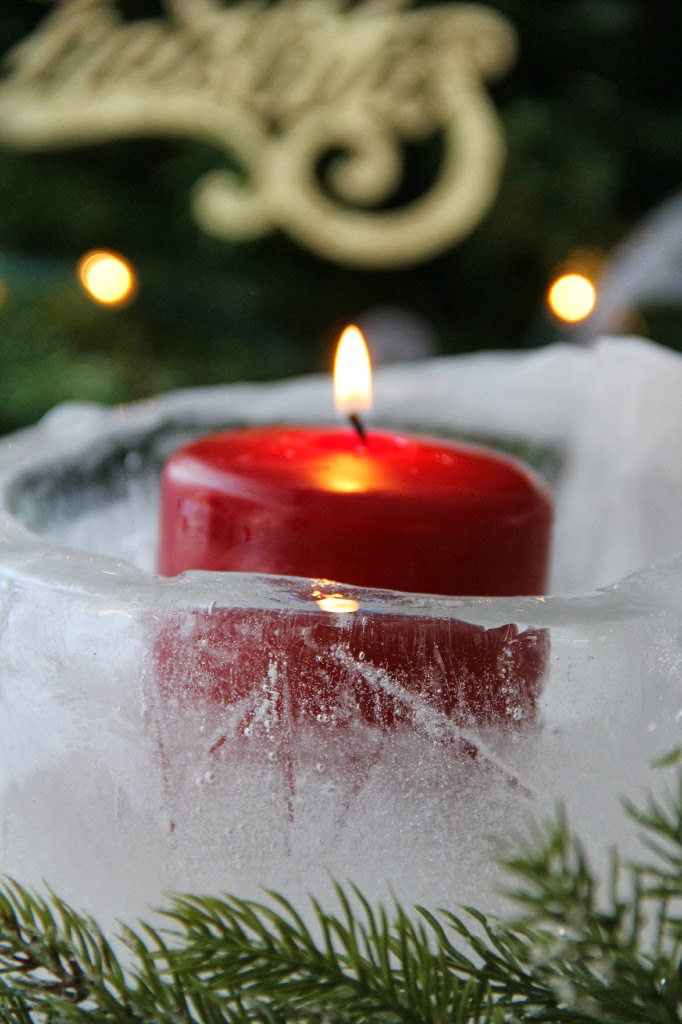
The shape of your luminary is up to you. I prefer to make shorter, wider luminaries that give candles plenty room to breathe. Most of the luminaries I make are wide enough to fit a three-wick candle. The candle often starts out sticking out of the top of the luminary but once it's lit it will eventually burn down to where the light will be seen through the ice. I think it's pretty either way. It's really more a matter of personal preference. They're so inexpensive to make, it's fun to just experiment. I hope you enjoy this simple step-by-step tutorial. If you've never attempted making an ice luminary before, I hope this inspires you to create one!
Materials Needed:
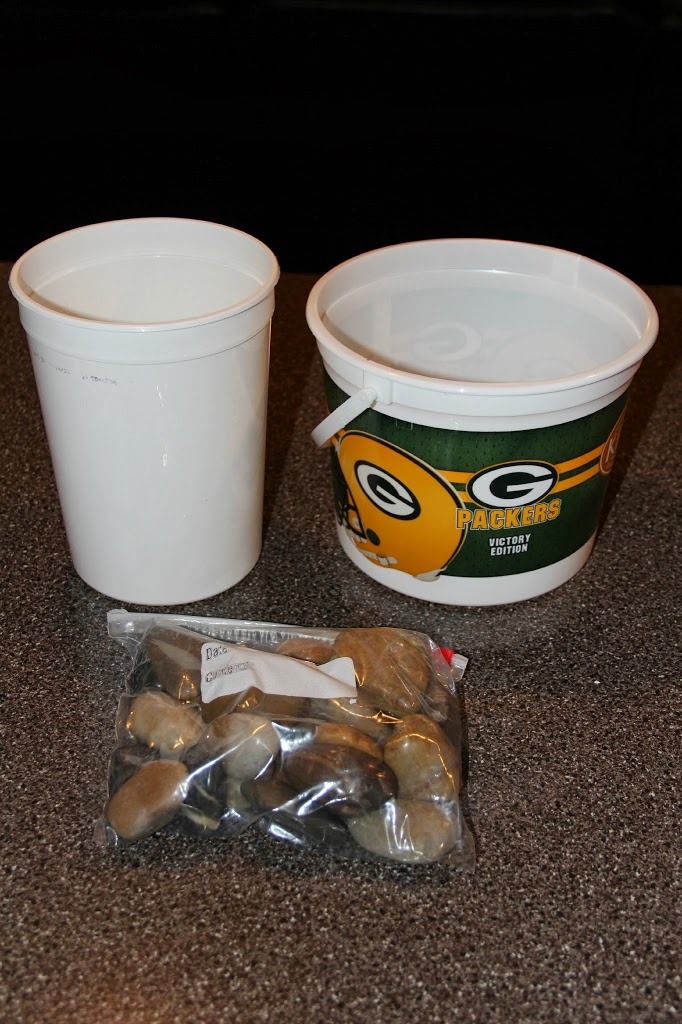
- Larger plastic container
- Smaller/Narrower plastic container
- Rocks
- Candle
- Water
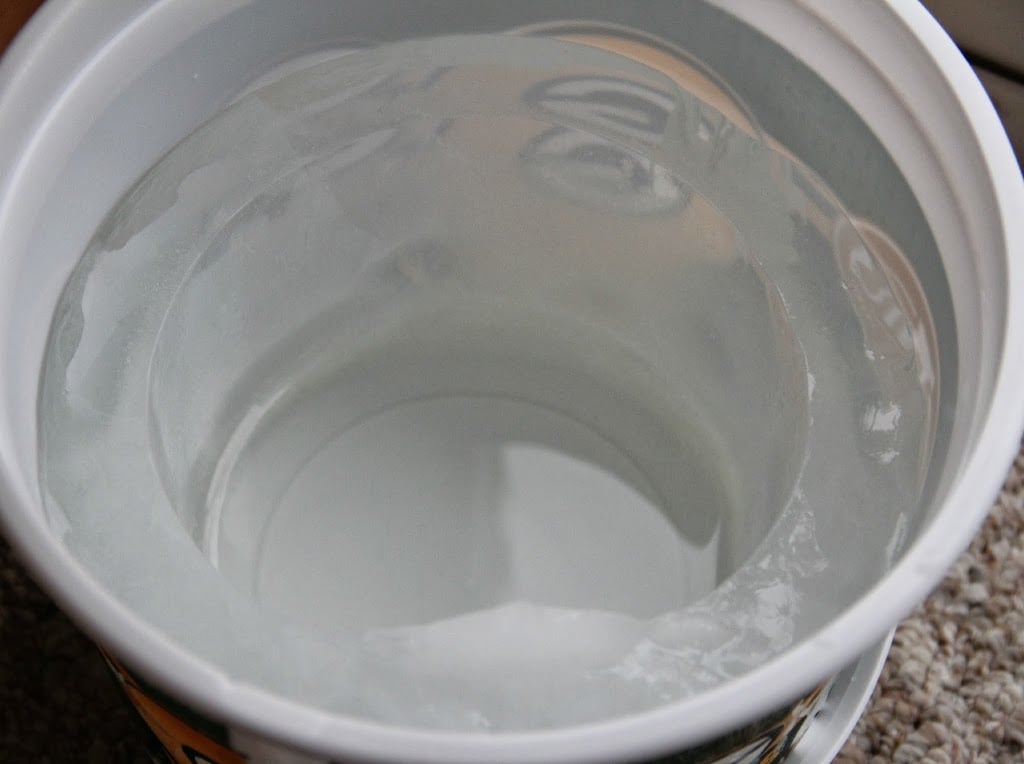
At this point I take a look and decide how deep I want my candle to sit inside of the luminary. Most of the time I fill the hole with a bit more water so my candle will have a base that sits up a bit higher. After I add a bit more water, I set it back outside on the deck for a few more hours to freeze.
Ice Luminary
Materials
- Larger plastic container
- Smaller/Narrower plastic container
- Rocks
- Candle
- Water
Instructions
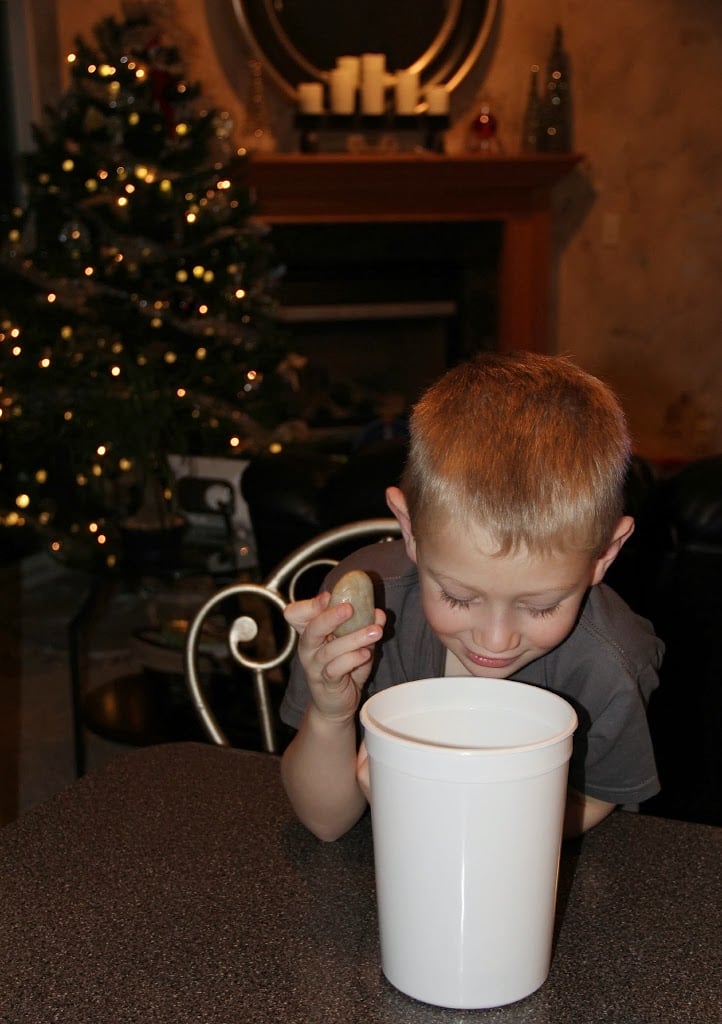
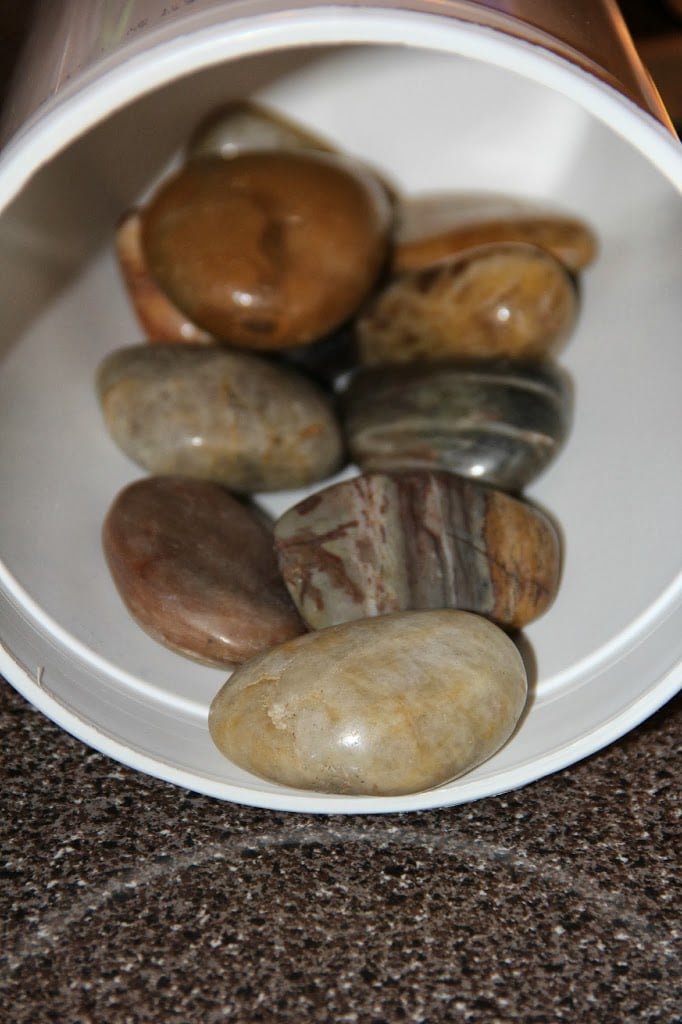
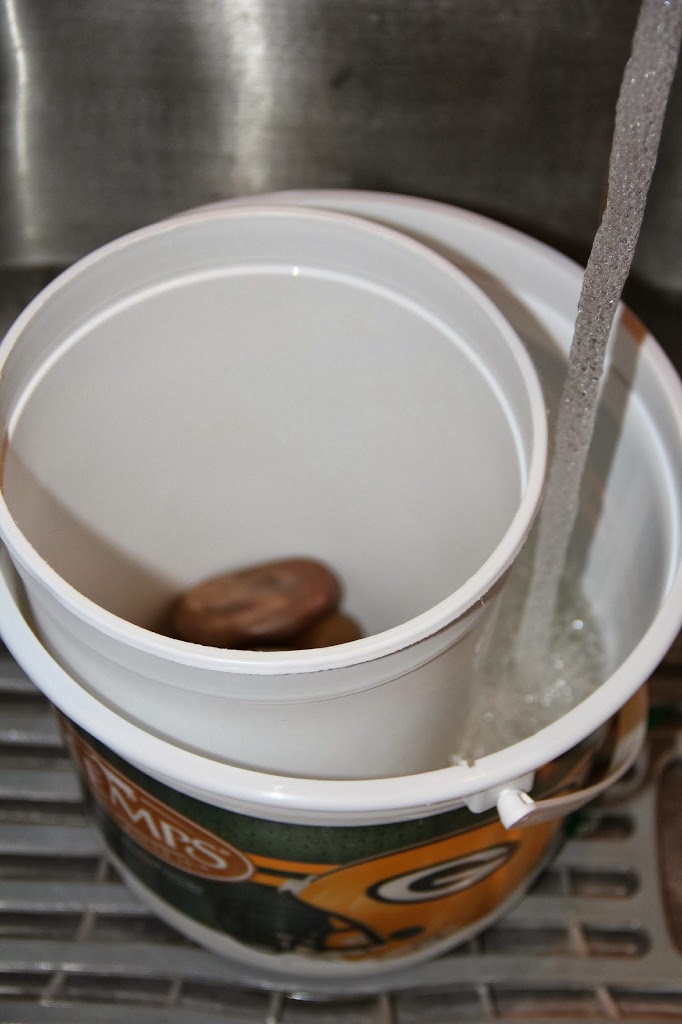
- Start out by taking your smaller, narrower container and filling it with rocks.
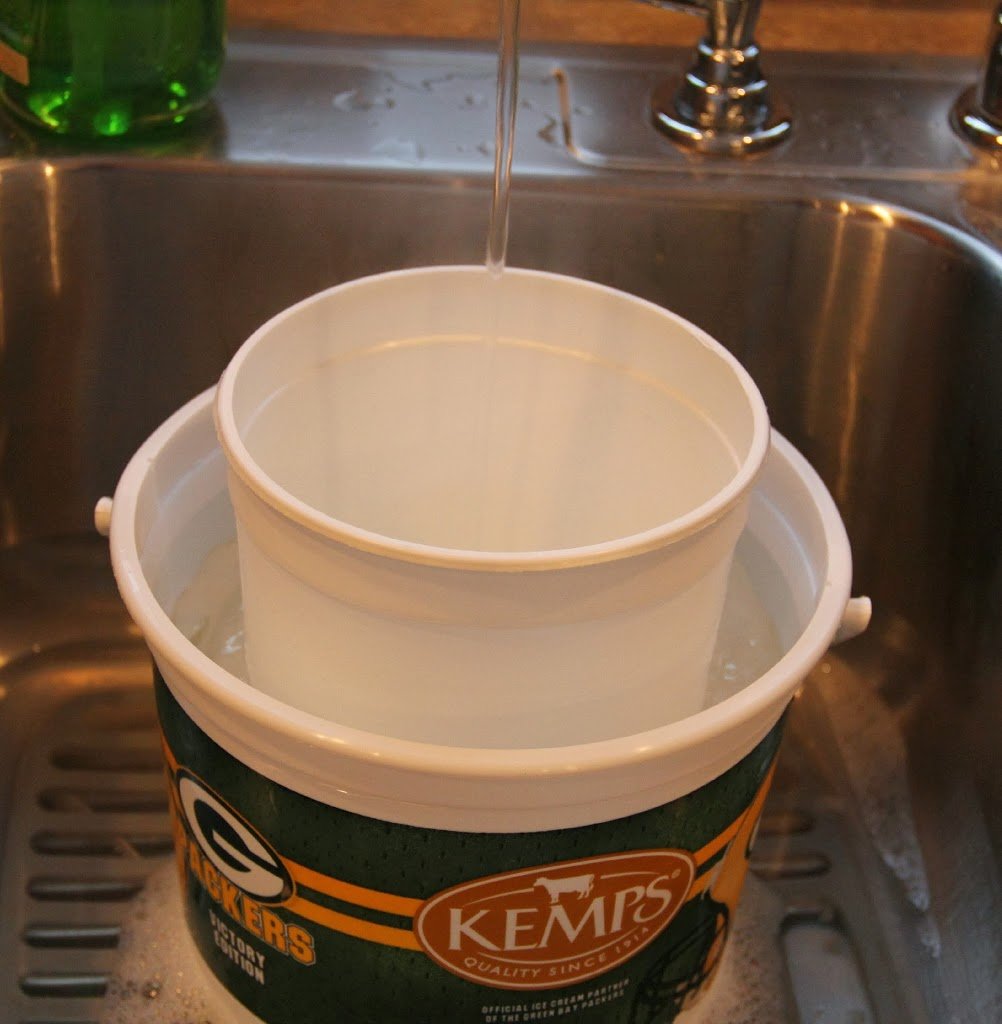
- Then put the smaller container in the larger container and start adding water.
- The rocks you had added to the smaller container are used as weights to keep it from floating up from the bottom of the larger container.
- If the smaller container starts to float, add more rocks or dump out some of the water from the larger container.
- Put the container outside, or in the freezer, carefully positioning the smaller container so it sits directly in the middle of the larger container.
- A flat surface is very important or you'll create a luminary that's uneven and one you won't be able to place a candle in.
- I put my luminaries right on my deck outside of my patio doors so I can keep checking on the progress.
- When the ice is frozen solid, take the containers back inside and remove the rocks from the smaller container.
- Fill the smaller container with hot water and let it sit for a couple minutes until the container releases easily from the ice. Set the smaller container aside and look into the middle of your luminary.
- At this point I take a look and decide how deep I want my candle to sit inside of the luminary. Most of the time I fill the hole with a bit more water so my candle will have a base that sits up a bit higher.time,
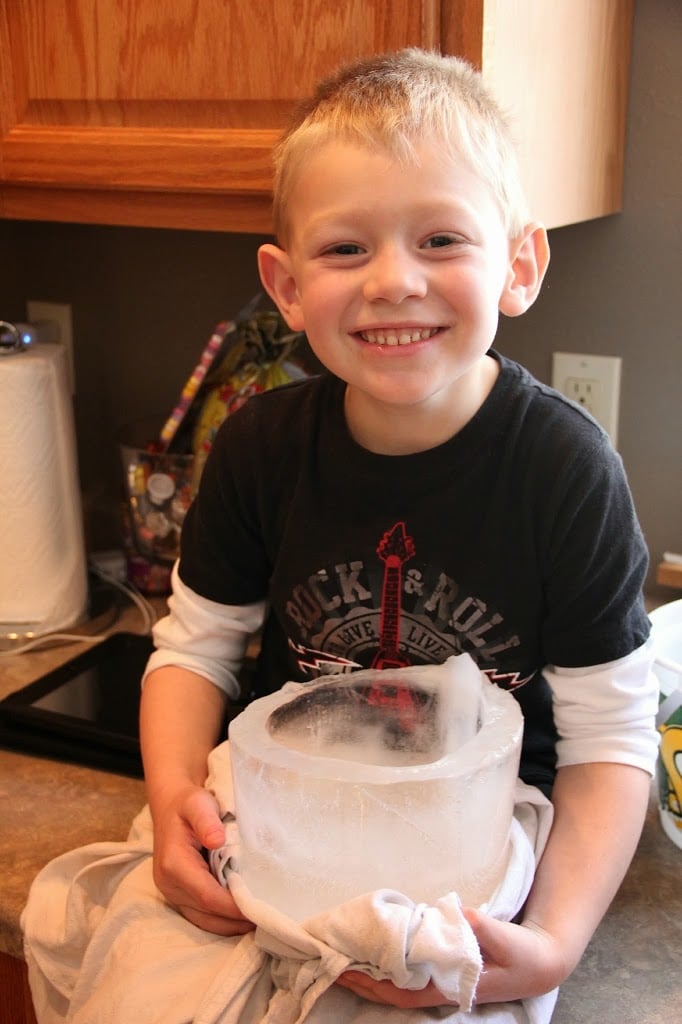
- Once the water has frozen solid again, start running warm water around the sides of the large container until the ice easily releases from the container.
Notes
- Ensure Stability with Proper Weight Distribution: When assembling your ice luminary, use rocks in the smaller container to prevent it from floating up when filled with water. Adjust the amount of rocks as needed to achieve the desired weight and stability, ensuring that the smaller container remains submerged in the larger one throughout the freezing process.
- Optimal Positioning for Even Freezing: Position the smaller container carefully in the center of the larger container to create an evenly shaped ice luminary. Choose a flat surface to place the containers, as an uneven surface can result in an irregularly shaped luminary that may not accommodate the candle properly. This step is crucial for ensuring a visually appealing and functional final product.
- Facilitate Easy Removal and Candle Placement: After the ice has frozen solid, remove the rocks from the smaller container and release them from the ice by filling it with hot water. Take the time to decide the depth at which you want the candle to sit inside the luminary, adjusting the water level accordingly. Once the desired depth is achieved, freeze the water again to create a stable base for the candle. When ready to remove the ice luminary from the larger container, gently run warm water around the sides to facilitate easy release without damaging the structure.


Sara
Kids have so much fun making these luminaries, Peggy! Thanks so much for stopping by!
Peggy Hale
A fabulous idea and so fun to do with your children or grandchildren. Thanks so much for sharing.
Hugs,
Peggy~PJH Designs
Sara
Thank you, Maria! They're so simple but so gorgeous when lit. Thank you for stopping by!
Maria
What a fabulous idea and beautiful decoration! I'm sure they look beautiful outside!!!! So pretty!