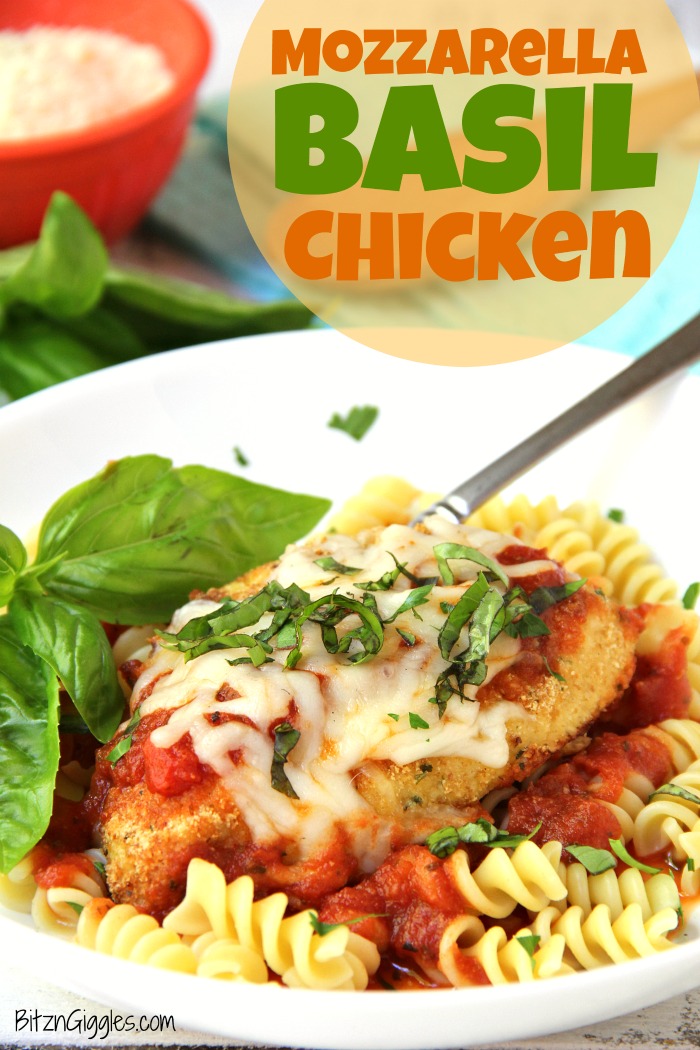
Mozzarella Basil Chicken -a delicious twist on traditional chicken parmesan. The chicken cutlets are breaded and baked, creating deliciously moist chicken to serve over pasta and sauce.
Want to Save This Recipe?
Thank you to Barilla for sponsoring this post. All the content and opinions expressed here are my own.
The kids have one more week of summer camp left and then we need to seriously start preparing for heading back to school. I'm getting into menu-planning mode again. During the summer, I'll admit, I let the menu planning slide a bit - often flying by the seat of my pants to get dinner on the table. That's pretty normal for the summer, though, because we want to spend as much time as we can enjoying the beautiful weather outside, right? Right.
The Mozzarella Basil Chicken recipe I'm sharing today is a perfect solution for busy weeknights, and comes together in only 30 minutes. Nice, right? And, I usually have everything I need for this dish on-hand, either in the freezer, fridge or pantry.
The dish, itself, may remind you of chicken parmesan, but there are a couple differences. First of all, the chicken cutlets are baked, not fried, and the dish incorporates the delicious taste of basil as well!
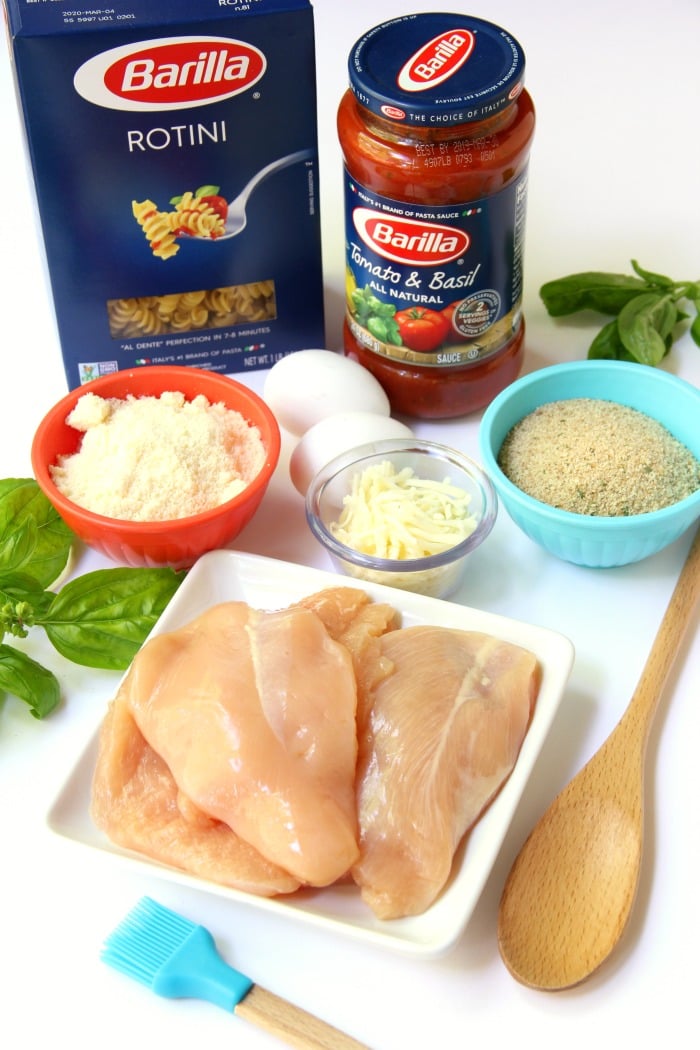
I use both fresh basil and Barilla Tomato & Basil sauce for this chicken. Barilla's sauce is made with the high-quality ingredients, like vine-ripened tomatoes, aromatic herbs and extra virgin olive oil, that are simmered together to develop a delicious and hearty sauce the whole family is sure to love. The sauce contains no preservatives and is gluten free - it's REAL, delicious and the perfect topping for this chicken.
Alright, so before I go too crazy over the sauce, let me show you how to prepare the chicken!
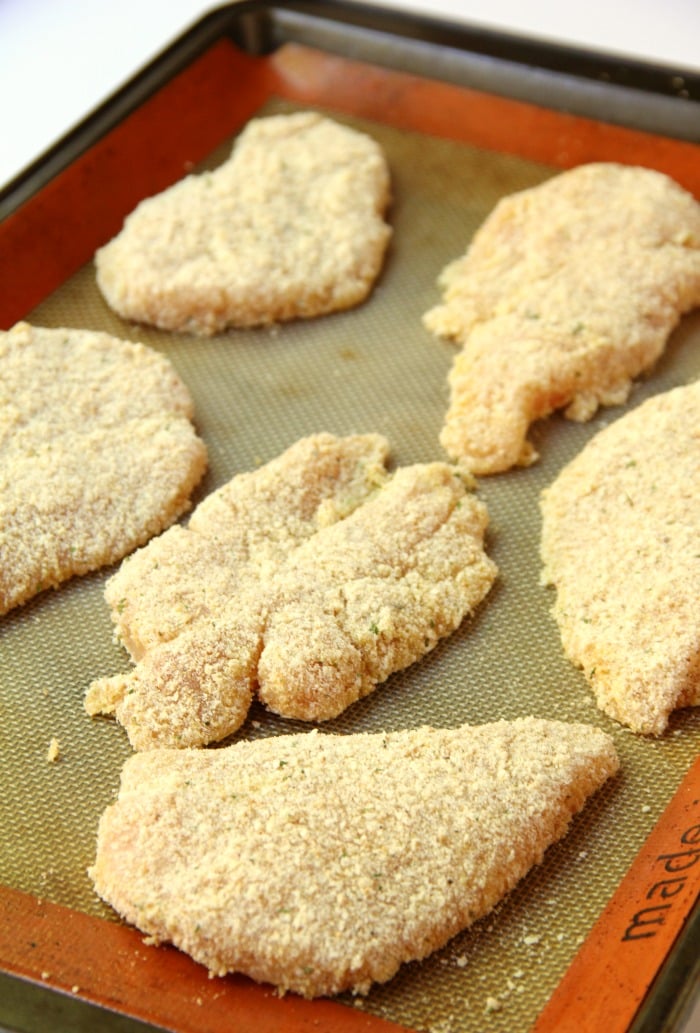
You start by dredging the chicken cutlets in a mixture of parmesan cheese and breadcrumbs, and placing the chicken in a shallow baking pan.
While the chicken bakes, you can start boiling the pasta.
We use Barilla Rotini in so many of our pasta recipes because I love how versatile it is when it comes to sauces.
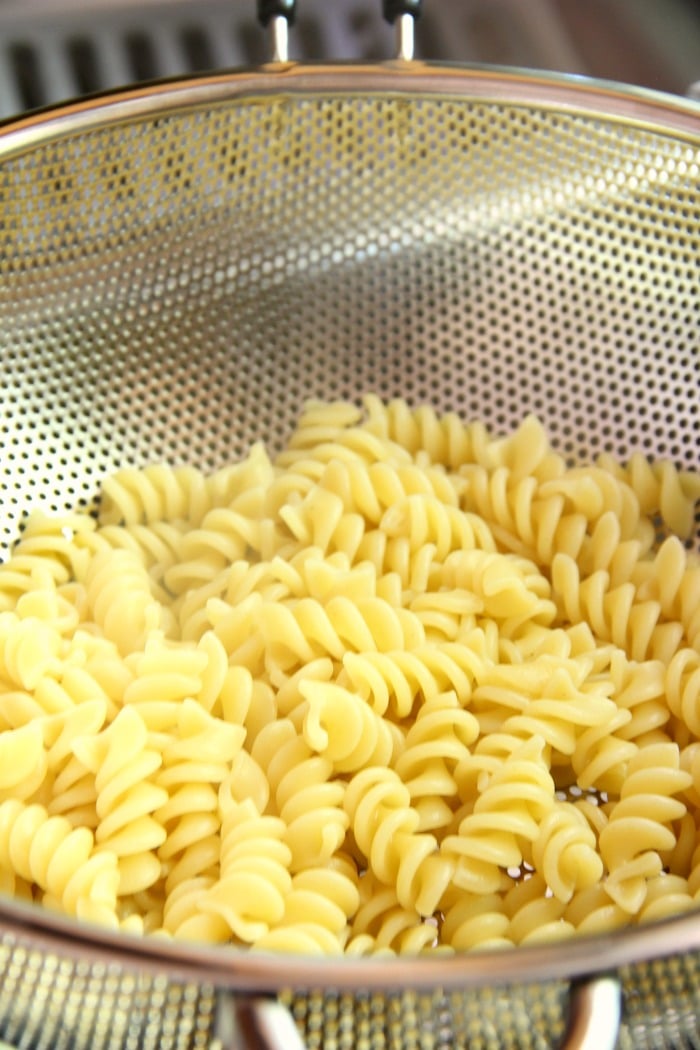
Your dishes turn out perfect, whether you're pairing the rotini with a dairy-based sauce, oil-based sauce or light tomato based sauce (like the Barilla Tomato & Basil sauce I'm using today). Rotini grabs hold of the sauce and envelopes the pasta with flavor, inside and out.
After about 20-25 minutes in the oven, your chicken is ready.
Top the chicken with sauce and mozzarella cheese and place it back in the oven for about 5 minutes or so. You'll know it's done when the cheese on top is melted. Garnish with some fresh basil and voilá, you're ready to eat!
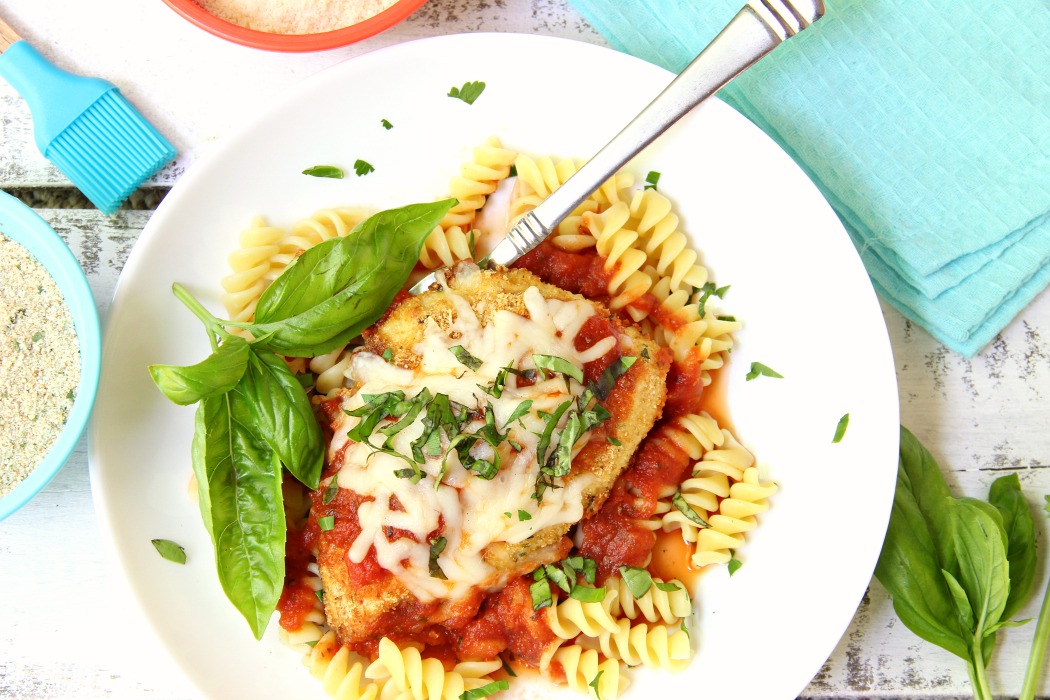
Oh, so delicious. It makes my heart happy to come home after a long day of work and be able to prepare a quick, simple and tasty meal like this one for the family.
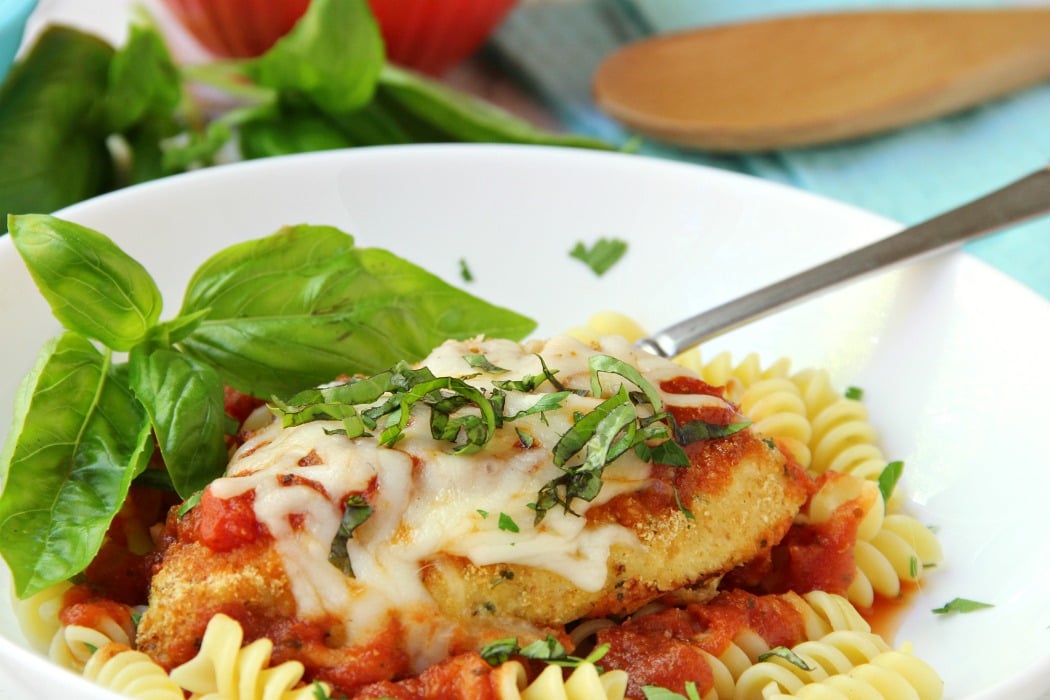
We're so fortunate to be able to sit down at the end of the day and share a meal together. Unfortunately, there are many families out there who can't relate.
Did you know that nearly one in six children in America lives in households that struggle to put food on the table? Pretty shocking, right?
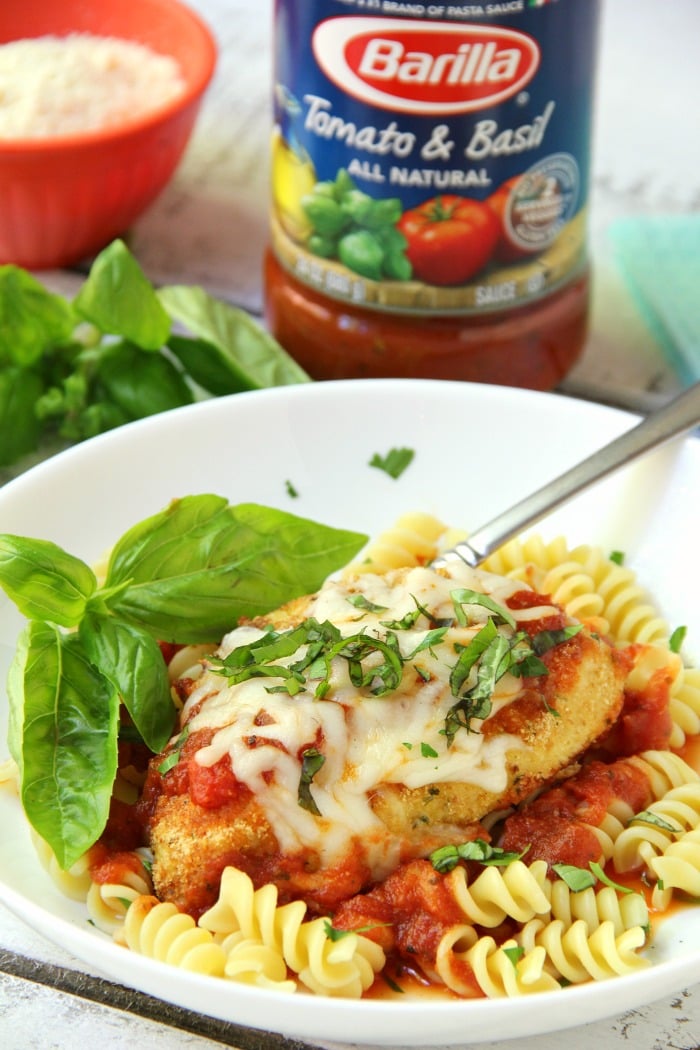
This year, Barilla is partnering with the No Kid Hungry organization, a national non-profit organization that focuses on connecting kids in need with nutritious food and teaches their families how to cook healthy, affordable meals.
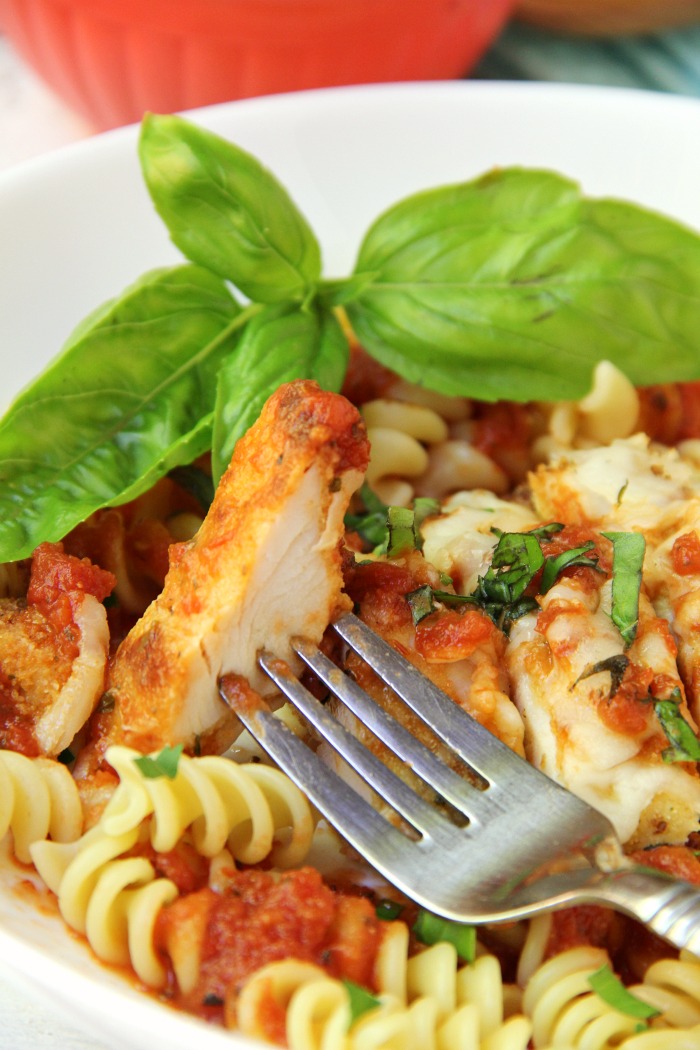
For every box of Barilla Blue Box pasta purchased at Walmart between 8/10/2017 – 10/31/2017, Barilla will donate $1 to No Kid Hungry, up to $50,000. That’s enough to provide 500,000 meals to kids in need. What a difference it will make!
Help make ending child hunger a national priority. To learn more, visit: nokidhungry.org/onedollar.

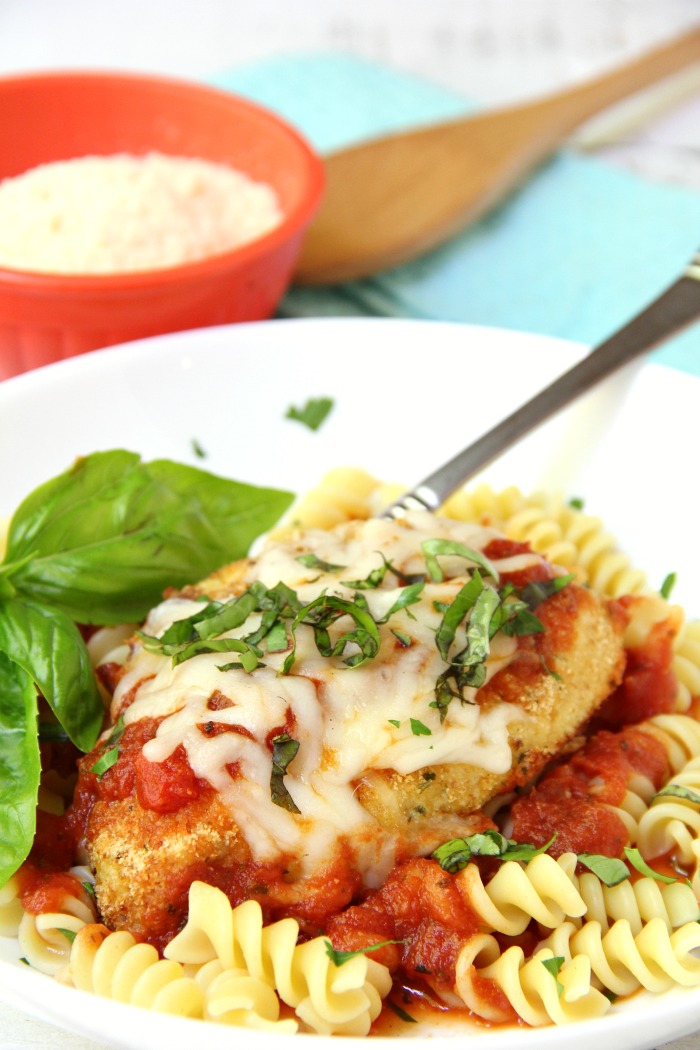
Mozzarella Basil Chicken
Ingredients
- 3 skinless (boneless chicken breast portions, cut in half to make 6 cutlets)
- 2 eggs (beaten)
- ½ cup grated parmesan cheese
- ½ cup Italian breadcrumbs
- ¾ cup shredded mozzarella cheese
- 2 cups Barilla Tomato and Basil pasta sauce (divided)
- 2 cups Barilla Rotini pasta (cooked to al dente and drained)
- Fresh basil for garnish
Instructions
- Preheat oven to 350 degrees Fahrenheit.
- Spray a shallow baking pan with nonstick spray.
- Combine parmesan cheese and breadcrumbs in a shallow pan.
- Dip cutlets of chicken in egg and then into the breadcrumb mixture. Place on baking pan.
- Spray a bit more of the nonstick spray on top of the chicken.
- Bake for 20-25 minutes.
- Remove from oven.
- Spoon approximately 1 tablespoon sauce over each chicken cutlet and top with 2 tablespoons mozzarella cheese.
- Return to oven and bake for 5 more minutes until cheese is melted.
- Put some of the rotini on a plate, drizzle a tablespoon of sauce on top of the pasta (more if you like 🙂 ).
- Place a chicken cutlet on top of the rotini and garnish with fresh basil.
Notes
- Chicken Preparation: For tender and juicy chicken cutlets, ensure they are of uniform thickness by pounding them to an even thickness before breading. This helps them cook evenly and prevents thin parts from drying out while thicker parts remain undercooked.
- Baking Technique: To achieve a golden and crispy coating on the chicken, preheat the baking pan in the oven before placing the breaded chicken cutlets on it. This helps to sear the bottom of the chicken immediately, creating a crispy texture. Additionally, flipping the chicken halfway through baking ensures even browning on both sides.
- Serving Presentation: For an elegant presentation, layer the cooked rotini pasta on each plate, drizzle with sauce, and then place the chicken cutlet on top. Garnish the dish with fresh basil leaves just before serving to add a pop of color and a burst of fresh flavor. This simple touch enhances the overall presentation and elevates the dish.

Rozanne
Your receipes look fairly easy and delicious! Ive just found your site, looking for a recipe for venison. As a recently diagnosed diabetic, cooking has become more complicated. Have you considered posting the nutritional information for your receipes online? I'm sure it would help many people like me when considering whether we can use your site.
Sara
Hi Roxanne, thank you for your comment. I have been looking into adding the nutritional information to my recipe cards. Early on when I tried to do this, the information was inaccurate when the computer would plug it in. Rather than giving incorrect information I chose to just remove it. Technology has gotten better over the years so I do plan to attempt to add it in again.