Want to Save This Recipe?
This post has been sponsored by Airheads. All thoughts and opinions are my own.
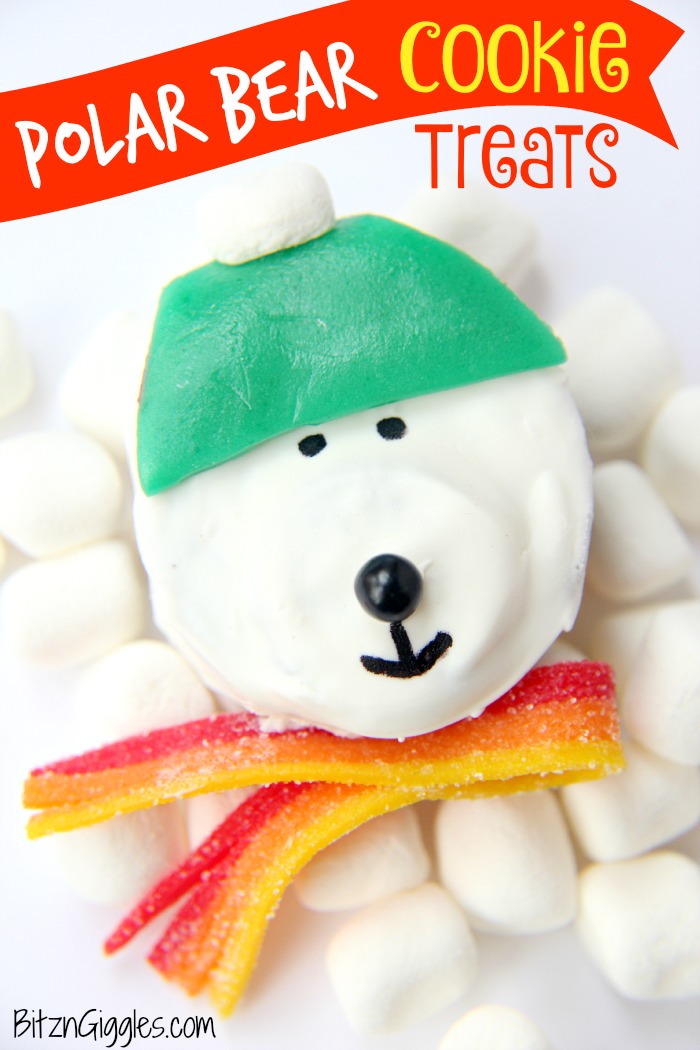
I may be getting a bit ahead of myself with these Polar Bear Cookie Treats, but let me explain. It's been cold here. . .and then warm (warm = not freezing at night) and then cold (cold enough to kill the plants on my deck) and then warm (warm enough that the kids don't need to wear their winter coats to school) and then cold (cold enough to put the flip flops away). . .here's the deal. . .I'm confused. I'm utterly confused as to how to dress myself or my children these days. The weather app on my smartphone has become my new BFF, and because I know, in the end, we're heading towards colder, rather than warmer weather, I'm continuing to prepare for winter hibernation. Because that's what we I do here in Wisconsin.
There's really no better way to get ready for what's headed our way than to start making treats in the kitchen. And because I love all things that are fuzzy and cute, we're making polar bear cookies today (minus the fuzzy when it comes to the cookie, of course). 😉
I love making cute treats for the kiddos. My favorite part is watching their eyes light up when they see the treats for the first time. These bears needed a bit of color and some accessories and I knew Airheads would be perfect for helping create some hats and scarves. Have you ever tried Airheads?
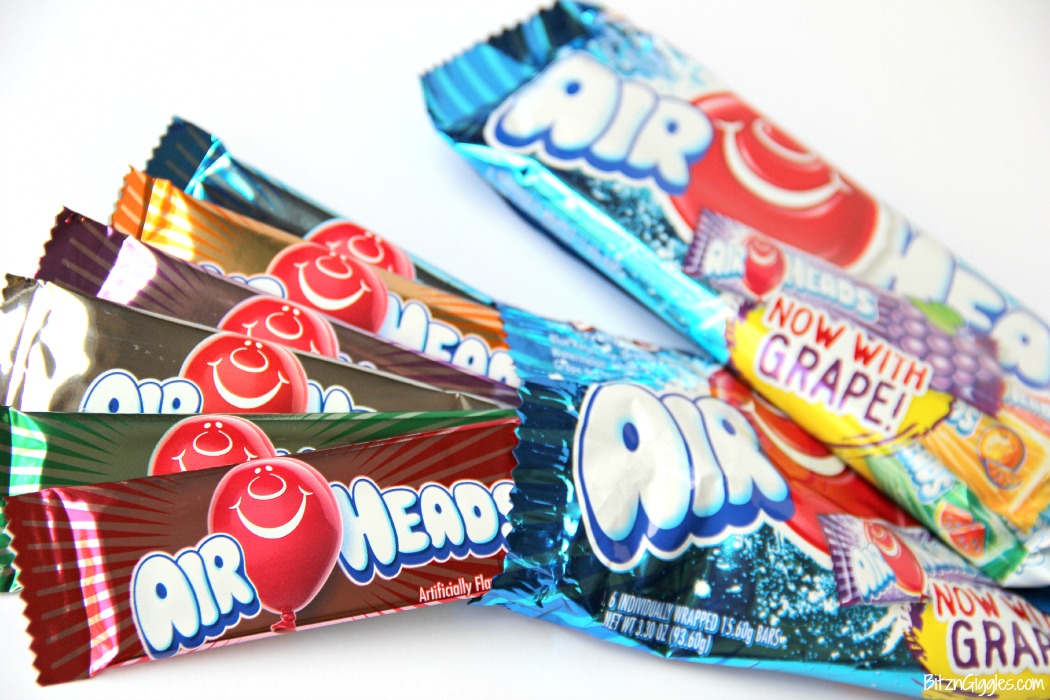
They're sweet, they're tangy, they're chewy and they come in ALL KINDS of fun fruit flavors like cherry, blue raspberry, orange, watermelon, grape and. . .white mystery.
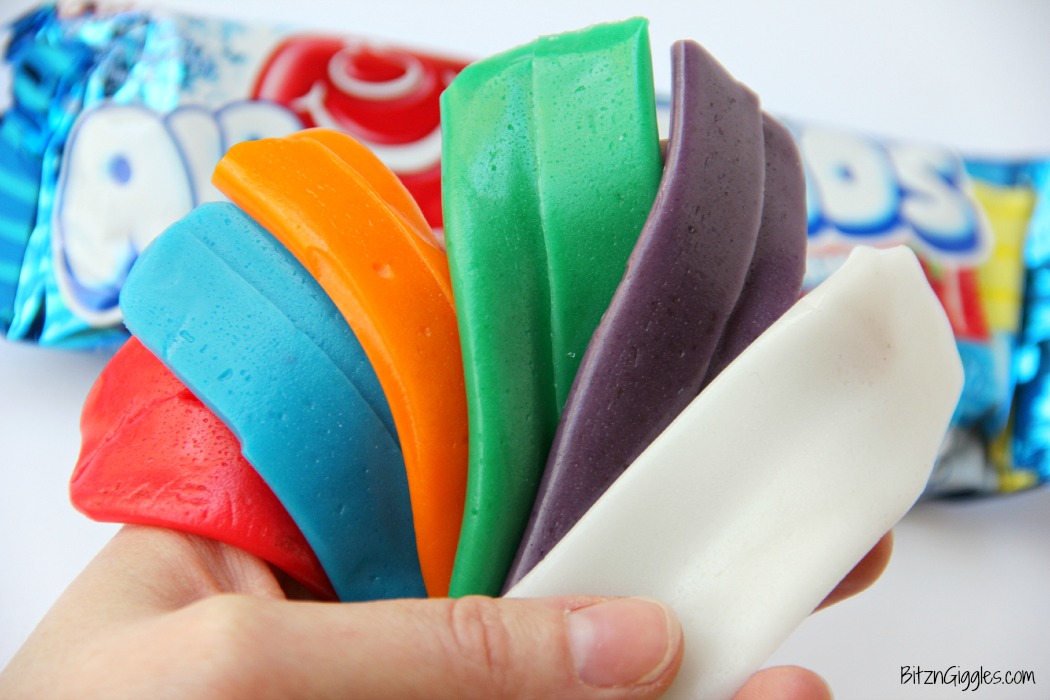
Yep, white mystery. The white mystery bars were the most popular with the kiddos at my house. Why wouldn't they be? My kids are Scooby Doo addicts and love a good mystery. . .even with their candy. I guess I learn new things every day. 🙂
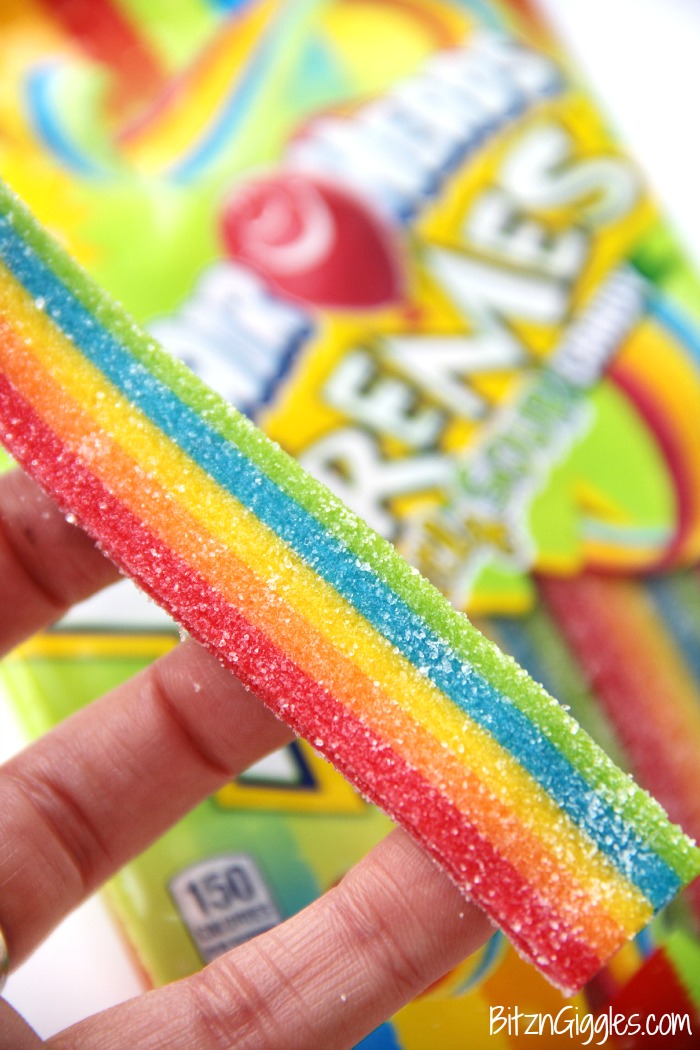
ANYWAY. . .beyond the awesome flavors, Airheads are so colorful! Have you seen the rainbow Xtreme belts? So cool!!
Airheads are perfect for creating cute treats like these polar bears because they're moldable, and you can shape them into whatever your little mind can dream up! Awesome, right?!
Okay, so it's time to roll up your sleeves and round up your supplies. These bears are happening. Are you ready for this?!
Here we go!
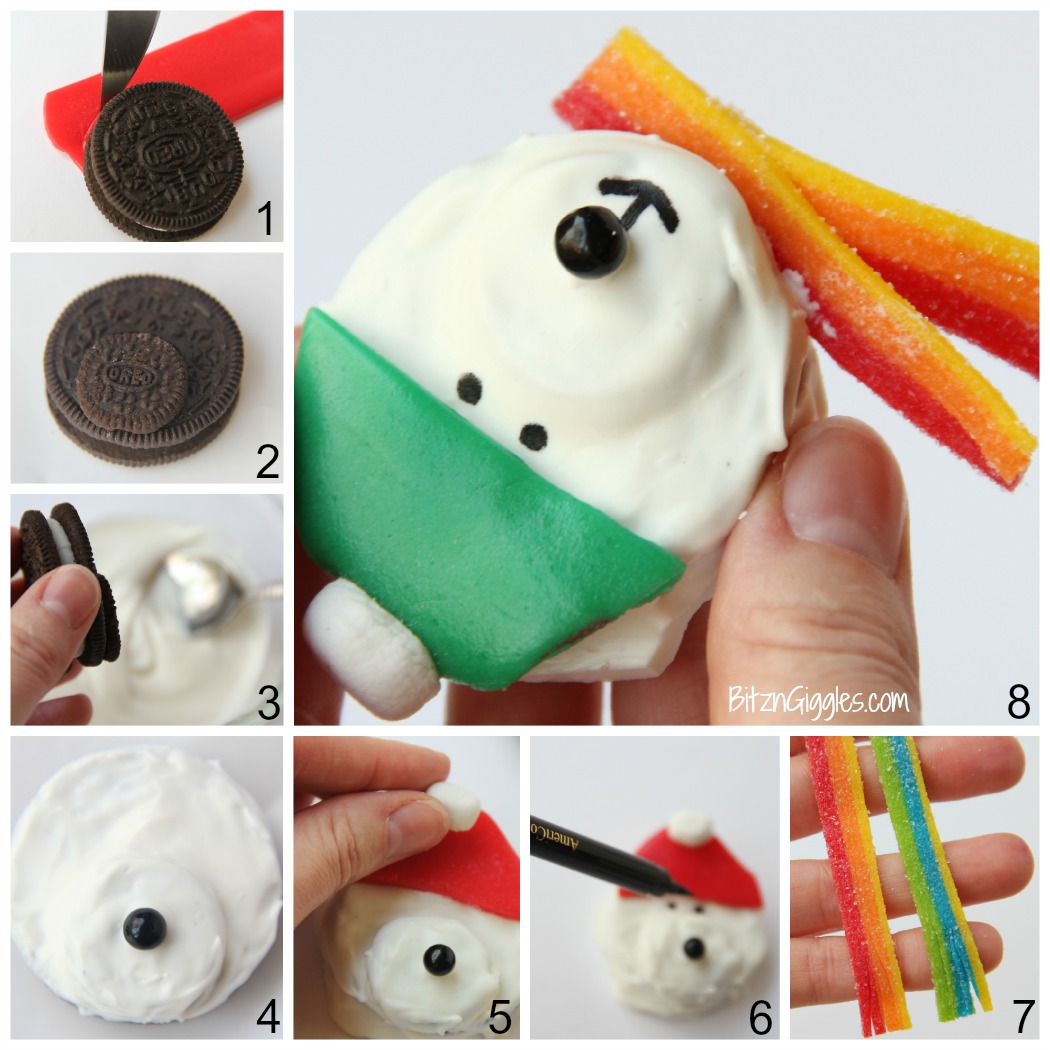
- Take one of the sandwich cookies and position the top of it on one of the Airheads bar. Use a knife to cut around the cookie to create a hat. Create five more hats using this technique and set the hats aside.
- Untwist the mini sandwich cookies and stick one half to the bottom edge of each sandwich cookie (if there isn't enough cream to make the mini cookie half stick, use some of the melted candy as an adhesive).
- In a microwaveable bowl, melt the candy melts until they achieve a dipping consistency. Dip the tops of the sandwich cookies into the candy melts and place on a plate covered with waxed paper.
- Position a black sugar pearl onto the top of the mini cookie (this will serve as the nose). Place the plate into the freezer for about 5 minutes or until set.
- Dip the end of a toothpick into the candy melts and brush some onto the top of each cookie.
Place a hat onto each of the cookies. Cut each of the marshmallows in half and place one of the halves onto the top of each of the sandwich cookies (the marshmallows serve as the tassel to the hat). - Use the black food decorator pen to draw the eyes and face.
- Cut the belts in half lengthwise and then cut slits into each end of the 6 pieces.
- Place some of the melted candy onto the middles of the belts and press the belt together to form a scarf. Allow the scarves to cool. Brush some melted candy onto the bottom of the sandwich cookies and adhere the scarves. Place into the freezer for about 5 minutes or until set.
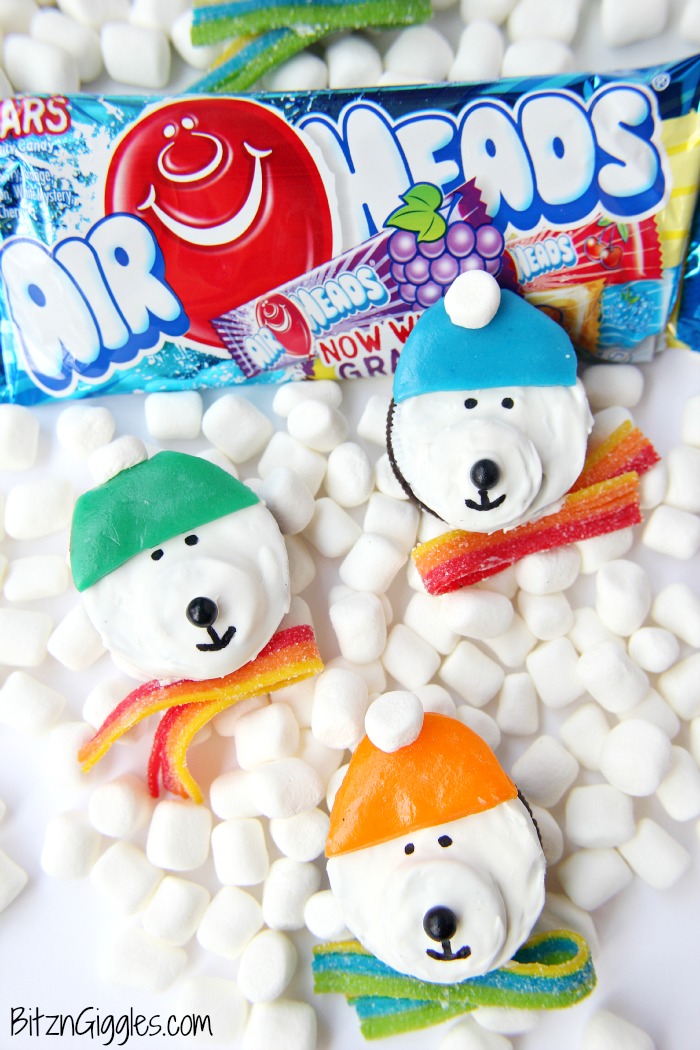
The best tip I can give you when making these treats is to have all of your supplies together and ready to go. Because there is a fair amount of cutting with a knife and a scissors, I didn't involve the little ones in the actual creation of these treats, but let me tell you what. . .they sure wanted to be involved in the taste testing! And just like I anticipated, their eyes certainly lit up when they saw these cute little polar bears.
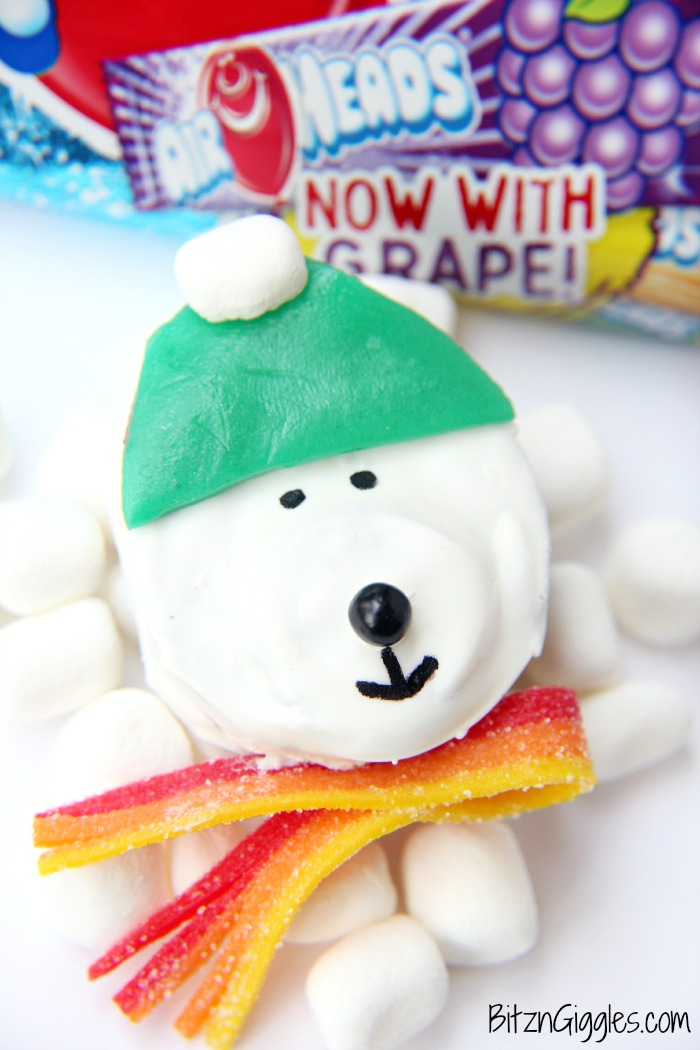
The kids recommend eating the "accessories" first. They removed the scarf, the hat and then the nose before they chomped into the cookie. I'd say that's a pretty good recommendation because it worked great for me, too!
We'll be making more of these little cookies as the colder weather sets in (because we know it will). Until then, we'll take each day as it comes. Tomorrow I just may have to remove the hats and scarves from these guys so they don't overheat. Warm. Cold. Aye yai yai.
For more fun ideas on how to craft with Airheads visit and follow them on Pinterest. To learn more about Airheads candy, visit their website and follow them them on Facebook, Twitter, Instagram, and YouTube!

Polar Bear Cookie Treats
Ingredients
- 6 sandwich cookies
- 3 mini sandwich cookies
- White confectionary melts
- 3 Mini marshmallows
- Black food decorator pen
- 6 Black sugar pearls
- 3 Airheads bars (your choice of colors - 1 bar makes about 2 hats)
- 3 Airheads Xtreme belts (1 belt makes 2 scarves)
- Toothpick
- Small kitchen shears
Instructions
- Take one of the sandwich cookies and position the top of it on one of the Airheads bars.
- Use a knife to cut around the cookie to create a hat.
- Create five more hats using this technique and set the hats aside.
- Untwist the mini sandwich cookies and stick one half to the bottom edge of each sandwich cookie (if there isn't enough cream to make the mini cookie half stick, use some of the melted candy as an adhesive).
- In a microwaveable bowl, melt the candy melts until they achieve a dipping consistency.
- Dip the tops of the sandwich cookies into the candy melts and place on a plate covered with waxed paper.
- Position a black sugar pearl onto the top of the mini cookie (this will serve as the nose).
- Place the plate into the freezer for about 5 minutes.
- Dip the end of a toothpick into the candy melts and brush some onto the top of each cookie.
- Place a hat onto each of the cookies.
- Cut each of the marshmallows in half and place one of the halves onto the top of each of the sandwich cookies (the marshmallows serve as the tassel to the hat).
- Use the black food decorator pen to draw the eyes and face.
- Cut the belts in half lengthwise and then cut slits into each end of the 6 pieces.
- Place some of the melted candy onto the middles of the belts and press the belt together to form a scarf.
- Allow the scarves to cool.
- Brush some melted candy onto the bottom of the sandwich cookies and adhere the scarves.
- Place into the freezer for about 5 minutes or until set.
- Remove and store cookies in an airtight container to keep fresh.

Andi @ The Weary Chef
These things are so dang cute, Sara. You always come up with the best ideas. I never would have thought to use the Airhead as a scarf, but it looks so perfect!
Sara
Thank you, Andi! It took some sketching and brainstorming to create these little guys! They're cute and delicious, too! LOL
Kristyn
These are so cute! My kids are going to love these!
Sara
Thank you, Kristyn!!
Erin @ Dinners, Dishes, and Desserts
These are absolutely adorable!! My son is a huge Airheads fan, so he would go crazy for these!
Sara
That's great to hear, Erin! My kiddos love the Airheads candy, too!
Becky Hardin | The Cookie Rookie
These are just so darn cute and creative! Wow!
Sara
Thanks so much, Becky!
Katerina @ Diethood
Oh me gosh, the cuteness!!! This is fantastic. Great job!
Sara
I appreciate that, Katerina! Thank you!
Michelle | A Latte Food
It's been the same way here too! Cold and rainy then really warm--I can't figure it out! These cookies look amazing though!