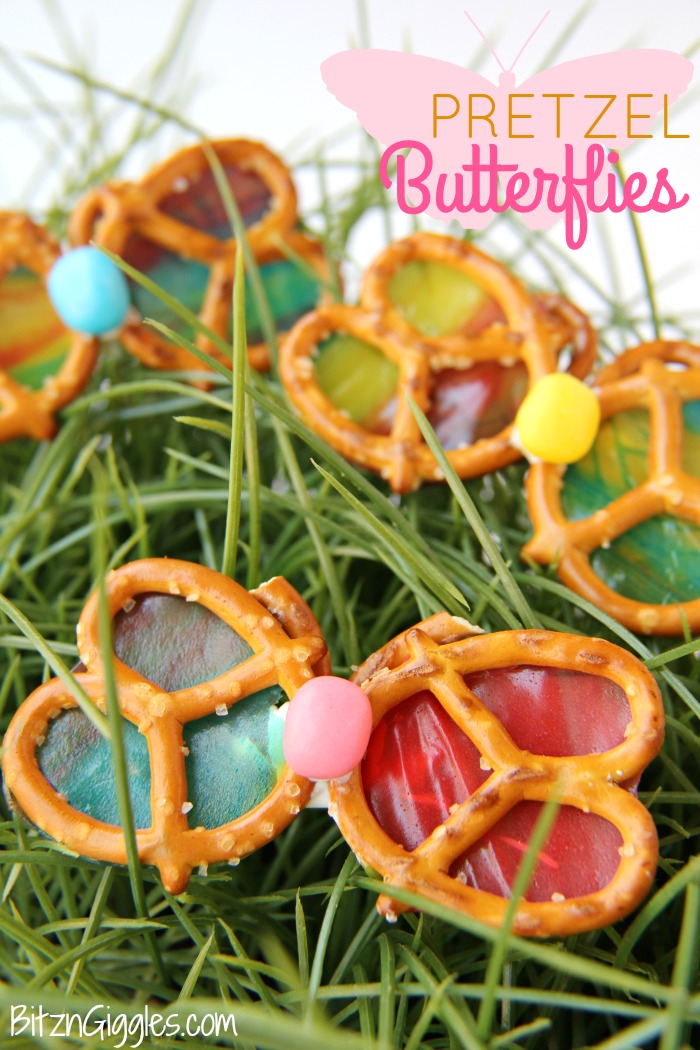
These Pretzel Butterflies are only four ingredients and so much fun to snack on! Fruit Roll-Ups bring color to the wings and give a gorgeous stained glass effect. So pretty when held up to the sun!
Want to Save This Recipe?
Isn't it about time for a fun snack idea? I mean, spring is FINALLY here. We're still wearing our coats around here and the furnace is still running in the mornings. . .but we're making progress. And I really can't complain too much because you know why? I'm in Vegas right now with a bunch of my closest blogging friends and I'm having the time of my life. I'm sure there will be more about that later. Stay tuned for some fun photos and a recap of the amazing trip!
Okay, so these Pretzel Butterflies. They're super cute, right? All you need is four ingredients to put these babies together.
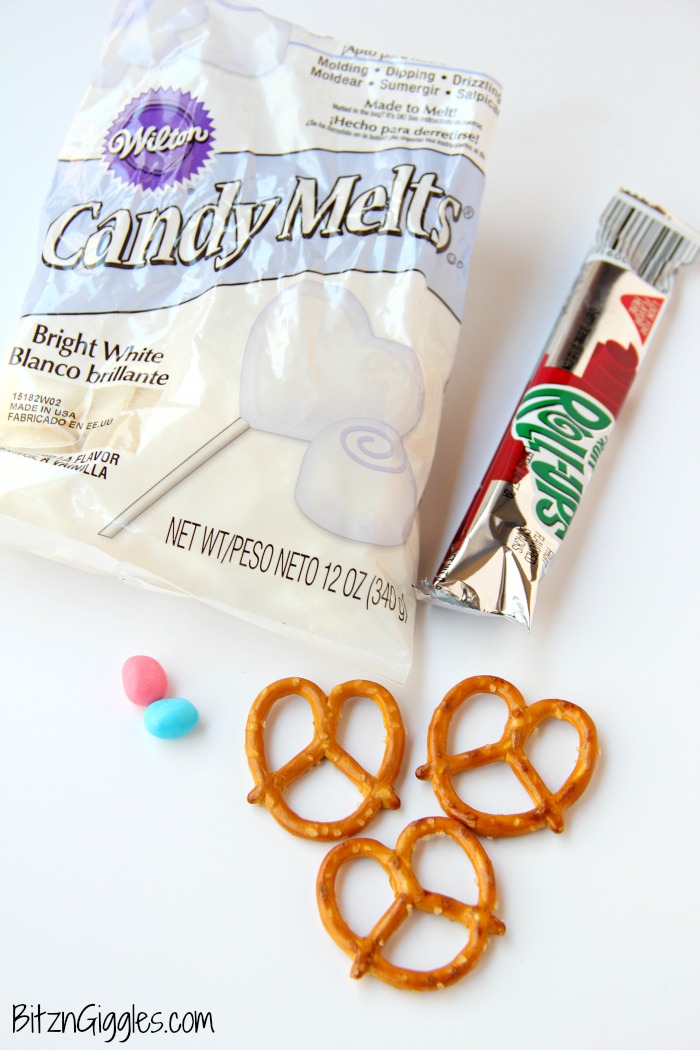
For this tutorial today I'm just showing you the ingredients that you need to make ONE butterfly. Just to note, I was planning on using two jelly beans for the body, but after I put the first one on, it looked like it was going to be enough. . .so I just ate the second one. 🙂 Here's the thing. . .you can make as many of these as you want. If you're making over a dozen, I would call for some back-up.
Start by placing one of the pretzels on top of the roll-up and cutting around it with a kitchen shears. At this stage I still left the plastic backing on the roll-up. If you're making multiple butterflies, you could probably get around two butterflies (four pretzel wings) out of each roll-up.

So after you cut out a circle around the pretzel, use your scissors to cut around the shape of the pretzel and get a little closer so there's not a ton of overhang from the roll-up. Eat the scraps. 🙂
Press the roll-up onto the pretzel and then remove the plastic from the back of the roll-up.
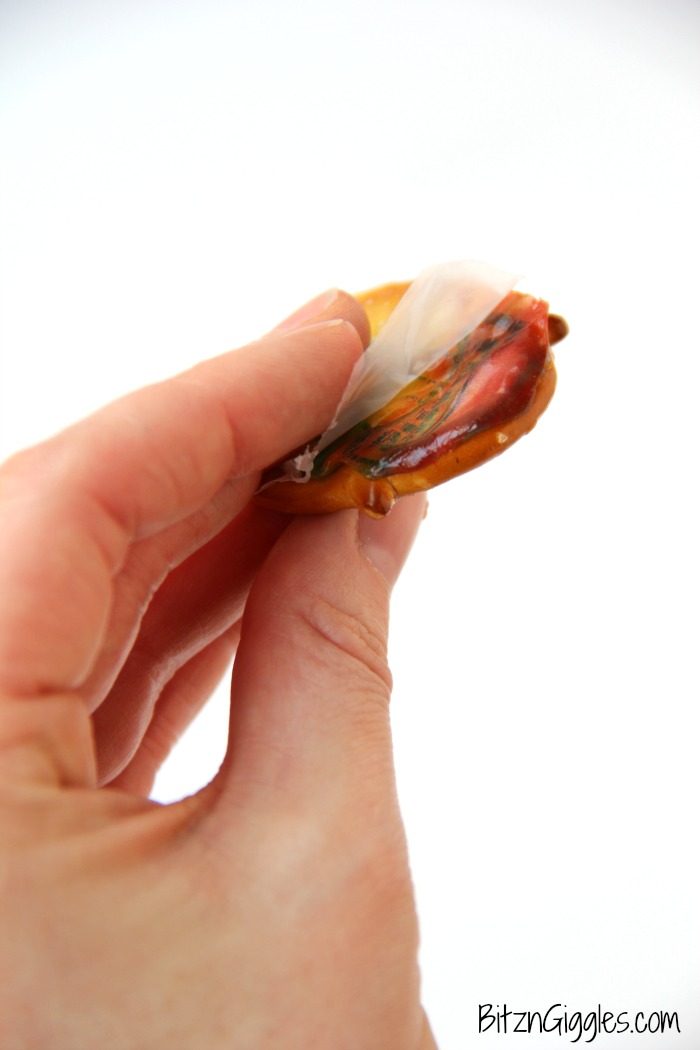
These roll-ups stick to anything so look out. DO NOT set them down on a counter top without laying down waxed paper first. In fact, if you ever find yourself out of super glue, grab a roll-up. It may very well do the job. Kidding. Not kidding.
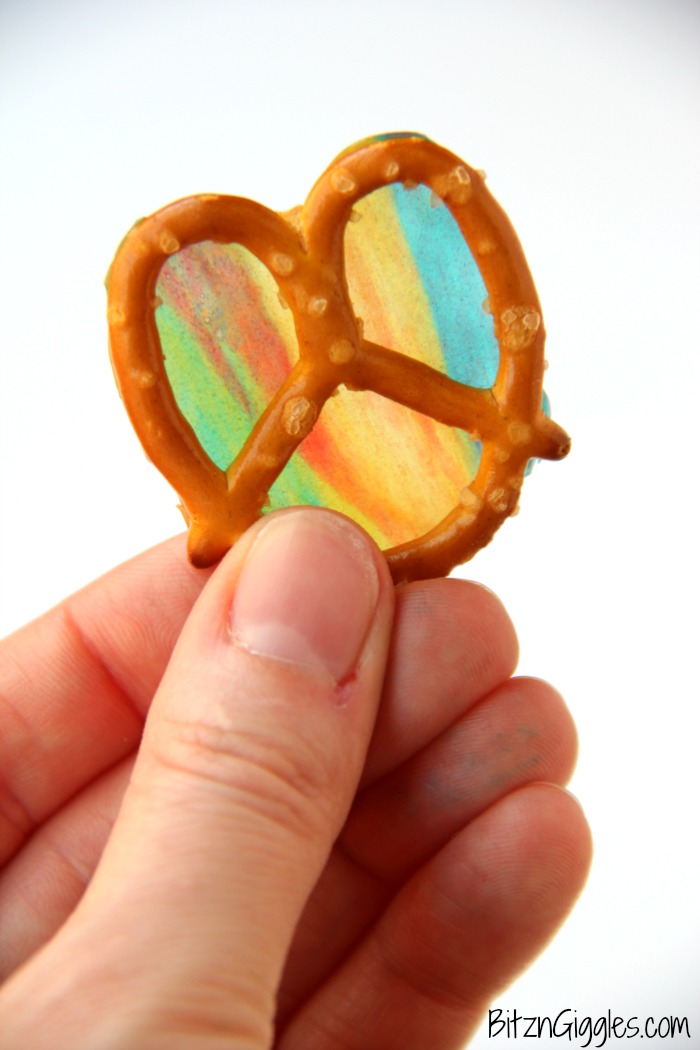
So, how pretty is this?
Now repeat the steps and create one more. Next lay the pretzels down end-to-end on a sheet of waxed paper (important step, remember?) and place a dab of melted vanilla candy coating right where the ends meet. Place your jelly bean on top of the candy coating and allow it to set for a few minutes.
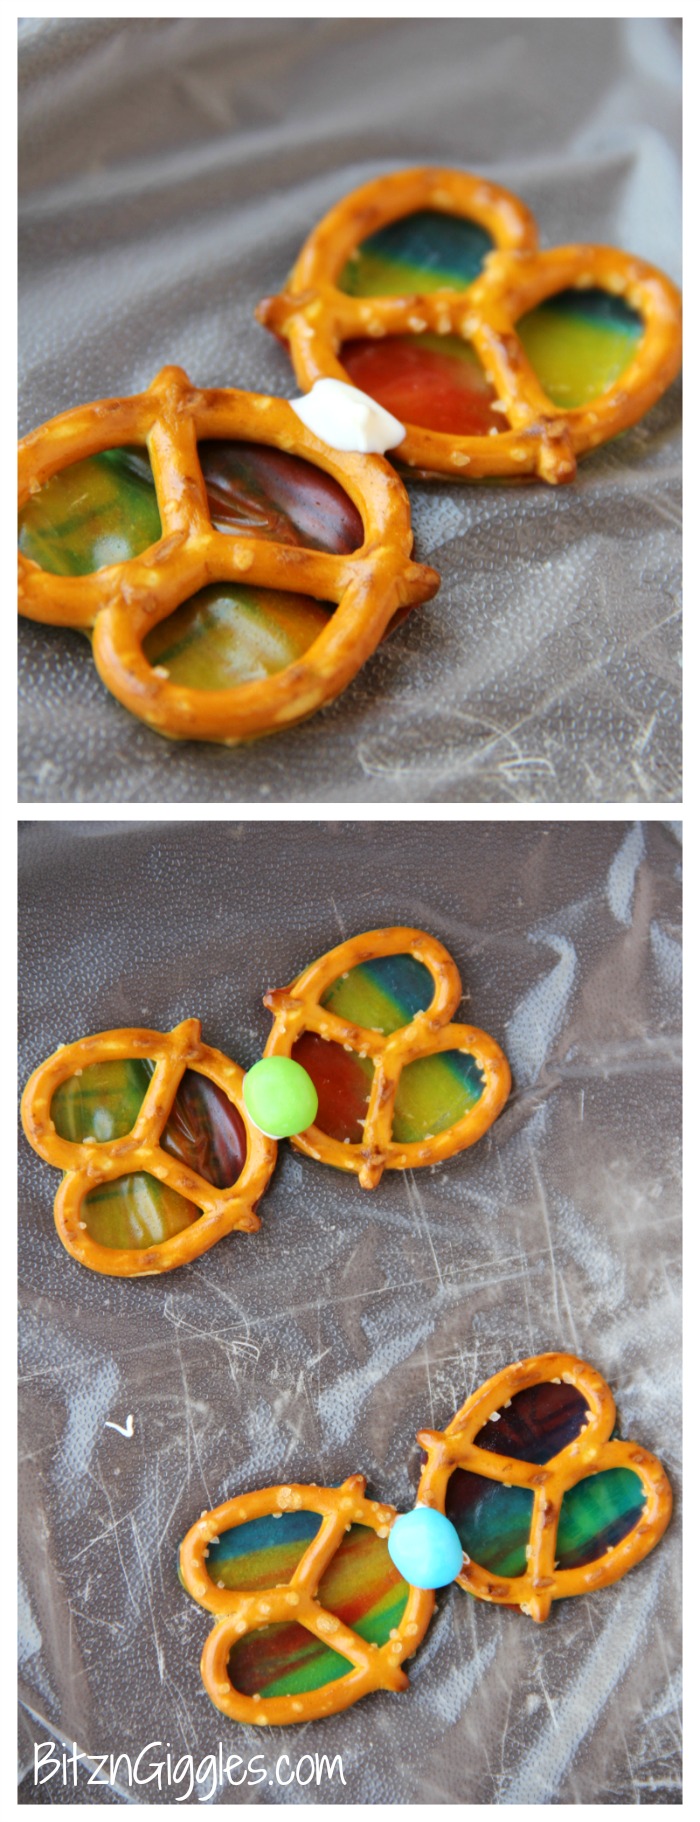
And then you'll have one of these.
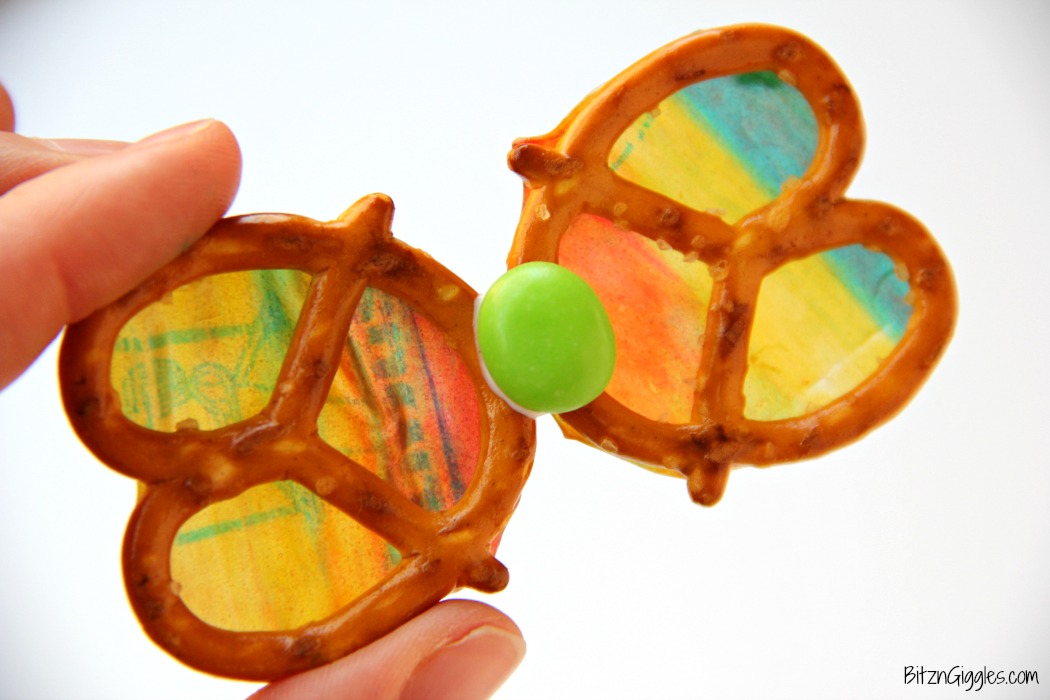
The roll-ups I used were tie-dyed. There was some pictures and writing on them, but it wasn't a big deal. I love how they turned out!
Are you ready for the next step?
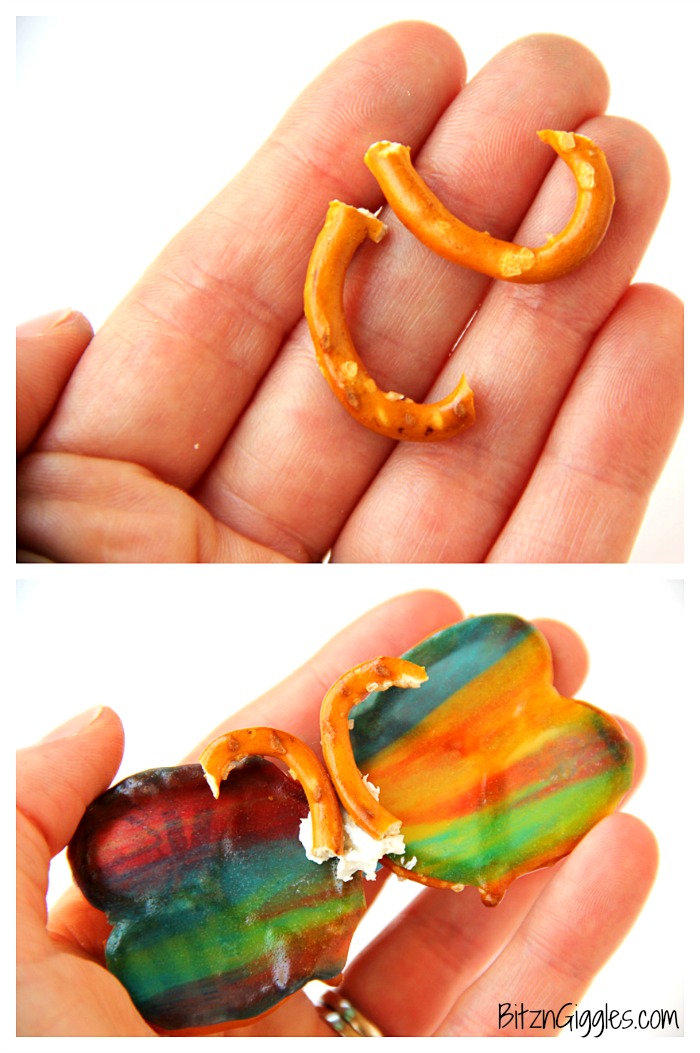
Alright, break two pieces off the third pretzel for the butterfly antennae, flip the butterfly over, dab a bit more melted candy coating on the back of the butterfly and position the antennae. While you eat the leftover pretzel, allow this to set for a few minutes.
If you need a bathroom break, this would be a good time. 😉 Don't forget to wash your hands. How are the toilets doing in your house, by the way? Do you ever have hard water stains in your toilet bowl? It seems lots of my readers do, because this post is one of my most popular on the site. It goes gang busters! Even if you don't have stains in your toilet, you may find it entertaining to watch me dig around in mine. 😉
Okay, bathroom break is over. Let's get on with the butterflies.
Just to assure you that you're not crazy, I was making multiple butterflies as I was creating this tutorial. While a normal person would have tried to use the same butterfly as an example all the way through, I switched it up a bit because I'm a crazy person and I like to keep you guessing. The jelly bean was green and now it's pink? YES, yes it is. Because it's a different butterfly, people. That's just the way I roll.
Here's a shot with the antennae on. Pretty cute, right?
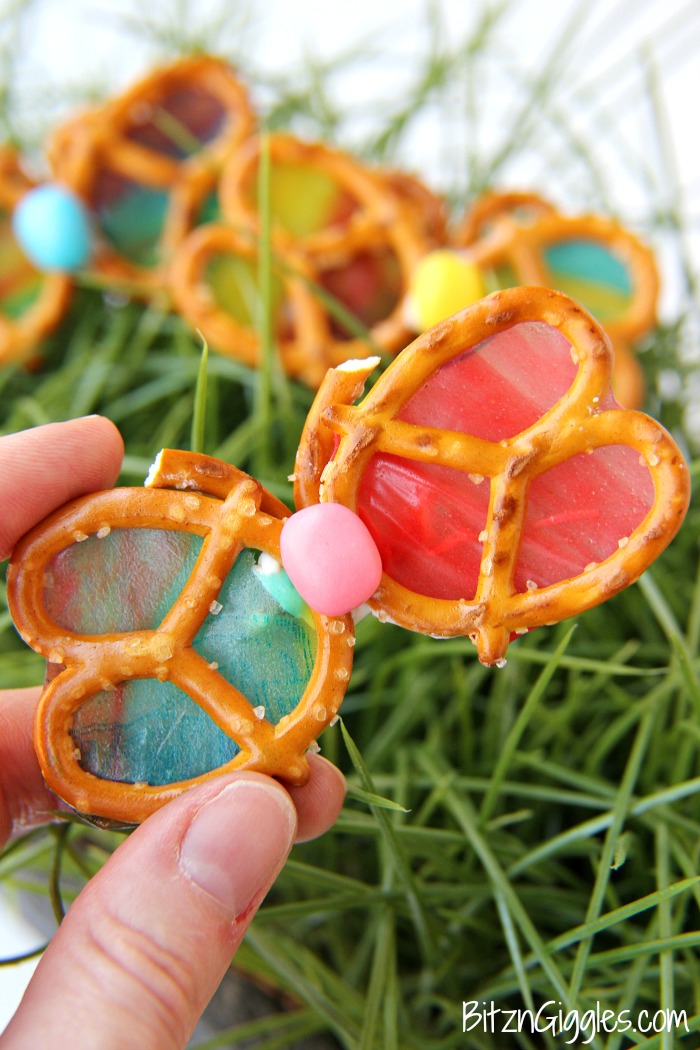
Then you just go ahead and make a little butterfly garden.
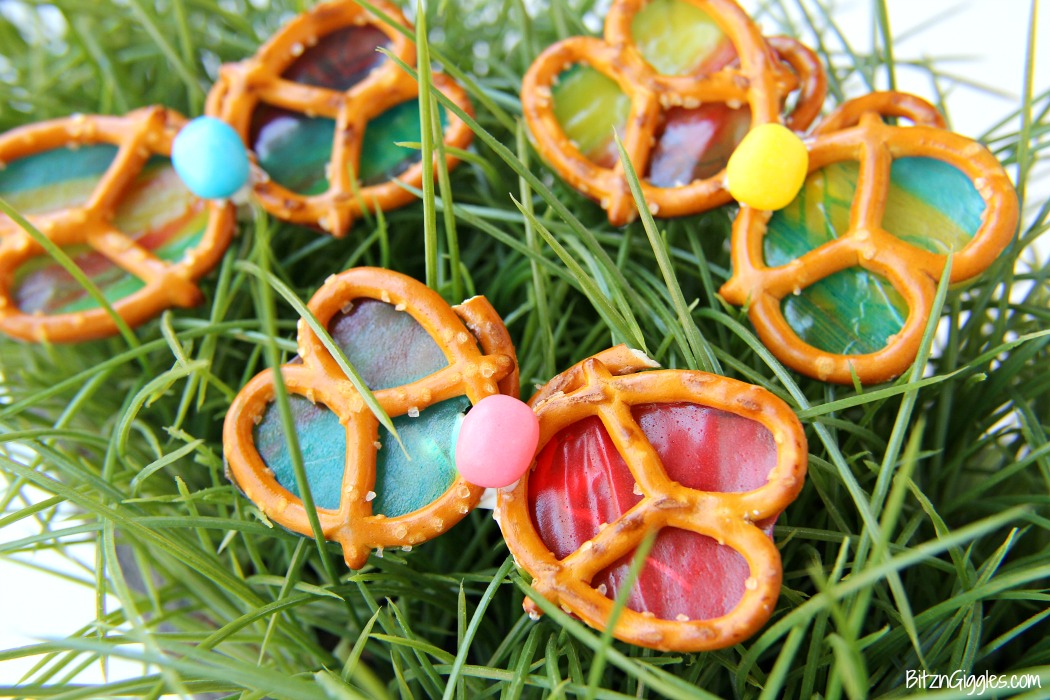
Aren't all of the colors gorgeous? Before you bite into these cute little treats, just hold them up to a window and check out the beautiful stained glass effect these little treats have. I think they would be so much fun for a spring party or bridal shower! How about a classroom treat the week the kids are learning about bugs?
Aww heck, make these just to make them. Grab those jelly beans leftover from Easter and get to it. Don't forget to show the neighbors - you're going to get lots of oohs and ahhs. Happy spring, friends!

Pretzel Butterflies
Ingredients
- 3 small pretzel twists
- vanilla candy coating (melted)
- 1 Fruit Roll-Up (multi-color or tie-dye are prettiest!)
- Jelly bean
Instructions
- Unwrap Fruit Roll-Up and place 2 pretzels on top of the roll-up.
- While holding the pretzels on top of the roll-up, use a scissors to cut around the pretzels (Do this one at a time 🙂 ).
- Remove any plastic backing from the roll-up and press the roll-up against the pretzels so they stick.
- On a sheet of waxed paper, place the pretzels end to end.
- Add a dab of the vanilla candy coating where the pretzels meet.
- Place the jelly bean on top of the candy coating. Allow to set for 2-3 minutes.
- Take the third pretzel and break two pieces of it off to serve as the butterfly's antennae.
- Carefully flip the "butterfly" over on the waxed paper.
- Place a dab of candy coating where the pretzel ends meet (now on the backside).
- Position pretzel antennae pieces onto the candy coating. Allow to set for 2-3 minutes.
- Store in a covered container.
Notes
- Use Fresh Pretzels: Ensure your pretzels are fresh and not stale, as stale pretzels can be difficult to work with and may break more easily during assembly. Fresh pretzels will hold their shape better and provide a sturdy base for your butterfly wings.
- Handle Fruit Roll-Up with Care: When cutting the Fruit Roll-Up around the pretzels, use sharp scissors and handle the roll-up gently to avoid tearing or stretching. Cutting one pretzel at a time allows for more precise shaping and ensures a neat appearance for your butterfly wings.
- Allow Sufficient Setting Time: When assembling the butterfly wings and antennae using melted vanilla candy coating, allow each dab of coating to set for 2-3 minutes before proceeding to the next step. This ensures that the wings and antennae stay in place and maintain their shape once the butterflies are flipped over. Proper setting time also prevents the components from sliding or shifting during storage.


Marlene Schlegel
Very cute idea!!!
Sara
Thank you!!