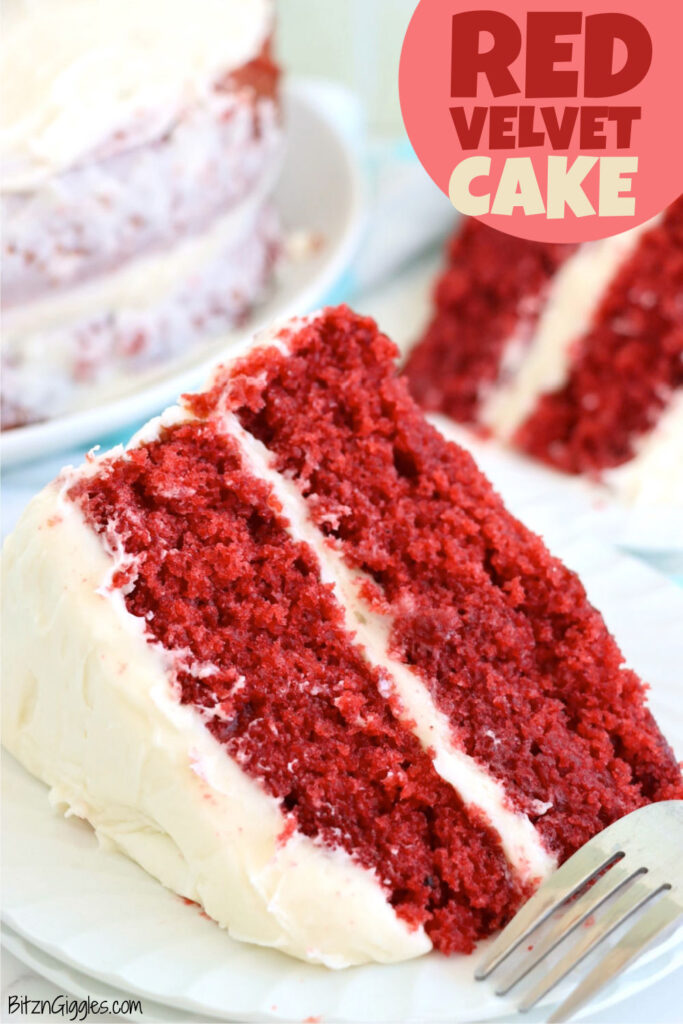
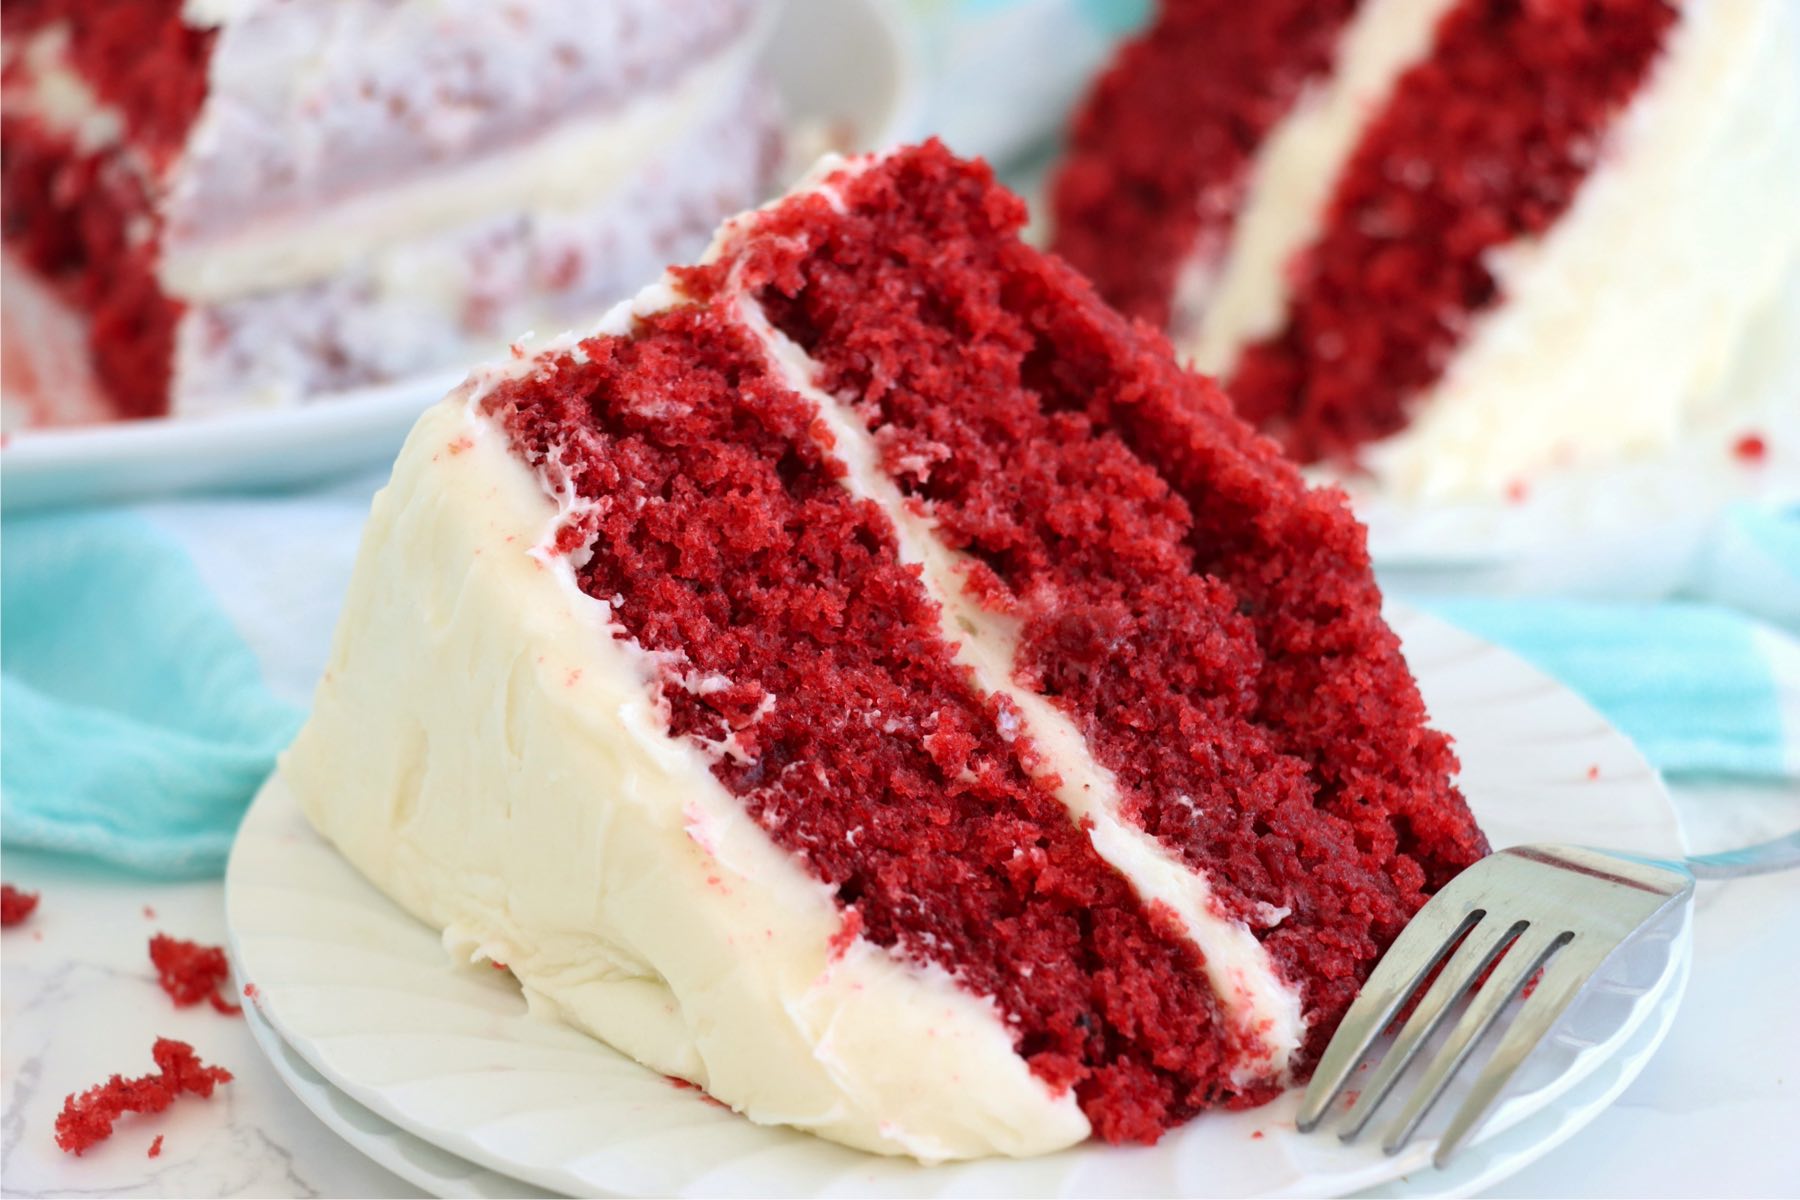
This Red Velvet Cake Recipe is a celebration of bold, sweet flavors in every bite. Known for its rich red color and moist, velvety texture, this treat is much more than just a red-dyed cake!
Want to Save This Recipe?
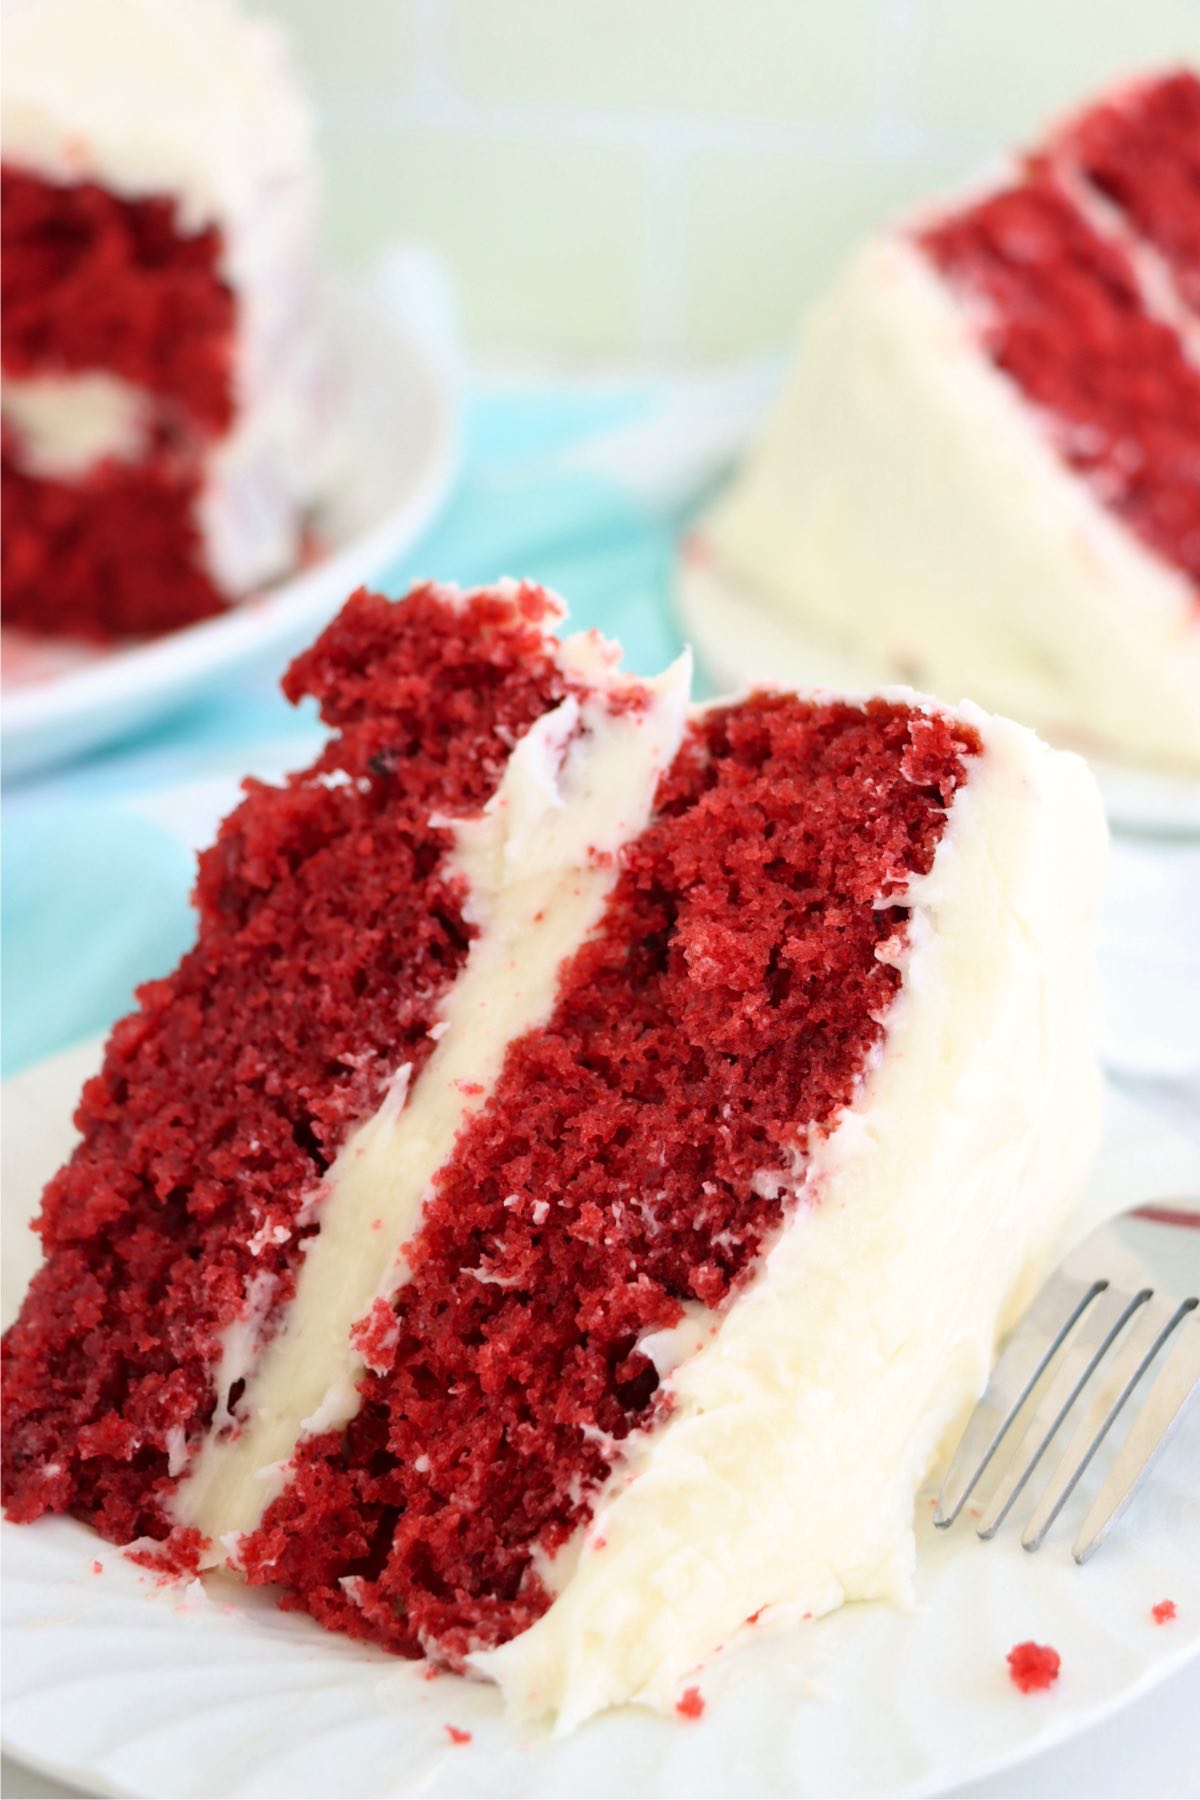
A splash of vanilla, a hint of cocoa, and tangy buttermilk create an irresistible balance of flavors, making this red velvet cake with cream cheese frosting perfect for any occasion. Topped with silky frosting, it's a true showstopper. This cake is pure "love" in every bite.
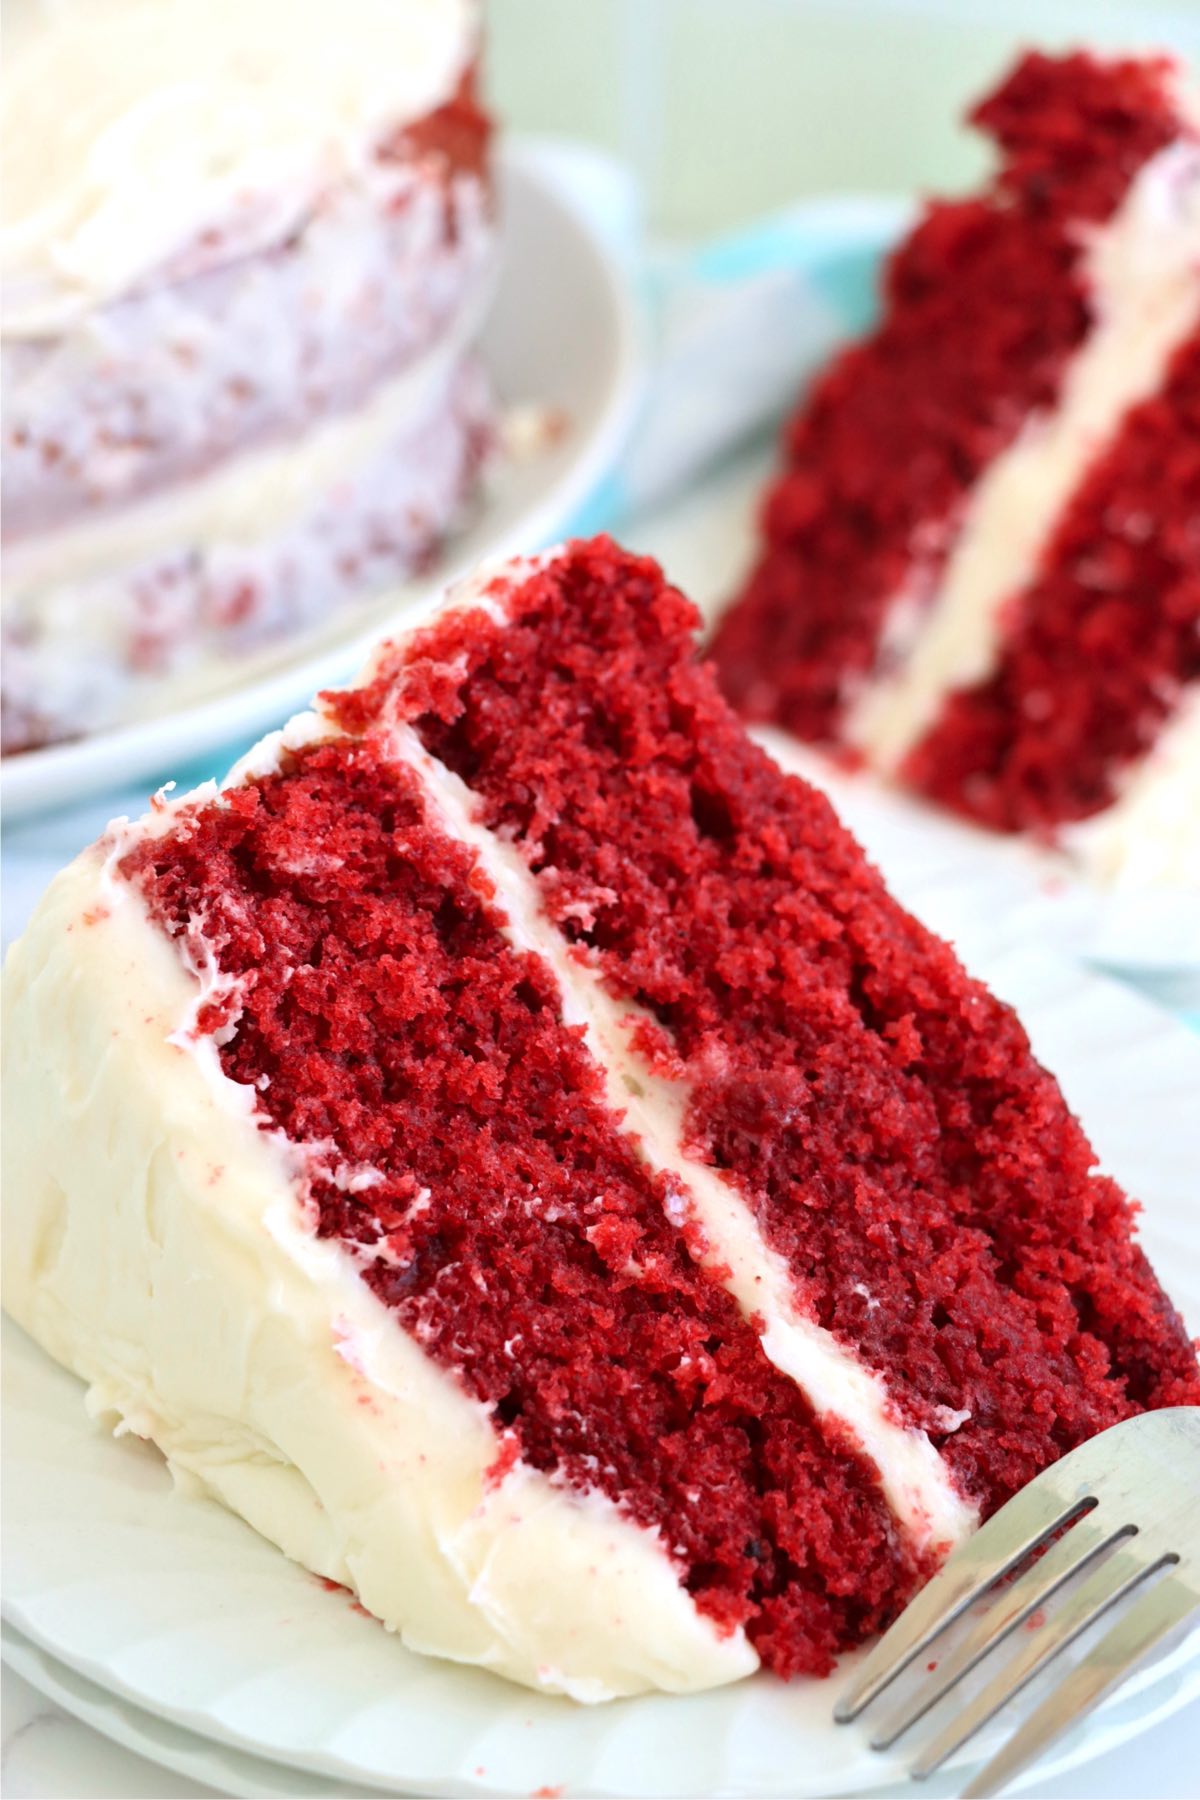
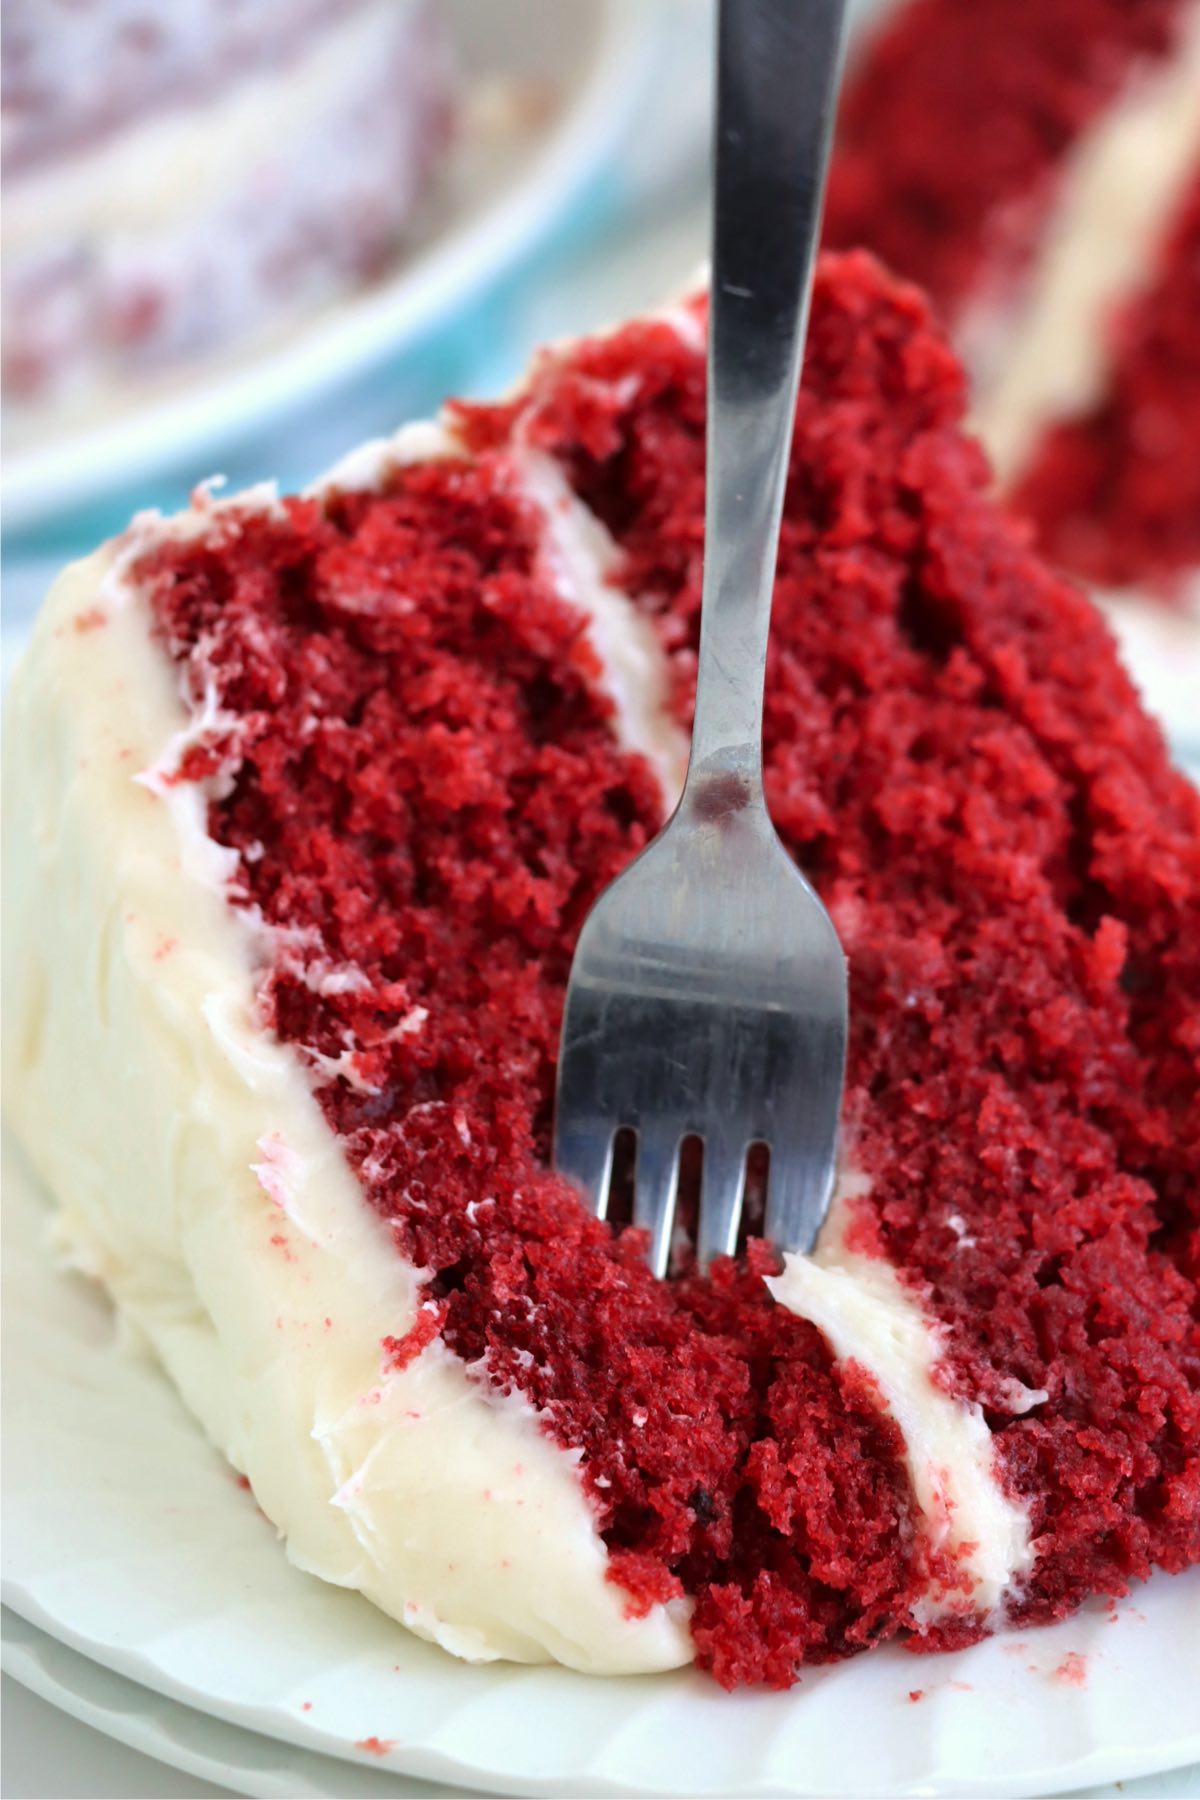
The soft, buttery red cake paired with rich cream cheese frosting feels luxurious, yet it's an easy homemade red velvet cake for beginners. Prepare to be captivated by the sweet, indulgent delicacy that is red velvet cake!
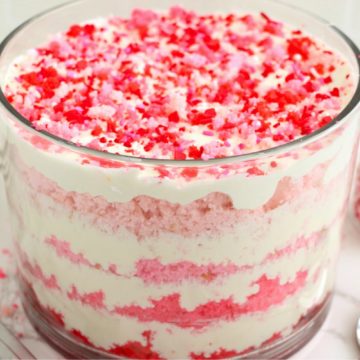
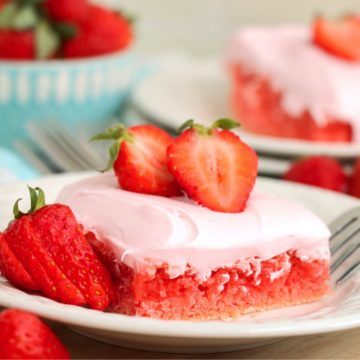
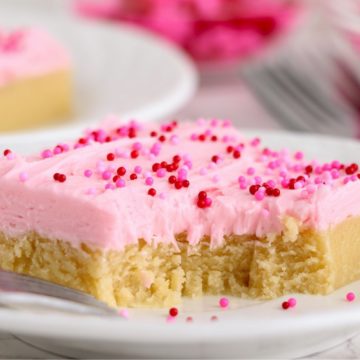
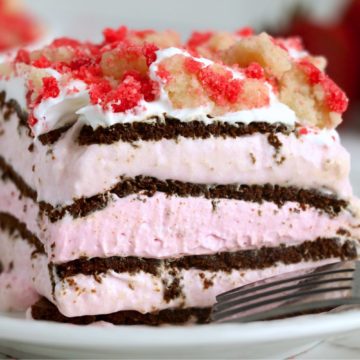
If you're planning a Valentine's Day dessert spread, this classic red velvet cake pairs perfectly with my Valentine's Day Trifle, Heart-Shaped Rice Krispie Treats, and Valentine's Sugar Cookie Cake Bars. Together, these festive and delicious treats will make your celebration extra sweet and memorable!
Jump to:
Why You'll Love This Recipe
- Elevated Flavors: The balance of vanilla and cocoa creates a rich yet subtle taste, while buttermilk adds a tangy depth to every bite.
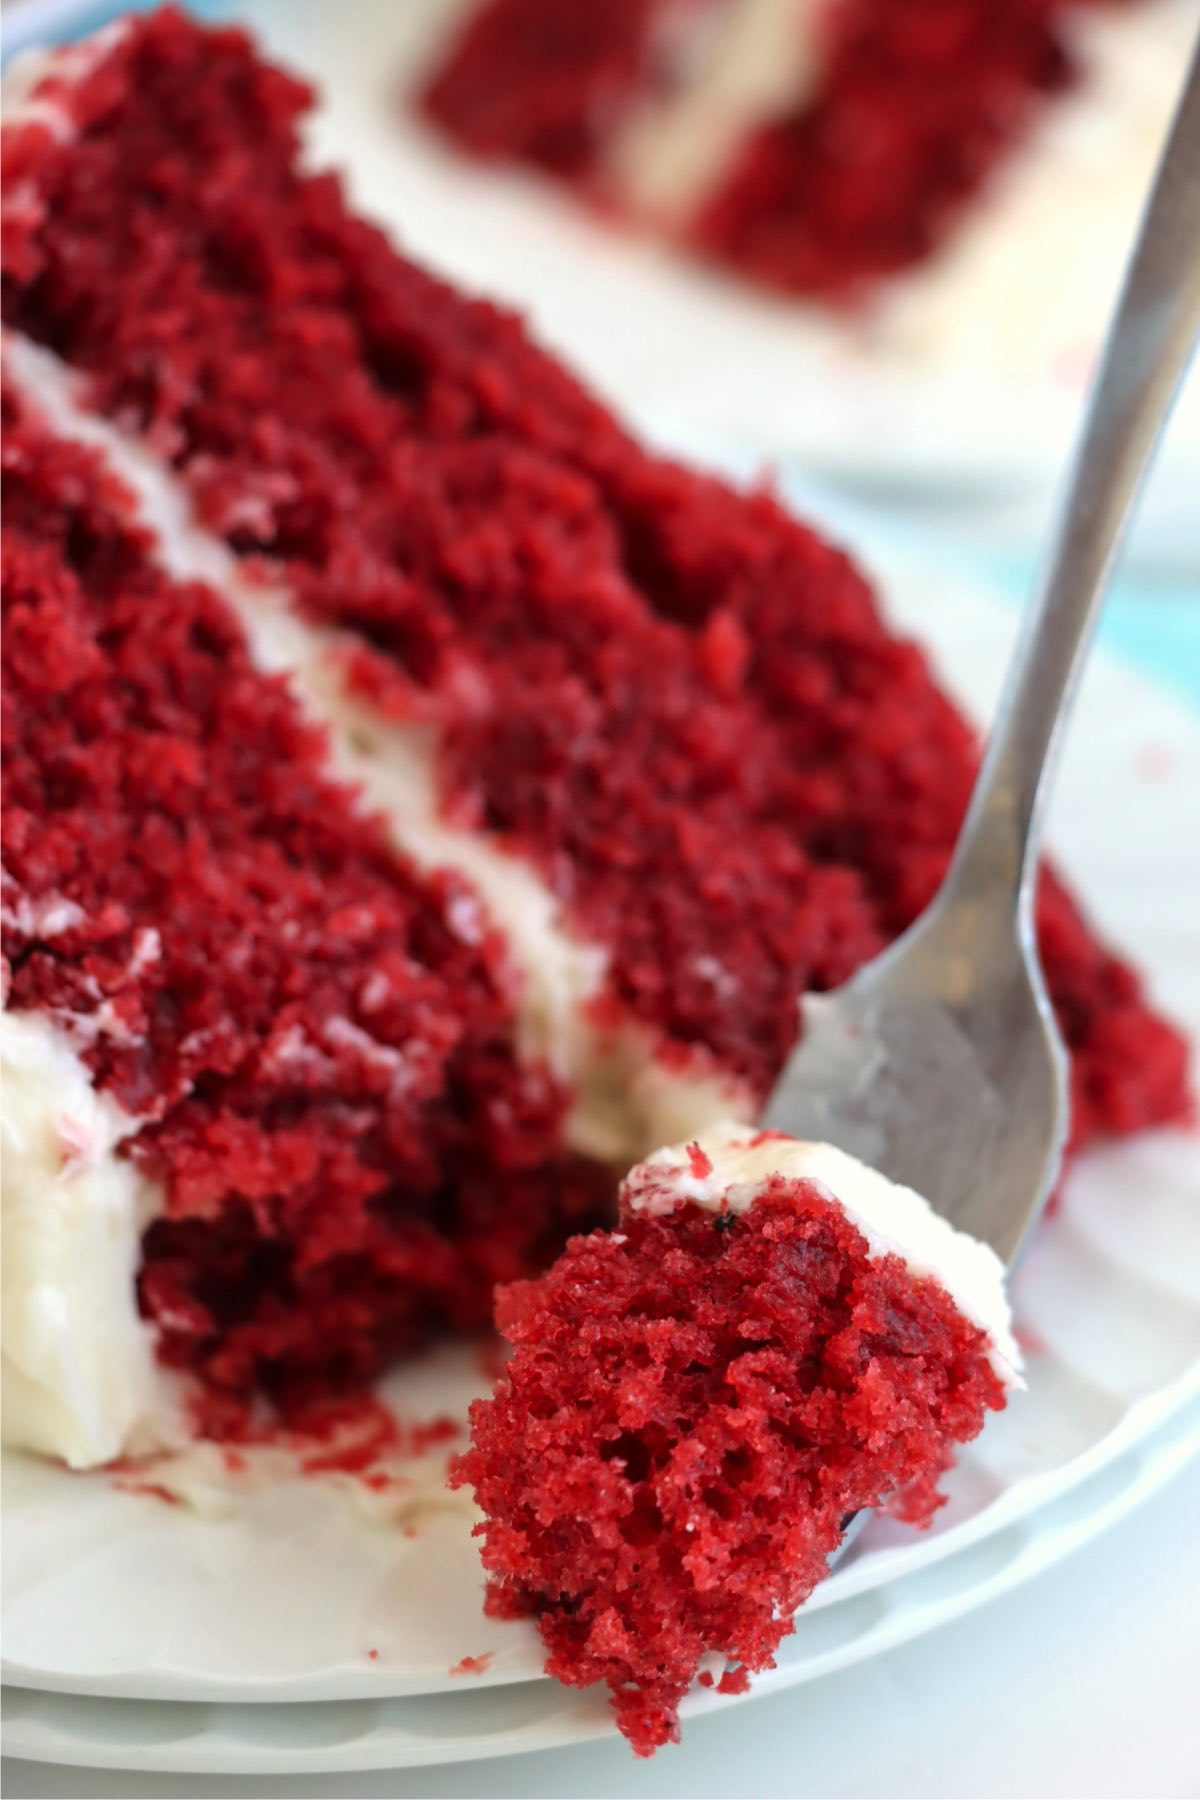
- Moist Texture: Buttermilk and oil ensure a tender, moist cake that stays fresh for days.
- Beautiful Presentation: The vibrant red color and creamy frosting make this cake a showstopper for any dessert table.
- Fit for Any Occasion: Perfect for holidays, birthdays, or casual gatherings-red velvet cake suits every celebration. For a kid-free twist on this classic, check out my Red Velvet Bourbon Cake Balls-a fun and indulgent treat perfect for adults!
- Simple Yet Sophisticated: Easy to bake, yet it looks and tastes like it came from a bakery.
- Customizable: You can easily adapt the frosting or decorations to match any theme or event.
- Reliable Recipe: Straightforward steps ensure consistent results, even for beginners.
Ingredients
Gather the ingredients below to make this moist red velvet cake:
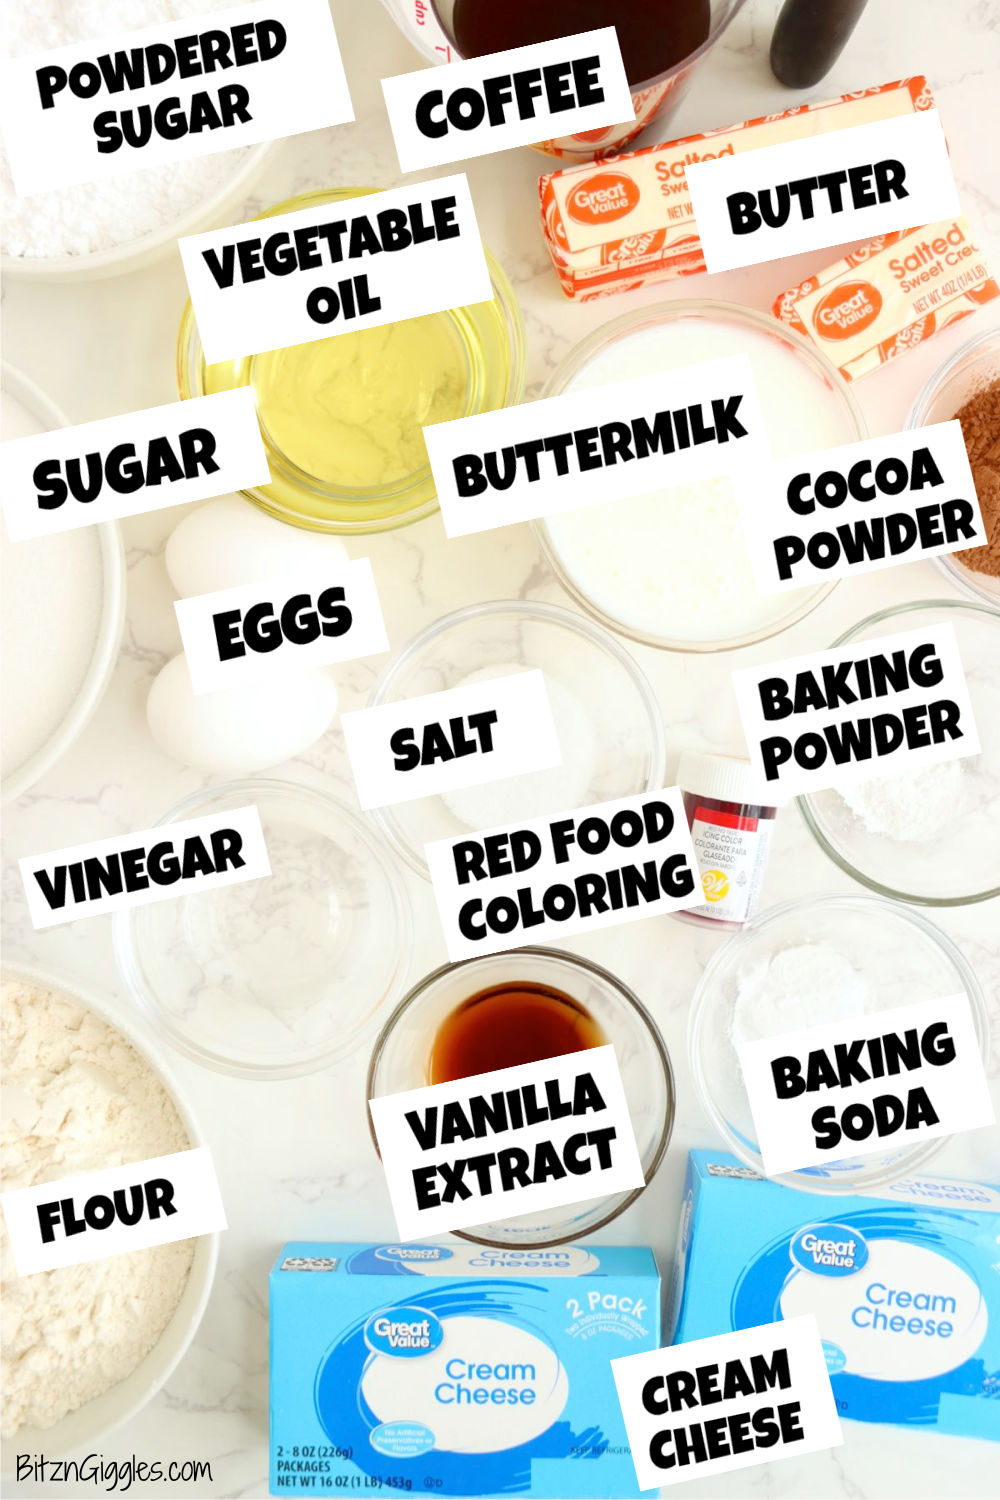
- Sugar makes the cake sweet and tender.
- Vegetable oil keeps your cake soft and moist, even after it's been refrigerated.
- Eggs keep the ingredients together and make the cake perfectly rich.
- Buttermilk is the key ingredient that gives this red velvet cake it's distinct tangy flavor and a creamy, moist texture
- Vanilla extract enhances the sweetness of the cake with a hint of vanilla flavor.
- Red food coloring (amount will depend on how deep you want the color) enhances the natural red color of the cake and leaves you with a vibrant-colored cake.
- All-purpose flour keeps the cake sturdy and soft.
- Baking soda and baking powder leaven the cake and make it light and fluffy.
- Unsweetened cocoa powder adds a hint of chocolate flavor and helps create the cake's soft and velvety texture
- Prepared plain hot coffee adds an additional layer of flavor that enhances the taste of the cocoa and makes the cake extra soft without adding any coffee flavor.
- White distilled vinegar brings out the natural red tones of the cocoa powder and helps to activate the baking soda.
- Cream cheese gives the frosting a rich, tangy base that's smooth and creamy.
- Butter adds richness and makes the frosting easily spreadable.
- Powdered sugar makes the frosting sweet and smooth.
See recipe card for full information on ingredients and quantities.
Substitutions & Variations
- Frosting Variation: If you're not a fan of cream cheese frosting, a traditional buttercream frosting will taste just as delicious!
- Gluten-Free Option: Substitute the all-purpose flour with a 1:1 gluten-free flour blend to make this recipe gluten-free. Ensure all other ingredients are gluten-free as well.
- Dairy-Free Variation: Swap out the buttermilk for a dairy-free alternative, like almond milk mixed with a tablespoon of vinegar or lemon juice. Use dairy-free cream cheese and butter for the frosting.
- Pink Velvet Cake: For a softer hue, use less food coloring or beet powder to create a pretty pink version that's natural and just as festive.
- Decorative Toppings: Add a sprinkle of cake crumbs (like I do in my Valentine's Day Trifle), chocolate shavings, or fresh berries on top for an elegant finishing touch.
- Flavored Coffee: If you want some extra flavor or sweetness, you can use a flavored coffee instead of plain. Whether it's french vanilla or mocha, it's sure to enhance the sweet flavors of your cake even more.
- Red Velvet Cupcakes: To make cupcakes with this recipe, just reduce the bake time to 18-20 minutes or until a toothpick comes out clean, being careful to not over bake.
- Using Box Cake Mix: If you're super short on time, you can use a red velvet box cake mix and just add the cream cheese frosting.
How to Make a Homemade Red Velvet Cake
Once you've gathered all your ingredients, preheat the oven to 325ºF and prepare two 9-inch round cake pans with nonstick spray and a light coating of flour. Then, follow the steps below for a decadent Valentine's Day cake.
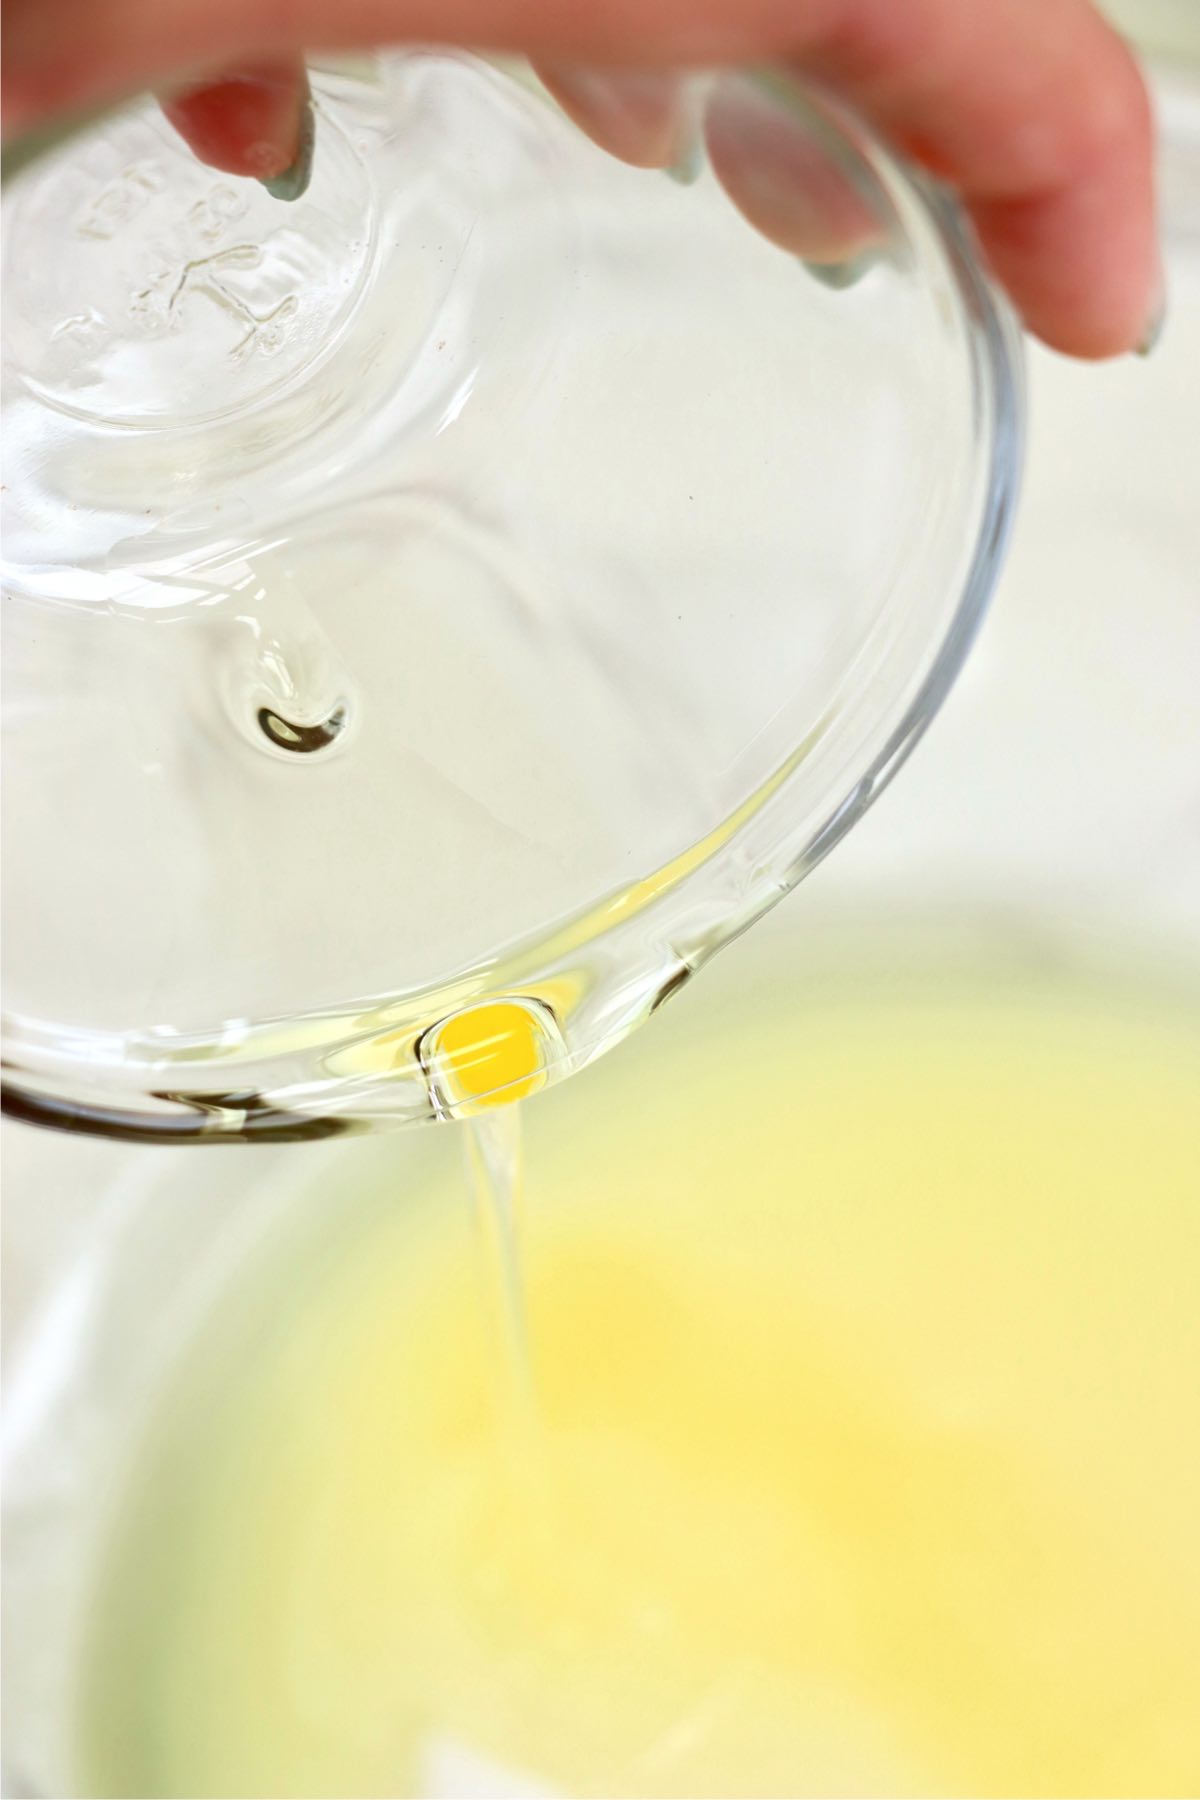
- Step 1: In a large mixing bowl, beat sugar and vegetable oil with an electric mixer.
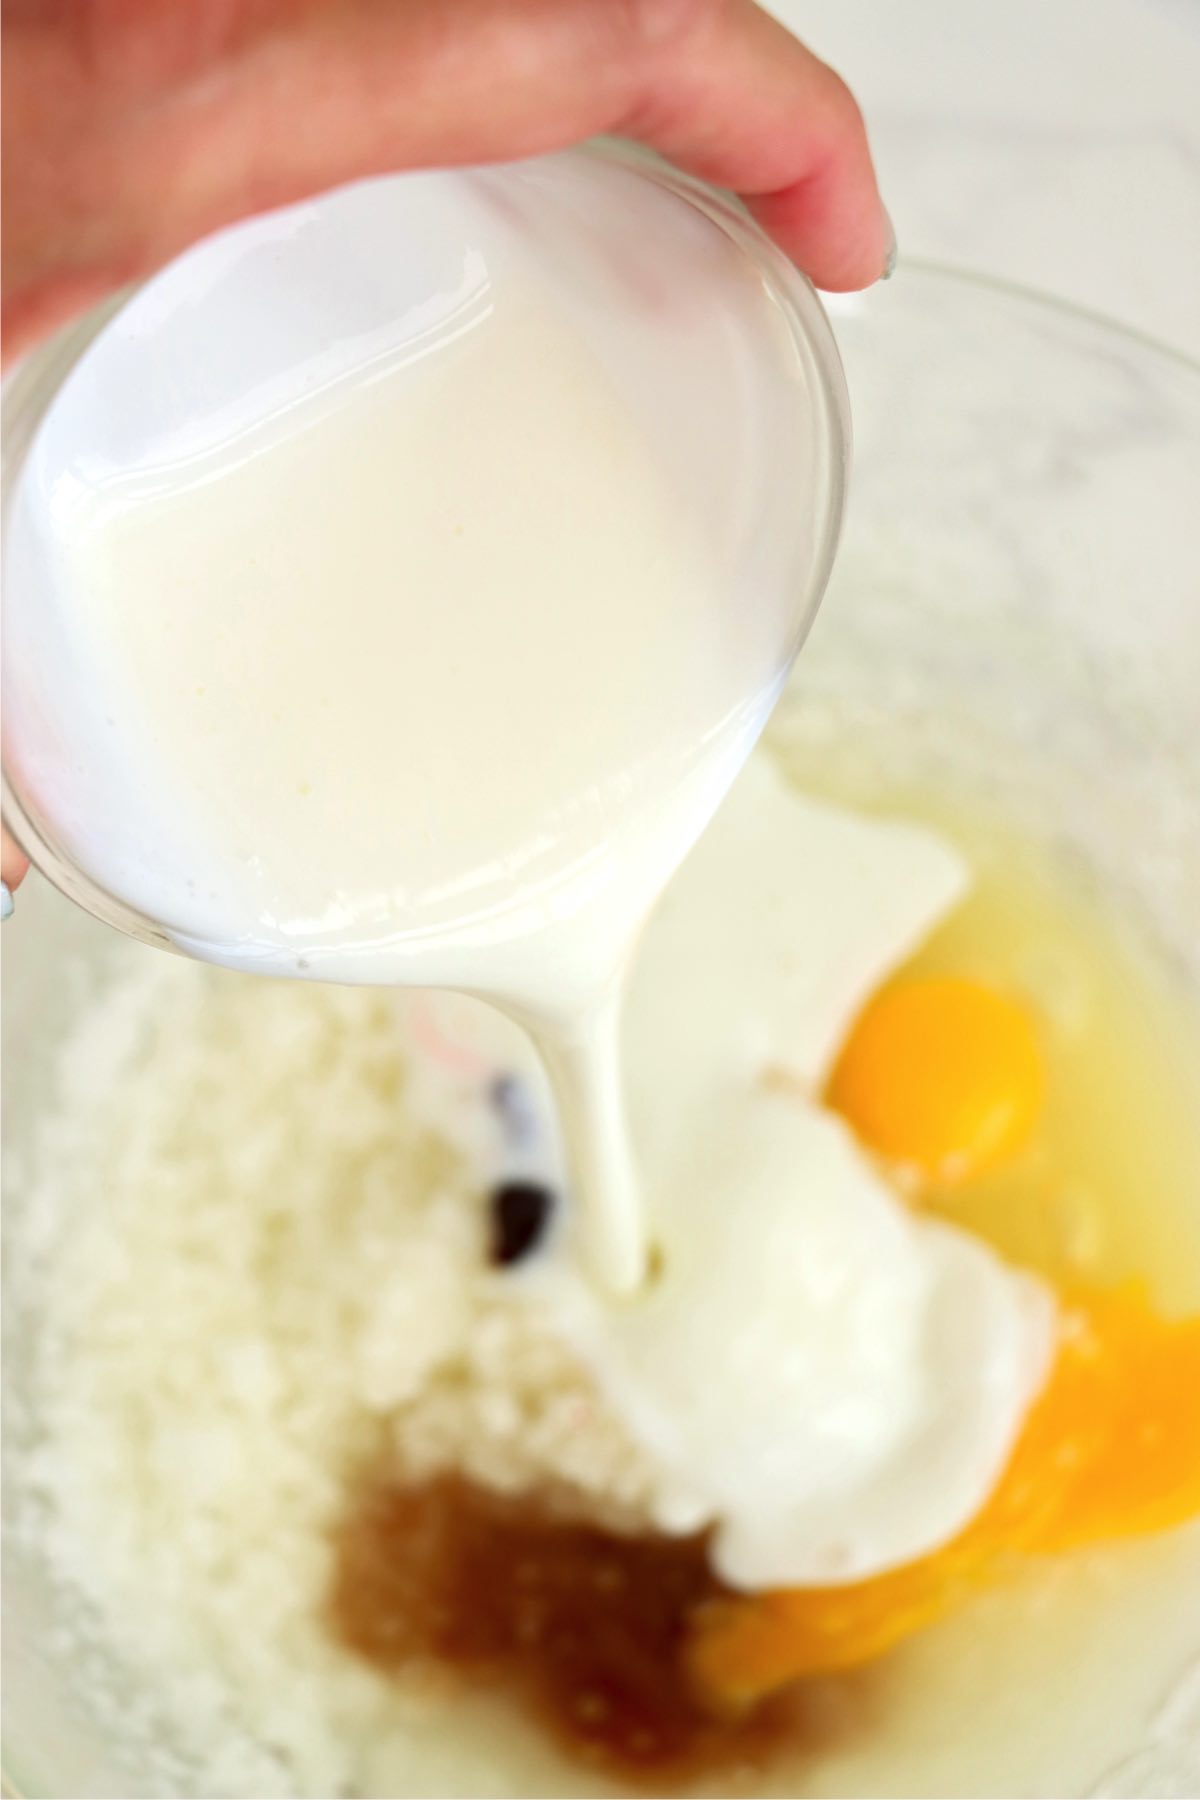
- Step 2: Add eggs, buttermilk, vanilla, and red food coloring. Beat until combined.
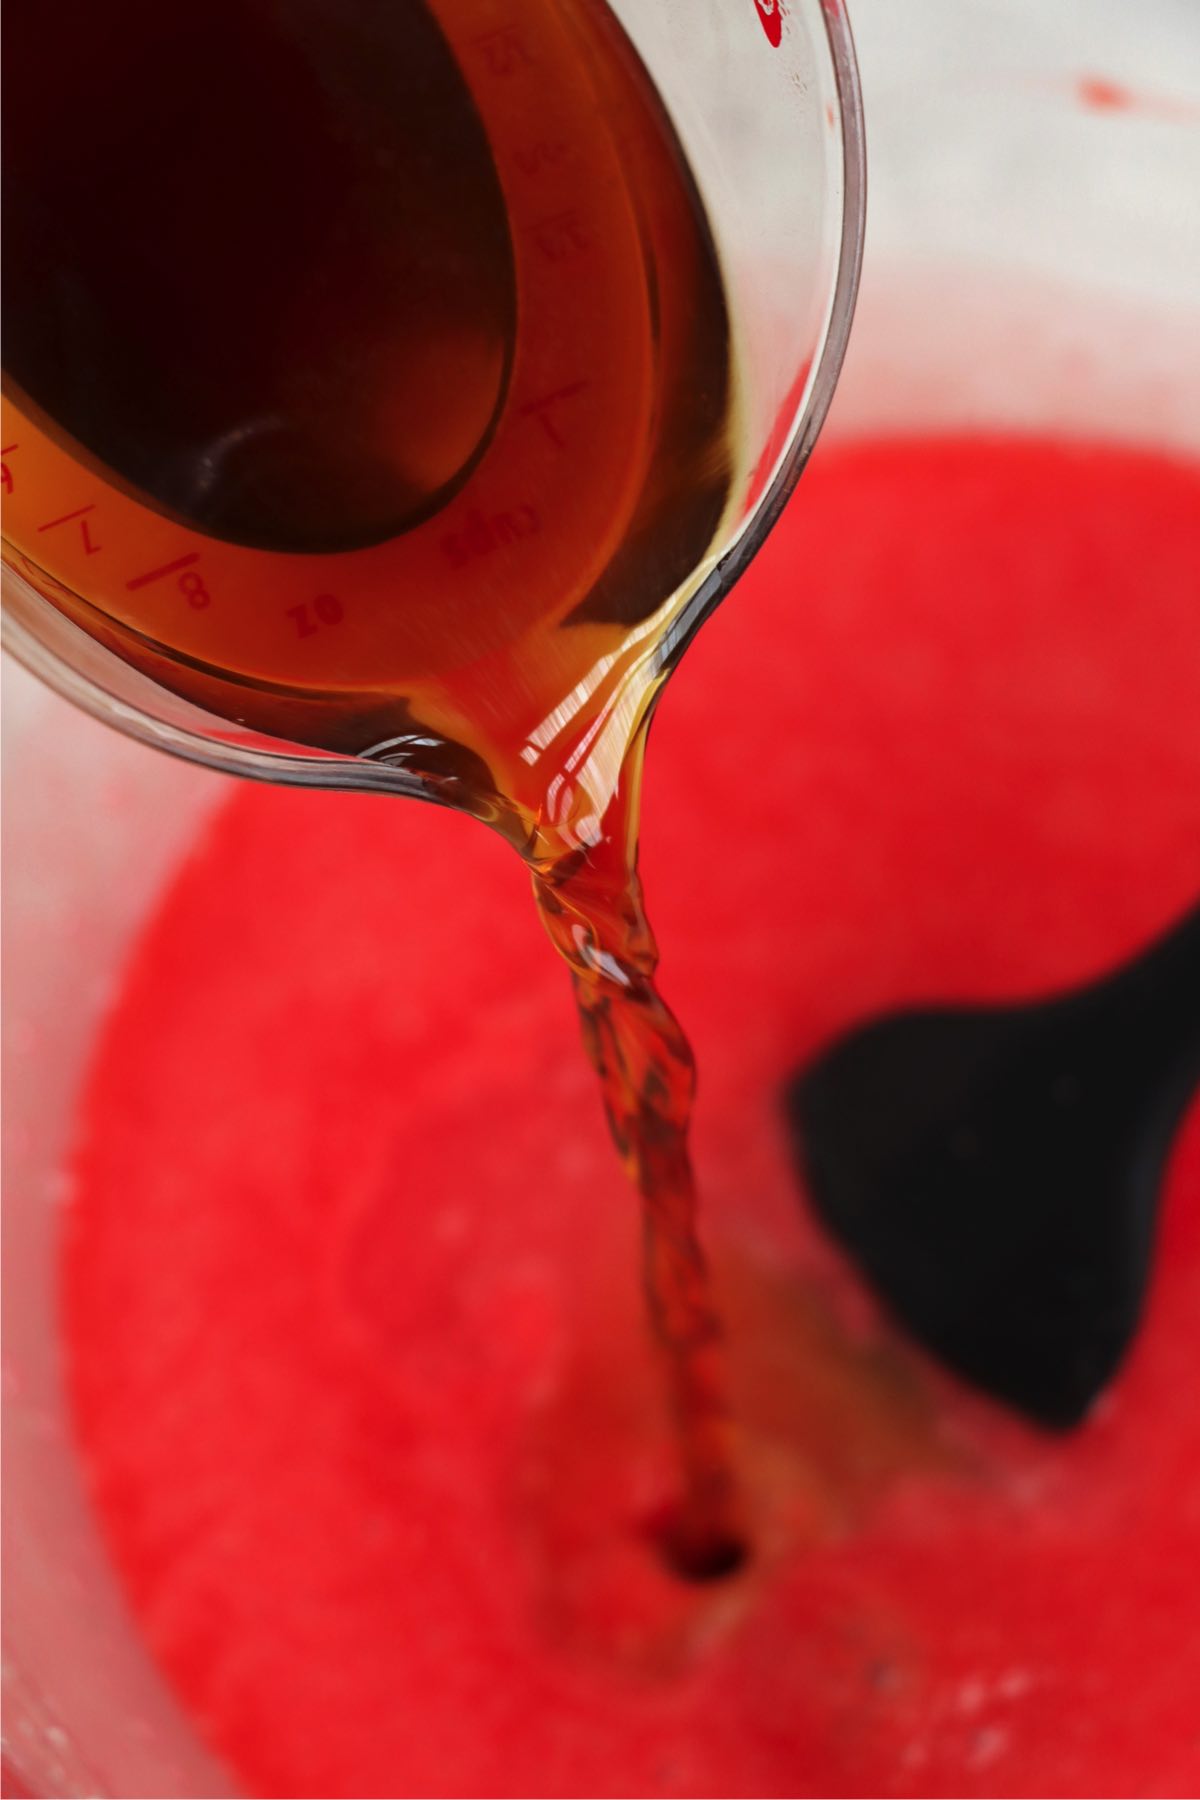
- Step 3: Stir in the coffee and white vinegar.
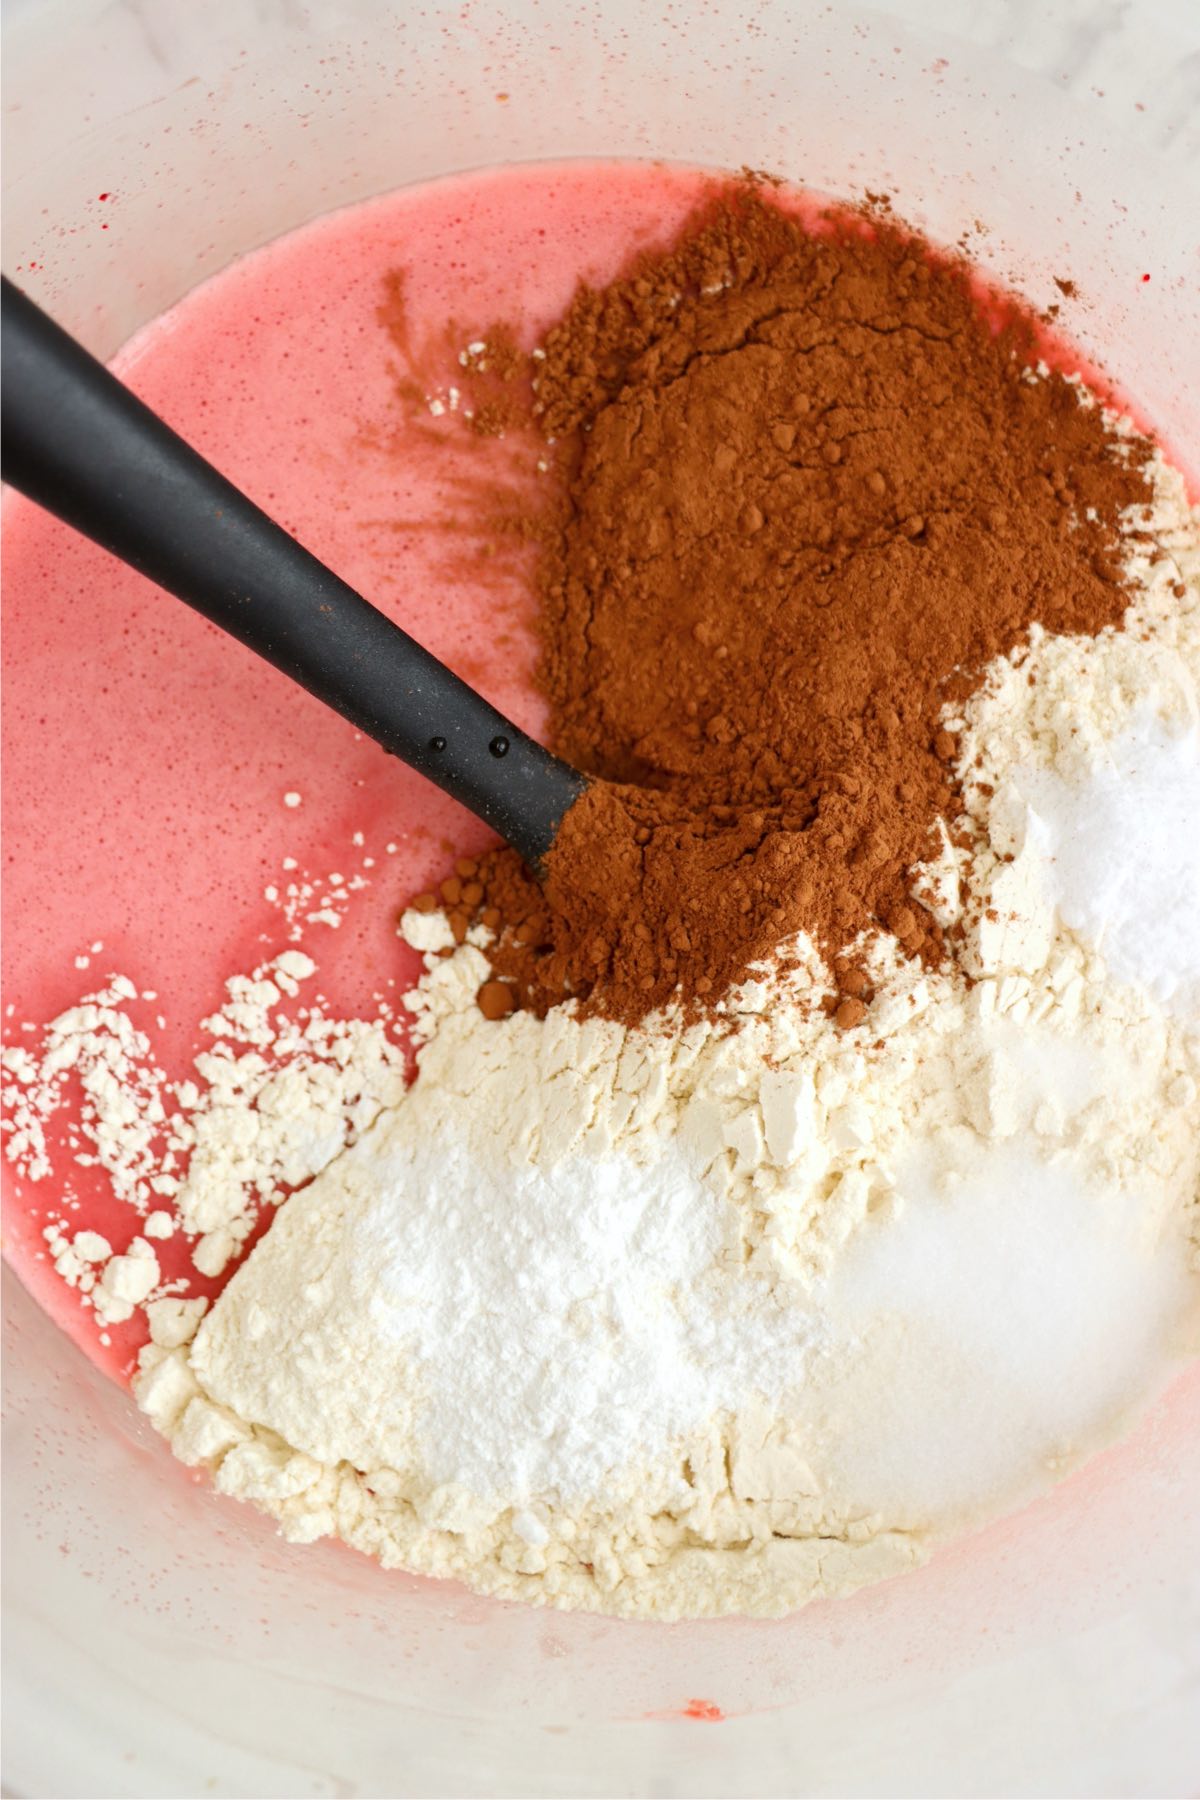
- Step 4: Add flour, baking soda, baking powder, salt, and cocoa powder. Beat again until smooth and uniform.
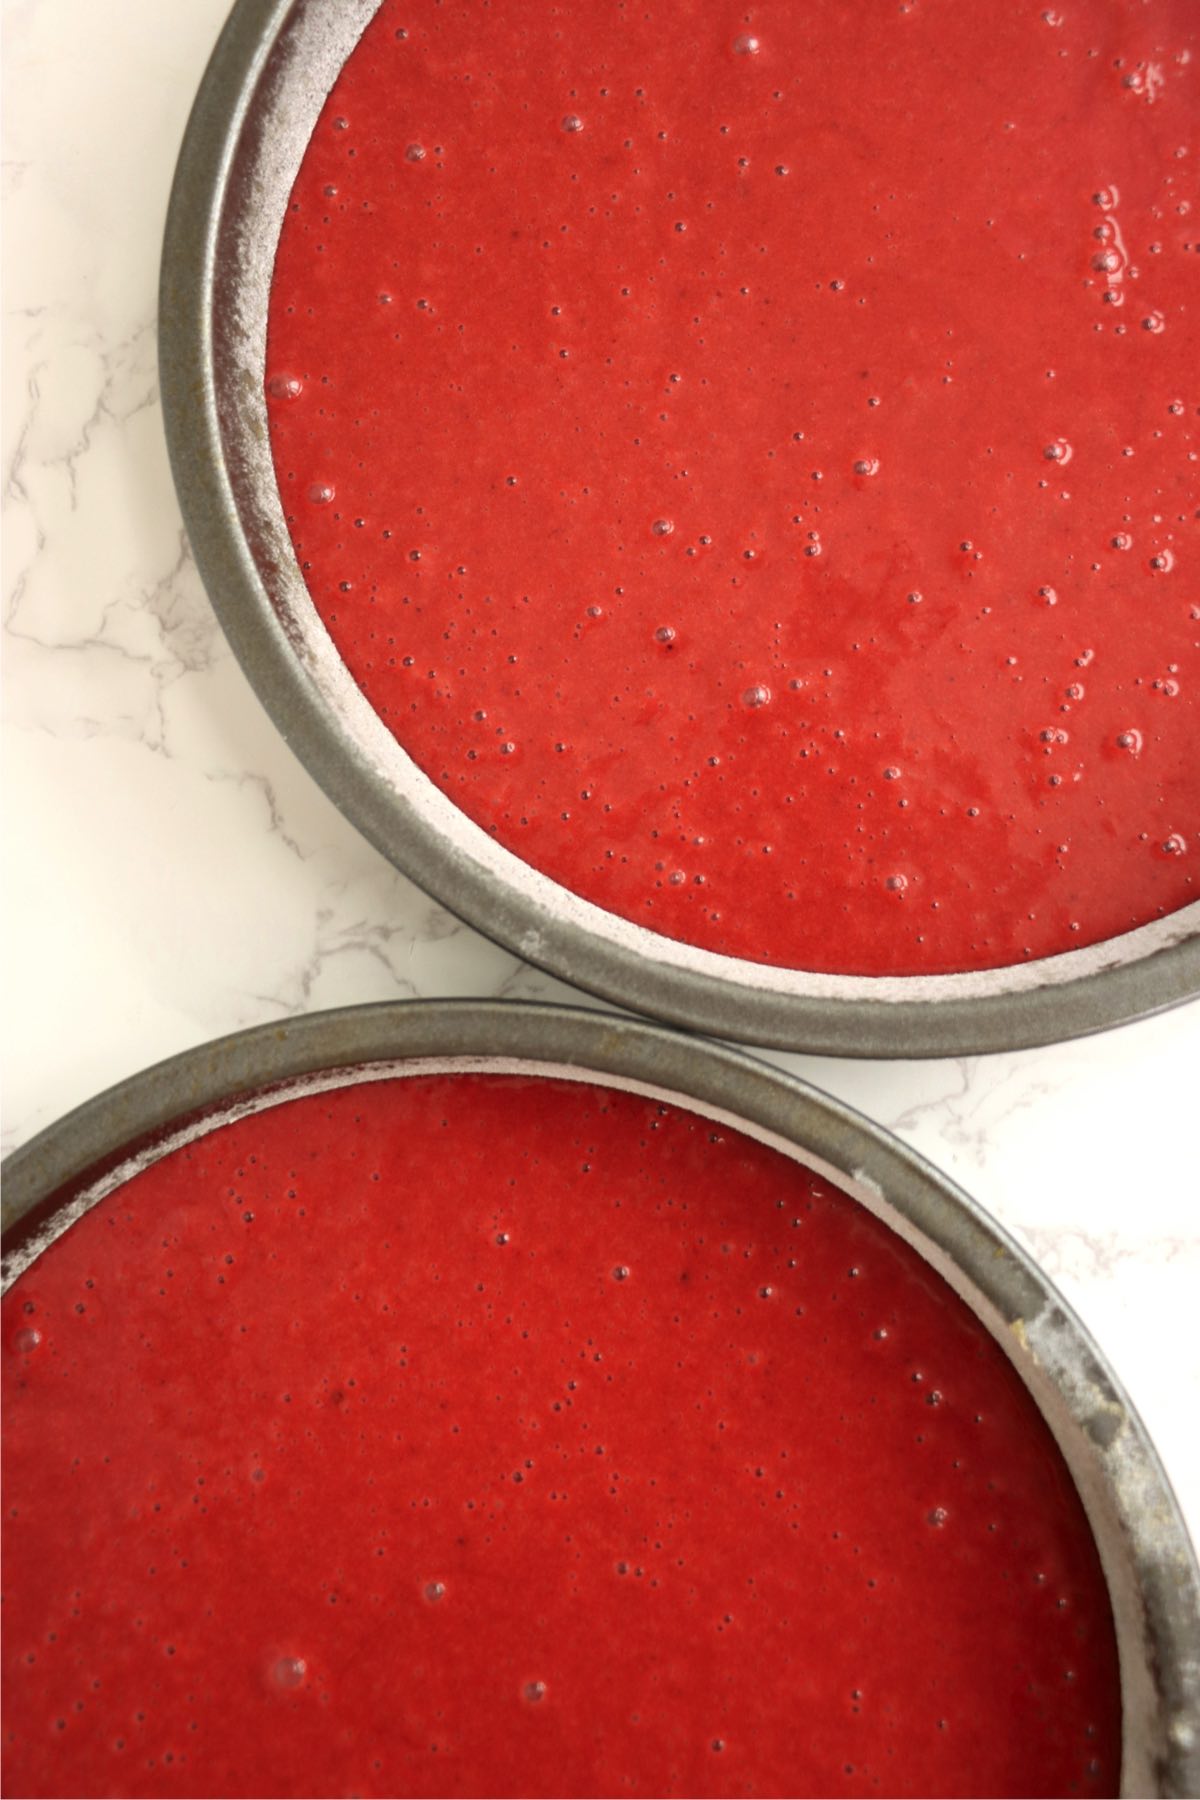
- Step 5: Pour the batter evenly into the pans and bake for 30-40 minutes, or until a toothpick comes out clean, being careful not to overbake.
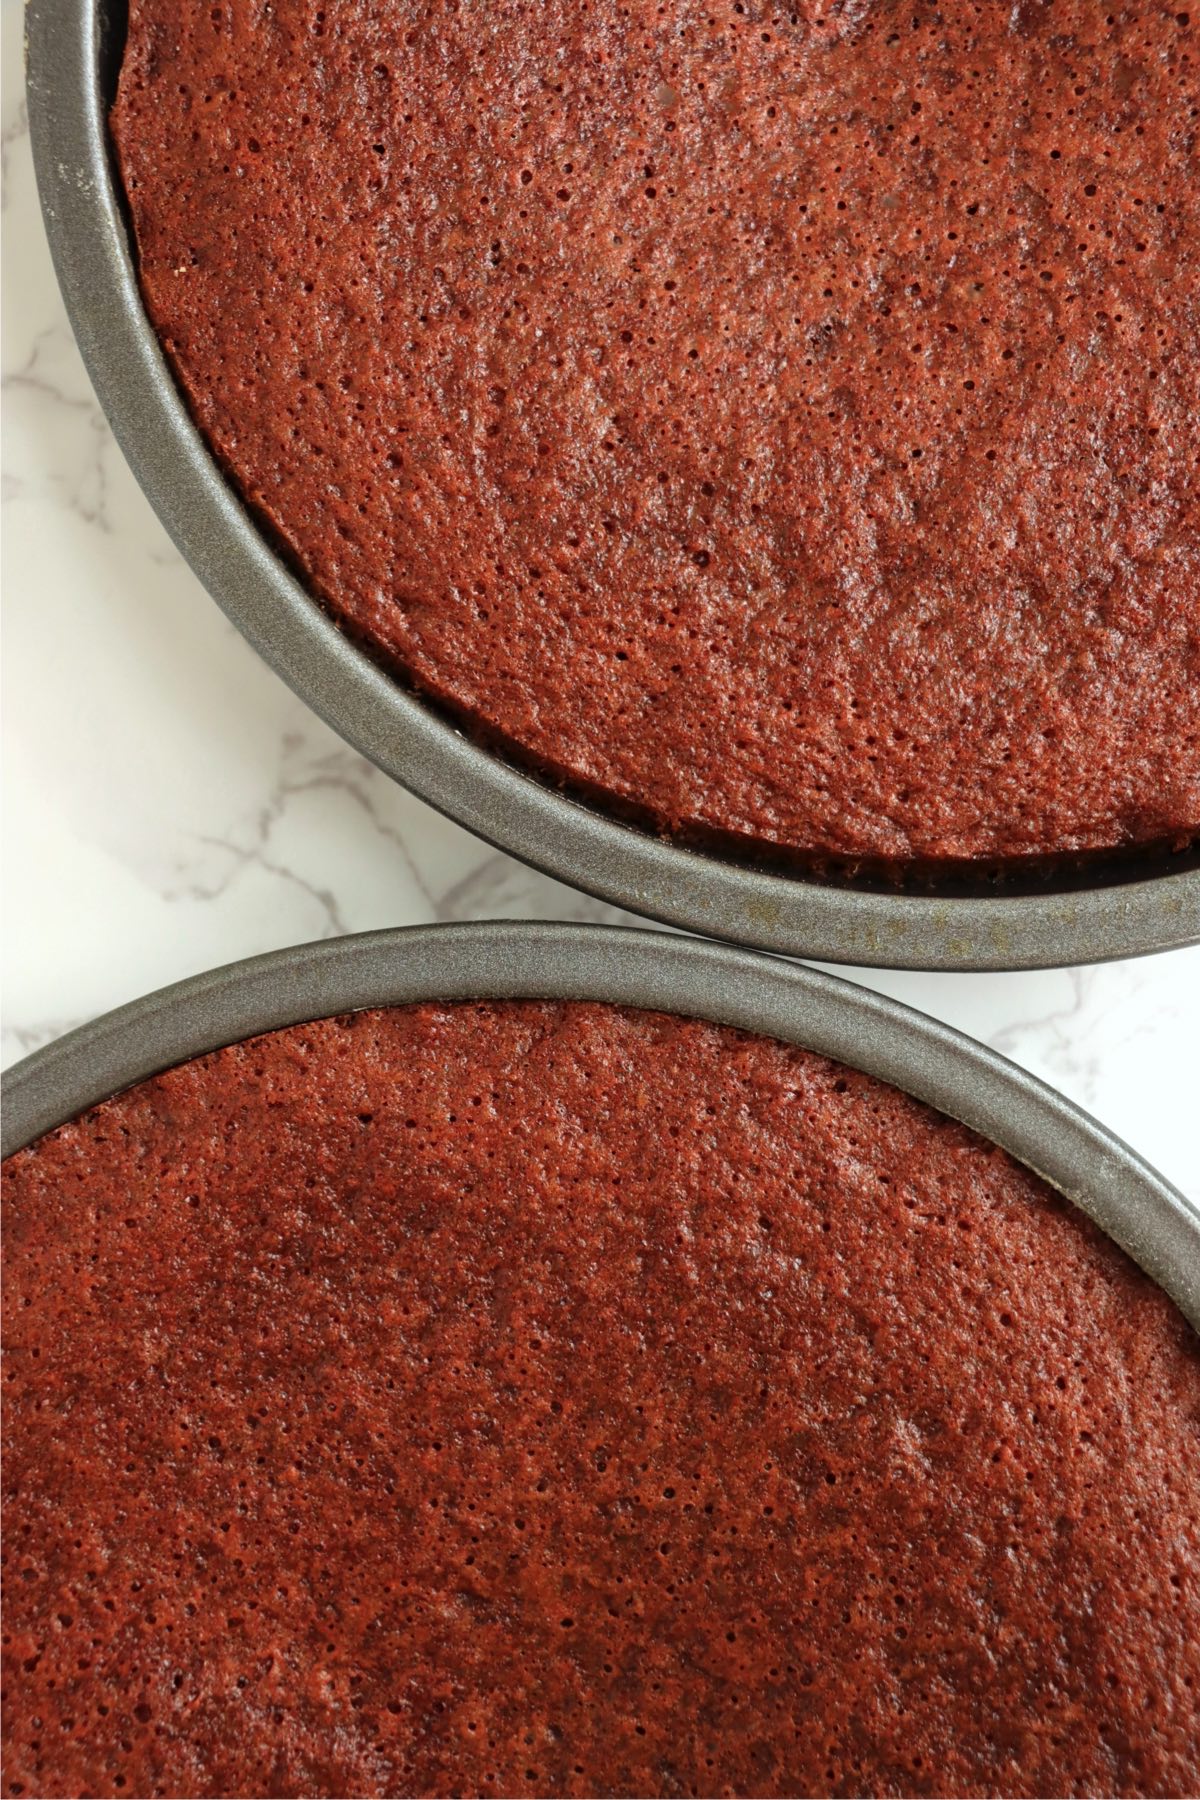
- Step 6: Let the cakes cool on a rack until warm, loosen the edges with a knife, then gently remove from the pans to finish cooling.
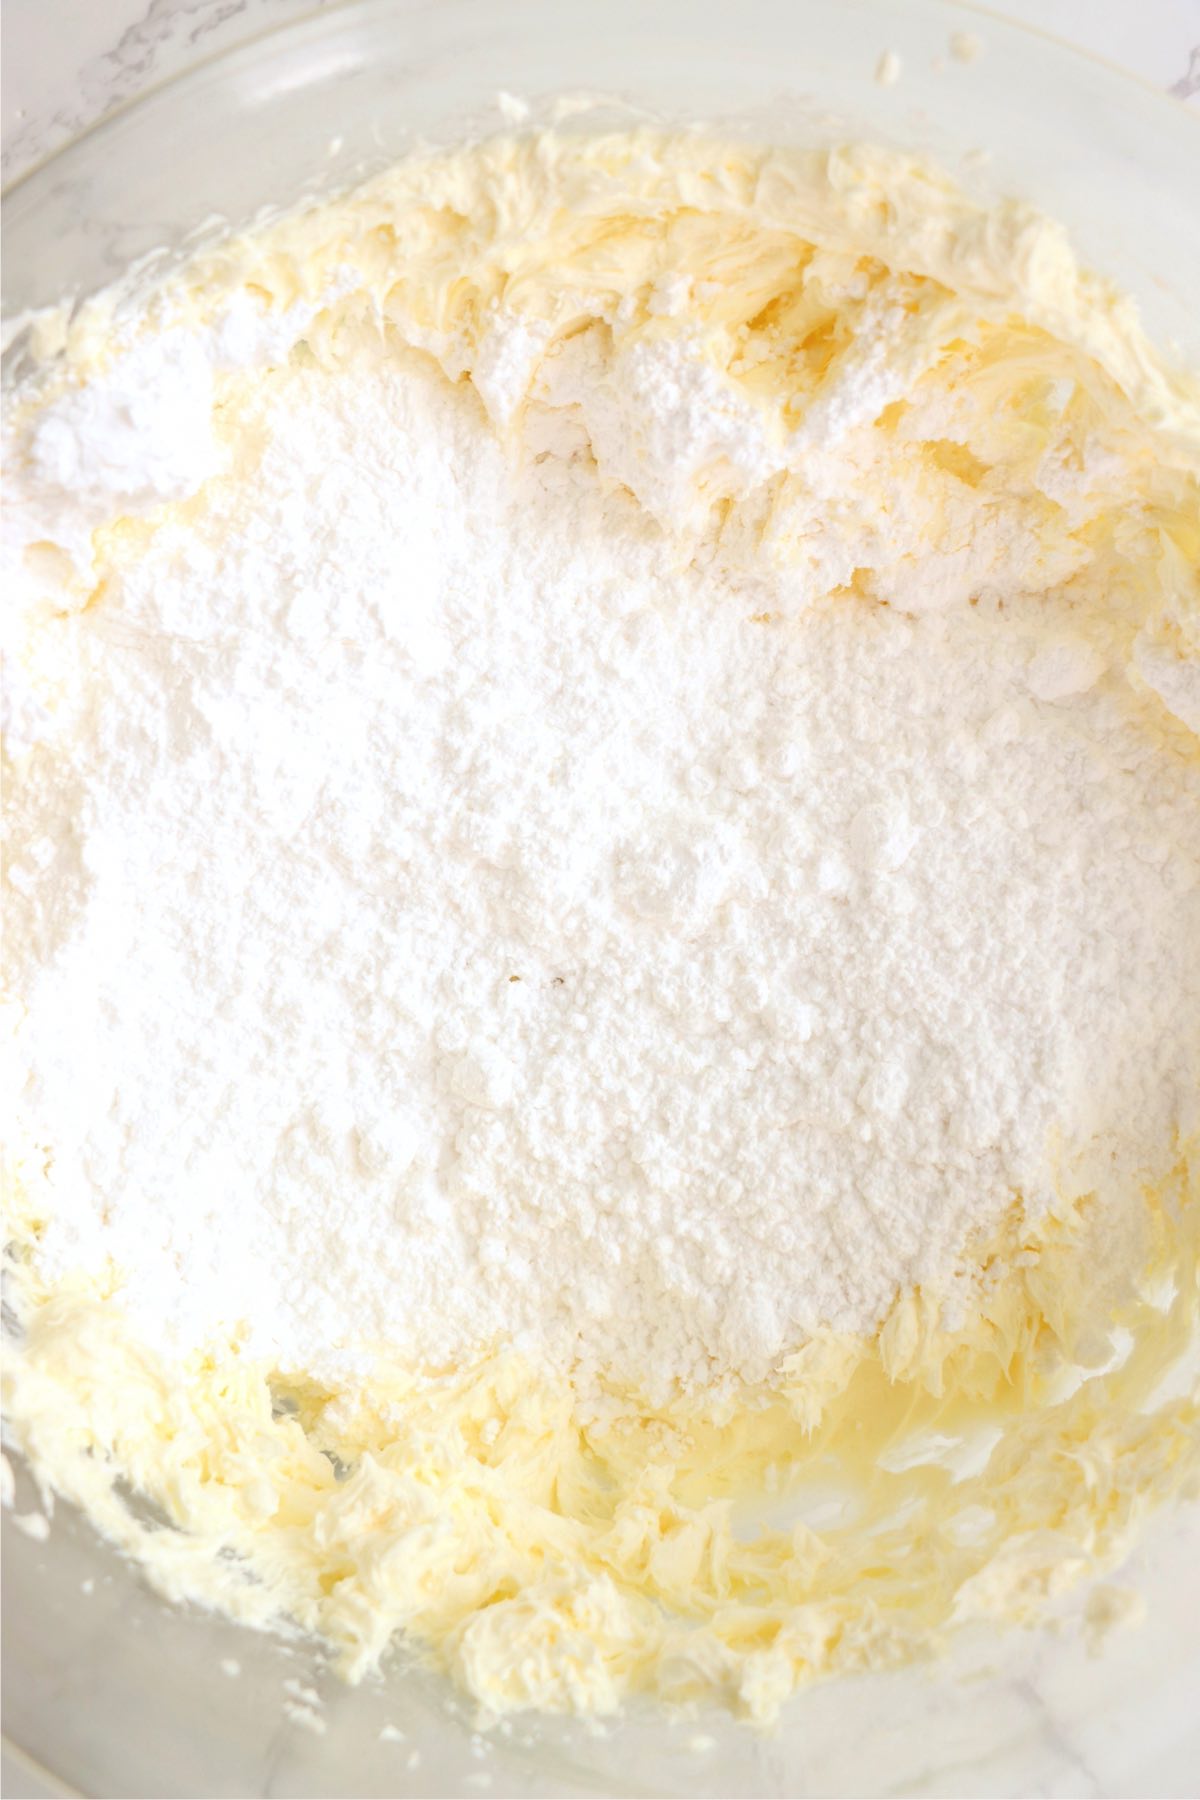
- Step 7: Beat cream cheese and butter until smooth, then mix in powdered sugar and salt until the frosting is uniform.
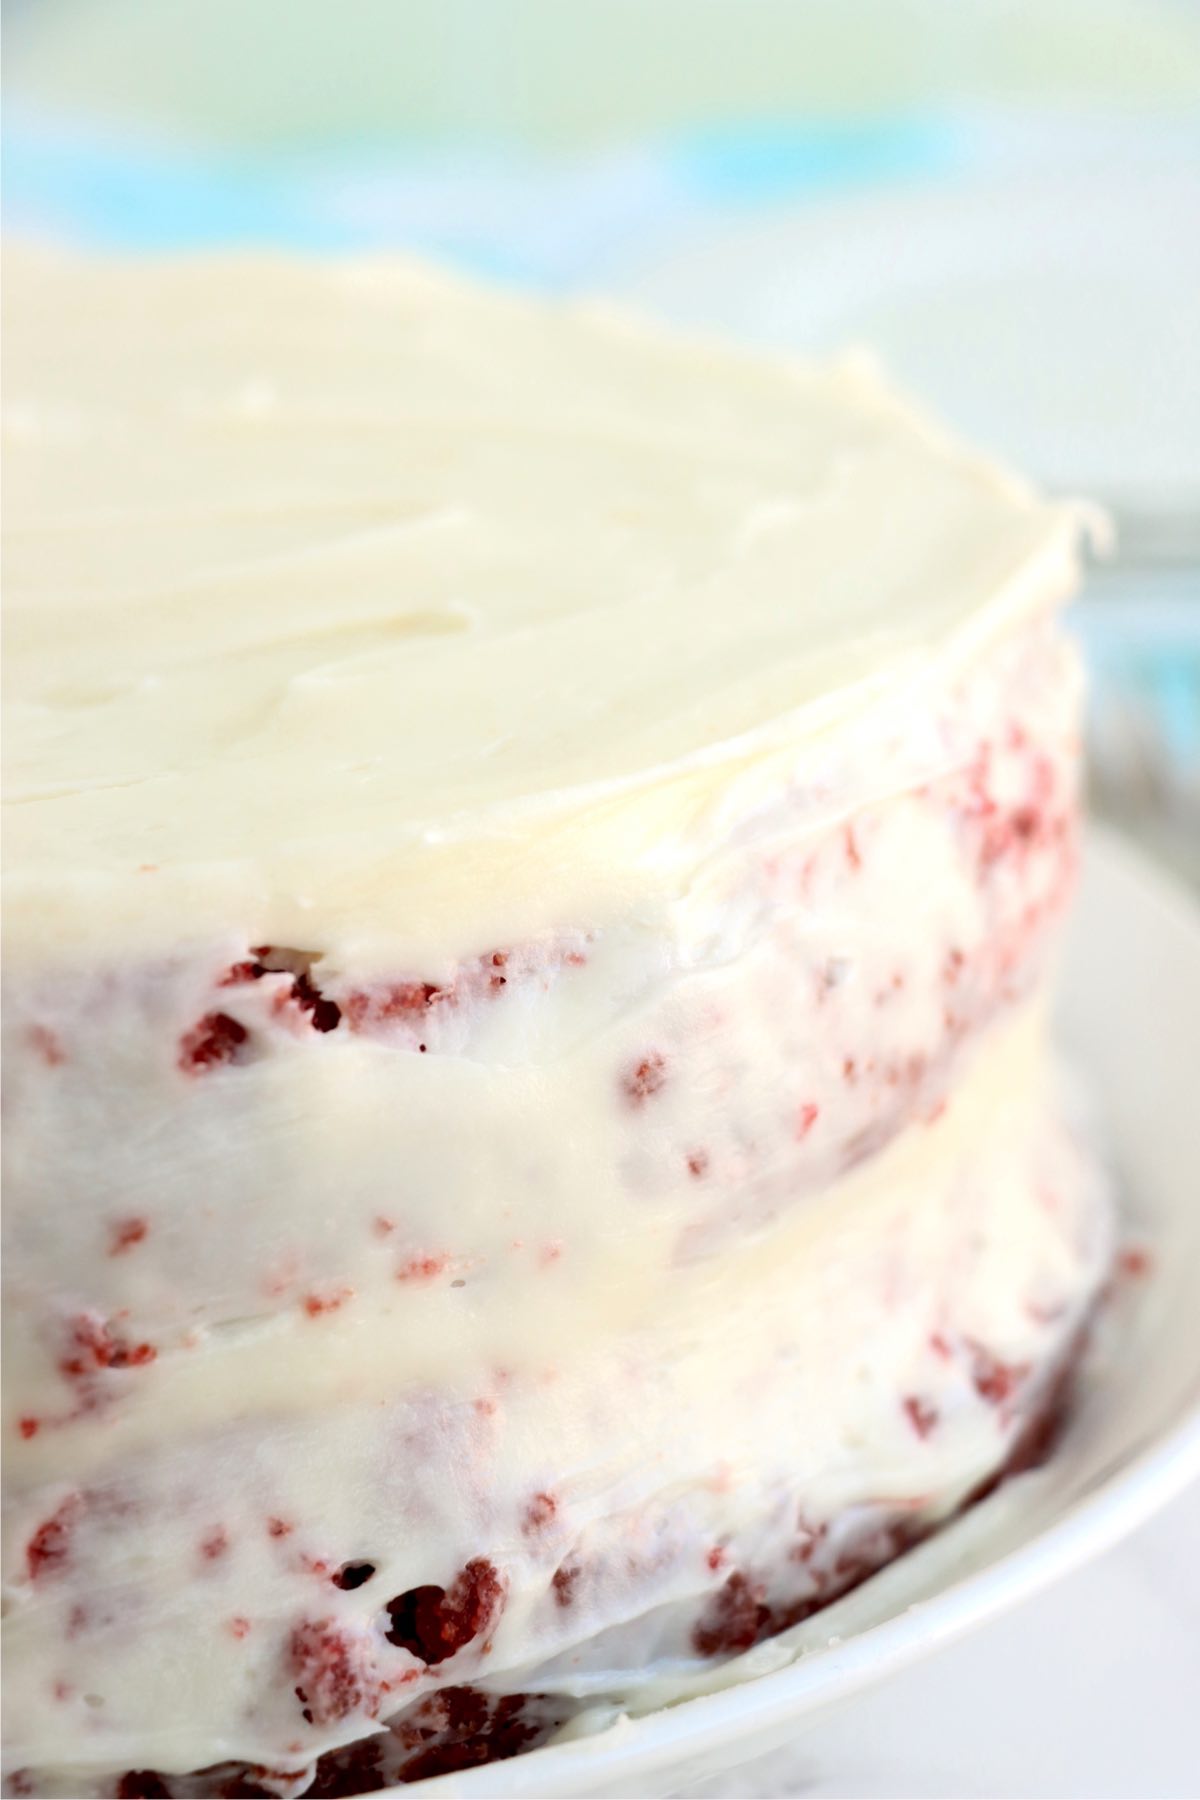
- Step 8: Frost the cake with cream cheese frosting when the cakes have cooled completely.
Helpful Tips
- Don't Over mix or Over bake: Mix your ingredients just until combined to avoid too dense of a cake, and prevent an over baked cake by using the toothpick test!
- The Right Coffee Temperature: When you add your coffee, make sure it's hot but not boiling. This helps to avoid any texture changes to the cake while still maintaining the flavor enhancing effects of the coffee.
- Use Gel Food Coloring: Gel food coloring works well for achieving a vibrant red hue without affecting the consistency of the batter.
- Properly Measure Dry Ingredients: Try not to just "eyeball" your ingredients for this recipe as it can create the wrong texture for your cake. You can use a scale if you want super precise measurements, or you can carefully measure with your measuring cups.
- Cool Completely Before Frosting: Allow the cakes to cool completely before applying frosting to avoid melting or sliding.
- Layer Evenly: Use a serrated knife to level off the cake layers if they've domed during baking. This ensures a professional-looking, stable cake.
- Piping Frosting: You can chill the cream cheese frosting in the refrigerator for 20-30 minutes if you want to pipe decorations onto your cake.
- Chill Before Slicing: For cleaner slices, chill your frosted cake in the refrigerator for 30 minutes before cutting.
Recipe FAQs
Traditional red velvet cake gets its red color from food coloring or natural ingredients like beet powder. Historically, the reaction between cocoa powder and acidic ingredients like vinegar and buttermilk created a reddish hue, though this is less common with modern cocoa.
No, red velvet cake is different from chocolate cake due to its use of buttermilk, vinegar, and less cocoa powder, giving it a lighter, tangier flavor.
You can make a buttermilk substitute by mixing 1 tablespoon of vinegar or lemon juice with 1 cup of milk and letting it sit for 5 minutes.
Over mixing the batter, opening the oven door too early, or not baking long enough can cause the cake to sink.
Use a gel food coloring as it requires a smaller amount for the same deep red color. You can also use beet powder for a natural coloring.
Yes! You can bake the cake layers ahead of time and then let them cool completely before wrapping them in plastic wrap and storing in the refrigerator for up to 2 days. Then, when you're ready to serve you can finish layering and frosting your cake.
Storage & Freezing Instructions
Storage Instructions
To store red velvet cake, keep it under a cake dome or lightly cover it with plastic wrap. Then, place it in the refrigerator and keep it for up to 5 days.
Freezing Instructions
To freeze your red velvet cake, wrap it in a few layers of plastic wrap and freeze for up to 3 months. Then, let it thaw overnight before serving.
More Valentine's Day Dessert Recipes You'll Love
Looking for other Valentine's Day dessert ideas like this? Try these:
Did you try this recipe?
If you decide to try this easy Red Velvet Cake recipe or any other recipe on my website, please leave a ⭐️ star rating and let me know how it went in the 💬 comments below! I'd love to hear from you!
Red Velvet Cake Recipe
Ingredients
Cake Ingredients
- 2 cups sugar
- 1 cup vegetable oil
- 2 eggs
- 1 cup buttermilk
- 2 teaspoon vanilla extract
- 1-2 ounces red food coloring (amount will depend on how deep you want the color)
- 2 cups all-purpose flour
- 1 teaspoon baking soda
- 1 teaspoon baking powder
- 1 teaspoon salt
- 2 tablespoons unsweetened cocoa powder
- ½ cup plain hot coffee (prepared)
- 1 teaspoon white distilled vinegar
Frosting Ingredients
- 16 ounces cream cheese (softened)
- 12 ounces butter (softened (3 sticks))
- 5 cups powdered sugar
- 1 ½ teaspoons vanilla extract
- pinch of salt (to taste)
Instructions
- Preheat oven to 325ºF.
- Prepare 2 9-inch round cake pans by spraying them with nonstick cooking spray and coating them with flour.
- In a large mixing bowl, beat sugar and vegetable oil with a hand mixer.
- Add eggs, buttermilk, vanilla, and red food coloring. Beat until combined.
- Stir in the coffee and white vinegar.
- Add flour, baking soda, baking powder, salt, and cocoa powder. Beat again until smooth and uniform.
- Pour the batter evenly into each pan.
- Bake for 30-40 minutes or until a toothpick comes out clean. Do not overbake as the cake will continue to cook as it cools.
- Let cakes cool on a cooling rack until the pans are warm to the touch.
- Slide a knife around the inside of the pans to loosen the cake from the pan.
- Gently remove the cakes from the pan and let them finish cooling.
- To prepare frosting, add cream cheese and butter to a large mixing bowl and beat until smooth.
- Add powdered sugar and pinch of salt. Beat again until frosting is uniform.
- Frost the cake with cream cheese frosting when the cakes have cooled completely.
Notes
- Don't Over mix or Over bake: Mix your ingredients just until combined to avoid too dense of a cake, and prevent an over baked cake by using the toothpick test!
- The Right Coffee Temperature: When you add your coffee, make sure it's hot but not boiling. This helps to avoid any texture changes to the cake while still maintaining the flavor enhancing effects of the coffee.
- Use Gel Food Coloring: Gel food coloring works well for achieving a vibrant red hue without affecting the consistency of the batter.
- Properly Measure Dry Ingredients: Try not to just "eyeball" your ingredients for this recipe as it can create the wrong texture for your cake. You can use a scale if you want super precise measurements, or you can carefully measure with your measuring cups.
- Cool Completely Before Frosting: Allow the cakes to cool completely before applying frosting to avoid melting or sliding.
- Layer Evenly: Use a serrated knife to level off the cake layers if they've domed during baking. This ensures a professional-looking, stable cake.
- Piping Frosting: You can chill the cream cheese frosting in the refrigerator for 20-30 minutes if you want to pipe decorations onto your cake.
- Chill Before Slicing: For cleaner slices, chill your frosted cake in the refrigerator for 30 minutes before cutting.
Leave a Reply