
DIY Galaxy Jar

This post may contain affiliate links. · As an Amazon Associate I earn from qualifying purchases.
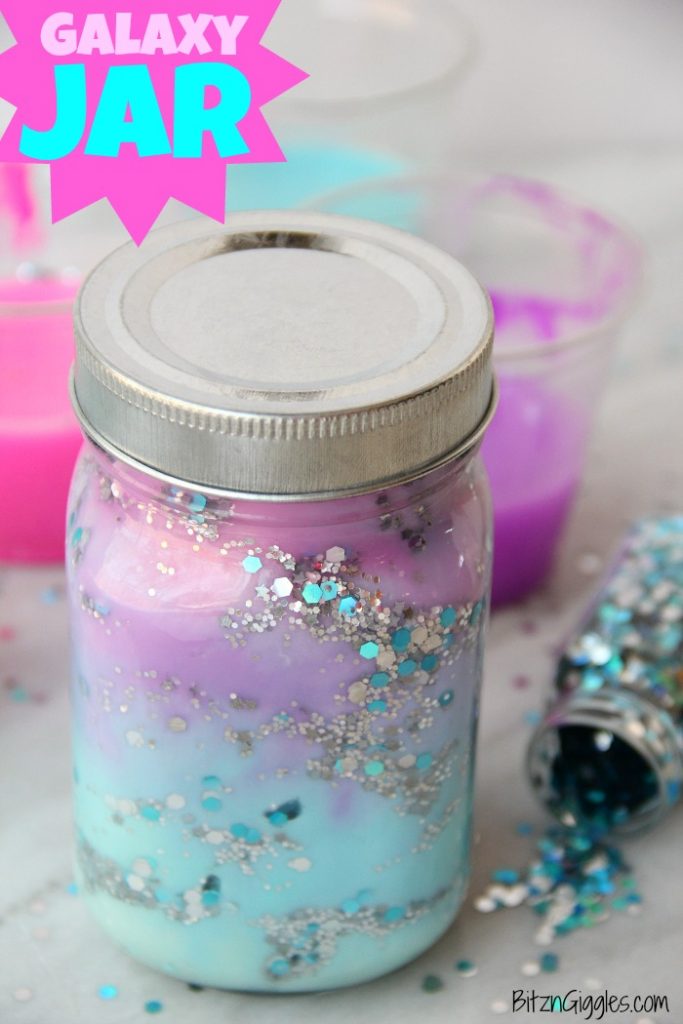
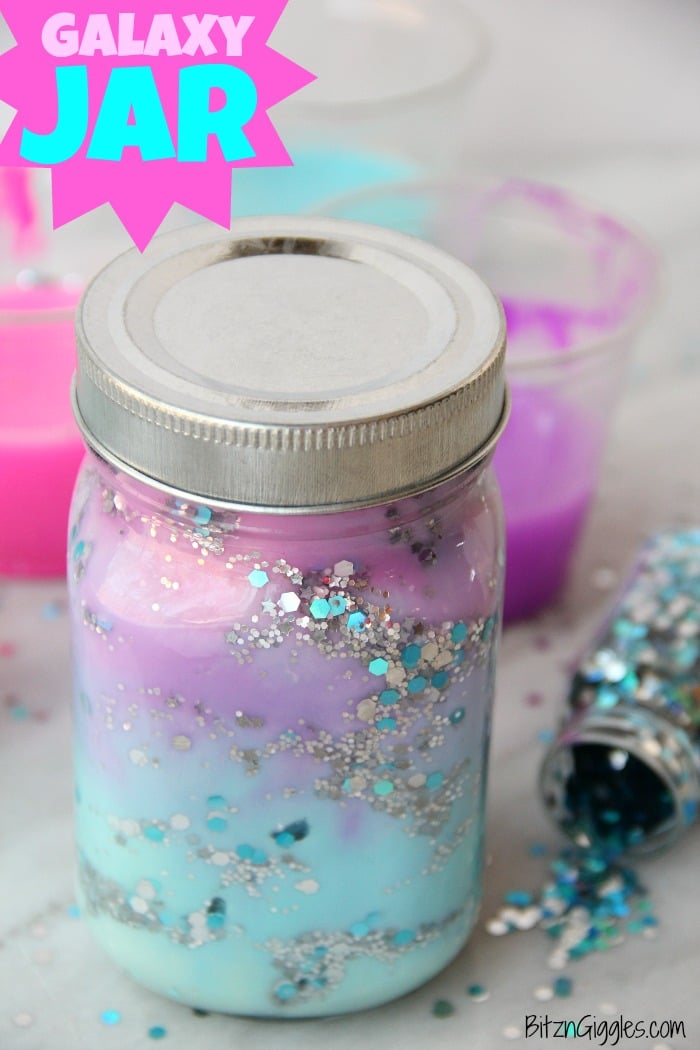
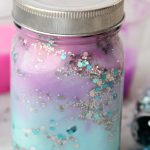
DIY Galaxy Jar - A gorgeous craft for kids, teens or even adults who love color and glitter! Simply layer cotton balls, acrylic paint, water and glitter shapes to create your own galaxy in a jar!
Want to Save This Recipe?
This post may include affiliate links. Please see my disclosure.
I've always wanted to make a galaxy jar. Or is it a nebula jar? How about a fairy jar? Unicorn jar, perhaps? Whatever you may call one of these gorgeous jars is completely up to you. Today, we'll just go with galaxy jar.
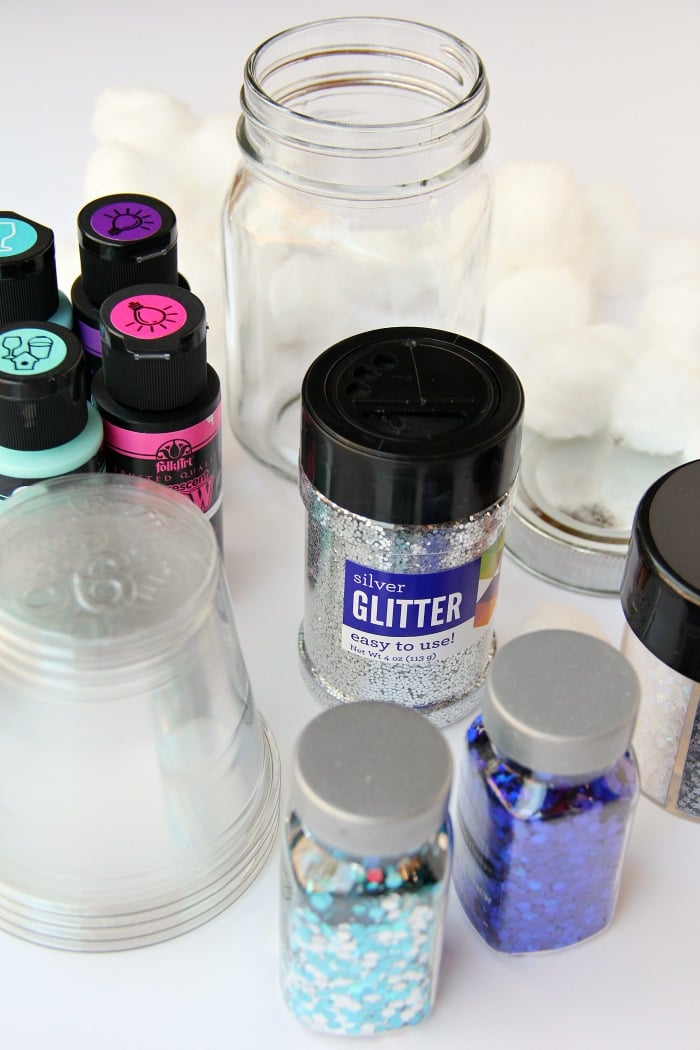
Here's what you're going to need to make a DIY galaxy jar:
List of Materials
- 4 disposable 9 ounce plastic cups
- Acrylic paint (I used pink, purple and two shades of blue)
- Pint mason jar
- Cotton balls
- Silver glitter
- Chunky glitter
- Holographic stars
- Wooden skewer (not shown)
Instructions
- Fill cups halfway with water.
- Add 4-5 drops of paint to each cup; using a different cup for each color of paint.
- Fill mason jar ¼ of the way full with cotton balls, using your fingers to pull the cotton apart a bit before placing them in the jar.
- Choose the cup with the lightest color of paint and pour in just enough of the paint mixture to soak the layer of cotton balls.
- Add some glitter and stars.
- Repeat steps 3-5 for the next three colors (continuing to work your way from lightest to darkest colors).
- Use the wooden skewer to push some of the darker paint into the lighter paint and spread the glitter and stars around a little.
- Screw on the lid and enjoy!
To create more intense color, feel free to add a few more drops of paint to the cups, but try and keep the color light enough that you can see the cotton through the jar.
Now let's make this together!
Mixing the Paint
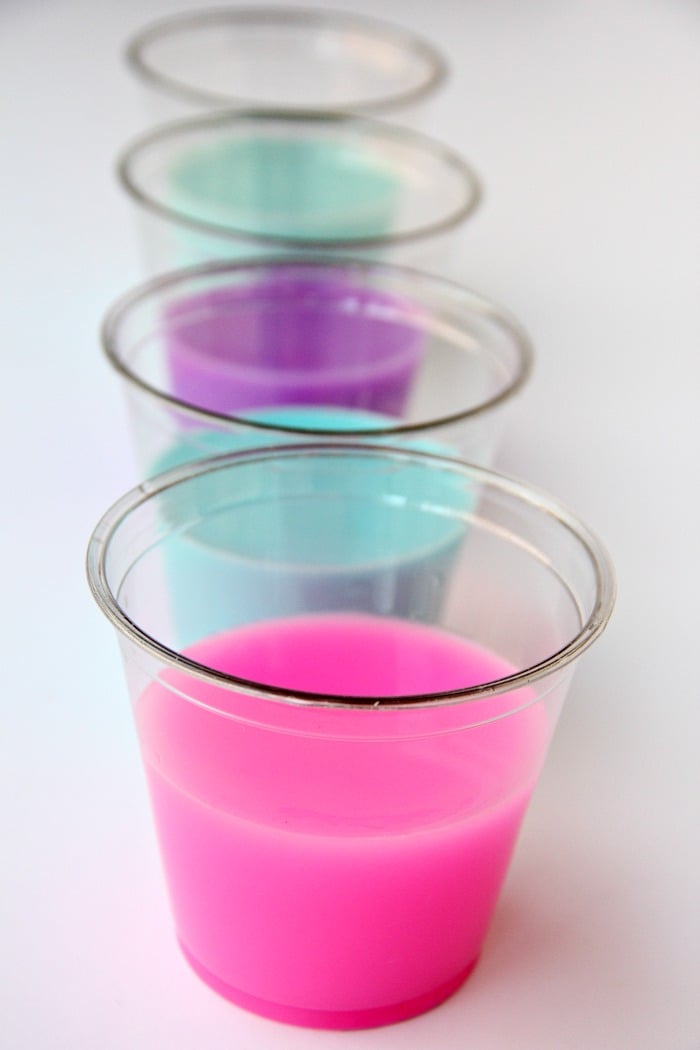
The first thing you want to do is take your plastic cups and fill each of them about ¼ full with water. Then, add a few generous drops of paint to each of the cups.
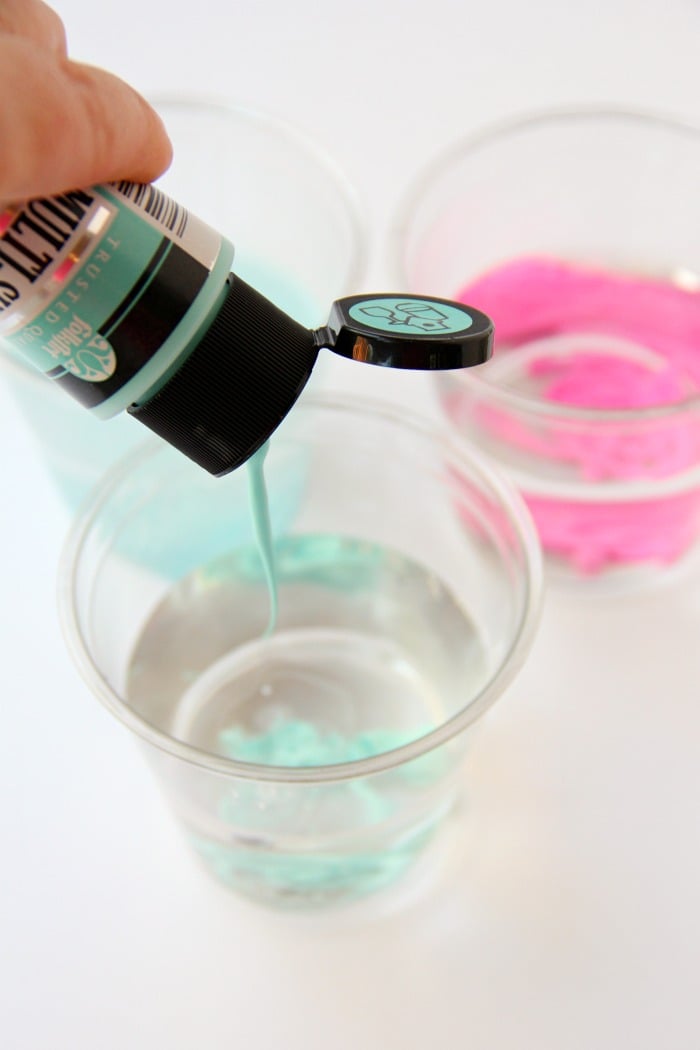
I'm pretty much in love with bright colors if you couldn't already tell. 😉
Assembling the Jar
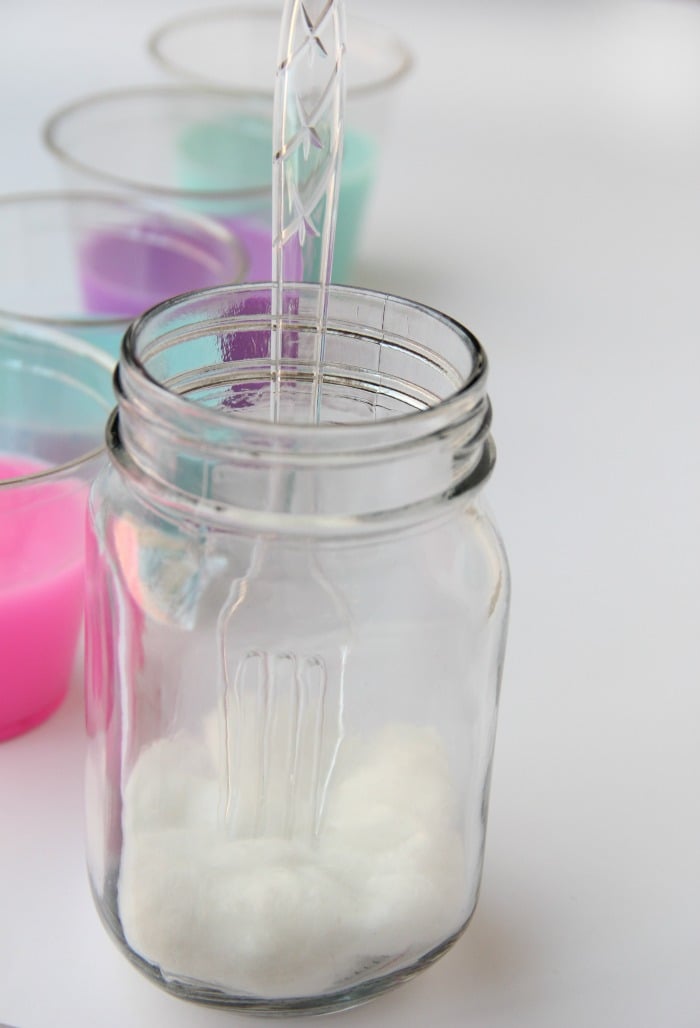
Now take the mason jar and start placing cotton balls into it. Use your fingers to pull the cotton balls apart a bit before putting them into the jar so they become flatter vs. round. I used a plastic fork to help flatten the cotton a bit so it only took up about ¼ of the jar.
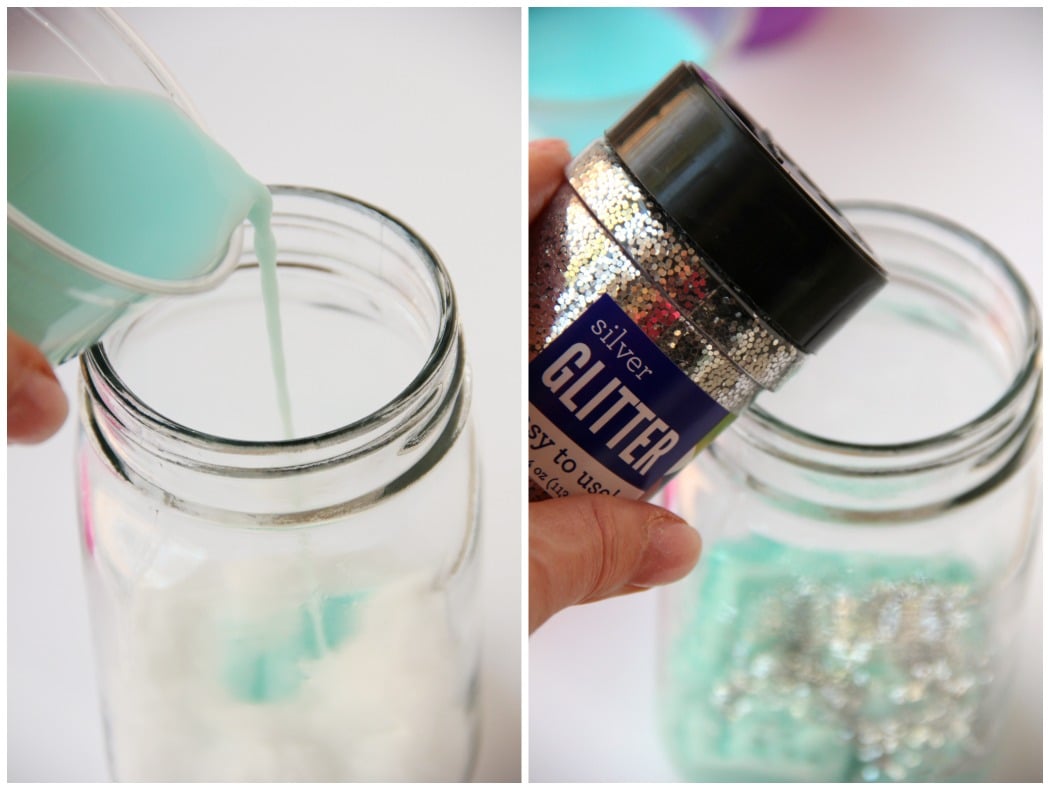
Now it's time to pour in some paint. Find the lightest paint color you have and pour in just enough to soak the cotton balls. You don't want the cotton "swimming" in the paint. Just enough that they are saturated with color.
Then add some glitter and stars.
Just so this next photo doesn't trip you up, for the next layer, instead of going with cotton, paint and glitter, I went with cotton, glitter and then paint.
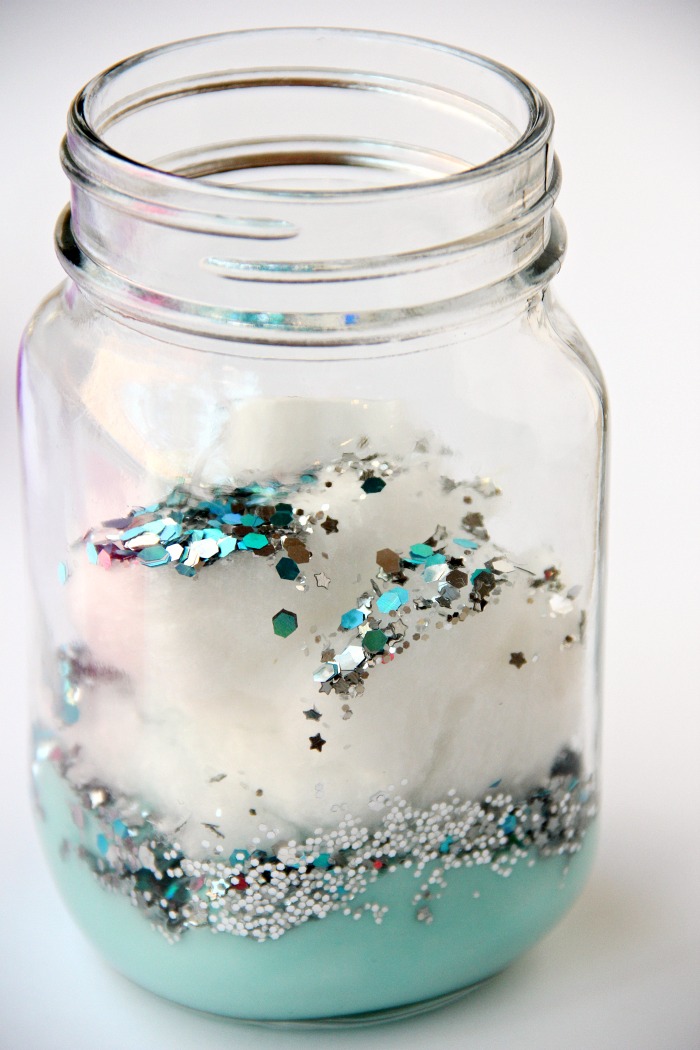
I found that it didn't really matter which sequence you added the paint and glitter - just always make sure to have the cotton base before you add either.
Below was my final layer before adding the pink paint.
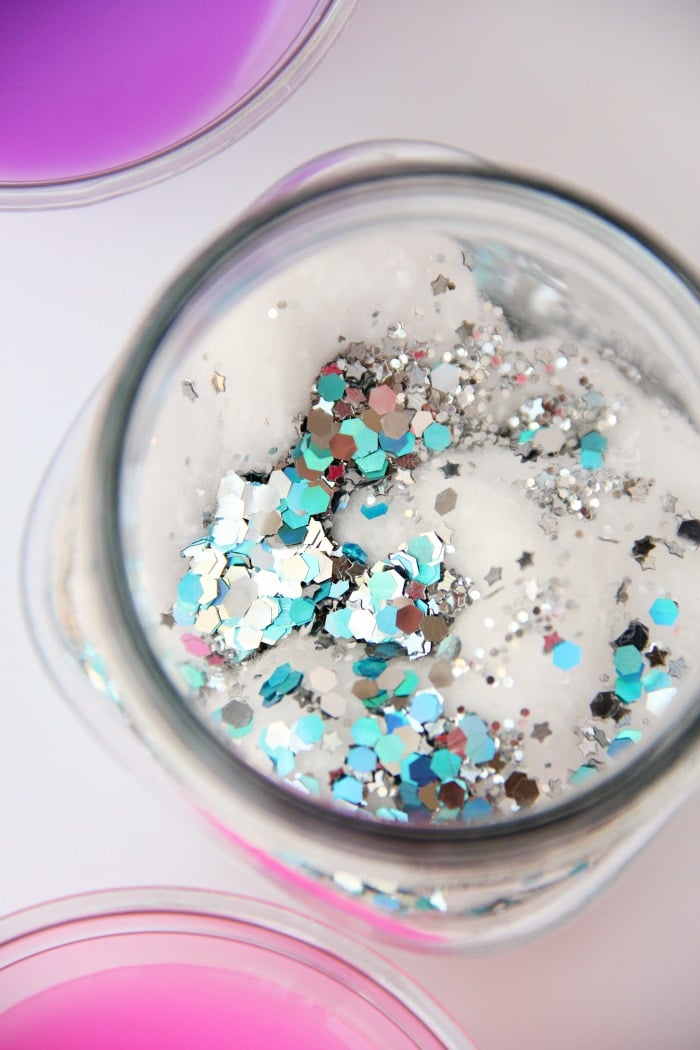
Once you have all of the colors in, use a wooden skewer to push some of the darker colors into the lighter colors and spread the glitter and stars around a little. This step is optional, but I feel like it gives the jar a more realistic effect than if you would see 4 distinct layers.
And there you have it. Your very own DIY galaxy jar.
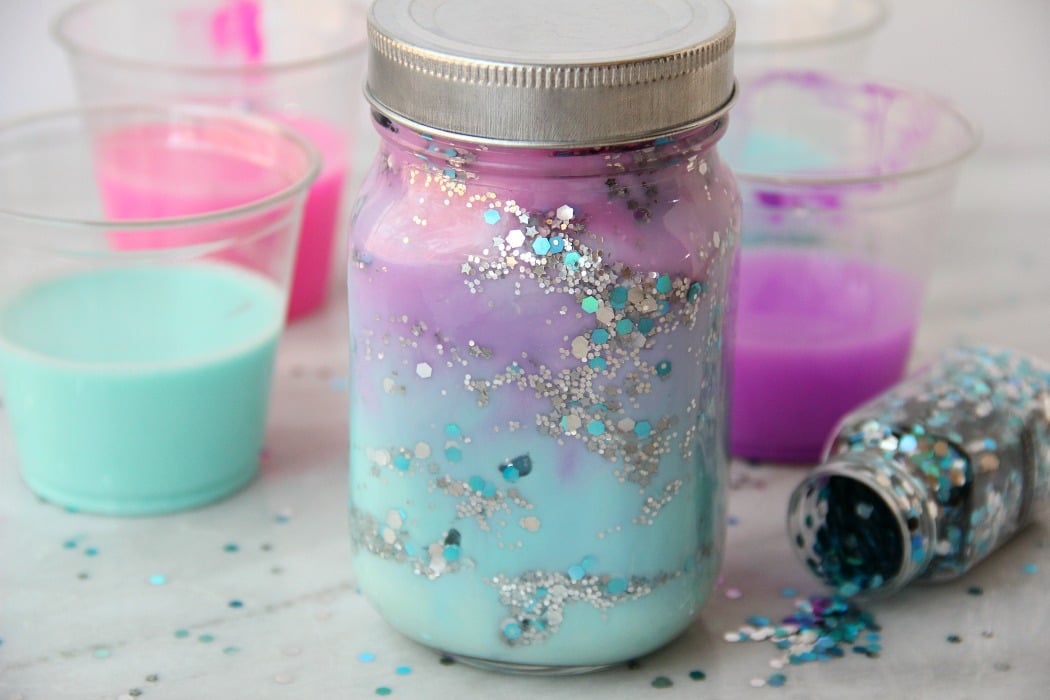
Tightly screw the lid onto the jar and enjoy!
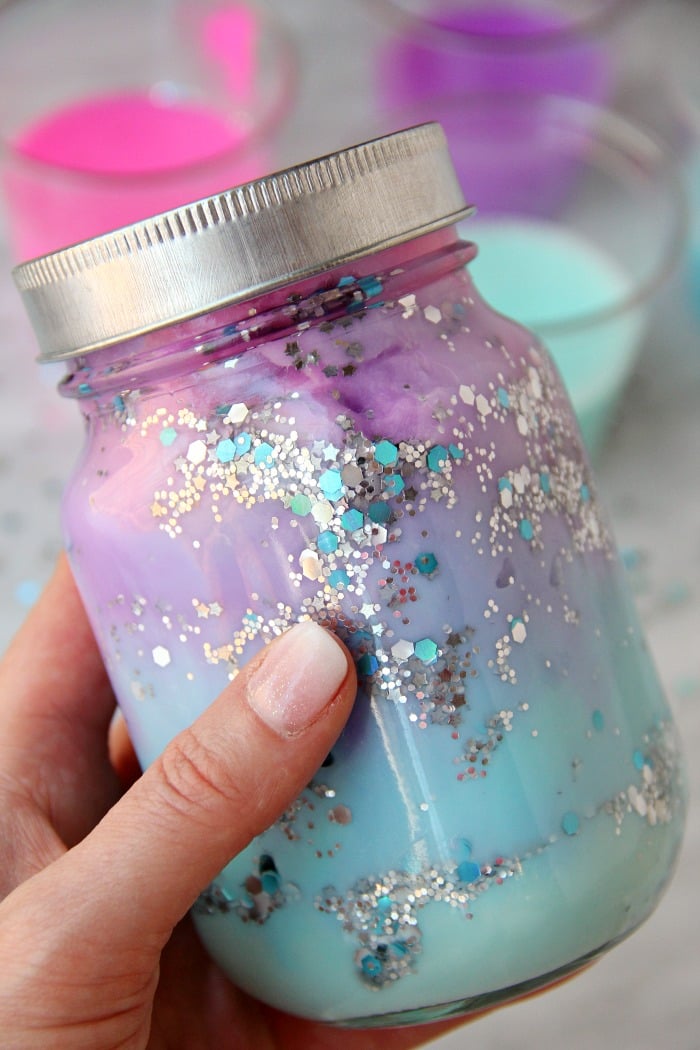
It was so fun to rotate the jar and look at it from every angle. I even took a live video of the jar so you could see it in person.
My daughter, Cora, quickly claimed it as her own and displayed it proudly in her room right next to her fish tank.
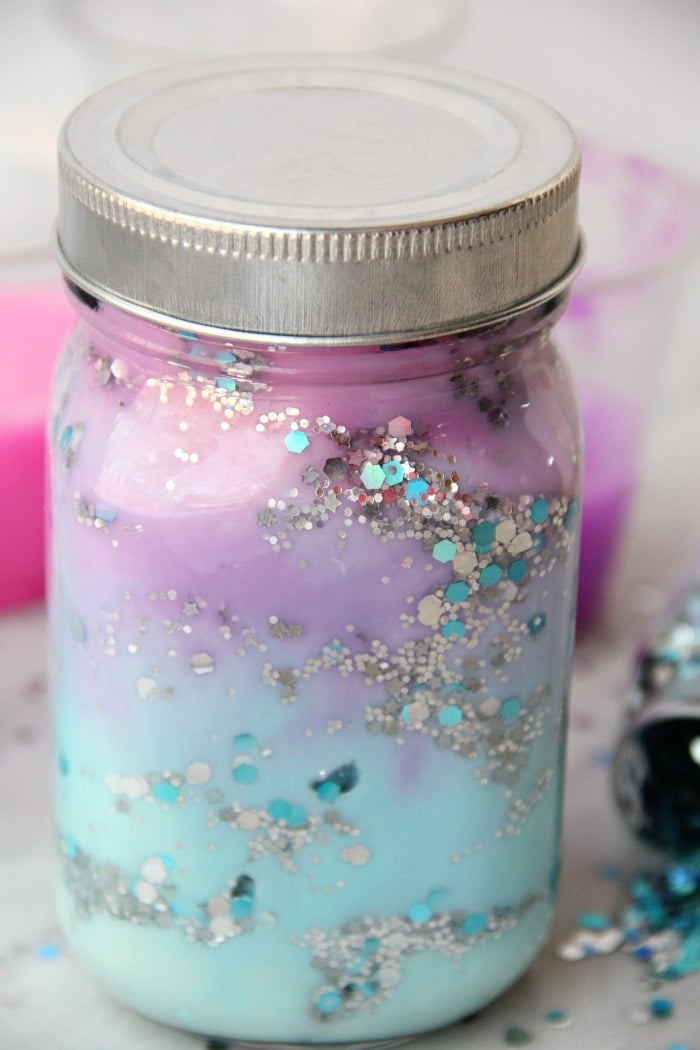
She already told me she wants to make more. Awesome. Because I do, too. 😉
Looking for more colorful crafts?
DIY Galaxy Jar
Materials
- 4 disposable plastic cups
- Acrylic paint
- Mason jar
- Cotton balls
- Silver glitter
- Chunky glitter
- Holographic stars
- Wooden skewer
Instructions
- Fill cups halfway with water.
- Add 4-5 drops of paint to each cup; using a different cup for each color of paint.
- Fill mason jar ¼ of the way full with cotton balls, using your fingers to pull the cotton apart a bit before placing them in the jar.
- Choose the cup with the lightest color of paint and pour in just enough of the paint mixture to soak the layer of cotton balls.
- Add some glitter and stars.
- Repeat steps 3-5 for the next three colors (continuing to work your way from lightest to darkest colors).
- Use the wooden skewer to push some of the darker paint into the lighter paint and spread the glitter and stars around a little.
- Screw on the lid and enjoy!
Notes
- Layering Order: Start with the lightest color and work your way to the darkest when adding paint to the cotton balls in the mason jar. This will create a gradient effect, resembling the galaxy's depth.
- Moderate Glitter: While it's tempting to go overboard with glitter, moderation is key. Too much glitter can overwhelm the colors and make the galaxy jar look cluttered. Add glitter and stars sparingly to maintain balance.
- Blend Carefully: Use the wooden skewer to gently blend the colors and distribute the glitter and stars evenly throughout the jar. Be cautious not to over-mix, as it can muddy the colors. Aim for a subtle, celestial swirl effect.
How big are the cups and the jar?
The cups are 9 ounces and the jar is 16 ounces (pint jar).
My daughter loves this
What a cute idea, love it
Thanks so much, Shellie!
What a cool idea, I like it
Thanks, Jo-Anne! They're super fun to make!