Want to Save This Recipe?
I love it when the summer months roll around because that means less time in the kitchen for me. Don't get me wrong. . .I do enjoy cooking and baking but a little relief at any time is always welcome. When the weather starts warming up, our family is all about grilling and, for me, clean up is SUPER EASY!
Josh (my hubby), AKA The Grill Master, also looks forward to this time of year because it's an opportunity for him to show off one of his many talents. The others, we'll maybe talk about at a later time (those that are appropriate). ANYWAY, last year we had somewhat of a dilemma when it came to bringing the hot food into the house. We never had enough potholders to throw onto our kitchen island to protect it from the hot foil food packets, etc. So, this year the kids and I came up with a fun gift to surprise him with on Father's Day. . .a rock trivet!
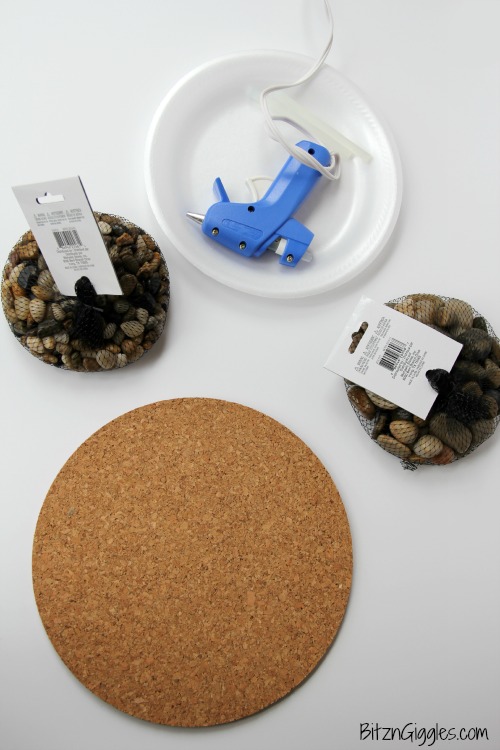
Here's what you'll need:
- Hot glue gun with glue sticks
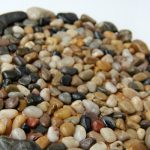
- Smooth river rocks (some larger, some smaller)
- A round cork plant coaster (Mine was 10 inches in diameter and I found it in the greenhouse at Walmart)
- Clear Elmer's glue (not pictured)
- Free printable (link provided below)
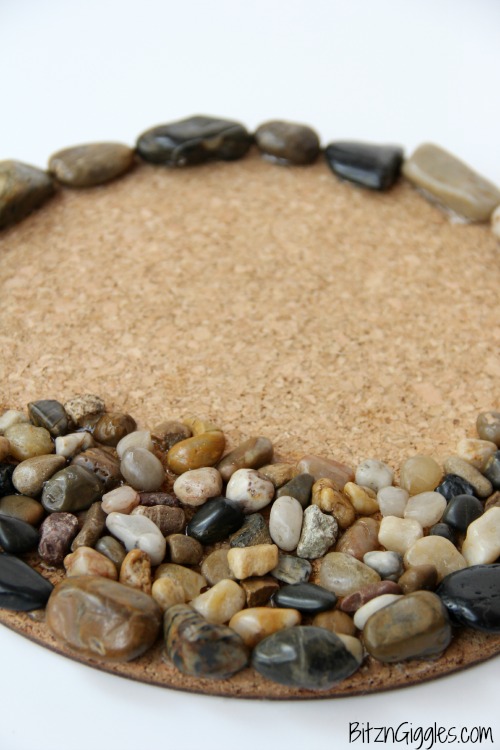
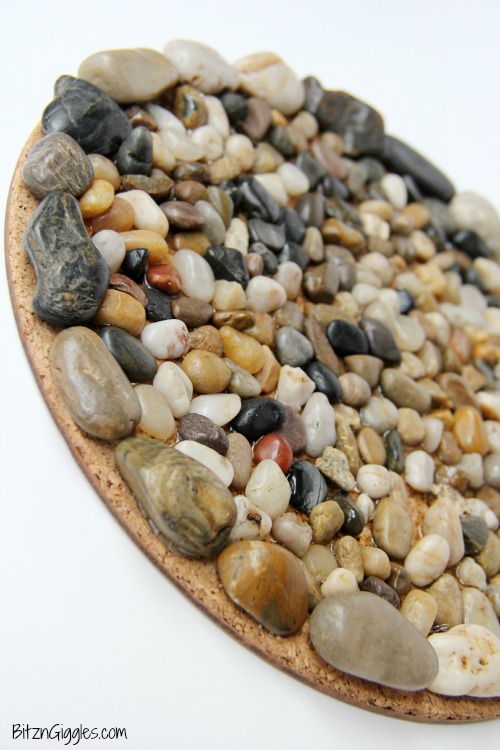
Start by laying out some of the larger rocks around the perimeter of the coaster. I thought laying them out first was a smart plan before I started gluing, just to make sure everything fit. Look at me, always thinking (no need to confirm that with the rest of my family). Once you have your plan, begin gluing the rocks in place with your hot glue gun.

Here's where I switched things up a bit. I started gluing down the smaller rocks for the center of the trivet with my glue gun, but it was taking forever. I don't have a ton of patience for these sorts of things, so I decided to grab Elmer's Clear Glue to finish the job. Let me clarify a bit. . .since having my children, I've learned to have more patience at home, but there's a reason I'm in Sales and Marketing in my professional career. I like quick, simple, effective and precise. It's always a winning combination!
Alright, back to our regularly scheduled program. You need to ensure that none of the smaller rocks are stacked on top of one another. Use your hand to smooth out the rocks so each one has their resting place in the glue.
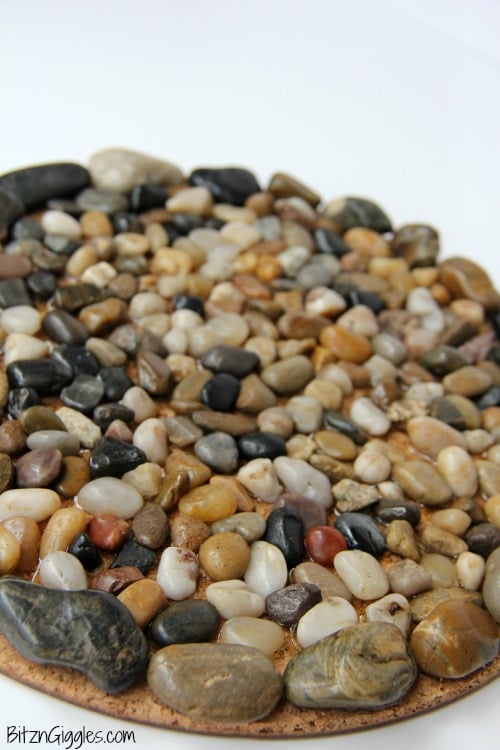
I'm not gonna lie, the drying process takes at least a day since you basically dumped a puddle of glue into the center of the trivet. Again, a test of my patience, but if I made it through, so will you.
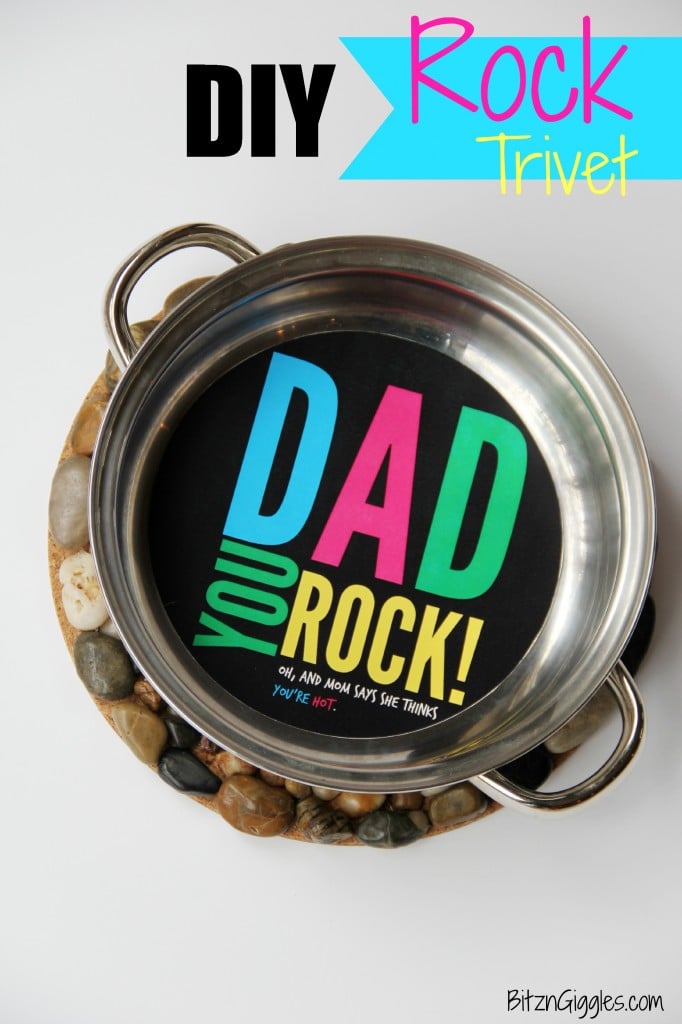
Looks pretty awesome, doesn't it? Here's where I really started getting excited! I created this colorful printable to go along with the gift. I think any Dad will appreciate the special touch - especially the part about his wife thinking he's hot. 😉
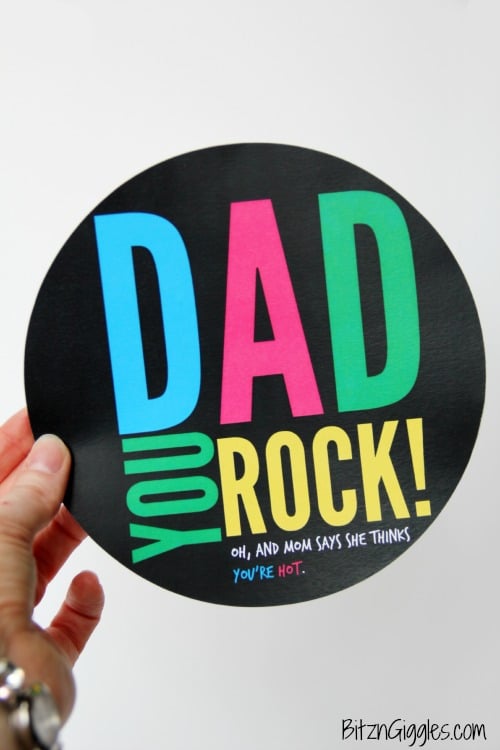
Download the printable here, save it to your computer, then insert the image into a program like Word or Publisher. Print it out, cut around the edges and TAH DAH - you're done. You could even have the kids draw a special picture on the back if you'd like.
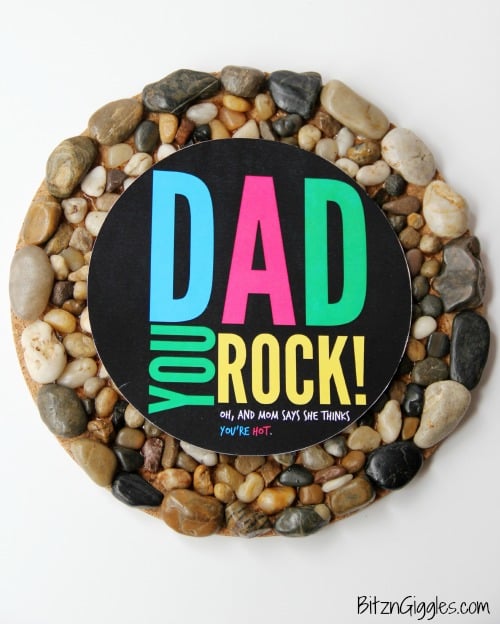
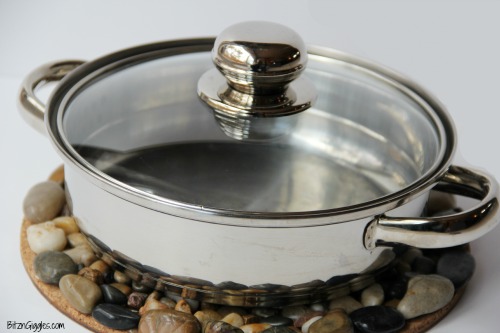
This is how our final gift turned out. You can even add a bow or put it in a special container if you'd like. Better yet, buy Dad a new pan for one of the side burners on his grill and place it on top of the trivet with the message inside! Regardless of how you package it up, he's sure to love it!
DIY Rock Trivet - A Father's Day Gift
Materials
- Hot glue gun with glue sticks
- Smooth river rocks
- Round cork plant coaster
- Clear Elmer's glue
- Free printable
Instructions
- Start by laying out some of the larger rocks around the perimeter of the coaster. I thought laying them out first was a smart plan before I started gluing, just to make sure everything fit.
- Once you have your plan, begin gluing the rocks in place with your hot glue gun.
- I started gluing down the smaller rocks for the center of the trivet with my glue gun.
- You need to ensure that none of the smaller rocks are stacked on top of one another. Use your hand to smooth out the rocks so each one has their resting place in the glue.
- The drying process takes at least a day since you basically dumped a puddle of glue into the center of the trivet.
Notes
- Strategic Layout: Before starting to glue the rocks onto the cork coaster, lay them out around the perimeter to ensure they fit well and create a visually pleasing design. This step allows you to plan the placement of the rocks and make any necessary adjustments before committing to the gluing process. Take your time to arrange the rocks in a pattern or layout that appeals to you or your dad's taste.
- Careful Gluing Technique: Use a hot glue gun to securely attach the rocks to the cork coaster. Start by gluing the larger rocks around the edge of the coaster, then fill in the center with smaller rocks. Ensure that each rock is firmly attached to the coaster and that none are stacked on top of each other. Take care to apply the glue evenly and avoid excess glue, as this can affect the appearance of the finished trivet.
- Patience During Drying: Allow sufficient time for the glue to dry completely before handling the rock trivet. Since a significant amount of glue is used, the drying process may take at least a day. Be patient and avoid moving or disturbing the trivet while it dries to prevent any rocks from becoming dislodged. Once the glue has fully dried, the rock trivet will be ready to use or gift to your dad for Father's Day.
Brie Bohlinger
I am going to have my class make this for Father's day! I thought it was cute! I had some problems with it though. My boss bought us a cork roll and I tried with that and it is WAY TOO THIN! I also hot glued two of the cork circles together and glue on river rocks. My boss also got me river rocks that you have to clean. I tried using a hot glue gun to glue them to the cork and it did not set at all. They just all came off. I was so dissappointed! I then tried using tacky glue to start over and it seemed to work but took forever to dry. Should I go and buy the cork plant coasters at Walmart and try that? Why didn't the hot glue gun work? Should I buy Clear Elmer's glue too? I really want this to work!
Sara
I did buy the cork plant coasters. If your glue isn't sticking, you may want to try something stronger. Make sure you're using the small river rocks as well. Anything too large or oddly shaped may have trouble sticking. I hope these worked out for you!
Kristy gd
Hi Sara! I thought this was a great project, and wanted to let you know I featured you over on Creative Spark today!
Sara
Awesome, Kristy! I'll make sure to stop by! THANK YOU!