Want to Save This Recipe?
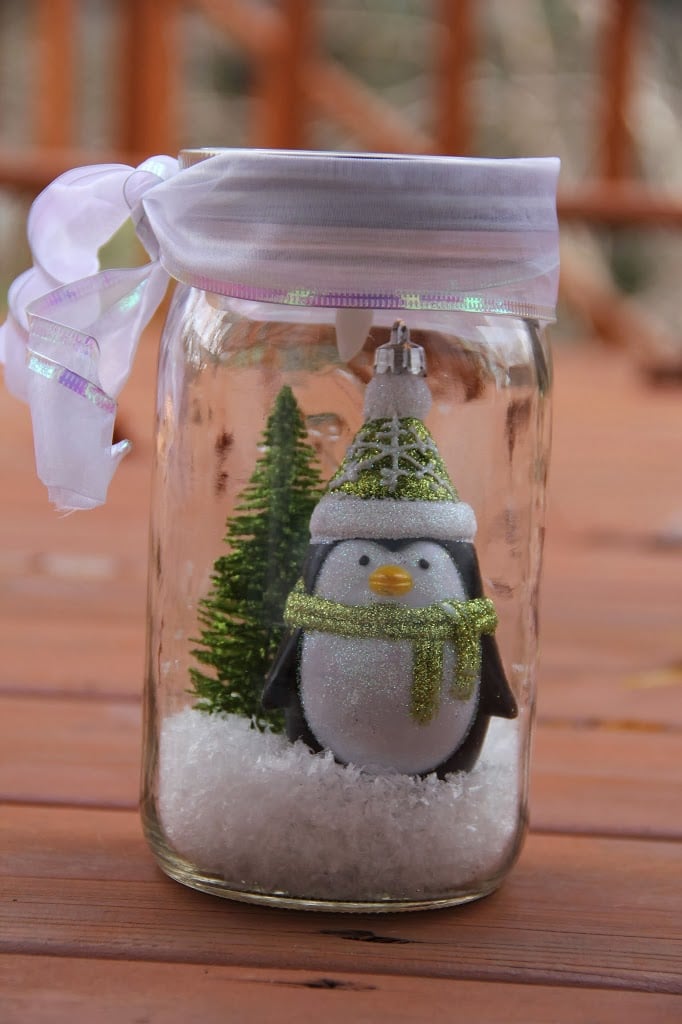
As a child I loved snow globes. It's like a little magical place inside of a jar. To this day, I have an admiration for anything glass with something cute or beautiful inside it. And it's not only the glass and the scene inside. . . if it's lit, it's even more magical.
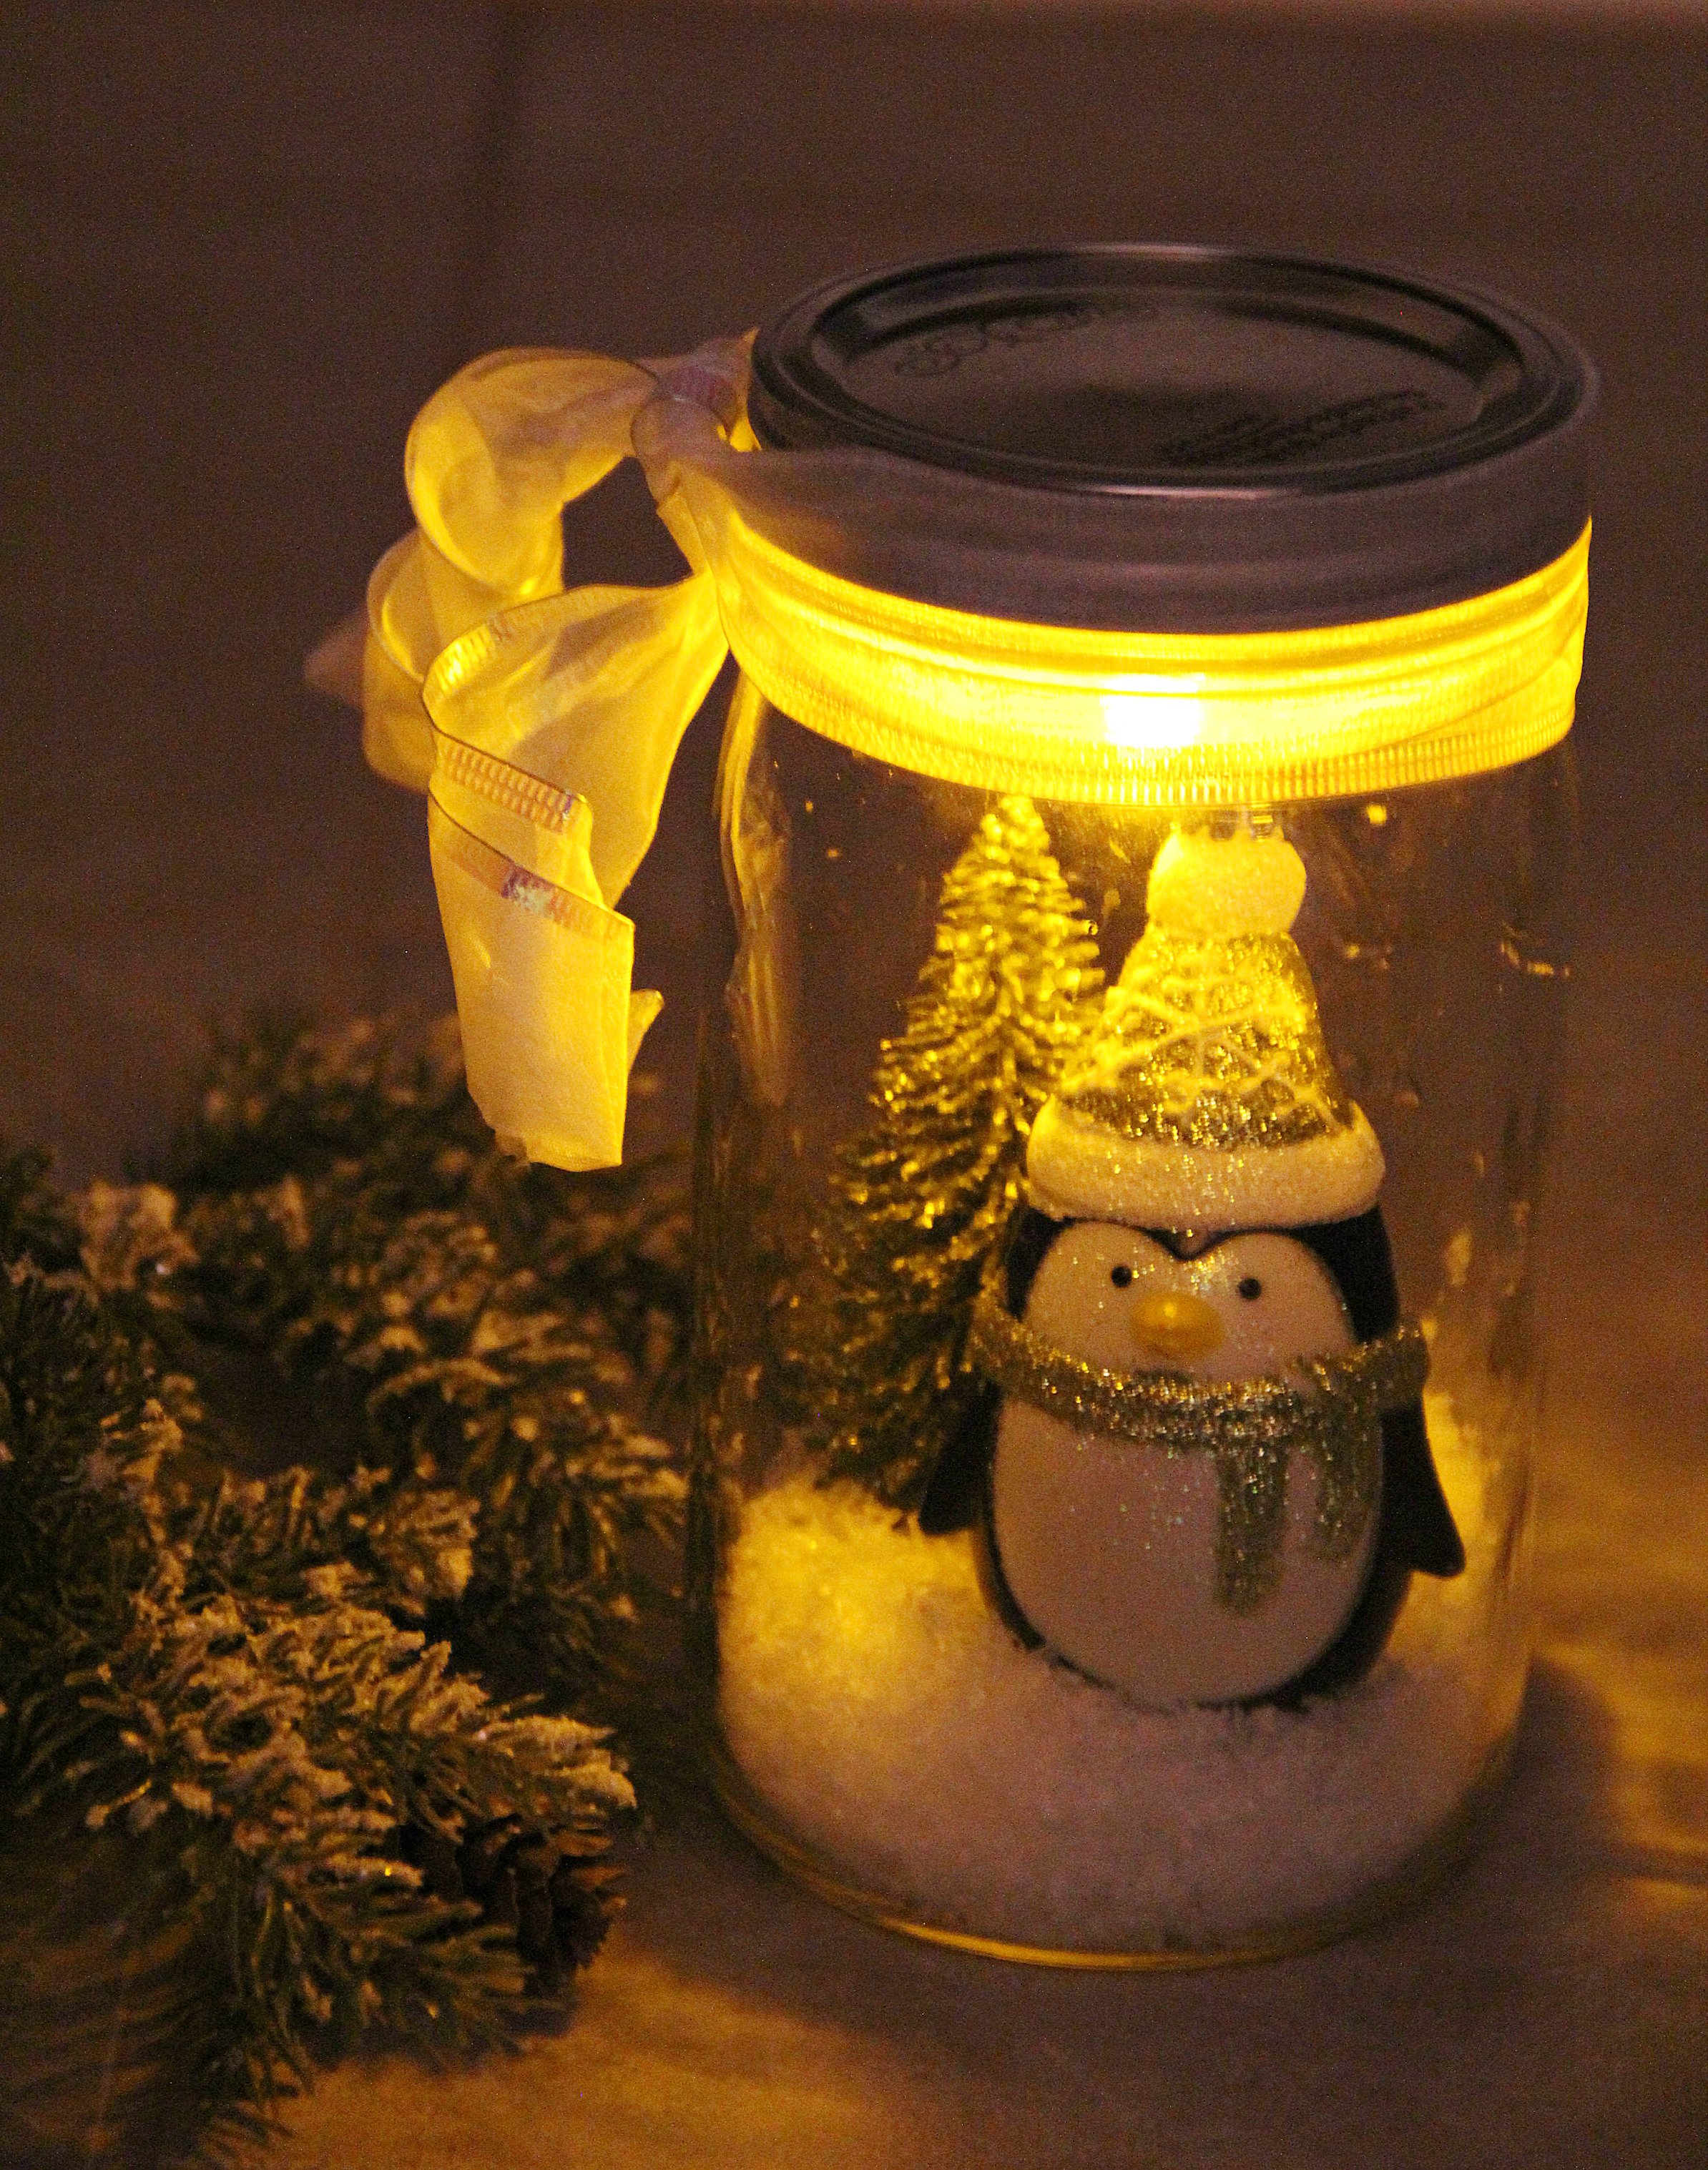
Today I'm going to show you how you can make your very own illuminated snow scene right inside of a mason jar. I have to say that when I thought of this, I thought it was pretty brilliant and I bought some ice cream that day to celebrate. I've never seen a tealight used this way in a DIY project. Maybe you have. If you have, don't let me know about it. It will completely burst my bubble.
Here's what you need to make your own magical scene inside of a jar:
- Wide mouth mason jar with lid and cover (Kerr brand is the best because one of the sides of the jar is clear)
- Battery-operated tealight
- Button magnet
- Glue
- Faux snow
- Ribbon
- Whatever you'd like to place in your jar (I found the snowman and tree in the Christmas section at Walmart and both were under $1)

LOOKING FOR MORE
CHRISTMAS INSPIRATION?


Merry & Bright Christmas Label

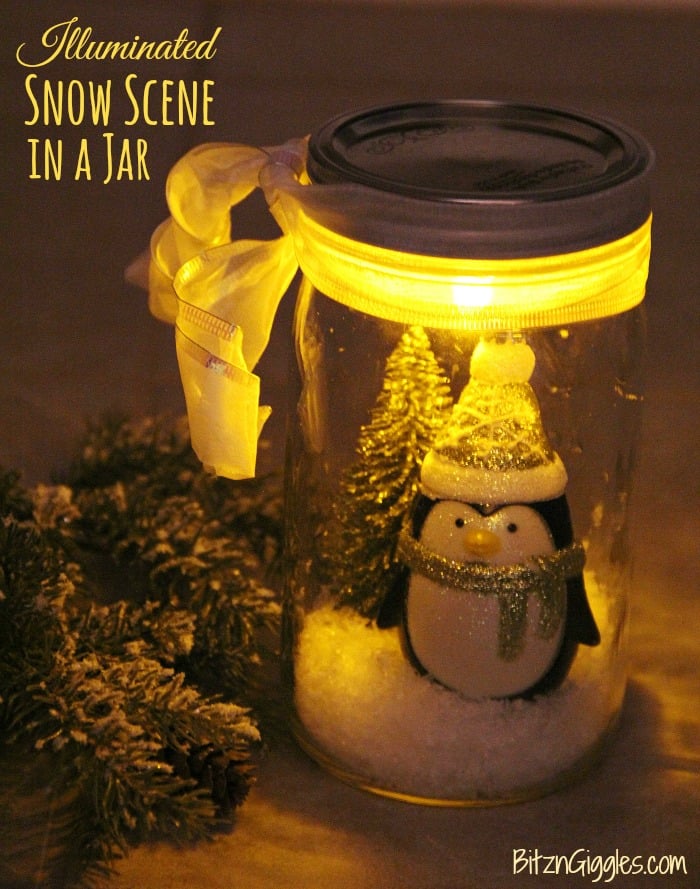
Illuminated Snow Scene in a Jar
Materials
- Wide mouth mason jar with lid and cover
- Battery-operated tealight
- Button magnet
- Glue
- Faux snow
- Ribbon
- Whatever you'd like to place in your jar
Instructions
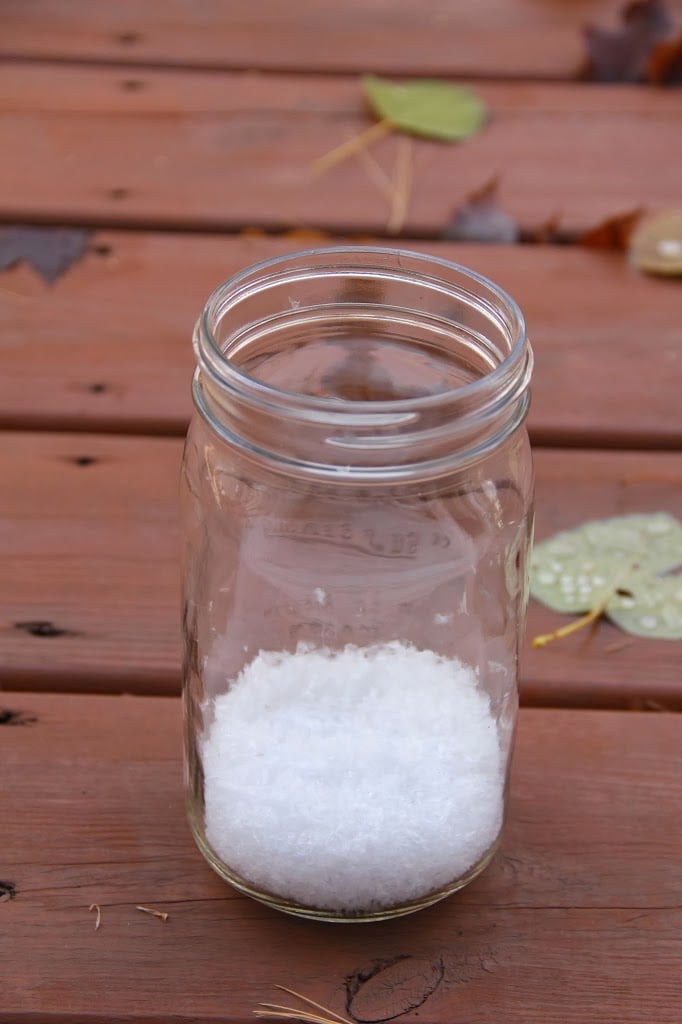
- The first thing you want to do is grab your mason jar and put the faux snow inside.
- Put in just enough to be able to cover the bottoms of your figures. I did this part outside because I didn't want snow all over the house. This stuff can get a bit messy.
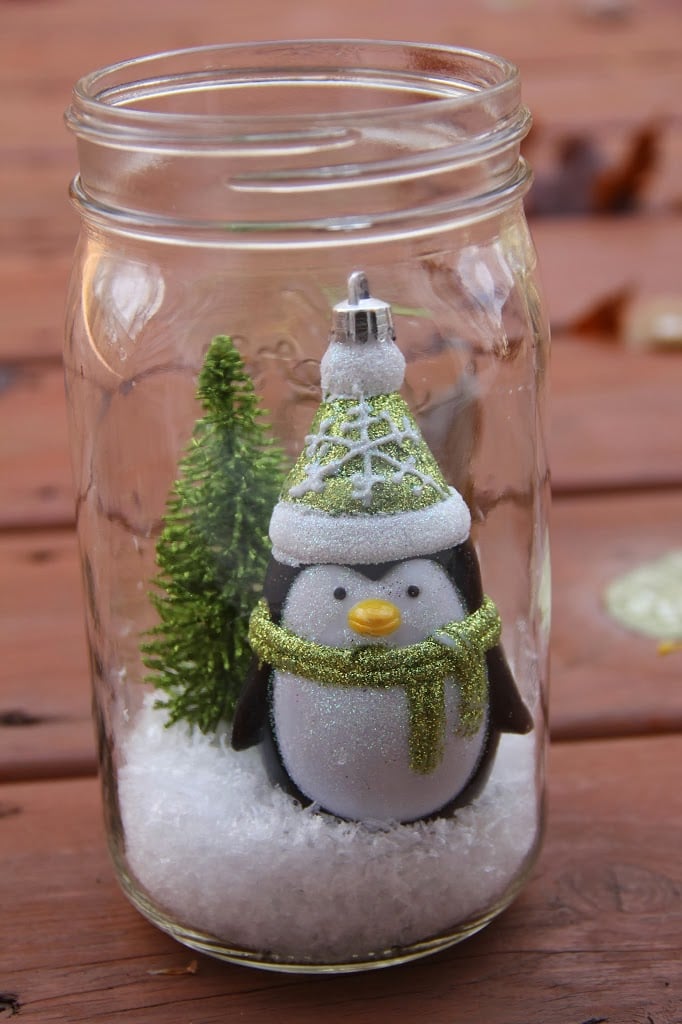
- Now place your figurines or items in your jar. If you really want to secure them well, you could glue them to the bottom of the jar before you add the snow, but I like to reuse my jars, so I left my penguin and tree free-standing.
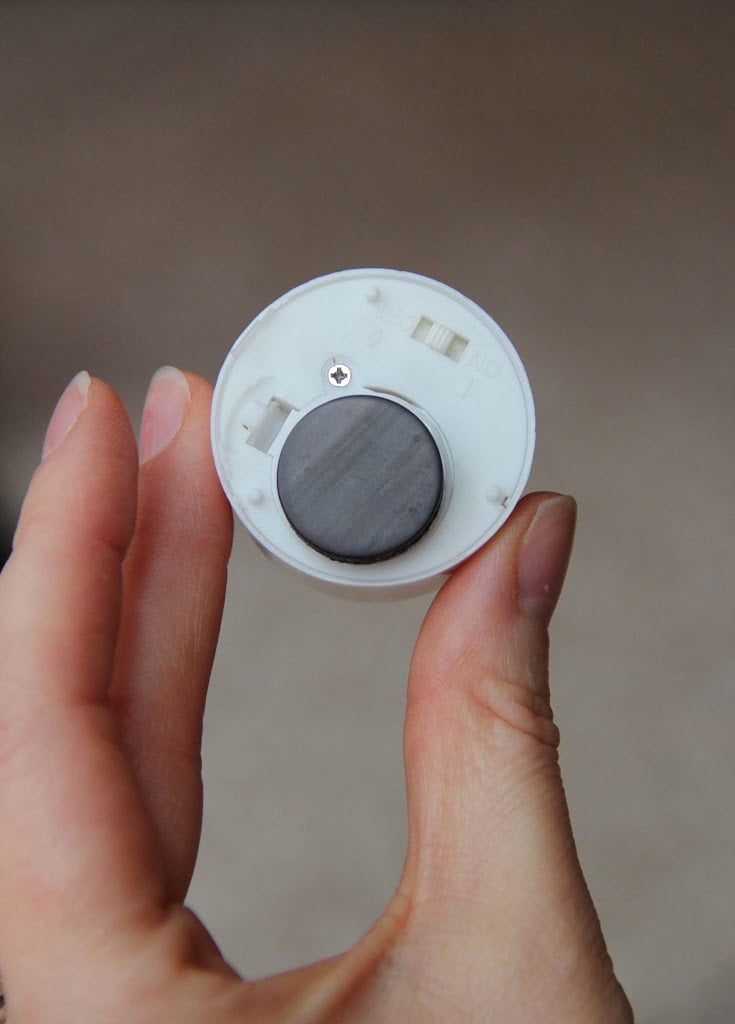
- Pick up your tealight and adhere the magnet to the back with glue.
- Position it so you can still open the back to remove the battery if needed. The button magnet fits perfectly to allow access to the battery.
- Now, place your tealight on the inside portion of the mason jar lid. I turned my tealight on to make sure it was working properly, as well. Turn the lid upside down and give it a good shake.
- Does the tealight stay attached to the lid? If so, it means your magnet is strong enough. If not, you may need to try and find a stronger magnet. My button magnet seemed to work just fine.to
- All you really need to do to turn your tealight on and off is to unscrew the top of the jar and flick the switch on the back of the tealight.
- Just put the lid with the tealight back on the jar and then screw on the top.jar,
- Then I tied a bow around the top of the container just to dress it up a little more. The ribbon I used is white iridescent so it kind of picks up whatever color is around it.
Notes
- Proper Placement of Faux Snow and Figurines: When filling the mason jar with faux snow, ensure you add just enough to cover the bottoms of your figurines or items. This allows them to stand securely in the snow without being buried or unstable. Consider doing this step outside or in a designated area to minimize mess. If you prefer a more permanent placement, consider gluing the figurines to the bottom of the jar before adding the snow.
- Secure Attachment of Tealight: Adhere a button magnet to the back of the battery-operated tealight using glue. Position the magnet in a way that allows access to the battery compartment for easy replacement. Test the strength of the magnet by placing the tealight on the inside portion of the mason jar lid and giving it a gentle shake. Ensure the tealight remains securely attached to the lid; if not, consider using a stronger magnet for better stability.
- Convenient Tealight Operation: To operate the tealight, simply unscrew the top of the jar and flick the switch on the back of the tealight to turn it on or off. The lid with the attached tealight can then be placed back on the jar and screwed tightly for a secure closure. Enhance the aesthetic appeal of your illuminated snow scene by tying a decorative ribbon around the top of the container. Choose a ribbon that complements the scene and adds a festive touch to the finished product.
Juli-Ann
Got some ideas from this. First time trying to make Christmas jay crafts. I am struggling with how to use the wired mini-strand lights because of the battery pack. I don't want it to show, but I don't know how to hide them.
Sara
Hi Juli-Ann! Read through the entire post again and take a look at the photos. I used a tea light with a magnet adhered to the back and it sticks to the inside lid of the mason jar. Good luck making your own!
Carmen
I love your snow scene idea! I think I have all the materials to make my snow scene except the faux snow. Where would I find faux snow? I think I’ll make them and gift them to the ladies on my women’s ministry team! Thank you!
Sara
Faux snow you'll be able to find in any craft supply store starting in the late fall season!
Jade Edwards
Hi. Awesome craft! Are these 8 or 16 oz jars?
Sara
This was a quart jar.
Martha
I pick.ed up this idea from Pinterest just this year. I've been looking for some lighting ideas for my holiday table that will delight my grandboys and I think this is it! Thank you!
Sherry Laemmle
Use the tea lights that have the timer switch ! Set them so they come on at 6pm!
Sara
I love that idea, Sherry!
Rhonda
Great idea with magnet! Thank you
Sara
Thanks, Rhonda!
Terry
Wonderful decor for the holidays, cute gift idea also. Thank you.
Ruth Atkins
Would a hot glue gun work for adhering the magnet or does it have to be Super Glue?
Sara
I bet hot glue would work just fine!
Marlene
Hi Sarah,
I love your idea for this snowglobe! I tried making some last year and they really needed some light but I could not figure out how to get the tealight in the jar to turn it on. A magnet is perfect! I am usually very crafty, but I missed on that one lol! Thank you for this!
Sara
You are so welcome, Marlene! Good luck with your snow globes!
Colleen McGaughey
This is such a cute idea. I would like to make these as gifts for co-workers, but I wouldn't want to glue the figure into the jar. Is there a way to keep it from toppling over if the jar has to be transported?
Sara
You could maybe try rubber cement? Rubber cement could be removed whereas glue could not.
Robyn
I was thinking of using "blue tac" or something similar to secure the decorations and unless they pick up the jar and look underneath it, the snow would hide it. Also wouldn't wreck the ornaments.
Sharon Bedard
I love the luminaries. I'm going to try it with angels as a table decoration for our church Christmas party.
Thank you for the great idea.
Sara
I love the idea of angels!! Good luck!