Want to Save This Recipe?
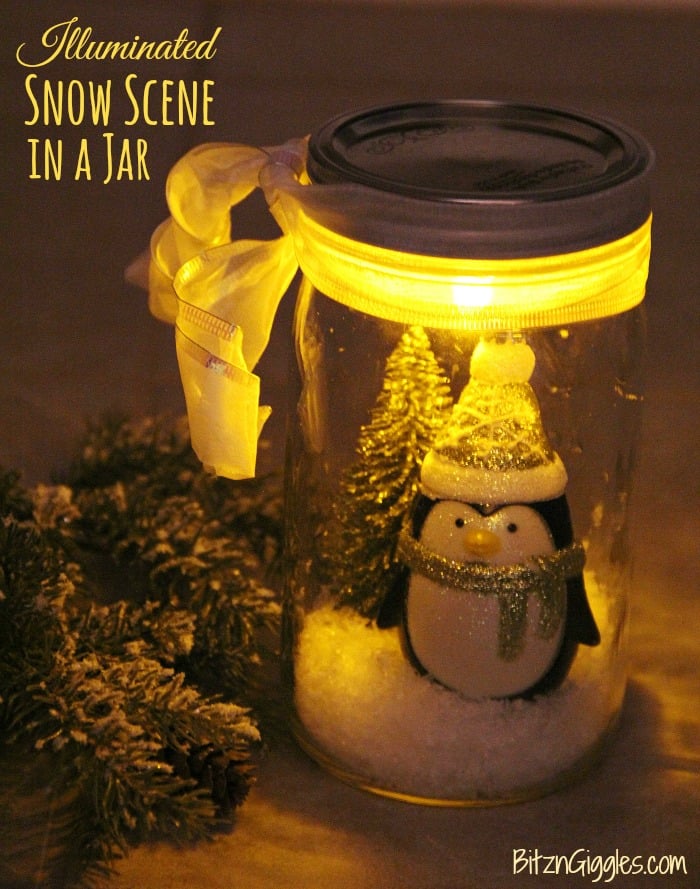
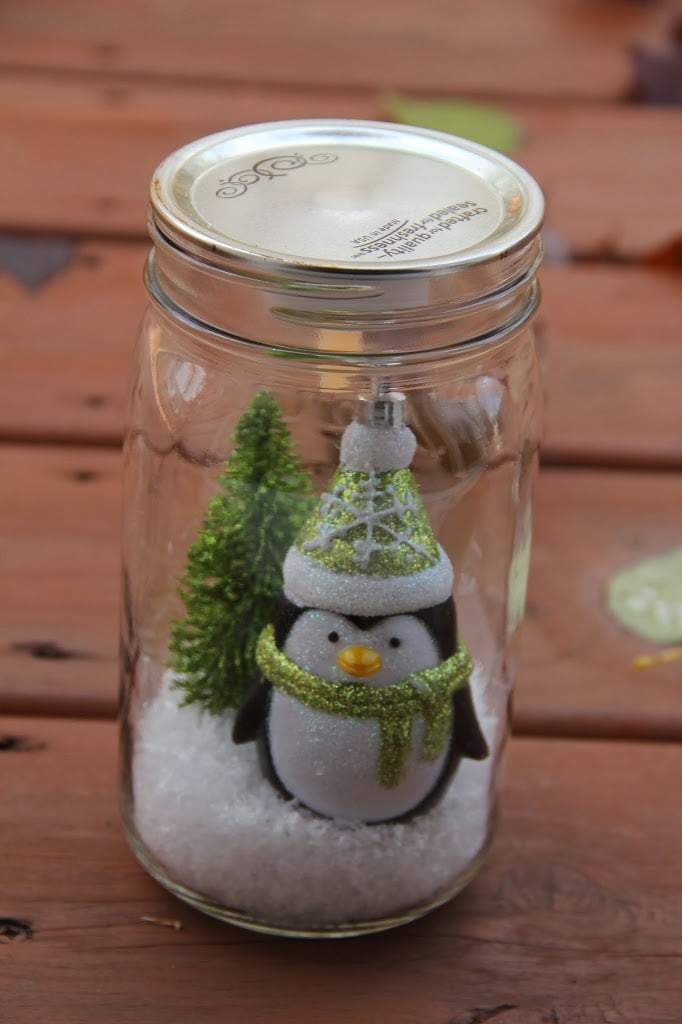
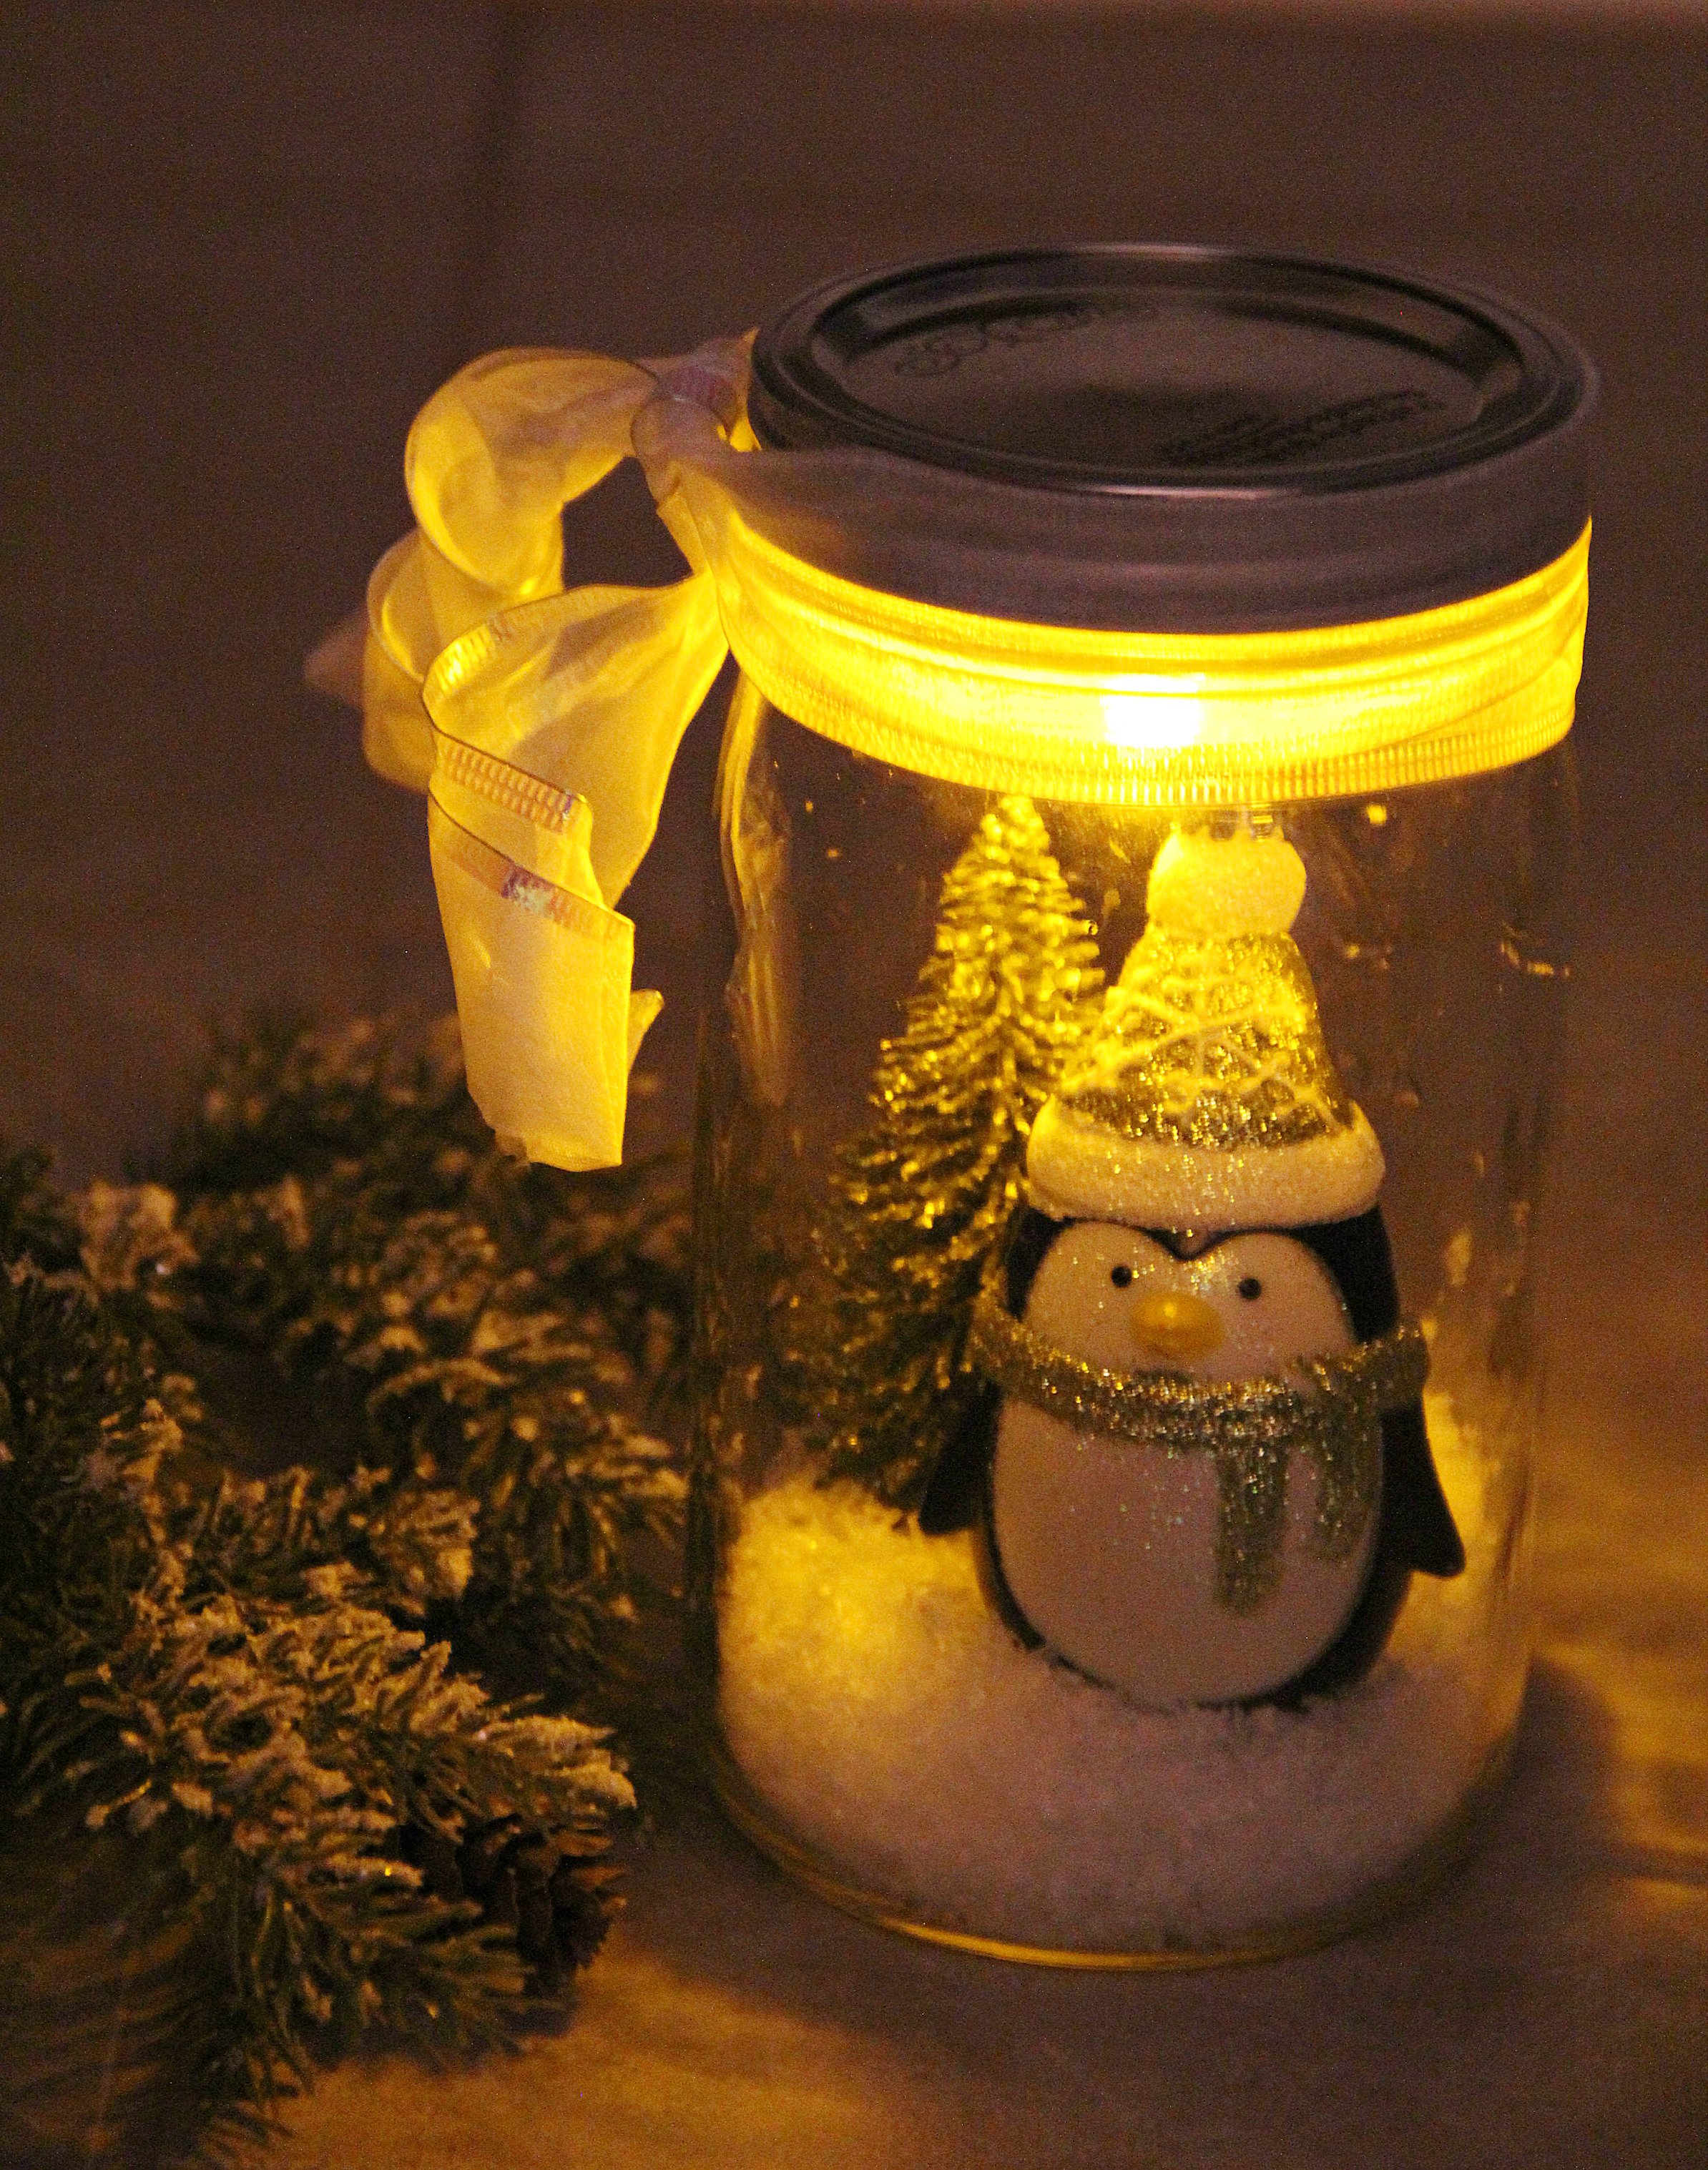
As a child I loved snow globes. It's like a little magical place inside of a jar. To this day, I have an admiration for anything glass with something cute or beautiful inside it. And it's not only the glass and the scene inside. . . if it's lit, it's even more magical.
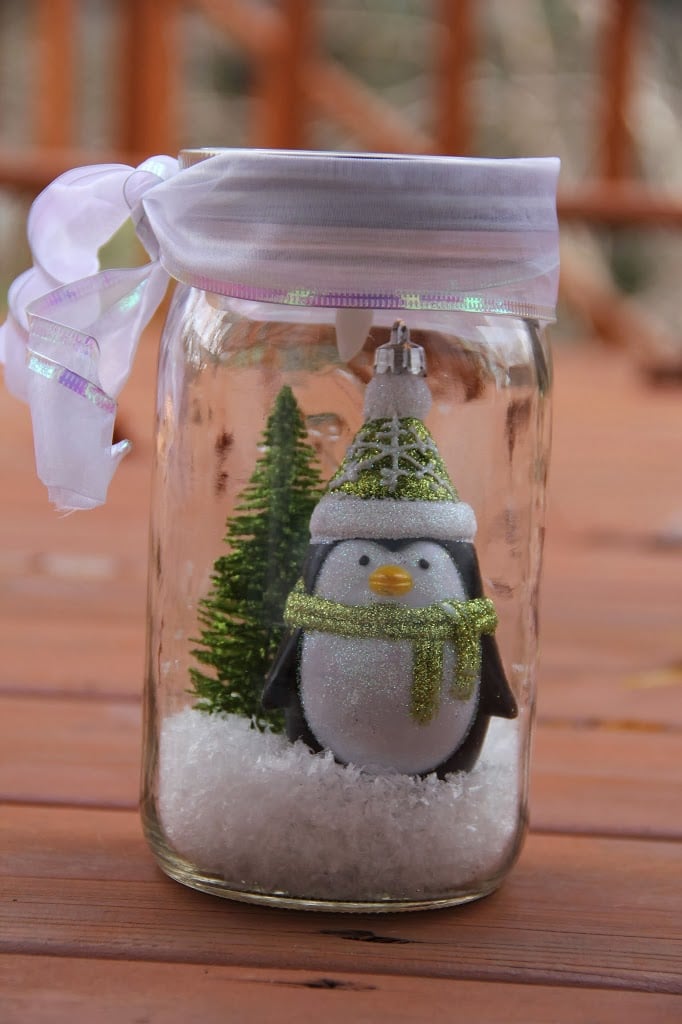
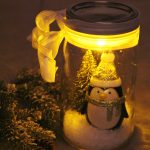
Today I'm going to show you how you can make your very own illuminated snow scene right inside of a mason jar. I have to say that when I thought of this, I thought it was pretty brilliant and I bought some ice cream that day to celebrate. I've never seen a tealight used this way in a DIY project. Maybe you have. If you have, don't let me know about it. It will completely burst my bubble.
Here's what you need to make your own magical scene inside of a jar:
- Wide mouth mason jar with lid and cover (Kerr brand is the best because one of the sides of the jar is clear)
- Battery-operated tealight
- Button magnet
- Glue
- Faux snow
- Ribbon
- Whatever you'd like to place in your jar (I found the snowman and tree in the Christmas section at Walmart and both were under $1)
LOOKING FOR MORE
CHRISTMAS INSPIRATION?

Merry & Bright Christmas Label
Illuminated Snow Scene in a Jar
Materials
- Wide mouth mason jar with lid and cover
- Battery-operated tealight
- Button magnet
- Glue
- Faux snow
- Ribbon
- Whatever you'd like to place in your jar
Instructions
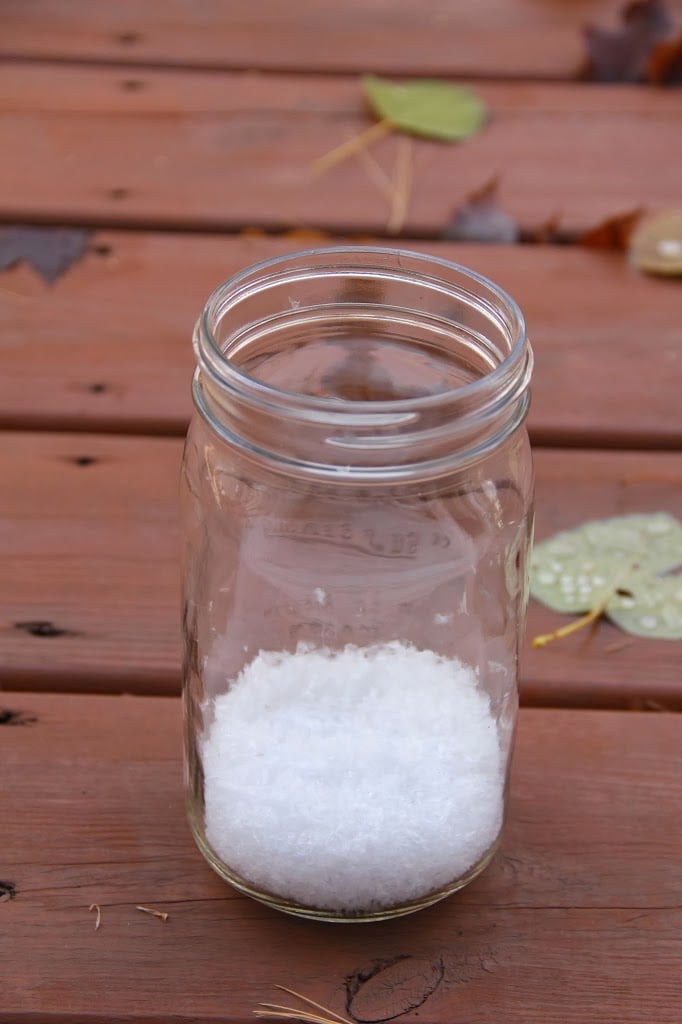
- The first thing you want to do is grab your mason jar and put the faux snow inside.
- Put in just enough to be able to cover the bottoms of your figures. I did this part outside because I didn't want snow all over the house. This stuff can get a bit messy.
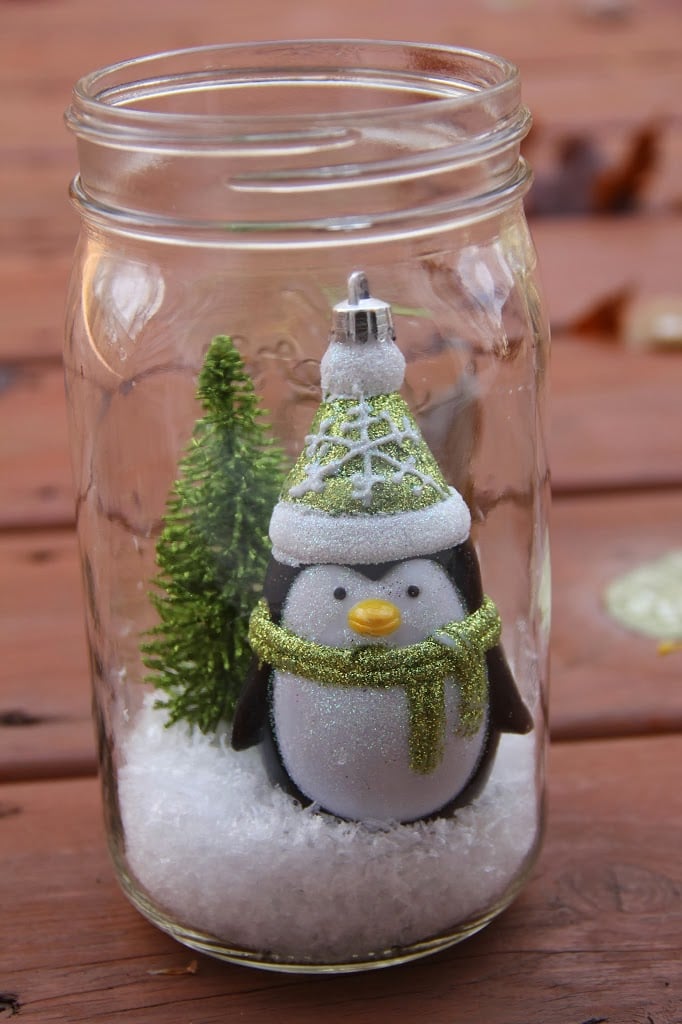
- Now place your figurines or items in your jar. If you really want to secure them well, you could glue them to the bottom of the jar before you add the snow, but I like to reuse my jars, so I left my penguin and tree free-standing.
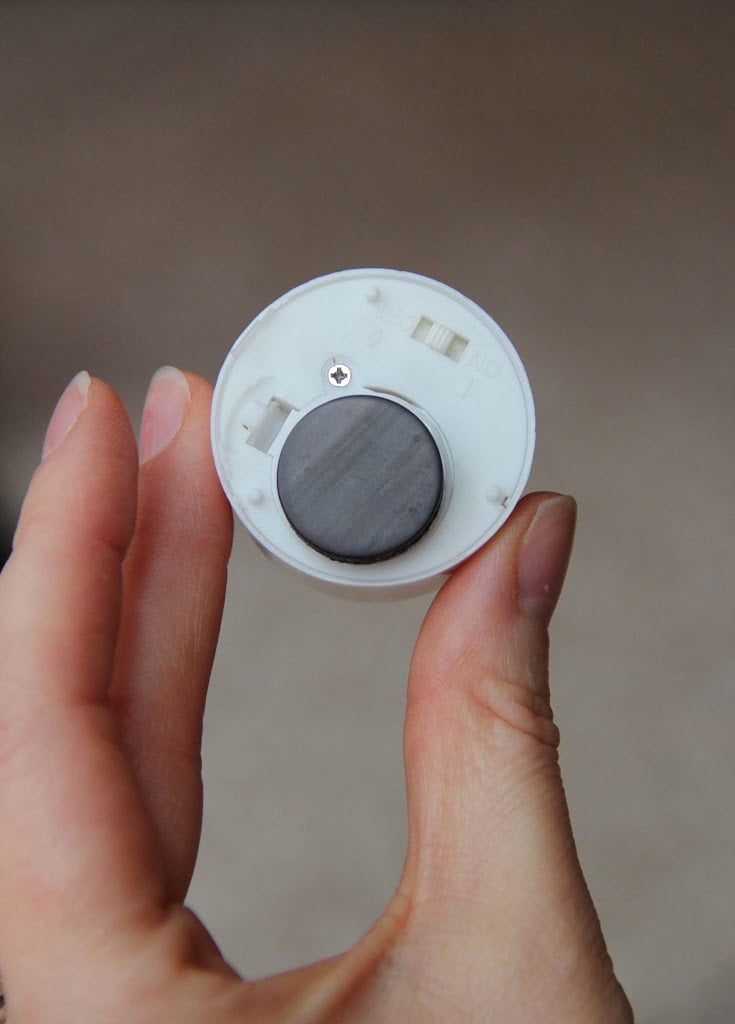
- Pick up your tealight and adhere the magnet to the back with glue.
- Position it so you can still open the back to remove the battery if needed. The button magnet fits perfectly to allow access to the battery.
- Now, place your tealight on the inside portion of the mason jar lid. I turned my tealight on to make sure it was working properly, as well. Turn the lid upside down and give it a good shake.
- Does the tealight stay attached to the lid? If so, it means your magnet is strong enough. If not, you may need to try and find a stronger magnet. My button magnet seemed to work just fine.to
- All you really need to do to turn your tealight on and off is to unscrew the top of the jar and flick the switch on the back of the tealight.
- Just put the lid with the tealight back on the jar and then screw on the top.jar,
- Then I tied a bow around the top of the container just to dress it up a little more. The ribbon I used is white iridescent so it kind of picks up whatever color is around it.
Notes
- Proper Placement of Faux Snow and Figurines: When filling the mason jar with faux snow, ensure you add just enough to cover the bottoms of your figurines or items. This allows them to stand securely in the snow without being buried or unstable. Consider doing this step outside or in a designated area to minimize mess. If you prefer a more permanent placement, consider gluing the figurines to the bottom of the jar before adding the snow.
- Secure Attachment of Tealight: Adhere a button magnet to the back of the battery-operated tealight using glue. Position the magnet in a way that allows access to the battery compartment for easy replacement. Test the strength of the magnet by placing the tealight on the inside portion of the mason jar lid and giving it a gentle shake. Ensure the tealight remains securely attached to the lid; if not, consider using a stronger magnet for better stability.
- Convenient Tealight Operation: To operate the tealight, simply unscrew the top of the jar and flick the switch on the back of the tealight to turn it on or off. The lid with the attached tealight can then be placed back on the jar and screwed tightly for a secure closure. Enhance the aesthetic appeal of your illuminated snow scene by tying a decorative ribbon around the top of the container. Choose a ribbon that complements the scene and adds a festive touch to the finished product.

Pam
I absolutely love this idea!!!! I have a ton of mason jars sitting around. Now I have a neat idea of something really awesome to make for my Grand kids!!!! Thanks!!!
Sara
I hope you have fun making them!!
Iris
What size button magnets did you use, half an inch or 3/4 of an inch?
Sara
I believe they were 3/4 of an inch, Iris!
Amber
I think I will begin a tradition of letting each child choose a trinket and make one of these each year. I love "yearly" crafts that can be displayed like this!
Sara
What a great idea, Amber!!
Erin
How tall are the trees and figurines?
Sara
Erin, maybe 2-3 inches or so? They were just mini figurines I found at Walmart in the Christmas section. I bet you could find some there today since all of the Christmas stuff is already coming out!
margaret colby
Hi having trouble getting magnets to stick to tea light any ideas
Sara
Hi Margaret! You may need a stronger glue. Are you using a super glue?
Linda
This is brilliant. I made ones at Christmas with little lights in it but always struggled to make the battery box hidden Since you still need to be able to turn them on and off I would leave it outside the jar and try to hide it behind the jar. This is a much better solution!
Sara
I hope you try it, Linda!
Barbara
How clever, cute and simple! Not to mention magical! As one who has become addicted to faerie gardening of late, this is a perfect extention of that hobby for me, especially since I've been looking for a way to add some soft lighting to our sunporch. I can scatter these little vingettes here and there, add a touch of whimsy and still have soft lighting in the evening hours = all i n all, a great idea, thanks for sharing this.
Bonnie
Thank you for the clever craft idea!
Sarah
I love this idea? Quick question - what size mason jar did you use??
Sara
Hi Sarah! I used a quart size mason jar with a wide mouth.
Susan Boop
Love this project and I'm still giggling about celebrating your brilliance with ice cream!
Sara
Susan, thanks! LOL I celebrate the little things in life. Honestly, any excuse to have cake or ice cream. . .I'm in.
Tina Maria Ratzke
Wow, this is so simple and cute. When I was a kid my mom would have us do a version in a baby food jar with distilled water and glitter. This is so much better. Thanks for posting. Happy Holidays!
Sara
Tina, I love the DIY snow globes, too, but what I love about this project is that it's lit. Happy Holidays to you as well!
Angela Beattie
I love this illuminated scene in a jar, I'm definitely going to be making some this coming Christmas, thanks for the idea.x
Sara
You're going to love them Angela! Good luck!
sylwia chamera
Such a wonderful idea! Do you also know how to preparea snow scene like this in the jar with liquid? As a child I loved to collect them.
Sara
Karen, hope your childrens' teachers enjoyed the gift! They're so fun to make!
Karen Crenshaw
Love this! Such a great present for my children's teachers!