
Want to Save This Recipe?
June is National Dairy Month. If you're from Wisconsin, that's a pretty big deal. It's a month dedicated to all of the wonderful foods our state is so well known for. We have dairy breakfasts, we have dairy fests, we have dairy queens, we have dairy raffles and the list goes on. In our home we consume a lot of milk and cheese. I've even included photos of the inside of my freezer here on the blog so you all could see how much ice cream we can cram in there at one time.
The treats I'm sharing today look like ice cream cones, but they're obviously not. Shame on me. Getting you all excited about ice cream and then not delivering the real deal. If you're looking for a great ice cream recipe (for adults), check out my Brandy Alexander Ice Cream. So good! So back to my non-ice cream dairy month treat. Am I making any sense yet?
What I like most about these Rice Krispie Treat Ice Cream Cones is that you can prepare them the night before and they're not going to melt. The day you serve them, they can sit out on a platter for 30 minutes and they're not going to melt. If you give one to a 2-year-old. . .yep, you know what I'm going to say. . .it's not going to melt.
I guess what I'm trying to say is that these cones are a super fun treat the whole year through and are always a hit with the kiddos. Why? Well, because most children LOVE ice cream. Being that this is dairy month, I thought it was a perfect time to share the recipe. . .even though it's not ice cream. Did I mention that already?
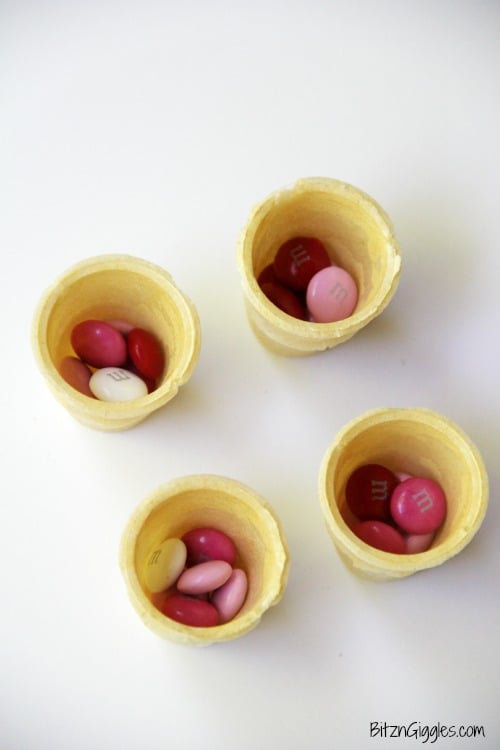
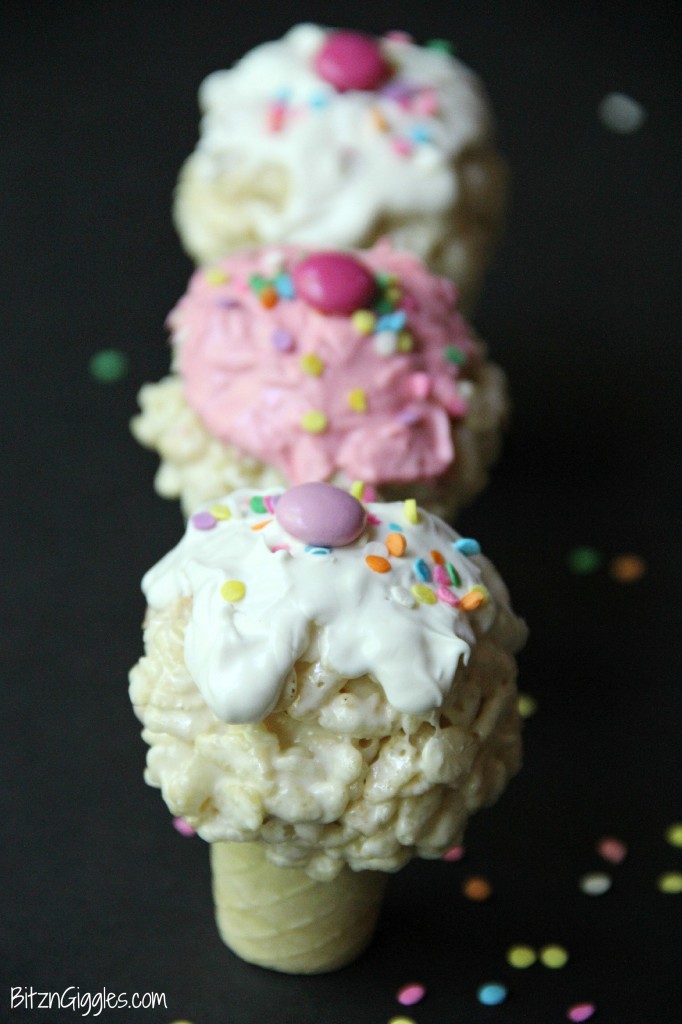
When I make these treats, I use the mini Joy Cones. To keep the cones upright so they don't tip over, I usually throw some M&Ms in the bottom of each cone. I put in about five candies per cone.
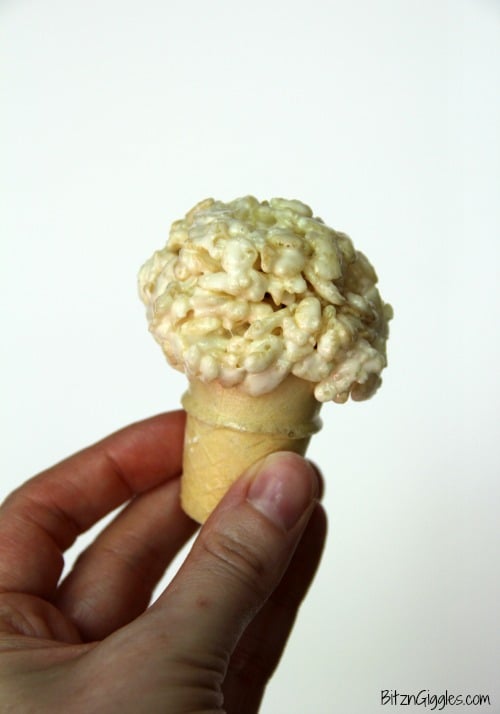
After I prepare the rice krispie mixture, I spray a spoon with nonstick cooking spray . Alright, let's be honest, I don't just spray the spoon, I spray both of my hands - all over. You have to. Trust me. So, anyway, I put about one tablespoon of the mixture into the cone, two tablespoons on the top of the cone and then shape it a bit using my hands to make it look like a scoop of ice cream.
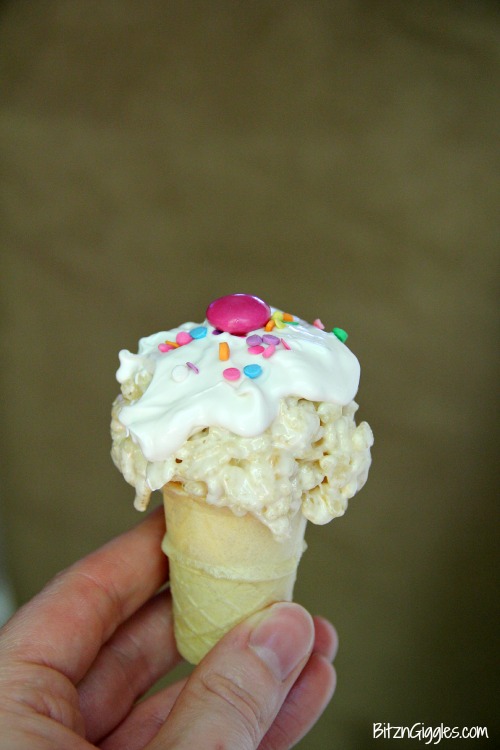
I even form a couple little drips of the rice krispie mixture coming off the cone. When I spoon on the candy melt, I try and get that to drip down the sides of the cone a bit too. I kind of have a love/hate relationship with candy melts. It's the consistency that I struggle with at times. The candy often turns out thicker than what I need and then I find myself having to doctor it up a bit.

I'm starting to feel kind of guilty about this June Dairy Month thing. A part of me wishes I never really even brought it up. Aww. . .heck. The cows around here know I could never live without 'em.

In fact, I think the cows would probably love to have a lick of these cones. It would have to be an improvement to all of the grass and hay they consume on a daily basis, don't you think? I mean, if I eat salad more than two days in a row, it's not pretty. I become very hangry. That's hungry and angry all combined into one if you didn't already know. Horrible. Poor cows.
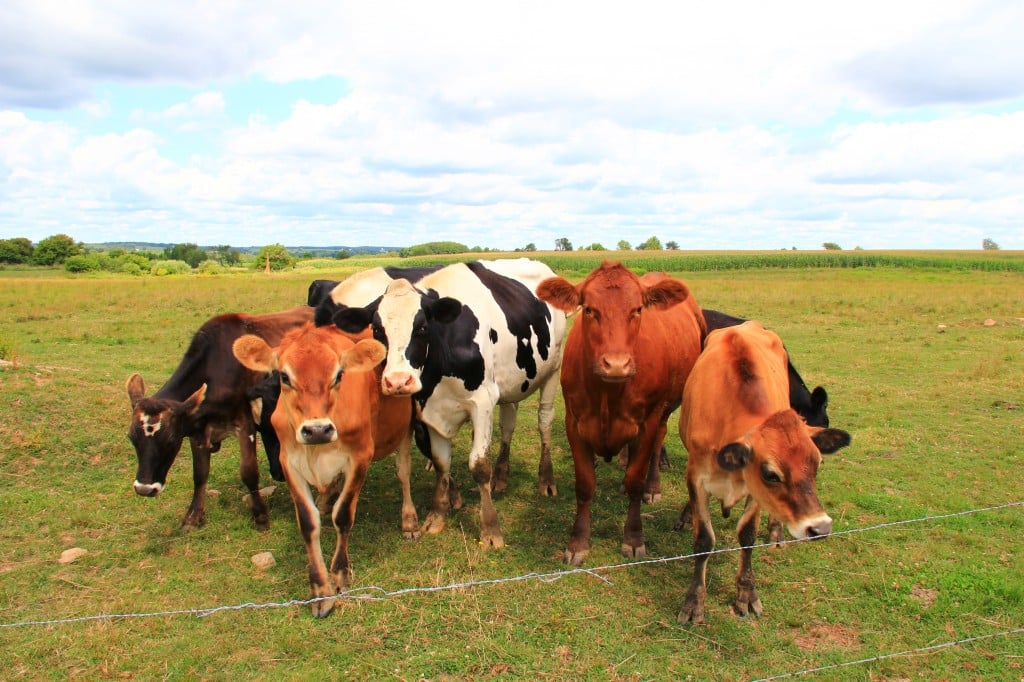
HA! Where did these girls come from you ask? My hubby's grandparents have a farm that's only about 30 minutes from our house. We're there quite often. And when I took this picture, I promised them they'd make it on the blog for June Dairy Month. Little did they know the post they'd be featured in would be about rice krispie treats. Shhh. Don't tell. Good looking group of girls though, huh?
If you think I'm crazy, I am. I think it's pretty crazy you're still reading all of this. Crazy cool, that is. And I bet if you make these fun treats for your kids, they'll think you're pretty crazy cool, too. Happy June Dairy Month, friends!
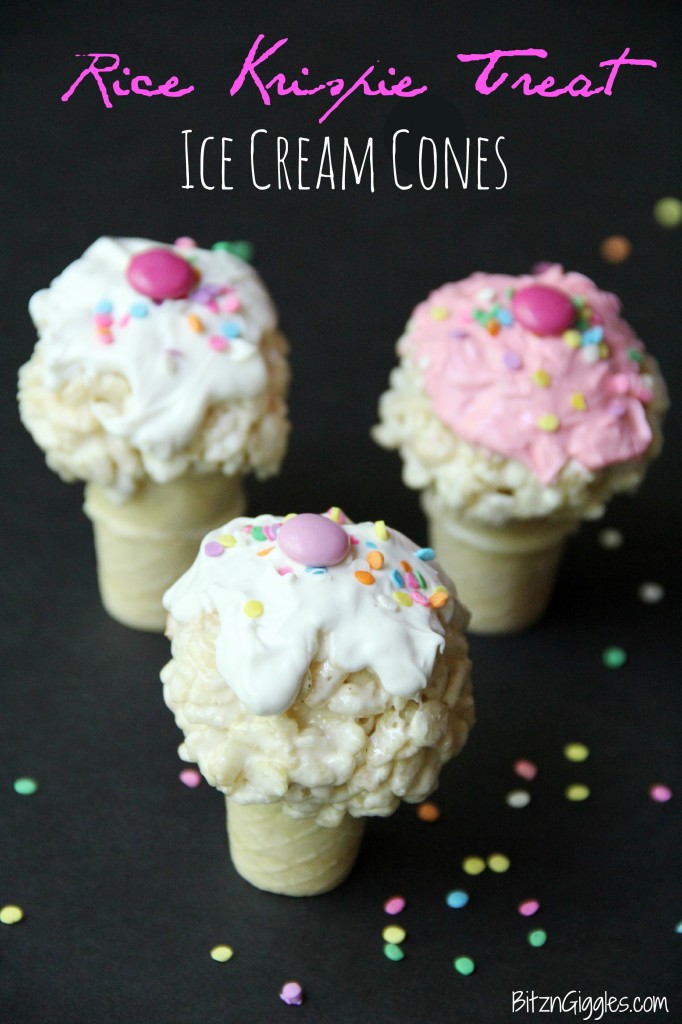
Rice Krispie Treat Ice Cream Cones
Ingredients
- Joy Kids Cones (mini cones)
- Wilton Candy Melts
- Sprinkles
- M&M candies
- 3 tablespoons butter
- 4 cups JET-PUFFED Miniature Marshmallows
- 6 cups Rice Krispies cereal
Instructions
- Melt butter in a microwaveable bowl along with the marshmallows stirring every so often until marshmallows are completely melted.
- Add the Rice Krispies to the bowl and stir until well coated.
- Place about 5 M&Ms into each of the cones.
- Add one tablespoon of the rice krispie mixture to the inside of the cone and two more tablespoons to the top of the cone.
- Use your hands to shape the mixture to look like a scoop of ice cream.
- Melt the candy melts and drizzle some of the candy over the ice cream cones with a spoon.
- Add some sprinkles and top with an M&M candy.
- Let the cones set until cooled and store in a Ziploc bag or covered container to retain freshness.
Notes
- Ensure Proper Coating: When mixing the Rice Krispies with the melted marshmallows, make sure to coat the cereal evenly for a cohesive texture. Stirring thoroughly ensures that every Rice Krispie is coated with the marshmallow mixture, resulting in uniform and delicious treats.
- Mind the M&Ms Placement: Distribute the M&M candies evenly inside the cones to ensure that each bite offers a burst of chocolatey goodness. Placing them strategically throughout the cones ensures that every portion of the treat is filled with delightful surprises, enhancing the overall eating experience.
- Precision in Shaping: Take your time shaping the Rice Krispie mixture to resemble scoops of ice cream. Using your hands, gently mold the mixture to achieve a realistic ice cream cone appearance. Pay attention to details like texture and height to create visually appealing treats that resemble miniature ice cream cones.
A T
This recipe was fun and easy to make. Instead of using Rice Krispie cereal, we added
rainbow Fruity Pebbles cereal (because I liked it more) so it added new flavor. Instead of using mini cones we used big ice cream cones which let us put more treats inside. I recommend this recipe!
Julie V.
I always spray my hands with non-stick spray when working with Rice Krispie Treats too!
One time my landlord came knocking right as I had handfuls of them stuck to my hands. I'm looking at my hands, wondering how I'm going to get the door...
Sara
Too funny, Julie! Not one of those situations you can yell, "Come on in!" LOL
Glenna @ My Paper Craze
These little cones are adorable! I'll bet the kids love them. Thanks for sharing with Creative Spark Link Party.
Glenna @ My Paper Craze
Stephanie
SO fun! Thank you so much for linking up at Tasty Tuesday! Your recipe has been pinned to the Tasty Tuesday Pinterest board! Please join us again this week!
Carrie Groneman
What a GREAT idea! Thanks for linking up at Wonderful Wed Blog Hop. Carrie, A Mother's Shadow
Serene @ House of Yumm
Sara, these are so FUN! My girls would love these. Who am I kidding, I would love these!! Best part, they won't melt!
Sara
Thanks so much, Serene! You've been rockin' it this week with your desserts! Way to go, girl!
Lori Hart
Wow what an awesome sweet treat! I found you over at Pint Sized Baker’s Two Cup Tuesday party. I host Tickle My Tastebuds Tuesday and would love it if you linked up this recipe. I’m sure our party goers would love it as much as I do. Here is the link http://bit.ly/1l4cu0j. Have a wonderful day!!
Sara
I've already linked up! Great minds think alike, Lori! Hope you're having a great day as well!