Want to Save This Recipe?
This post contains affiliate links. Please see my disclosure policy.
The winter can be brutal on your skin, am I right? I wash my hands a crazy amount of times each day, and in the winter, my skin suffers to the point I need intense intervention. Can you relate?
What about the heels of your feet? Your elbows? You know what I'm talking about. Dry. Cracking. Hurting. Ick. Enough is enough.
There are only a few lotions and creams I buy at the store that actually do a good job at hydrating my skin, the rest are so thin and weak. They don't last very long and they never really feel like they've "soaked" into your skin. At least to a point where they would offer some relief from the dryness.
Today I'm sharing a natural alternative to store bought skin lotion. These bars moisturize deeply, go on creamy and you can see the difference on your skin right away. Seriously? Seriously. I'm going to show you some before and after photos in a bit.
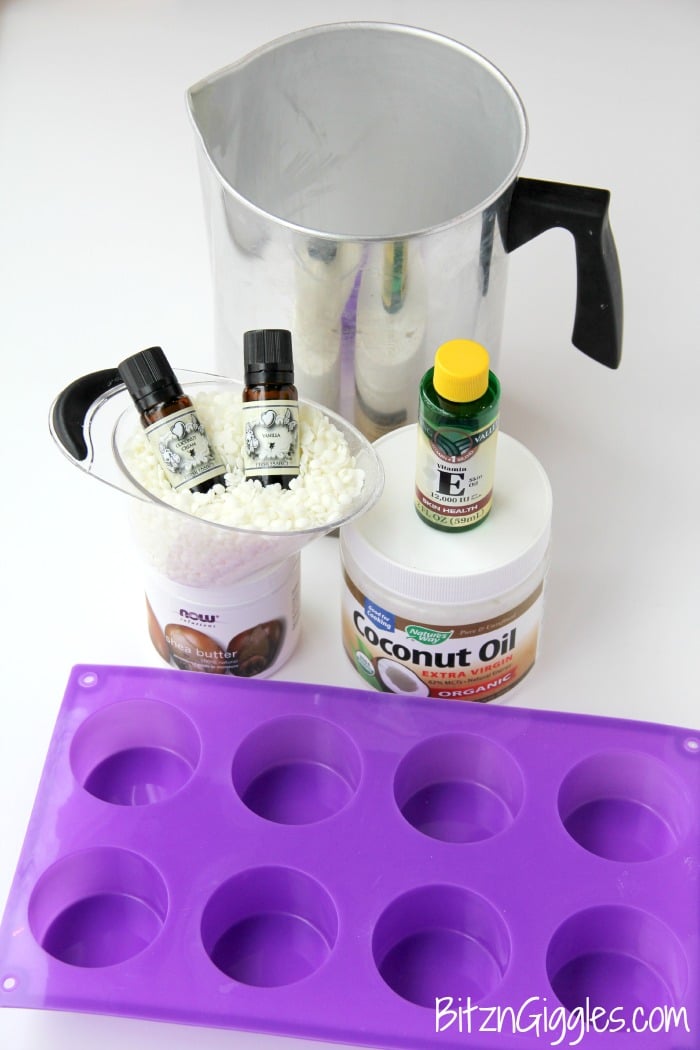
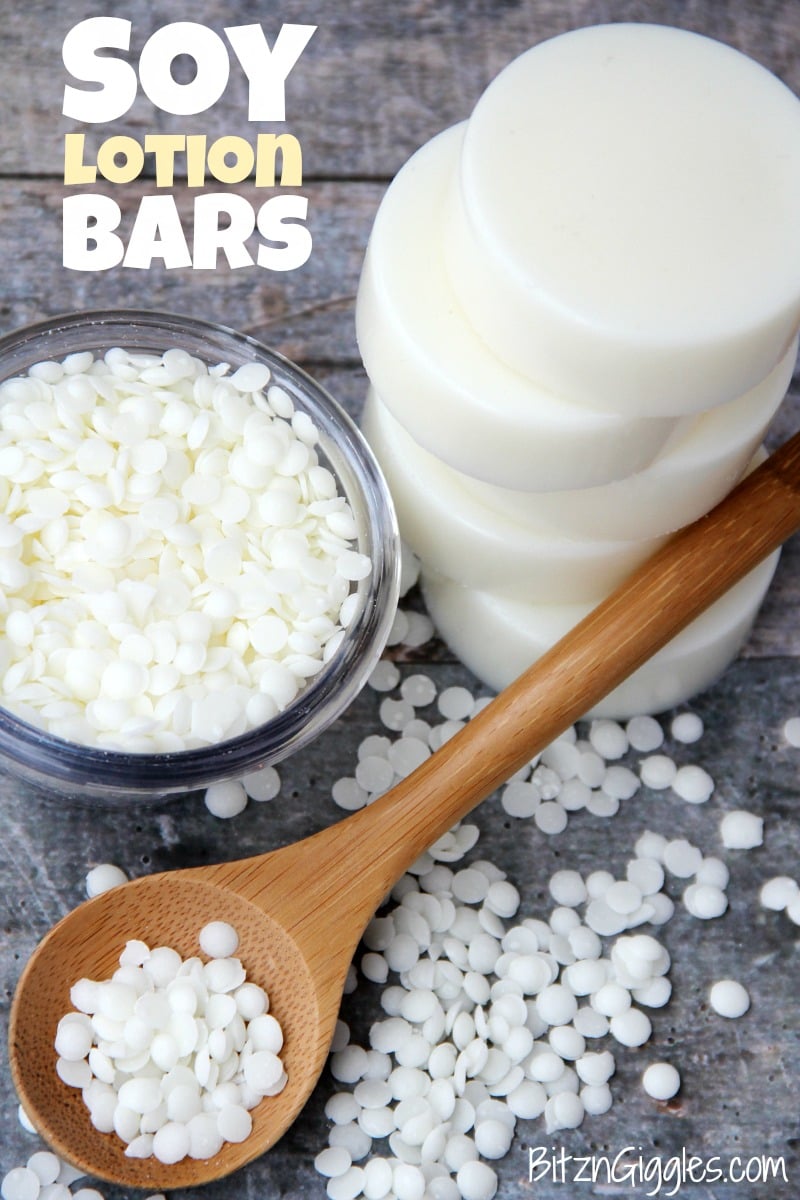
So, here's what you're going to need for the Soy Lotion Bars:
Ingredients and Materials
- 1 cup coconut oil
- 1 teaspoon vitamin E
- 1 cup soy pastilles
- ½ cup shea butter
- 15-20 drops essential or fragrance oil
- Silicone mold or mini muffin pan
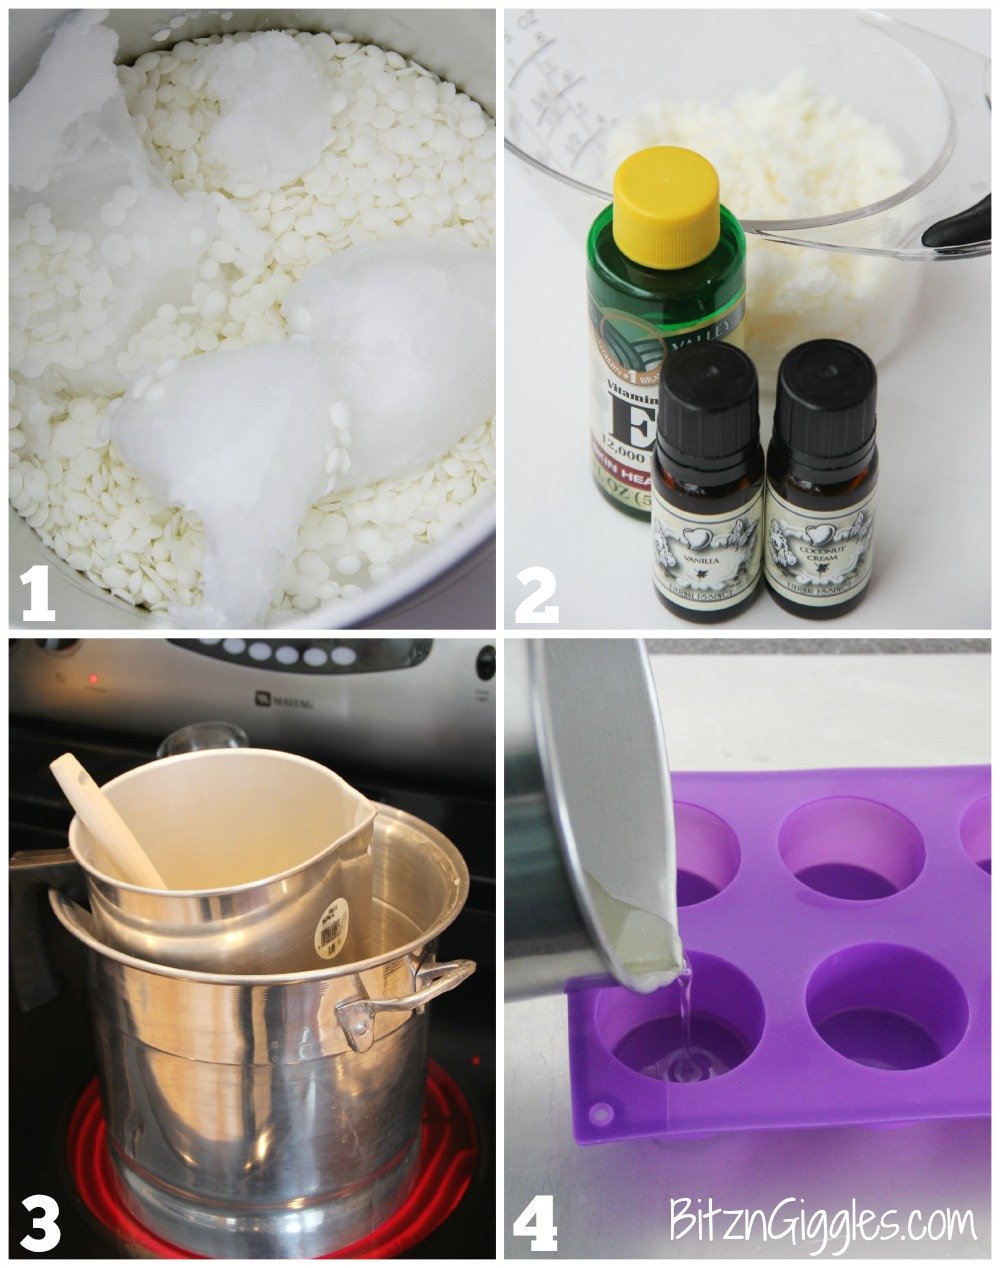
Instructions
- Using a double boiler method, warm the coconut oil and soy pastilles over medium-high heat on the stove until melted (You could also melt the ingredients in the microwave, watching them closely).
- Remove the mixture from the burner, allow to cool for about a minute and add the shea butter and vitamin E oil.
- Add your essential oil. I added 10 drops vanilla and 10 drops coconut cream. Mix well.
- Pour the mixture into your mold and allow to set for at least a day before you pop them out.
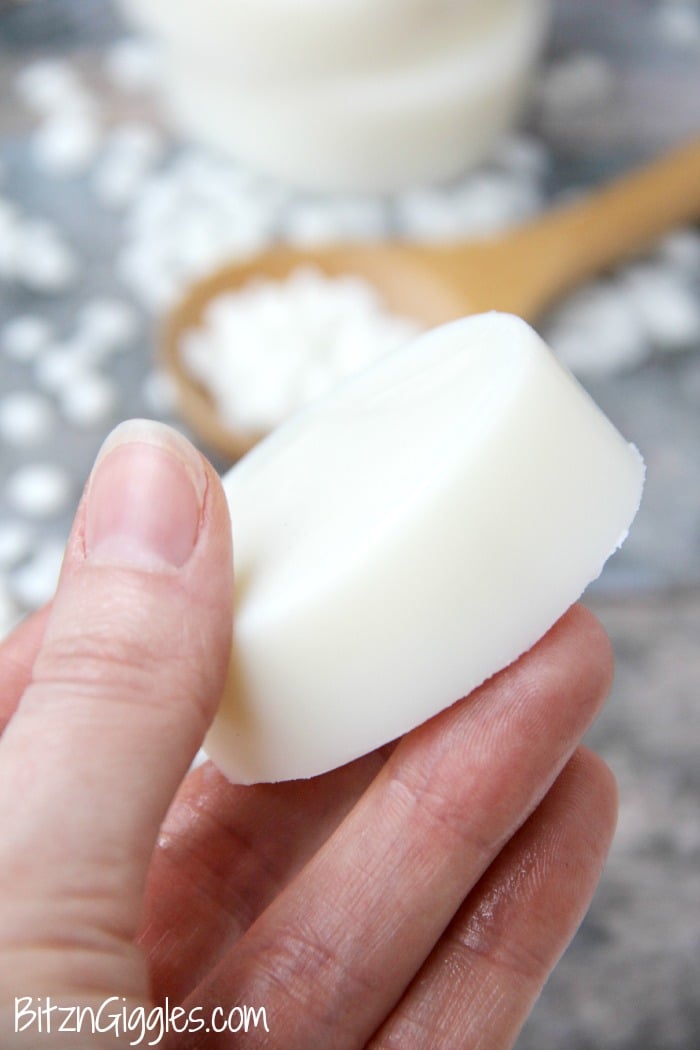
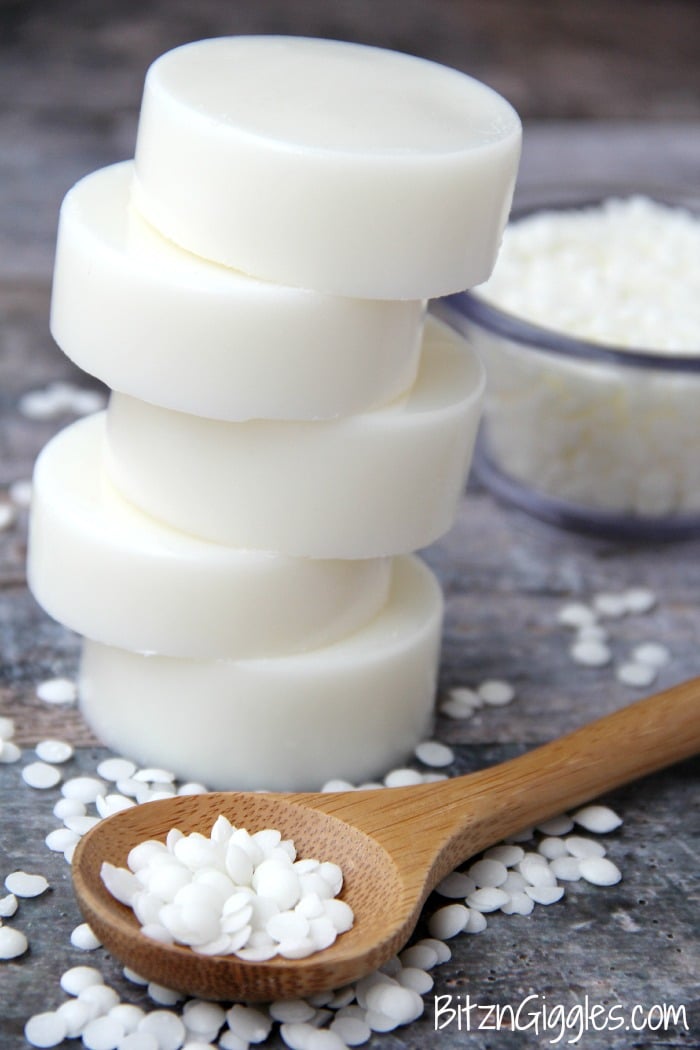
Here are what mine looked like when I popped them out of the mold. Now here's the thing. . .you could make these bars with either beeswax or soy pastilles. I like soy because it's softer and creamier. HOWEVER, there's one important thing to keep in mind if you use soy.
These bars should be refrigerated between uses, otherwise they could get very soft if left out over time or if taken into too warm of temperatures. DO NOT put these in your purse or place them in a drawer. Got it?
Let me show you why I love soy in these bars. You can see your skin rehydrating as you use these bars. My favorite parts of the body to use these bars are my legs and elbows.
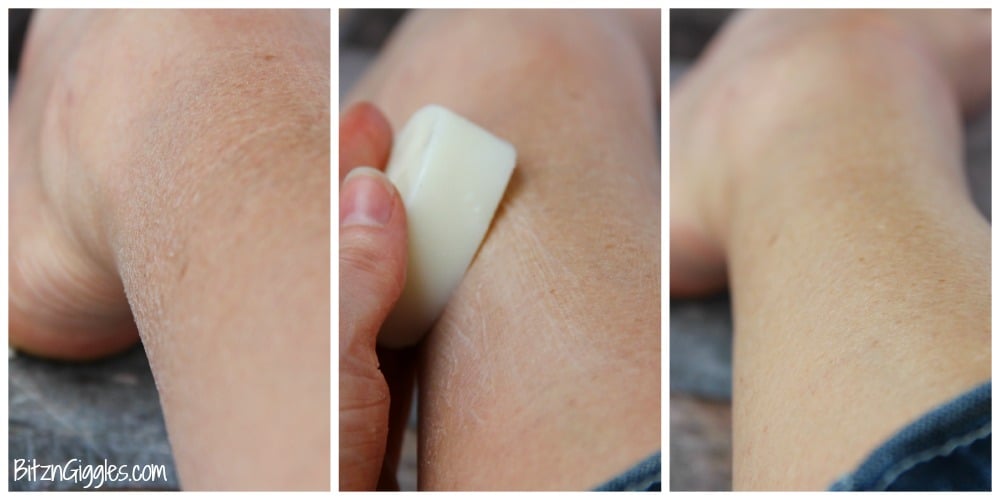
So, the photo way over here to the left is the dry skin on my left calf. Ugh. This is what Wisconsin winter skin looks like. I'm sorry - this is for demonstration purposes only. When I apply the soy lotion bar, you can see the creaminess of the formula right on my skin. The picture over to the right is what my leg looked like seconds after I applied the bar to my skin. No more dryness. My legs looked smooth, shiny and hydrated.
These bars are awesome any time of the year and make your legs look beautiful after shaving. Make some of your own bars just in time for summer. They sell these bars for $10-12 dollars at beauty retailers - sometimes more.
You can make these bars for much less at home and use whatever essential or fragrance oil(s) you would like. I used vanilla and coconut. What a wonderful combination. They smelled incredible.
The recipe I shared today made the full eight bars out of the mold I used. I'm SO excited about sharing these with my family and friends and can't wait to make some more! I hope you try them, too!
Soy Lotion Bars
Materials
- 1 cup Coconut oil
- 1 teaspoon Vitamin E
- 1 cup Soy pastilles
- ½ cup Shea butter
- 15-20 drops Essential or fragrance oil
- Silicone mold or mini muffin pan
Instructions
- Using a double boiler method, warm the coconut oil and soy pastilles over medium-high heat on the stove until melted (You could also melt the ingredients in the microwave, watching them closely).
- Remove the mixture from the burner, allow to cool for about a minute and add the shea butter and vitamin E oil.
- Add your essential oil. I added 10 drops vanilla and 10 drops coconut cream. Mix well.
- Pour the mixture into your mold and allow to set for at least a day before you pop them out.
Notes
- Temperature Control: When melting the ingredients, avoid overheating them, as high temperatures can degrade the beneficial properties of the oils and butter. Use gentle heat and stir frequently to ensure even melting without scorching.
- Customization: Experiment with different essential oils or fragrance oils to create personalized scents for your lotion bars. Consider combining complementary scents or adjusting the quantity of oil to achieve your desired level of fragrance intensity.
- Mold Selection: Silicone molds are ideal for making lotion bars as they allow for easy removal without sticking. If using a mini muffin pan, consider lining it with parchment paper or using a non-stick spray to prevent the bars from sticking to the pan. Additionally, choose molds with shapes and sizes that are convenient for application and storage.
Andrea
Thanks for this! Can I replace the fragrance oil with rose water? (the byproduct of essential oil making, not fragranced water)
Sara
Hi Andrea, I don't see why not! Let me know how they turn out!
Antonia Sherrod
I'm a diabetic and have VERY DRY skin that cracks and sometimes bleed instead of soy wax would bee wax make it firmer that you can leave it out or what about olive oil. Thank you SO MUCH for your help found your site by accident and love your idea.
Sara
The beeswax would definitely make the lotion bars firmer. You can, however, leave the soy bars out in a cooler area of your house.
jackie
Would adding stearic acid make this recipe "purse" safe?
Anonymous
What would happen if you used coconut oil instead of shea butter
Sara
I don't think the bars would be as "stable." Shea butter can hold up a bit better than coconut oil.
LaDonna
I love the old Lavishea bars, which only used soy wax, shea butter, and essential oil for fragrance. I've tried making bars using cocoa butter, beeswax, vitamin E or some other therapeutic oil, but they always come out greasy feeling. Now I make my bars with a 1:1 (by weight) mix of soy wax and shea butter, plus fragrance, and my skin feels moisturized without feeling greasy. I just wanted to add that here in case anyone likes a 'dry' lotion bar, like me. 🙂
Turenne
Those soy lotion bars look awesome! I do have dry skin pretty much all the time and in the winter, it's just worst. I heard a lot of great things about coconut oil. I guess it's a good combination with soy from the results you are showing. Healthy solutions are always a keeper for me, so I'm going to give this one a try and see how my skin likes it.
Sara
I love those lotion bars, Turenne. I'd love if you come back and let us know how they worked for you once you try them!
Shelley Harding
Can you use cocoa butter instead of shea butter?
Sara
You should be fine using cocoa butter. Shea butter tends to melt on contact with your skin while cocoa butter is a bit harder. You should be okay though!
erin from joliette
Made this last weekend! Love love love it! 🙂
Sara
I'm so glad you love them, Erin! I just used mine this morning before I ran out the door with shorts on!!
Brandi Clevinger
My feet get so dry and cracked during the winter and summer months. I prefer homemade products particularly the ones that include essential oils.
Thanks for sharing at Inspire Me Mondays!
Diane Roark
I love your post. I am waiting on an order of essential oils. I got excited reading about your soap.
Thank so much for linking up to Pretty Pintastic Party. I pinned! Yummy!
Blessings,
Diane Roark
ouramericantravels
recipesforourdailybread
Jesica
This is just what I needed! My skin is dry already but this winter it got to the point of my hands just randomly splitting and bleeding (ick!). I've been trying to move away from store bought products with chemicals so I can't wait to try these out 🙂
Sara
Jesica, in the winter my hands are the same way. I love these lotion bars because they go on so smooth and you can actually see the lotion on your skin. They're much softer than bars made with beeswax! Don't forget to keep them cool!