Want to Save This Recipe?
So, October is here and I'm starting to accept that fall is upon us. I have to admit that I'm kind of excited about creating some fun Halloween decorations this year. This spider is a simple project to do with your kids that they'll absolutely love. We started the project after school and work today and finished it before bedtime.
Here's what you'll need:
-
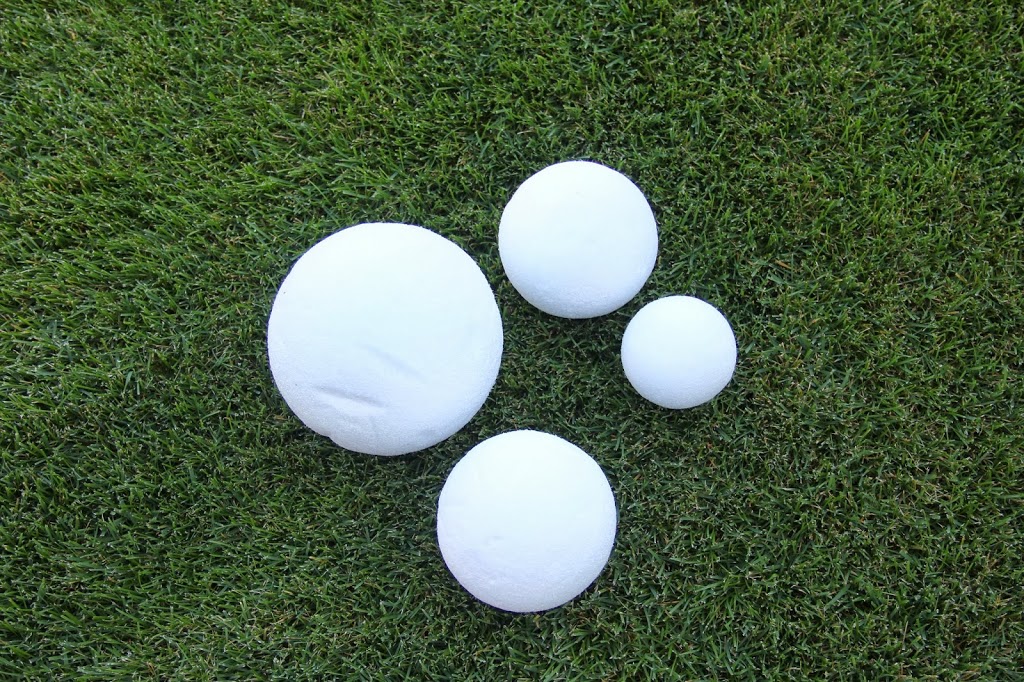
Styrofoam balls of varying sizes (You'll need one larger ball and one smaller ball for each spider)
-
Black spray paint
-
Pair of disposable gloves
-
Cardboard box
-
Two wooden BBQ skewers
-
8 black pipe cleaners
-
Glue
-
Acrylic gems
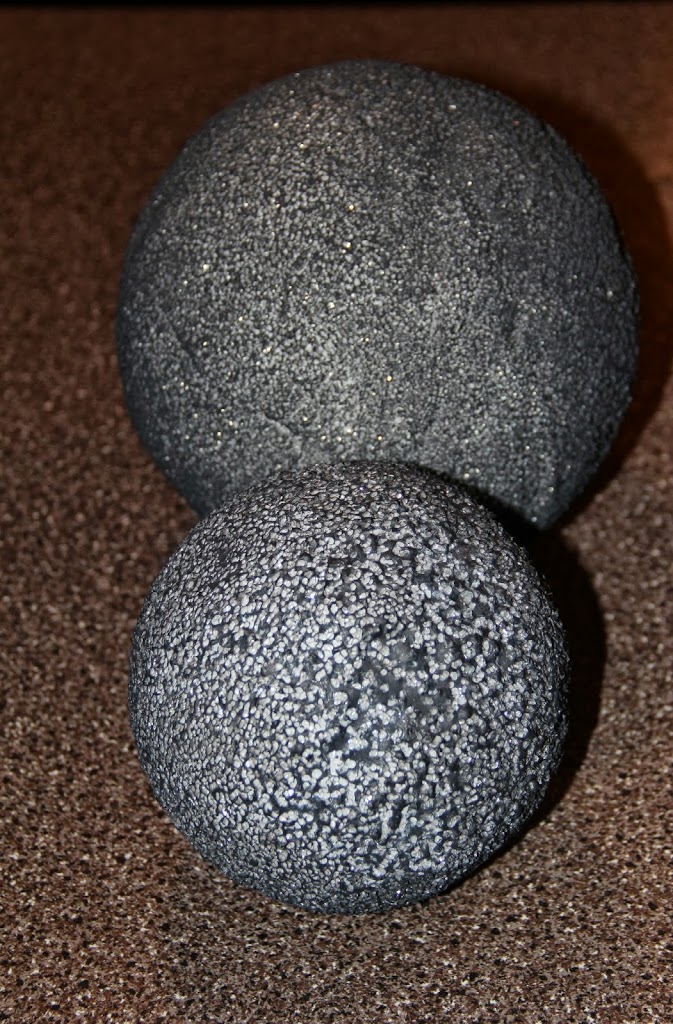
I planned to make two spiders when I began so here are the Styrofoam balls I started with.
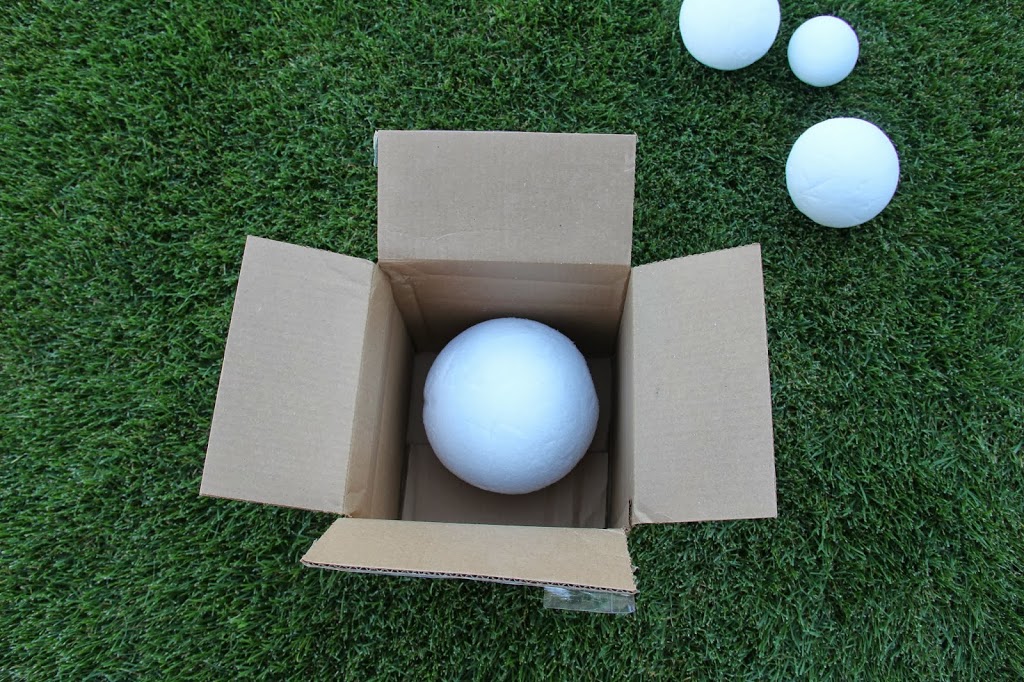
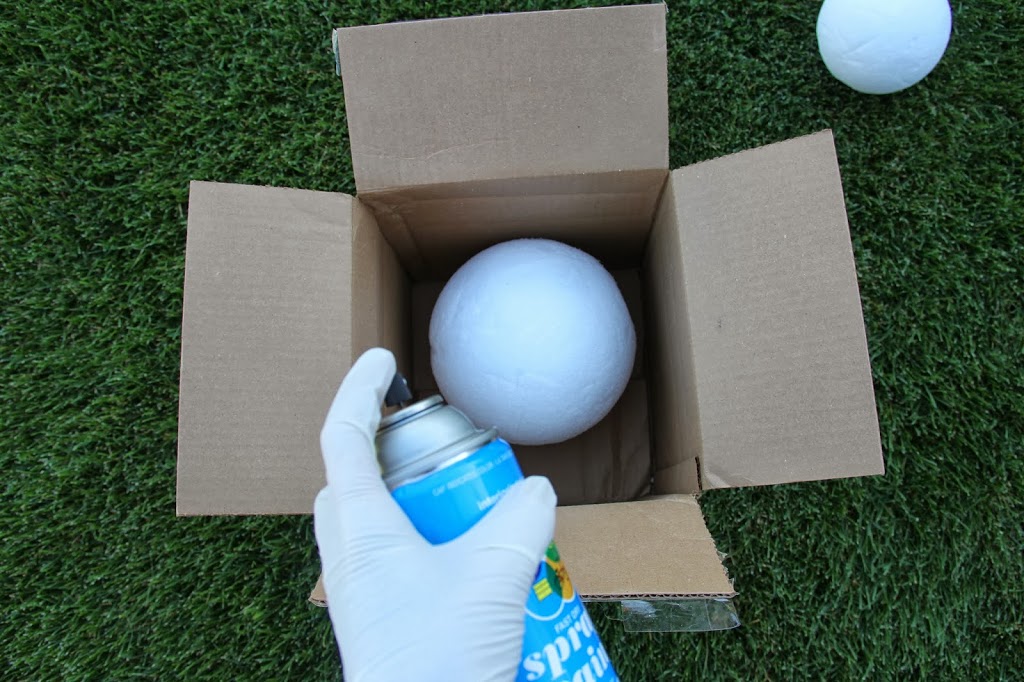
When I took this photo, my neighbor was on his riding lawn mower apparently very distracted by what I was doing. At this point I know my neighbors think I'm nuts. It's not just the fact I'm rolling Styrofoam balls around the front yard, it gets even worse when I start taking pictures of them in a box. Let me explain myself. I use a box to contain the paint when spray painting them black. Try it. It really works. My husband even had to come and inspect the area after I was finished to make sure I didn't ruin his precious grass.
Now, put on your gloves. Yep, your gloves. They protect your hands from getting all black and they allow you to roll the ball around as needed in the box to cover all sides of the ball with paint. I can just imagine what the neighbors thought when the gloves went on.
Here are the finished Styrofoam balls and where I left them to dry. After this step I left the scene to go cut up some tomatoes for dinner.

After the kids got their baths and their pajamas on we retrieved the balls from outside and brought them into the house. Since it was getting pretty late we decided to just create one spider today. The other one we'll do tomorrow. Of course we decided to make the "giant" spider first. I took the large ball and the medium ball.
Pick up one of the wooden skewers and push it almost all the way through the large Styrofoam ball. Then slide the medium ball onto the other half of the skewer.
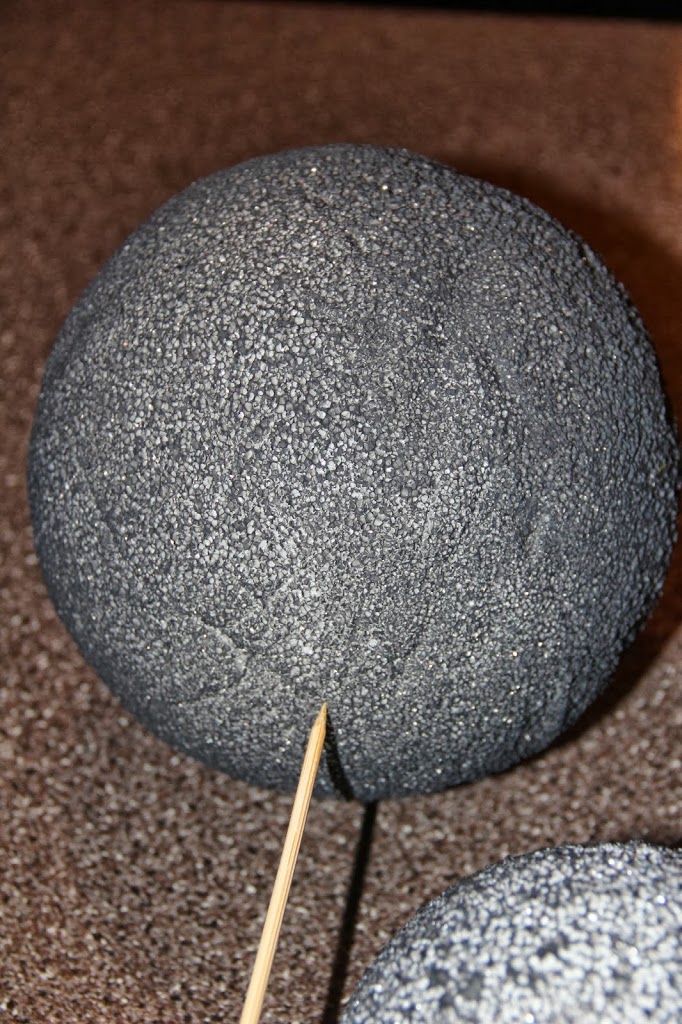
When you're done, it should look something like this.
.
Now, use the other wooden skewer to poke four holes into each side of the large Styrofoam ball. This will help when trying to slide the pipe cleaners in for the legs. If you don't use the skewer to make the holes, you're bound to end up with some sad looking, bent-up pipe cleaners.

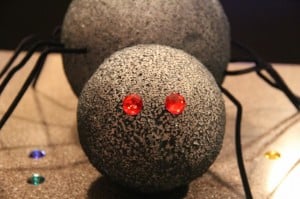
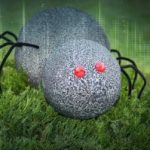
Once the legs are on, this is what your creepy pal should look like.

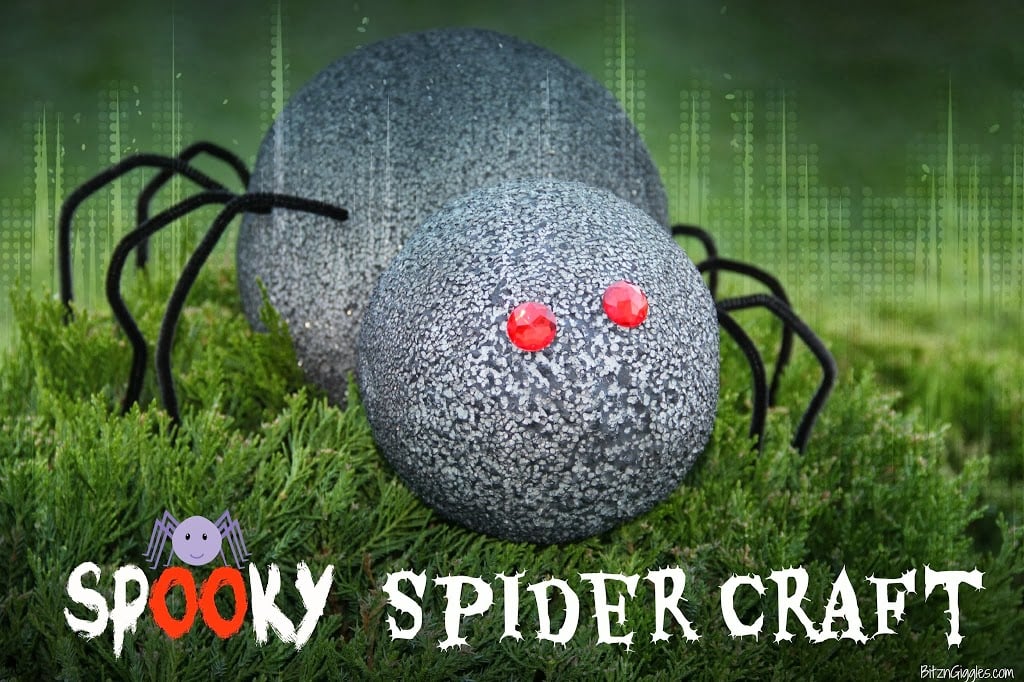
Now take two of the acrylic gems and glue them on as eyes. How can you go wrong with red for Halloween?
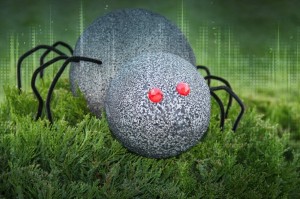
And, there you have it. We even threw a little spider on top of our giant spider for good measure. To decorate with them, you can hang them using Command clips or just place them around outside or inside the house. Varying sizes of spiders placed together looks pretty awesome as do spiders climbing up your garage doors or your front porch posts. You could hang them in giant webs or place them in your shrubs and bushes. The ideas are endless! So, where are you going to place your spider this Halloween?
Spooky Spider Craft
Materials
- Styrofoam balls of varying sizes
- Black spray paint
- disposable gloves
- Cardboard box
- Wooden BBQ skewers
- Glue
- Acrylic gems
Instructions
- I use a box to contain the paint when spray painting them black. Try it. It really works.
- Now, put on your gloves. Yep, your gloves. They protect your hands from getting all black, and they allow you to roll the ball around as needed in the box to cover all sides of the ball with paint.
- Here are the finished Styrofoam balls and where I left them to dry. After this step I left the scene to go cut up some tomatoes for dinner.
- Pick up one of the wooden skewers and push it almost all the way through the large Styrofoam ball. Then slide the medium ball onto the other half of the skewer.
- When you're done, it should look something like this.
- Now, use the other wooden skewer to poke four holes into each side of the large Styrofoam ball. This will help when trying to slide the pipe cleaners in for the legs.
- Now take two of the acrylic gems and glue them on as eyes. How can you go wrong with red for Halloween?
- And, there you have it. We even threw a little spider on top of our giant spider for good measure. To decorate with them, you can hang them using Command clips or just place them around outside or inside the house.
Notes
- Containment and Protection: When spray painting Styrofoam balls black for your spooky spider craft, use a box to contain the paint overspray and minimize mess. Additionally, wearing gloves not only protects your hands from getting covered in paint but also allows you to handle the balls easily and roll them around in the box for even coverage. These simple precautions streamline the painting process and keep your workspace clean.
- Secure Assembly with Skewers: Ensure the stable assembly of your spider by using wooden skewers to connect the Styrofoam balls. Push one skewer almost all the way through the large Styrofoam ball, then slide the medium ball onto the other half of the skewer. This method provides a sturdy connection between the body and head of the spider, preventing them from separating.
- Efficient Leg Attachment: Before attaching the pipe cleaners for the spider's legs, poke four holes into each side of the large Styrofoam ball using the other wooden skewer. This preparation makes it easier to slide the pipe cleaners into place, ensuring they are securely attached to the body. Finish off your spooky spider by adding acrylic gems as eyes, opting for vibrant colors like red to enhance the Halloween theme. These finishing touches bring your craft to life and add a touch of whimsy to your Halloween decor.
Leave a Reply