Want to Save This Recipe?
Do you decorate for Valentine's Day? This is going to sound horrible, but I don't. After Christmas, I actually don't "decorate" the house again until spring. Don't get me wrong, I do look forward to Valentine's Day. My husband and I usually try to plan a night out at a nice restaurant, the kids and I plan for their class parties and, once and awhile, if I'm organized, we'll get cards and small gifts out to our immediate and extended family members.
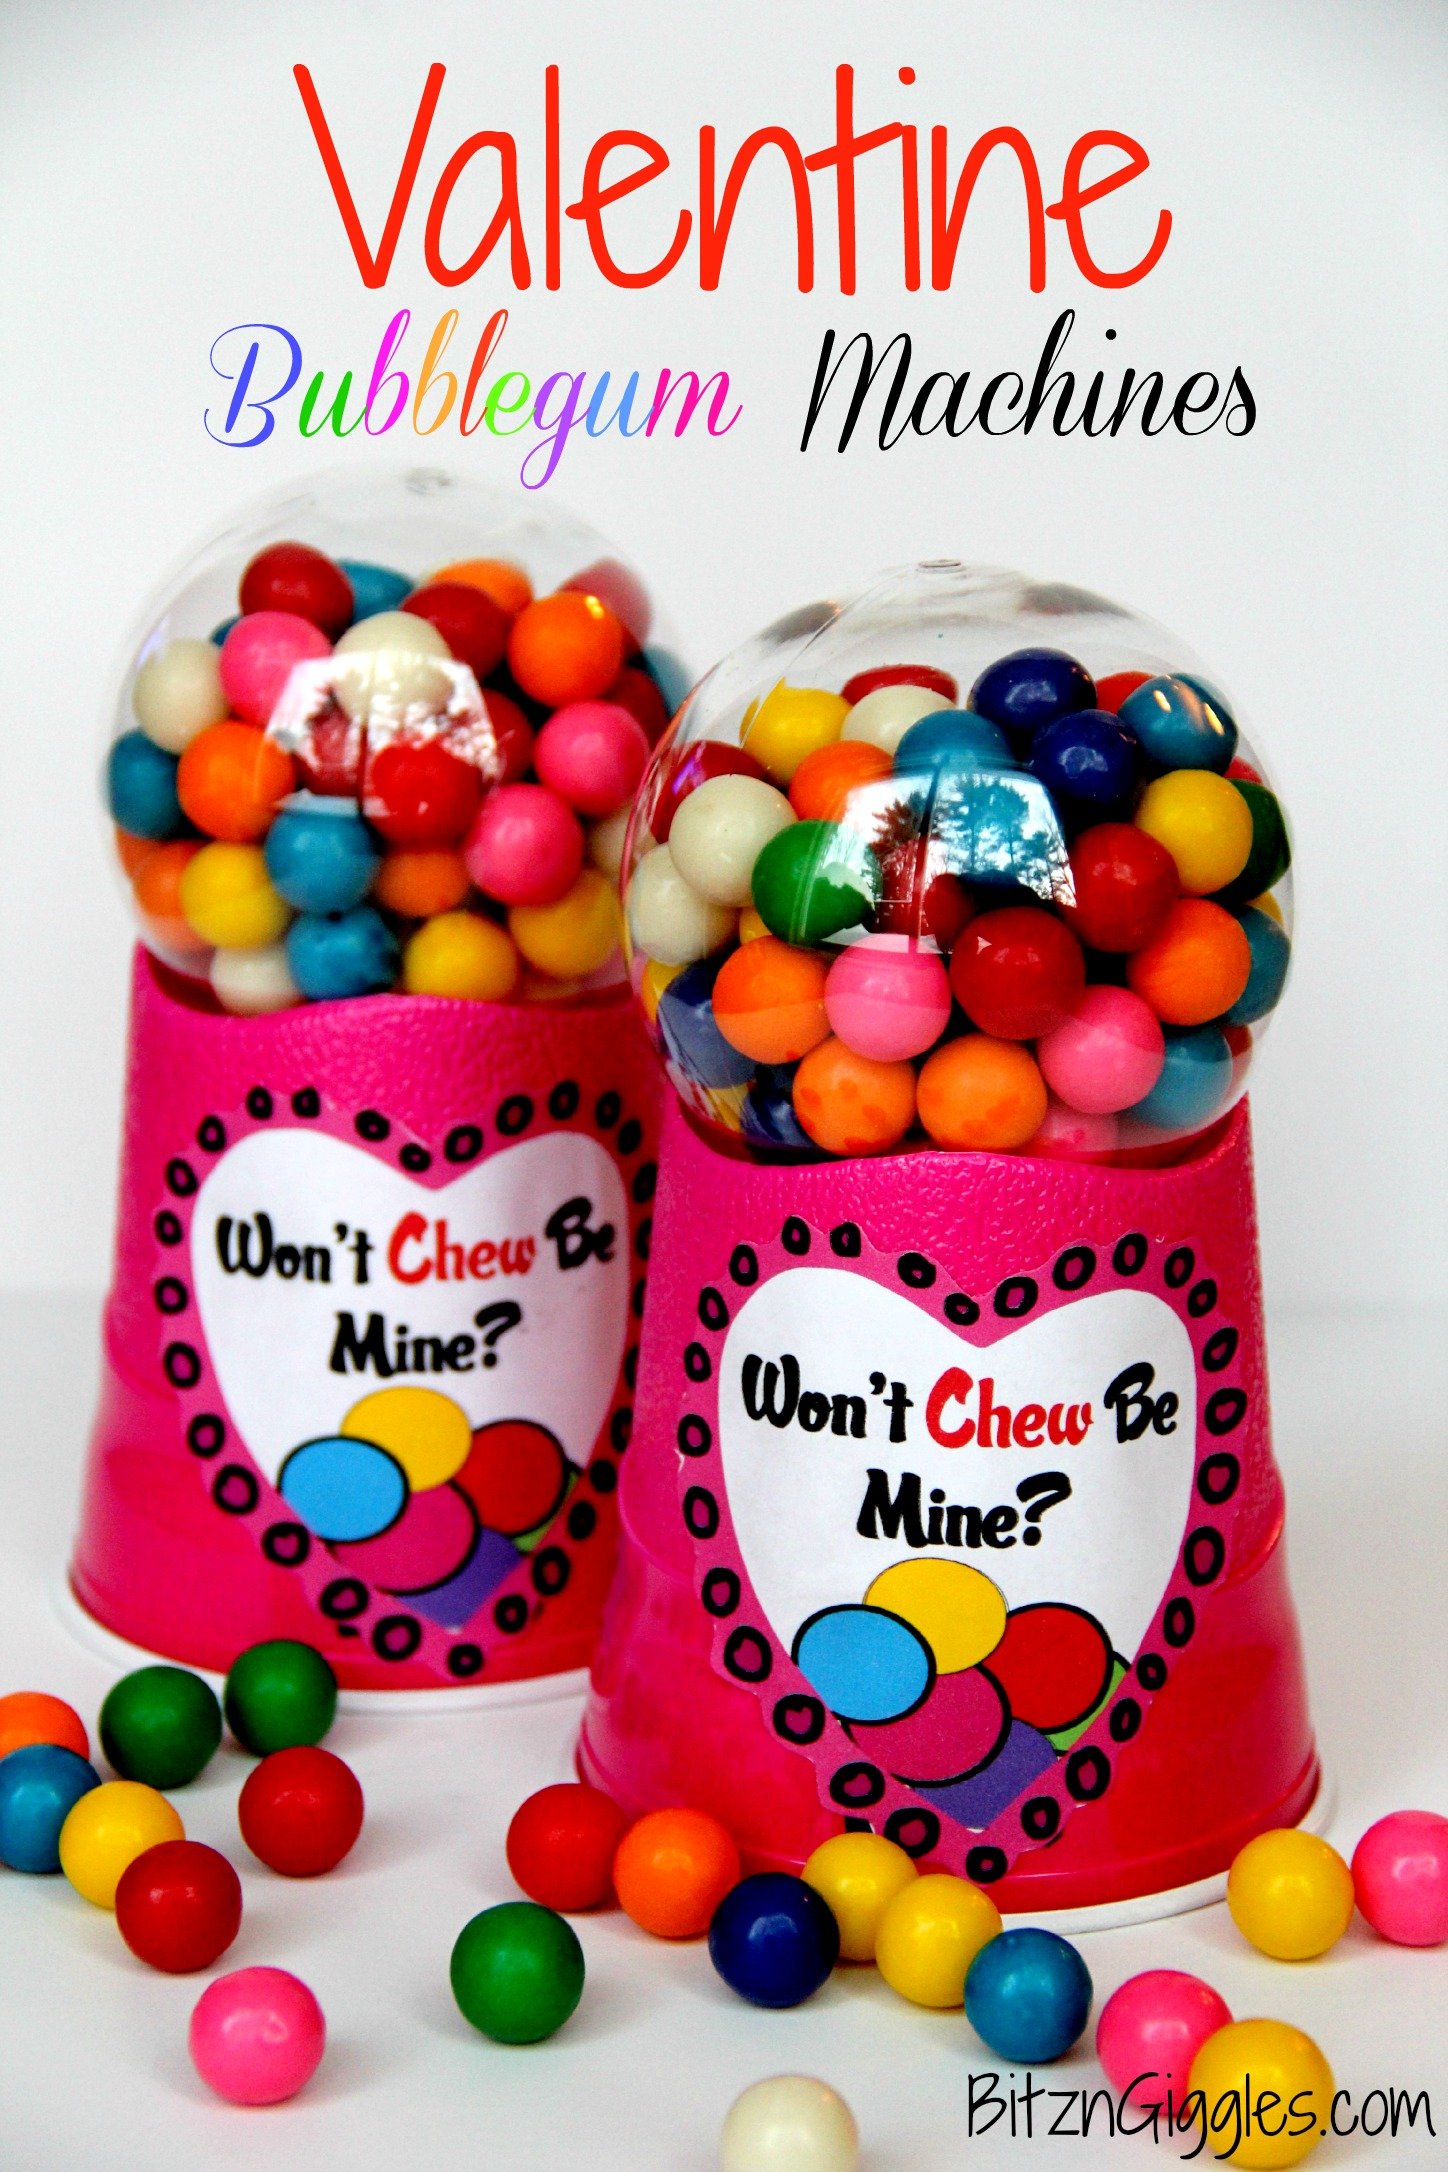
These little gumball machines are the perfect gift for a special neighbor or friend. They're easy to put together and look so gosh darn cute. Here's what you'll need to make one:
Materials:
Plastic cup
Scissors
Clear plastic ornament
Gumballs
Strong double-sided tape
Free printable offered in this post!
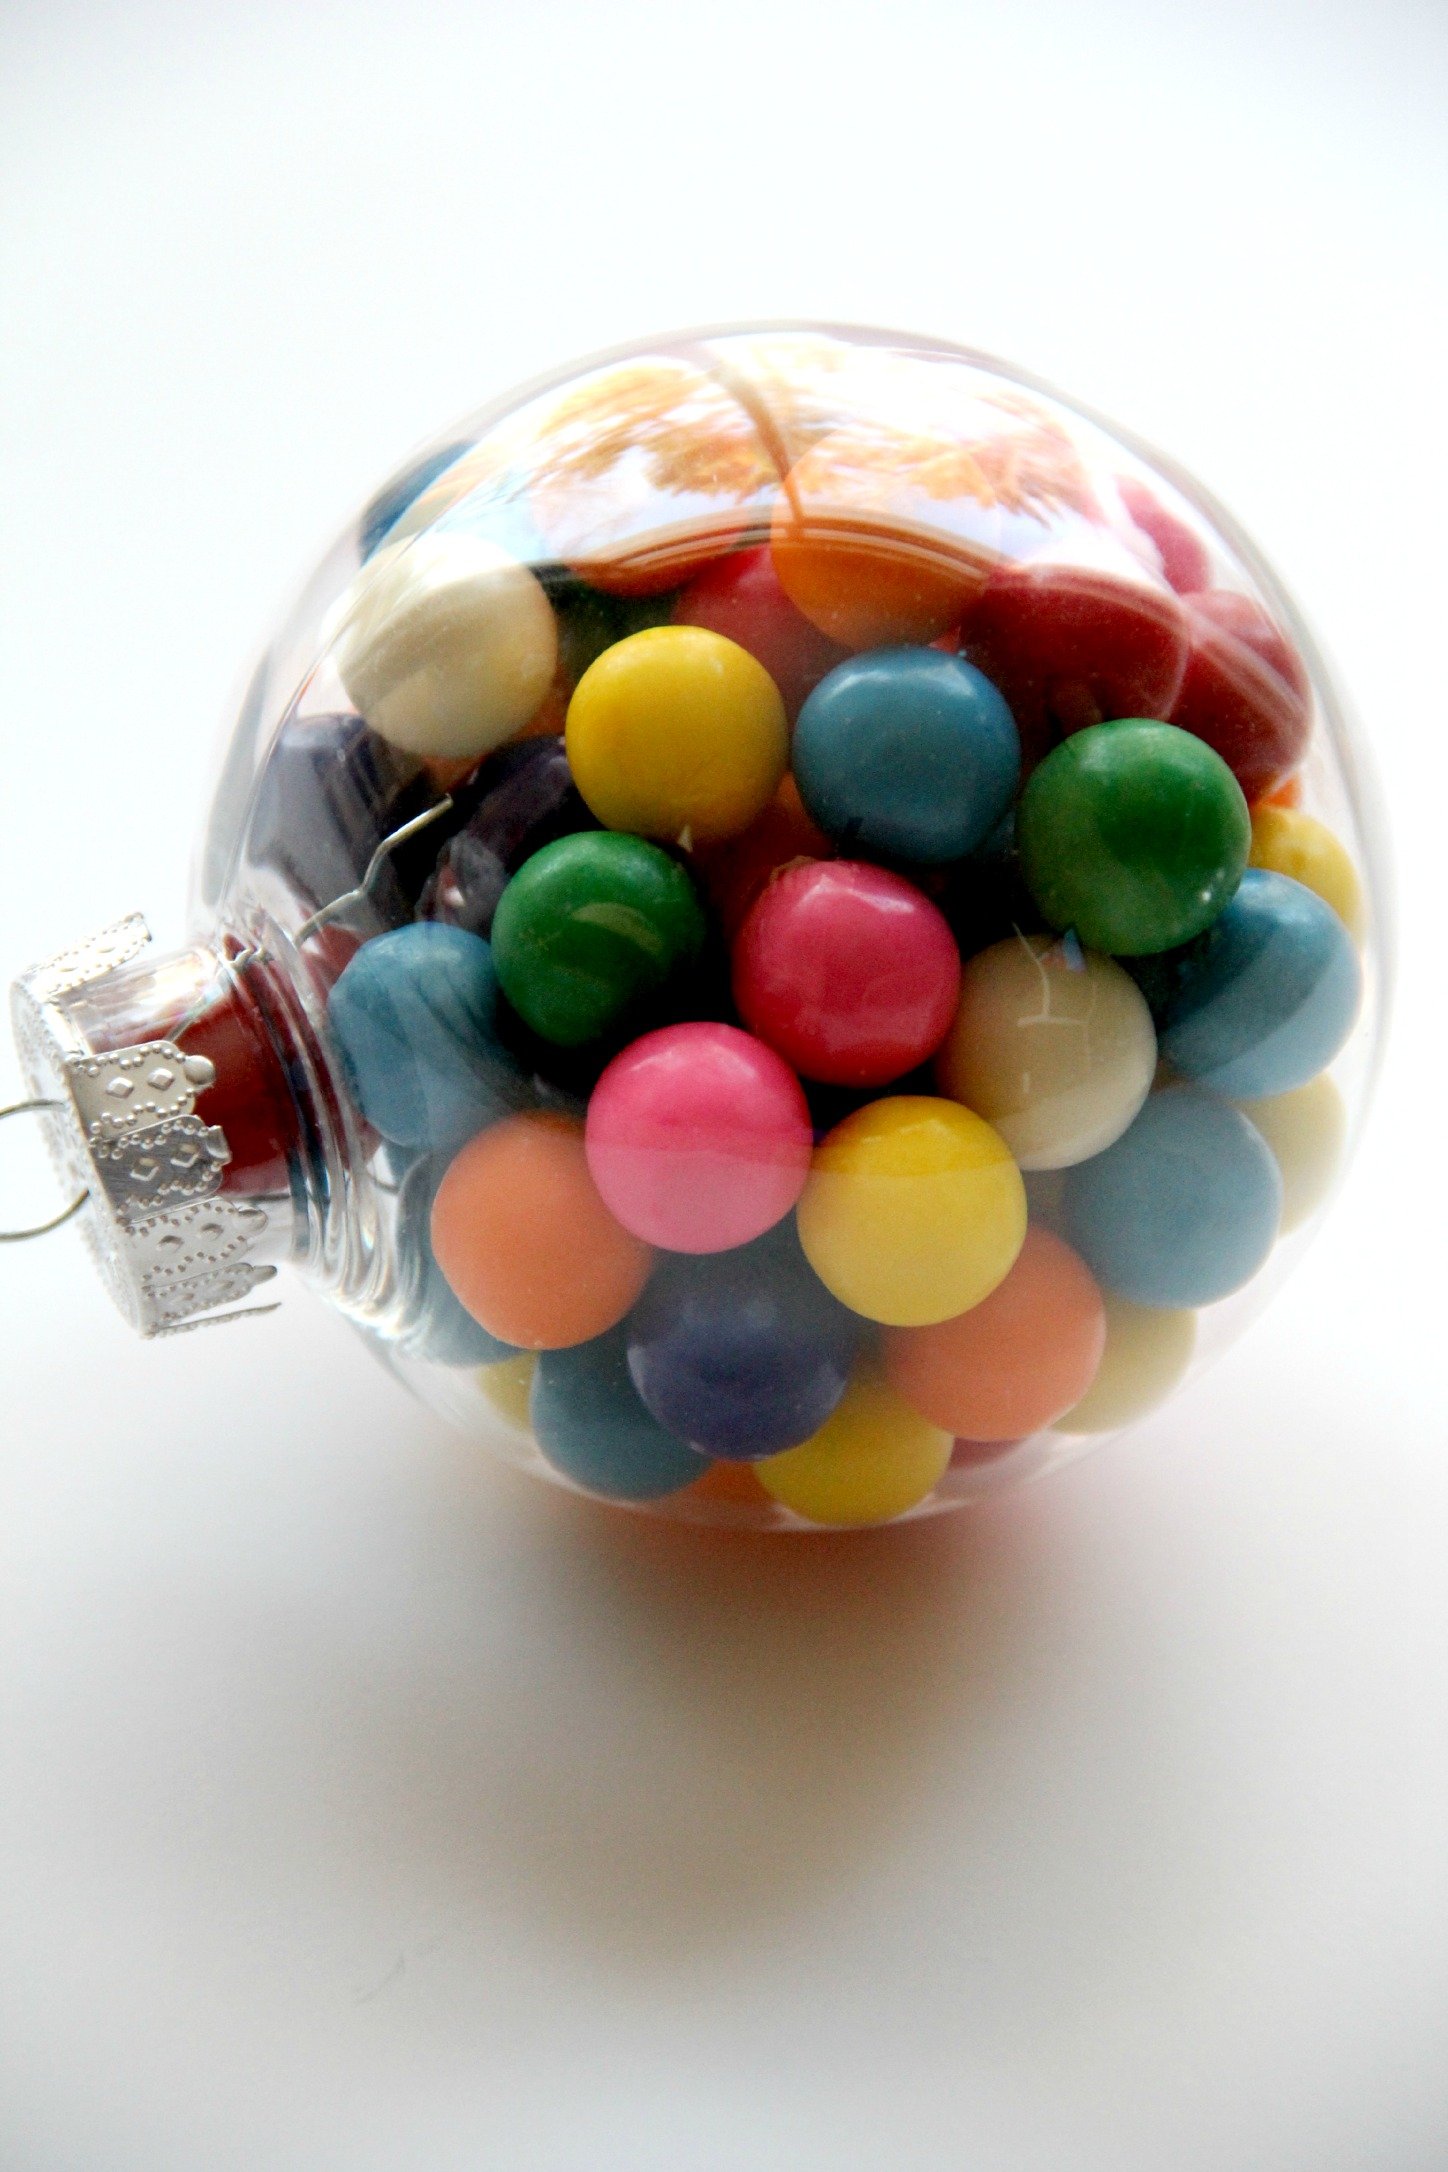
Start with your plastic cup, ornament and gumballs. If you want to pop a couple in your mouth while you work, it's ok. I felt compelled to do the same thing.

Don't you love these hot pink cups I found? I actually had bought these for my daughter's birthday party last year. The party colors were hot pink and lime green. I was so happy I had a few left over for this project. If you can't find this pink, red cups will still be fantastic.
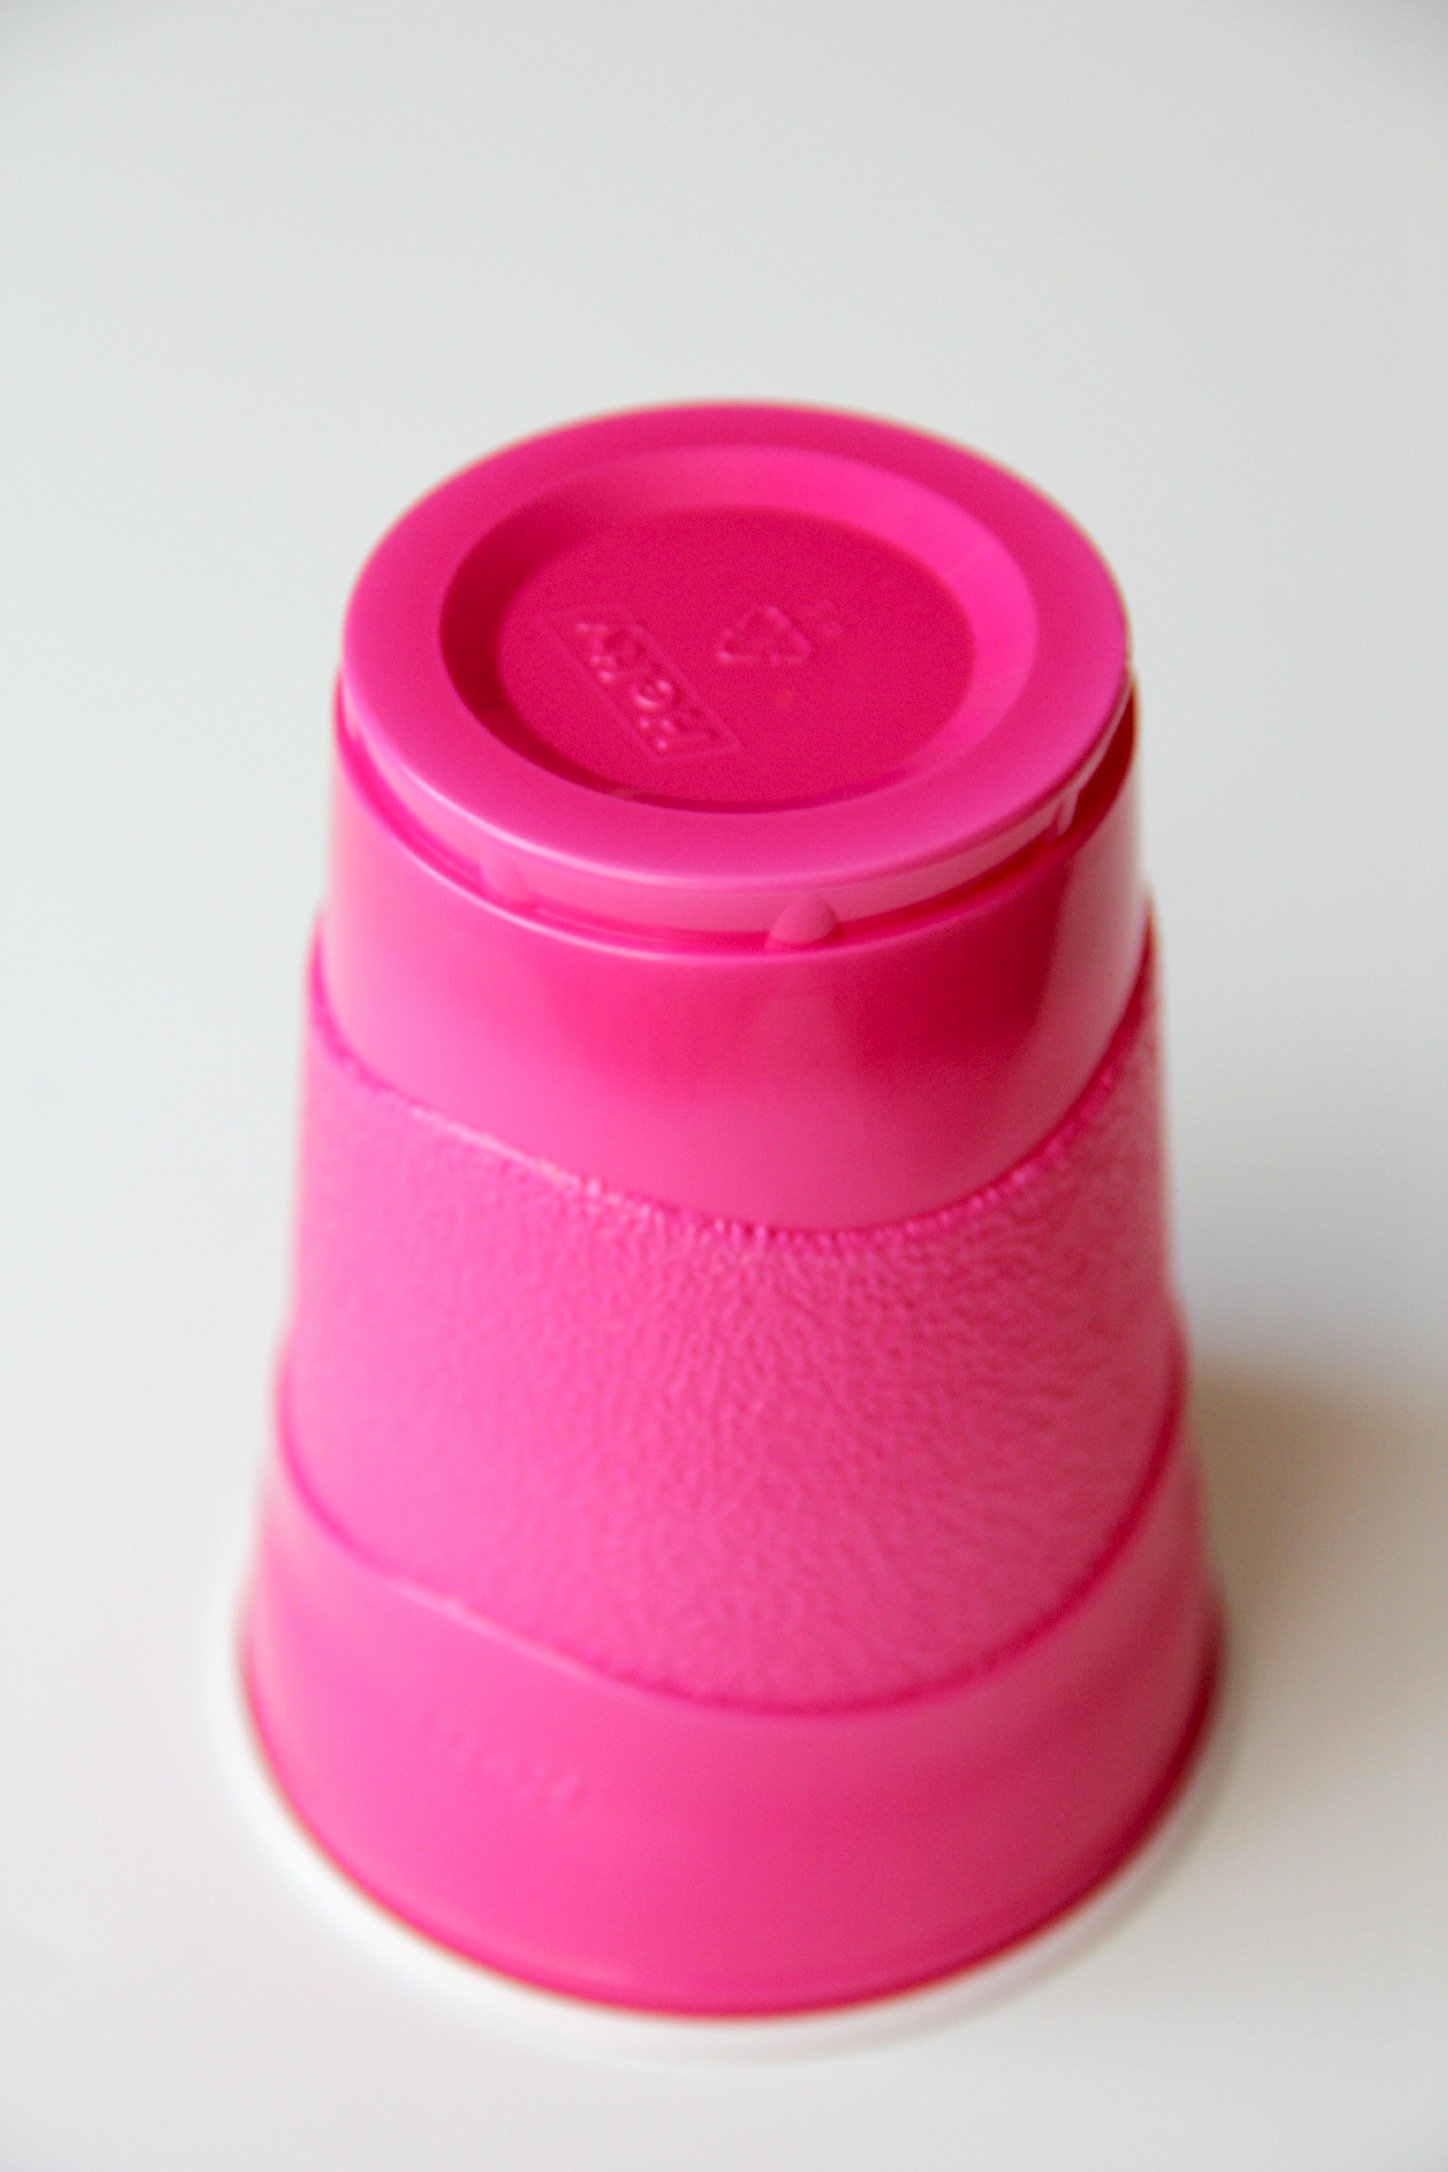
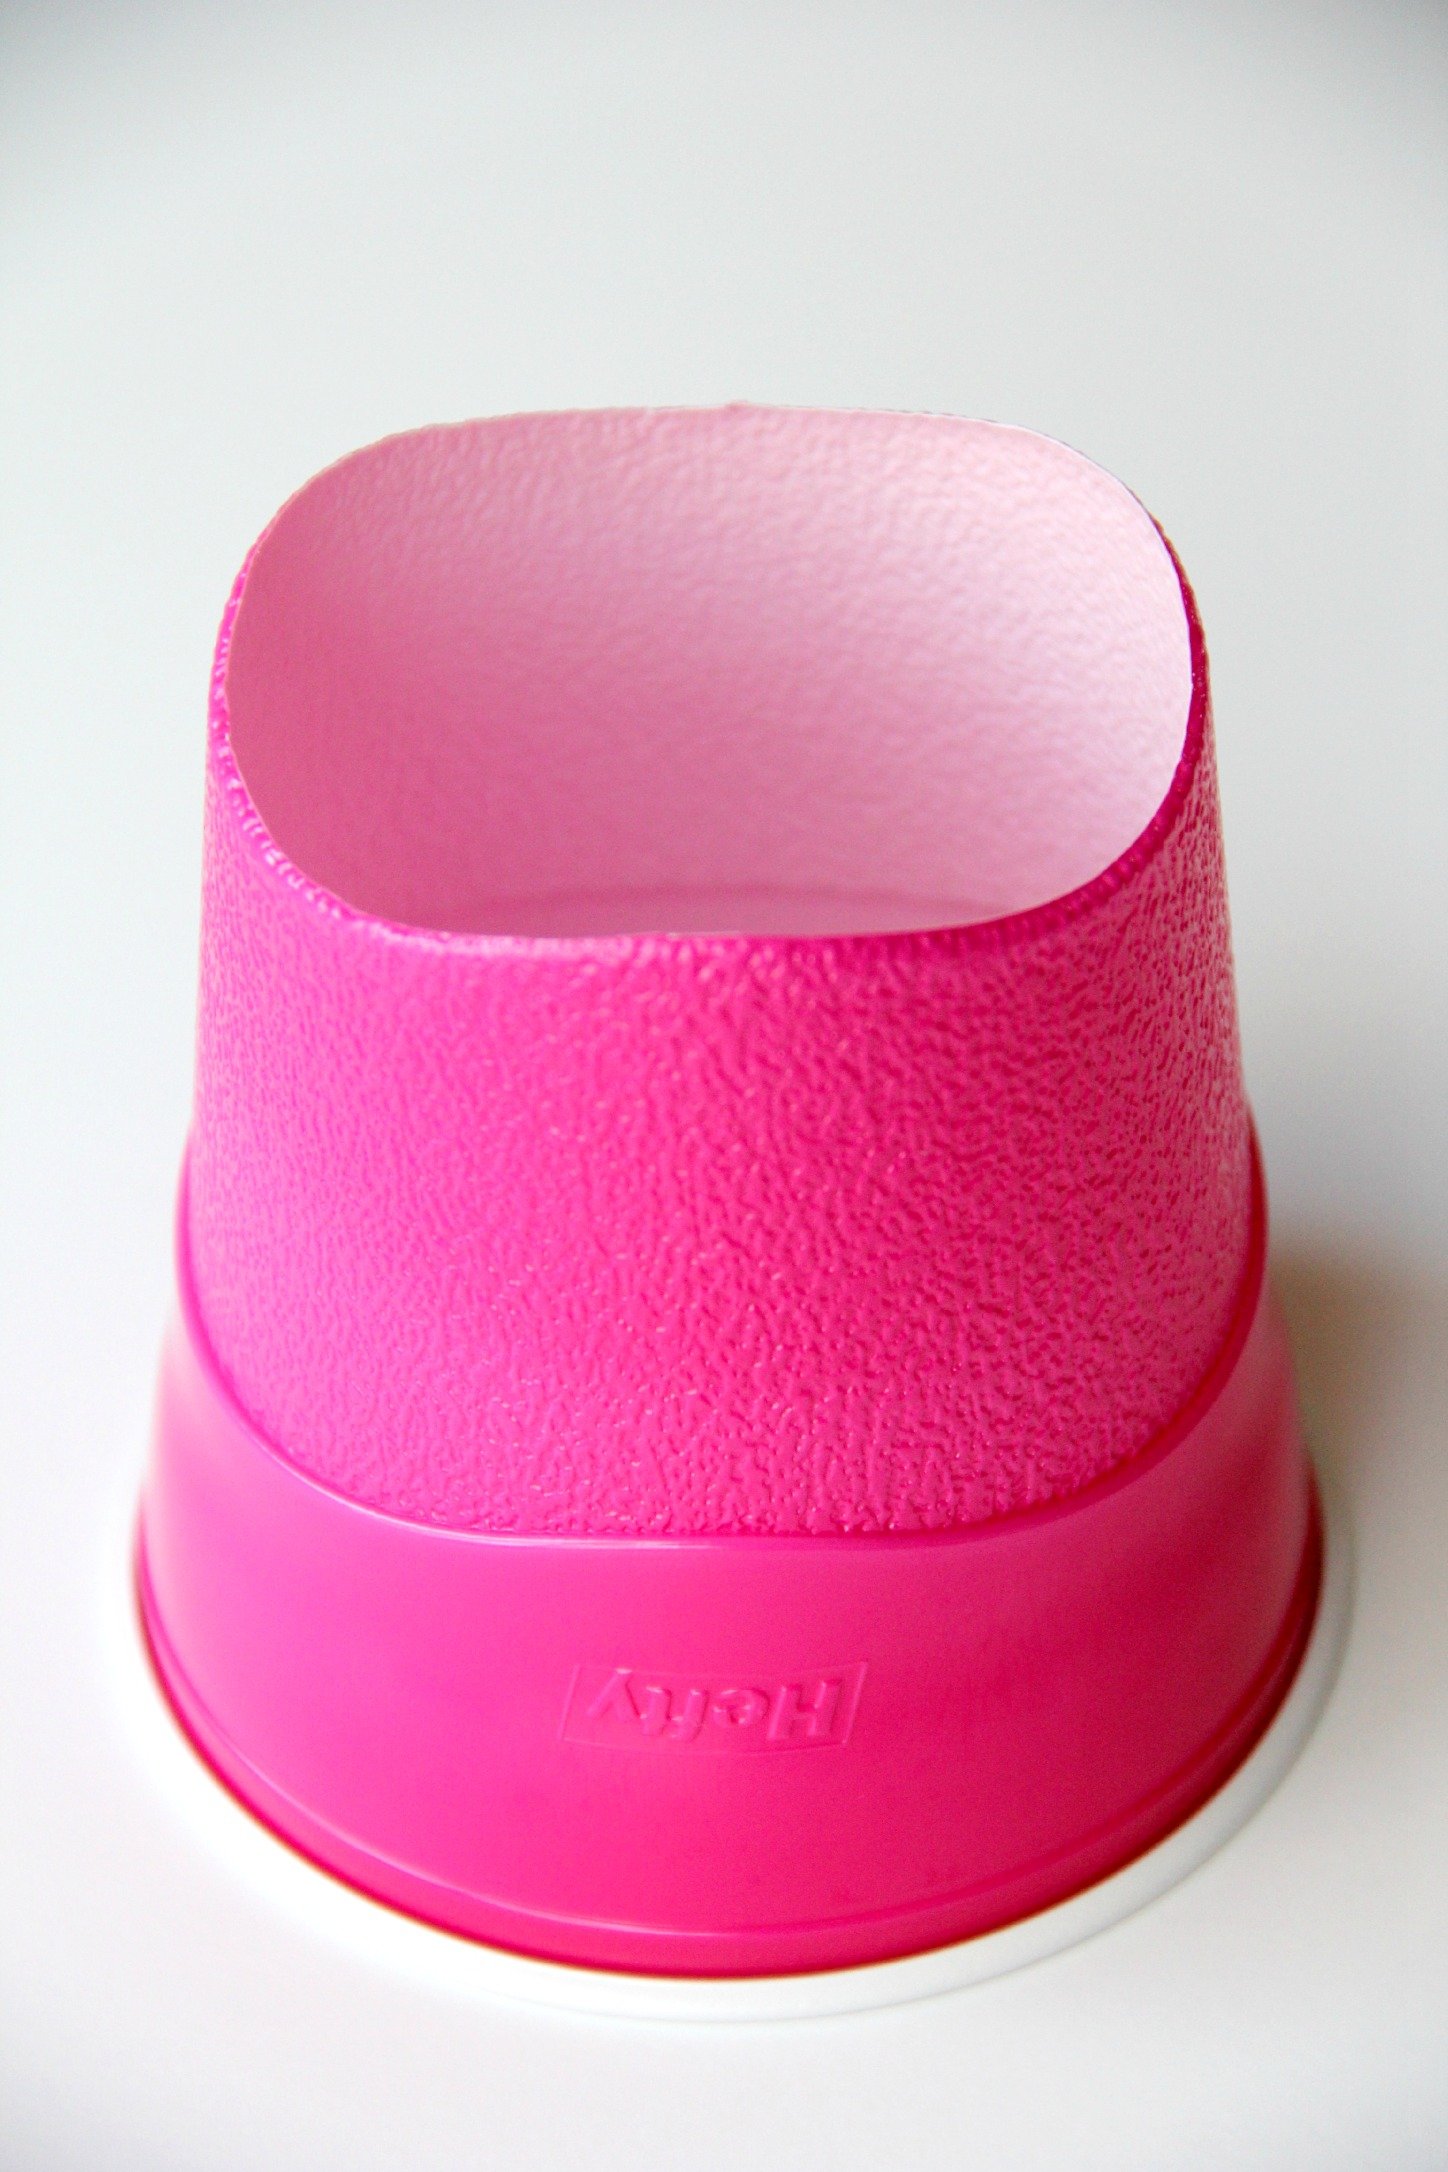
Get the scissors and start cutting the bottom of the cup out, following the path around the first wavy line on the cup. Did that make any sense at all? I was worried it wouldn't, thus the reason for the two photos of the cup - before and after.
Take the double-sided tape and run it along the inside of the cup to help secure the ornament. If you want it really secure, you could use super glue, I suppose. Just a word of warning, these aren't meant to be tossed around. I wouldn't suggest them for classroom gifts. They're definitely something you'd maybe box up or put into a gift bag to give to a friend.
I really had a tough time with the photos for these guys. There was so much reflection coming off of the ornament. I think I tore a muscle trying to get some of these shots.
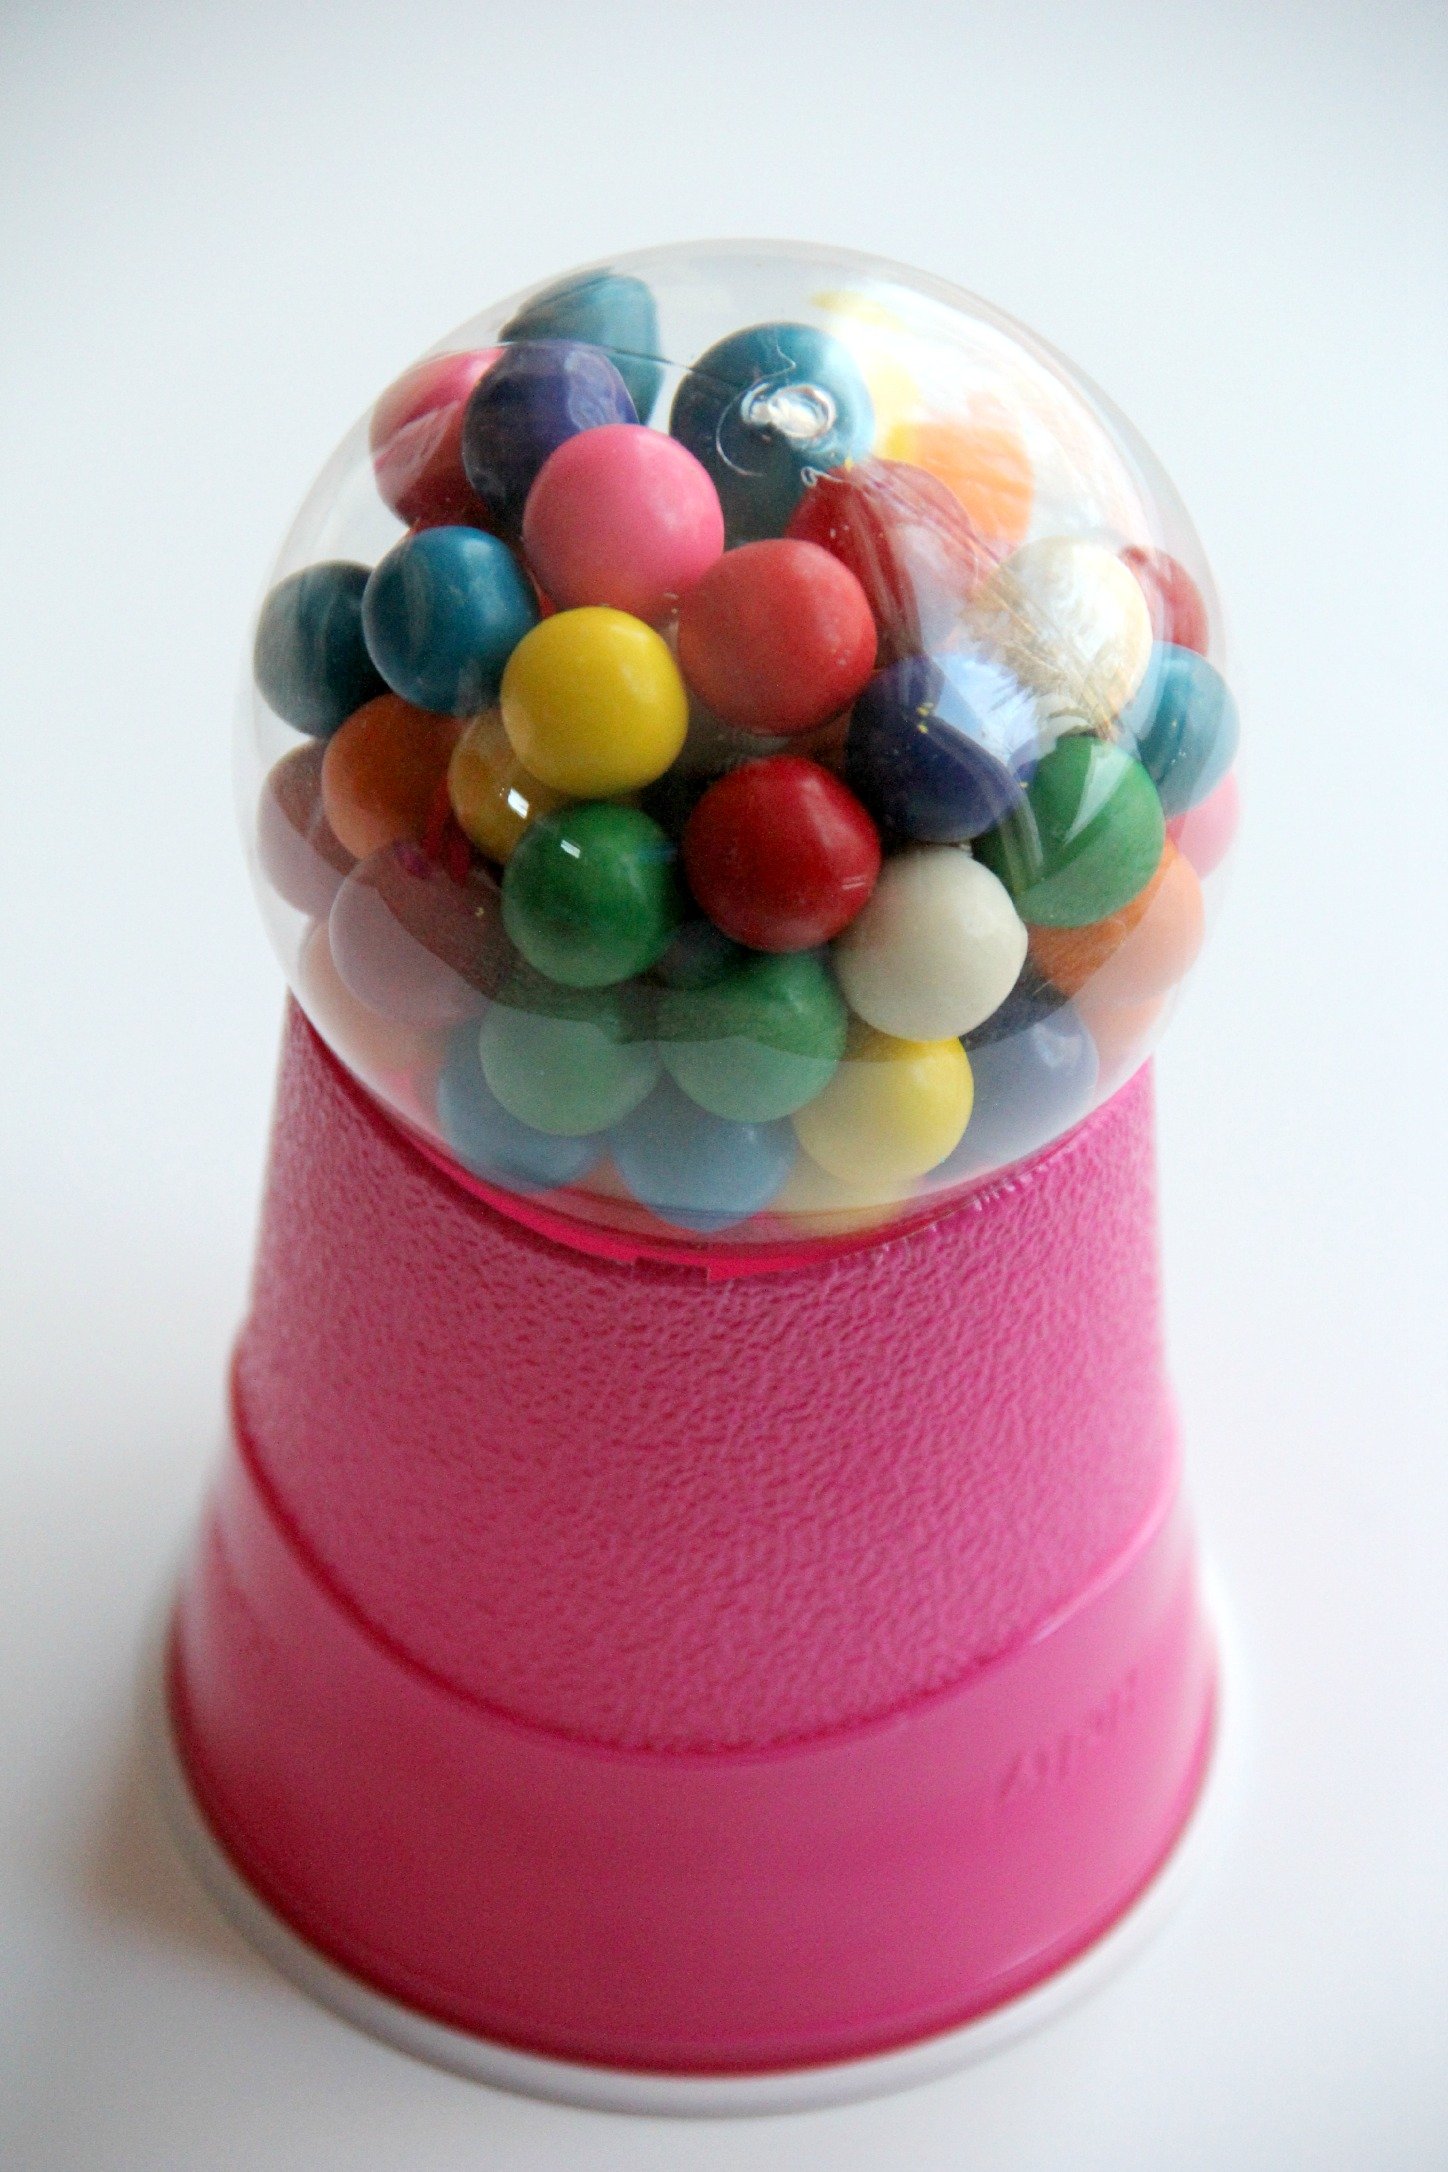

Aren't they super cute? There's just something about gumball machines. They're so colorful, and, well, they just make me happy. What's your favorite color of gumball? I have two - blue and red.
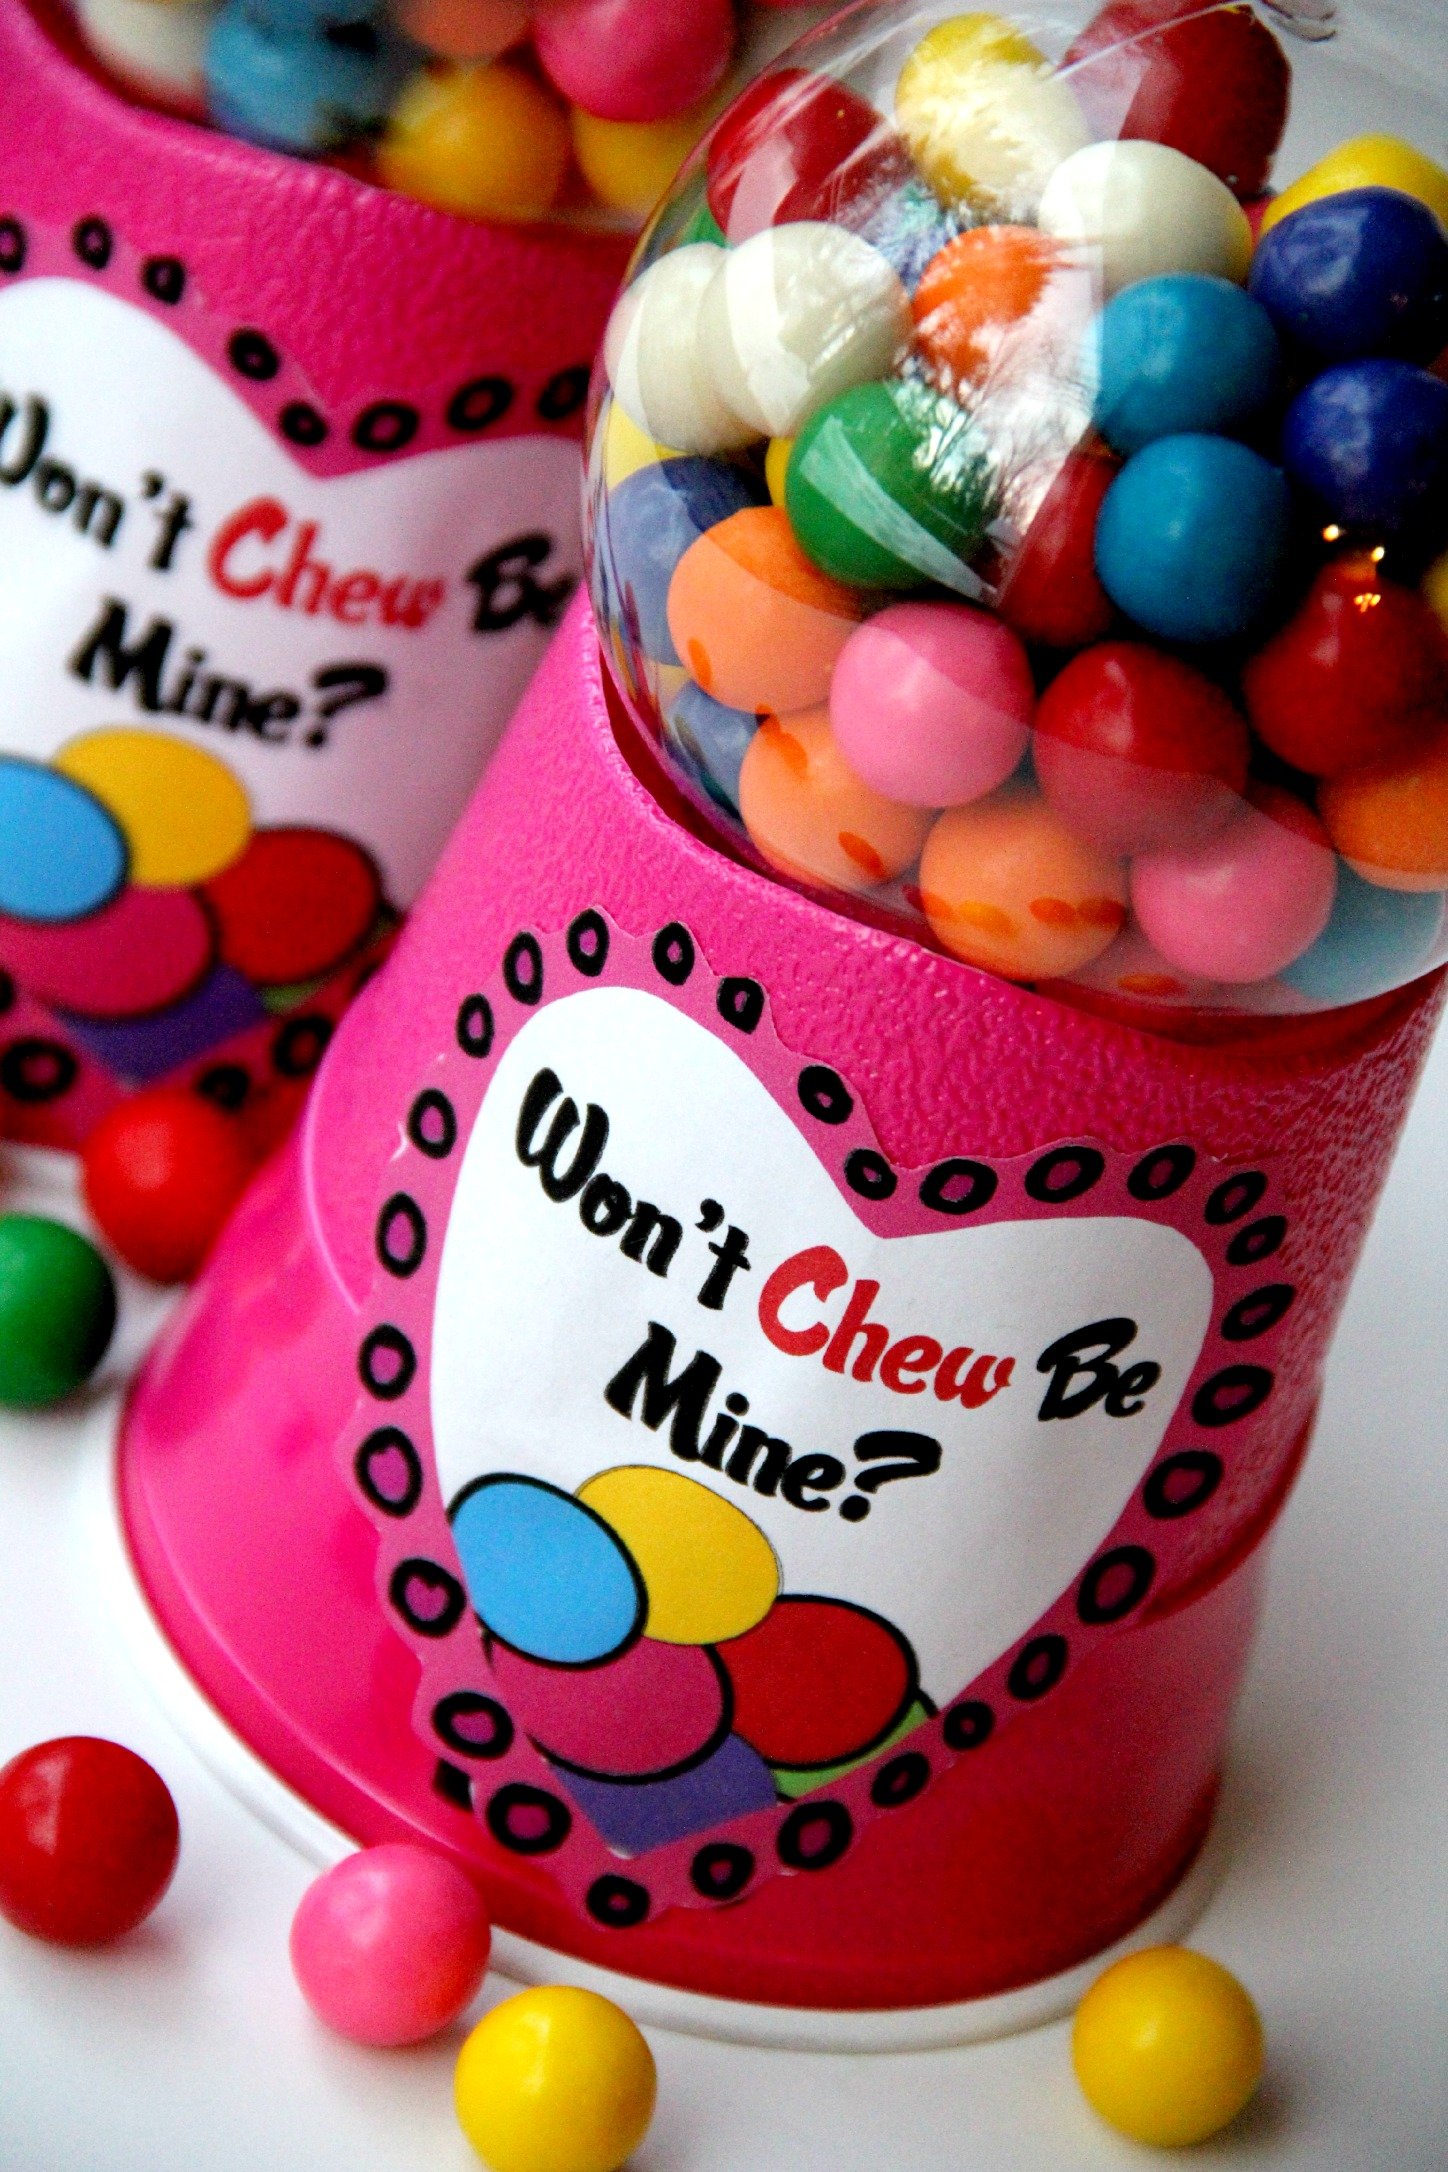
The best part of this project was seeing the look on my kids' faces when they saw the finished products. They were super excited to try the gumballs, and even more curious to see how the "machines" were put together. My two-year-old studied hers for quite a while. Once they discovered how to open the ornaments, all bets were off, and gumballs were flying everywhere.
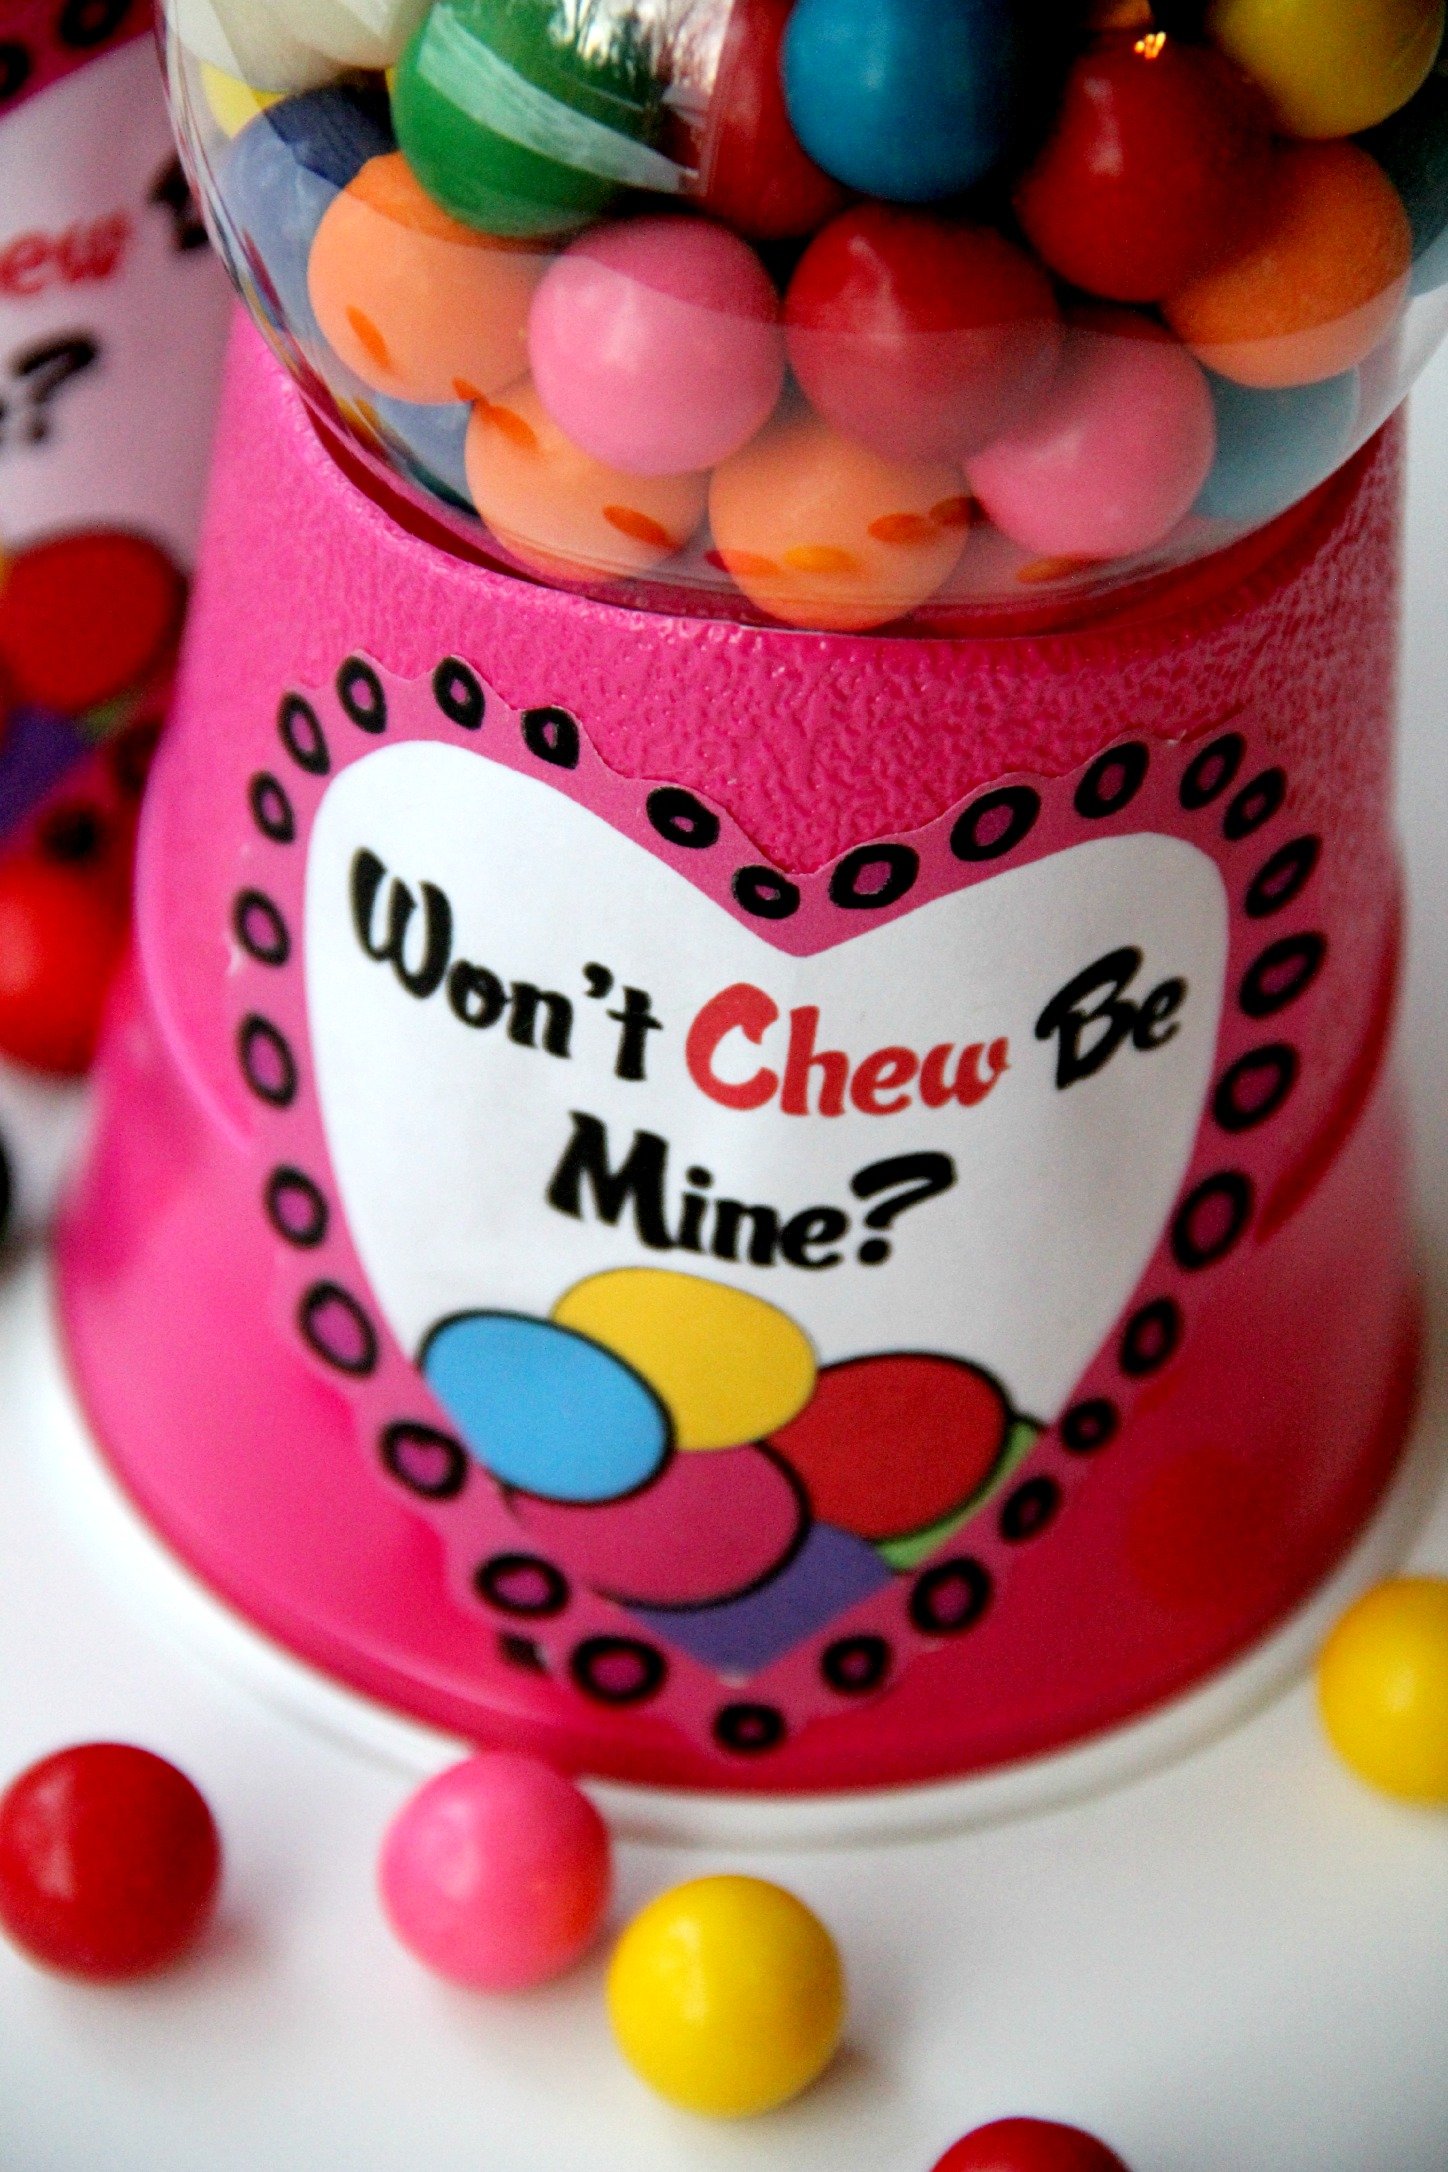
So, remember at the beginning of the post when I said I didn't decorate for Valentine's Day? Well, not true this year! Gumballs scattered about the carpet should definitely count for something, don't you think?
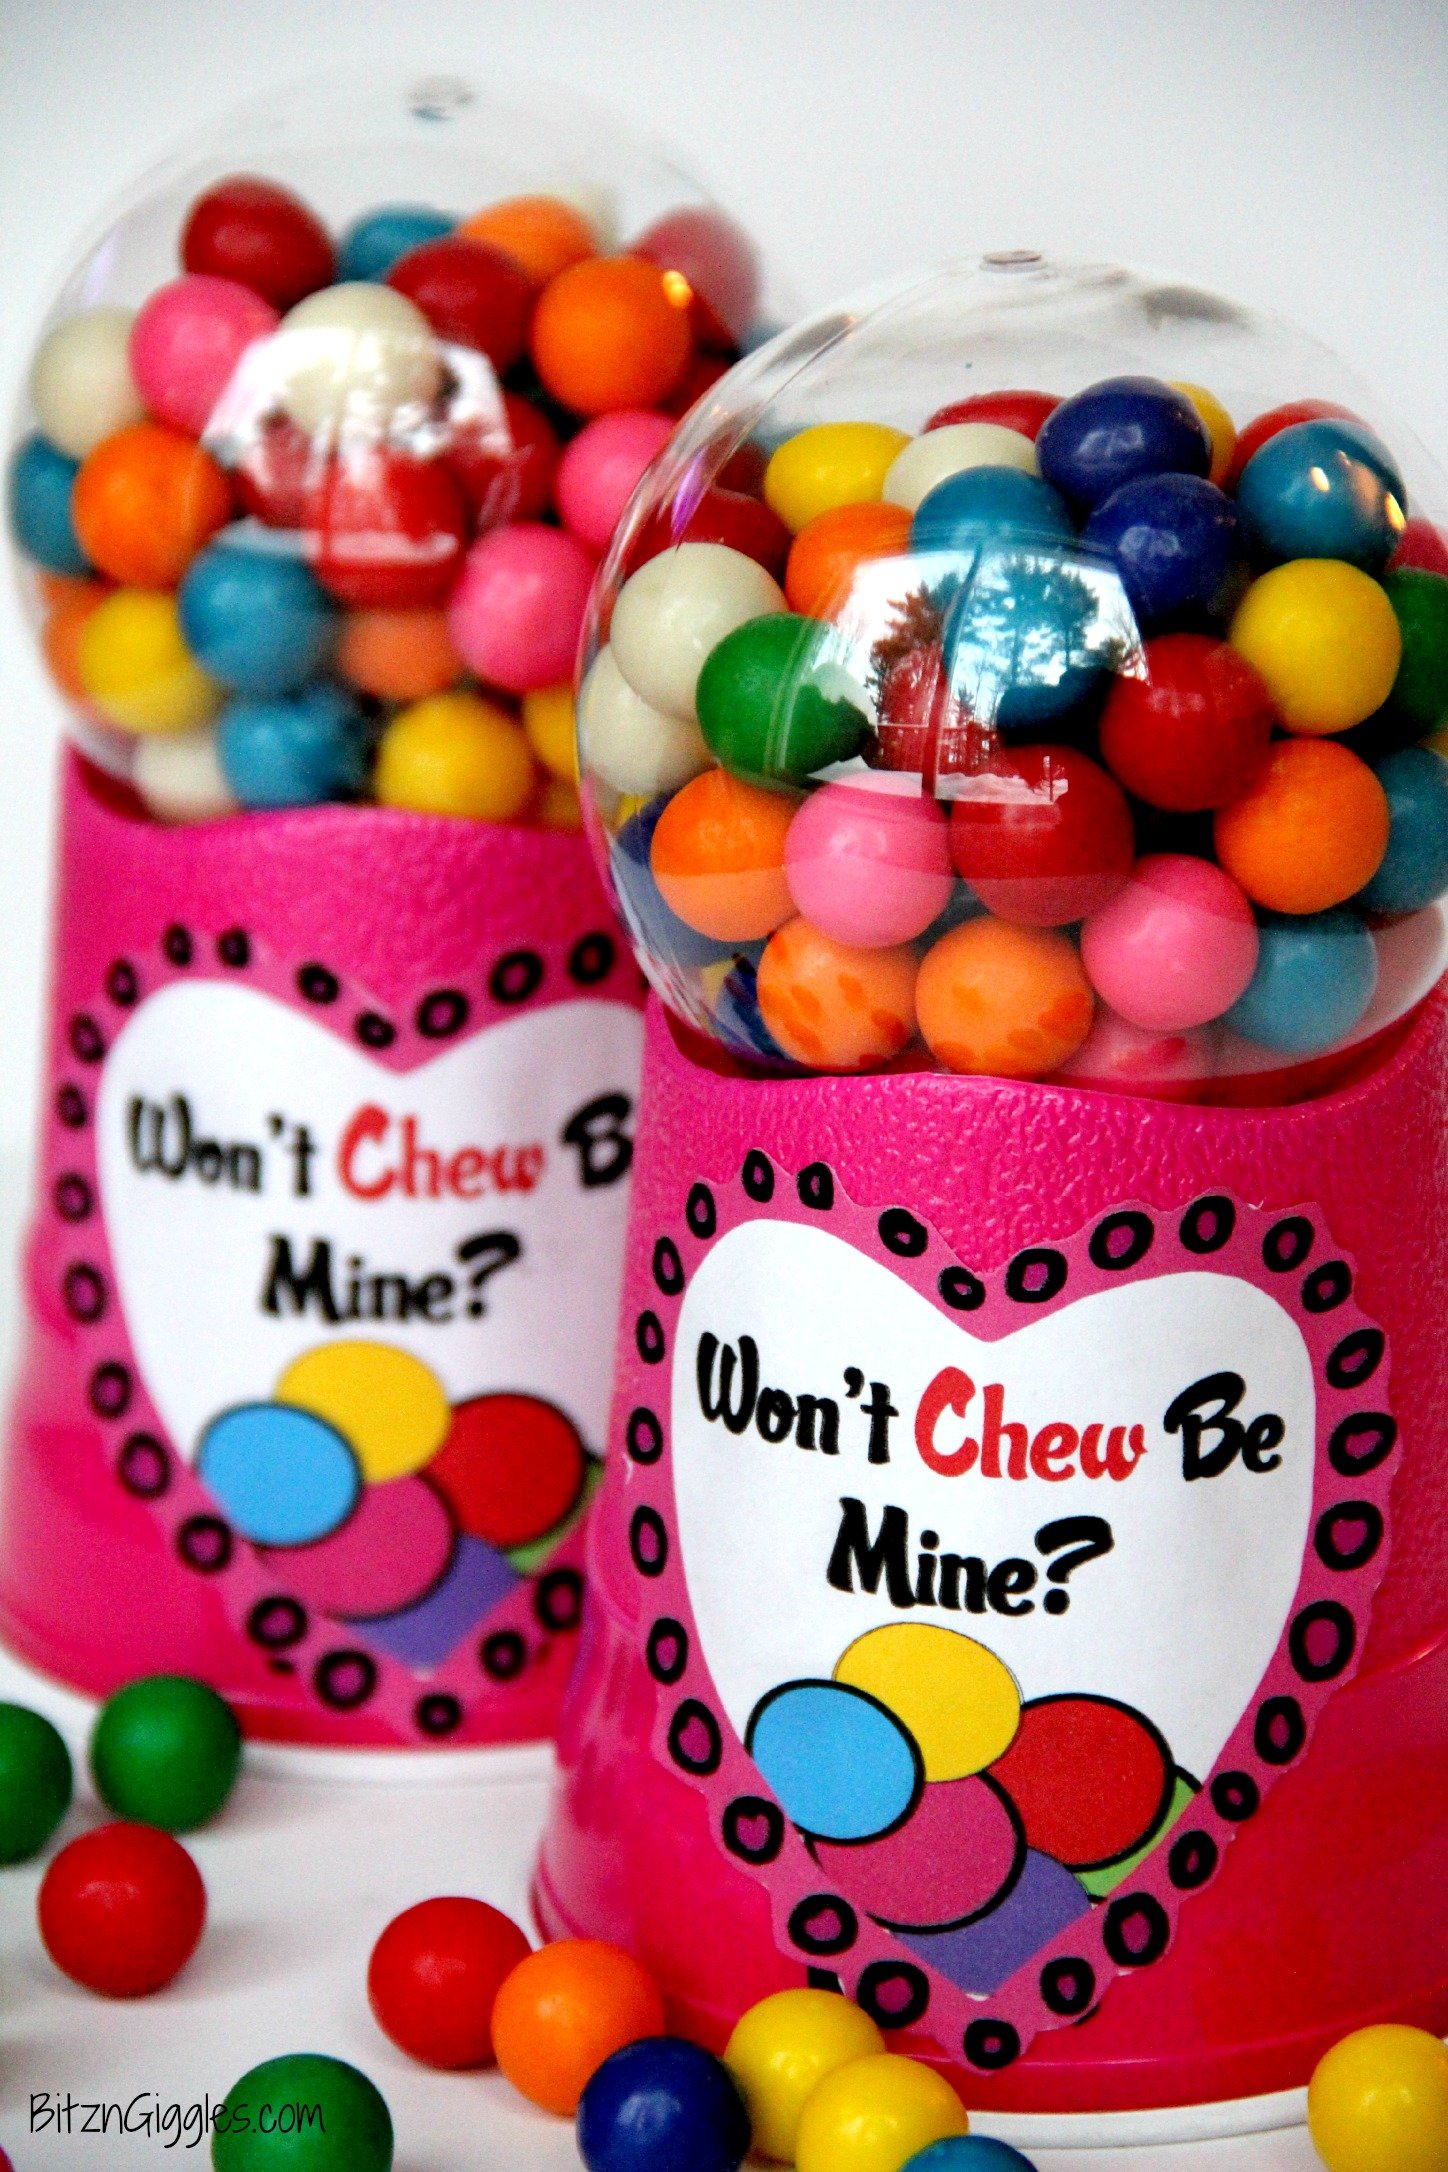
Valentine Bubblegum Machines
Materials
- Plastic cup
- Scissors
- Clear plastic ornament
- Gumballs
- Strong double-sided tape
- Free printable offered in this post!
Instructions
- Start with your plastic cup, ornament and gumballs. If you want to pop a couple in your mouth while you work, it's ok. I felt compelled to do the same thing.
- Fill the ornament with the rest of the gumballs (that you didn't put in your mouth) and put the top back on the ornament.
- The party colors were hot pink and lime green. I was so happy I had a few left over for this project. If you can't find this pink, red cups will still be fantastic.cups, they
- Get the scissors and start cutting the bottom of the cup out, following the path around the first wavy line on the cup.
- Take the double-sided tape and run it along the inside of the cup to help secure the ornament. If you want it really secure, you could use super glue, I suppose.
- When your ornament is secure, download the printable heart and get the double-sided tape back out. You can either use tape, glue or sticker paper. It's up to you!
Notes
- Mindful Selection of Cup Color: While hot pink and lime green cups contribute to a vibrant Valentine's Day theme, feel free to adapt the colors to suit your preferences or available supplies. Red cups can serve as an equally festive alternative, ensuring your Valentine Bubblegum Machines remain visually appealing and fitting for the occasion.
- Precision Cutting for Cup Modification: When cutting the bottom of the plastic cup, follow the first wavy line carefully to ensure a clean and uniform removal. This step is crucial for creating a stable base for your bubblegum machine. Take your time and use sharp scissors for the best results, maintaining the integrity of the cup structure.
- Choosing Adhesive for Secure Assembly: While double-sided tape offers convenience for attaching the ornament to the cup, consider using super glue for added durability, especially if you plan to transport or display the Valentine Bubblegum Machines. Prioritize securing the ornament firmly in place to prevent accidental detachment. Additionally, for affixing the printable heart, you have the flexibility to use tape, glue, or sticker paper based on your preference and availability of materials. Select the option that ensures the heart remains securely attached to the cup, enhancing the overall aesthetic appeal of the finished project.


expressionsofyou
Those are so stinking cute!!! Might have to make some for my employees!!
Sara
I hope you do! Thanks for stopping by to comment!
Molly Wagner
These are absolutely precious and so unique! I love finding new creative ideas, this definitely falls into that category. I've pinned it onto my Valentines board 🙂 Thank you for linking up last week to the Lovely Ladies link party, I wanted to let you know I've featured it this week at our new party! You can check it out here if you'd like http://bit.ly/1fuwRCU
and we'd love for you to come by again. Have a great week.
-Molly from Just a Little Creativity
Sara
How exciting, Molly! Thank you so very much for stopping by to let me know! I'm your newest follower on Pinterest and Google+!
Sara
These are the cutest things ever!!
Thanks for linking up at Tell Me About It Tuesday. We hope you hop over and share with us again this week. (Sorry for the late comment!)
Sara
Thanks so much, Sara!
Mackenzie Thomas
What size of ornament did you use?
Sara
Hi Mackenzie, I believe it was 4 inches from top to bottom.
Kelly Damico
Do you know about how many gumballs you used for one? Just trying to figure out how many we would need for a Valentine's Party at school. This is adorable and they are going to love it!!
Sara
Hi Kelly, I'm so sorry. I didn't count them when I was making them. Your best bet would be to purchase a large container of the gumballs from Costco, Sam's Club or Walmart and then fill one of the ornaments you plan to use to figure out how many you'll really need. I'm sure you'll at least need one of the larger plastic gumball containers for sure. Good luck!
Heather - Dollarstorecrafts.com
Super cute!! Great valentine idea.
Sara
Thanks, Heather! I appreciate you stopping by!
Steph Seibert
These are AMAZING!! I love them. If you get a chance, I'd love to see this on my linkup: http://timeforseason.blogspot.com/2014/02/my-favorite-things-saturdays-21.html Hope to see you there! 😉
Sara
Hi Steph, thanks for the invite! I linked up!
Teia Jones
This is the cutest thing I've ever seen! I can't decide to make them for my daughter's small preschool class for Valentine's Day or for her upcoming birthday party. As you suggested, either way it will be a great party favor! I'd also love to share this in my weekly newsletter for SW Dallas Macaroni Kid (www.swdallas.macaronikid.com) with your permission of course. The parent's will love this! Teia
Sara
Teia, you're so sweet. Thank you. Of course you have my permission to share! Thank you for your kinds words and for stopping by!
Shelley Robertson
These are darling! You did a fantastic job!
Visiting from The Pin Junkie Party!
Shelley @ PaperCharm
Sara
Thanks so much, Shelley and I'm so glad you stopped by! I'll be over to visit you as well!
april
I love this idea so creative. Thanks for linking up at Tell Me About It Tuesday. We hope you hop over and share with us again next week.
Sara
Thanks so much for stopping by, April. I will definitely plan to stop by next week again. Have a great weekend!
B @ The Sequin Notebook
These are just too cute! I especially love how you repurposed the clear ornament...I have a bunch hanging around from Christmas, so thanks for inspiring me to think outside the box and come up with new creative projects for them!
Sara
I wanted to repurpose my clear ornaments too from a previous project over the holidays. Thanks for popping in and leaving such kind comments!
Jacqui Odell
So simple and so cute!! I want to do this for my daughters. I would love to have you hop over and share with us at Tell Me About It Tuesday! (http://www.sweetsillysara.com/2014/01/tell-me-about-it-tuesday-3.html)
Sara
Thank you so much for the invite, Jacqui! I will definitely hop on over tonight!
Beth Jackson Klosterboer
These are just too cute. What a great craft to make with and for kids for Valentine's Day. Pinning:)
Beth @ Hungry Happenings
Sara
Thanks so much, Beth. They were super fun to make. Thanks for stopping by to comment!
Abbey D.
This is adorable and so unique! I'm impressed! Thanks for sharing! Featuring you on I Heart Nap Time today!
Sara
Abbey, I'm so excited! I always get excited about features, but when I'm featured on I Heart Nap Time, I celebrate. Going to grab some ice cream now! LOL Thanks SO much! You made my day!
Sherie Olivera
This is the cutest thing ever! I am going to make these for my little 4 year olds, I know they will love them!! Thank you for the fabulous idea.
Sara
Awww, thanks Sherie! The kids will love them I'm sure. Good luck and thanks for stopping by to say hi!