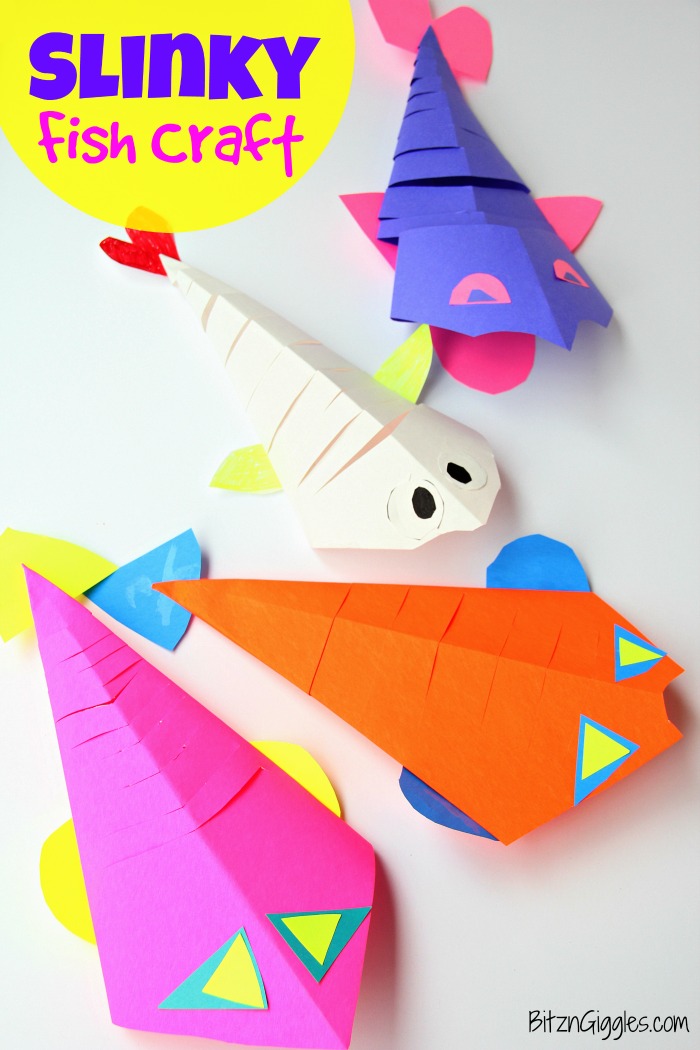
Slinky Fish Craft - All you need is construction paper, scissors and glue stick for this fun and colorful kids craft! The slinky "cut" makes the fish flexible, almost like it's swimming!
Want to Save This Recipe?
Over spring break we had lots of projects going on here at the house to keep the kiddos busy. We always seem to have some sort of project or experiment in the works. We've made squeeze balls, glitter water bracelets, magnetic slime and fairy bottles to name a few.
This particular Slinky Fish craft was one of them. Dane, our 8-year old came running into the living room one afternoon with his iPad, super excited. He said, "Mom, I found our next project for your blog!" I said, "Great, let me see it!" He showed me the video below from krokrotak.com and I thought the craft was so cute.
Dane ran to get the materials right away and we made several fish that afternoon. The best part about this slinky fish craft is that you only need three supplies to make them:
Materials List
- Lightweight construction paper
- Glue stick
- Scissors
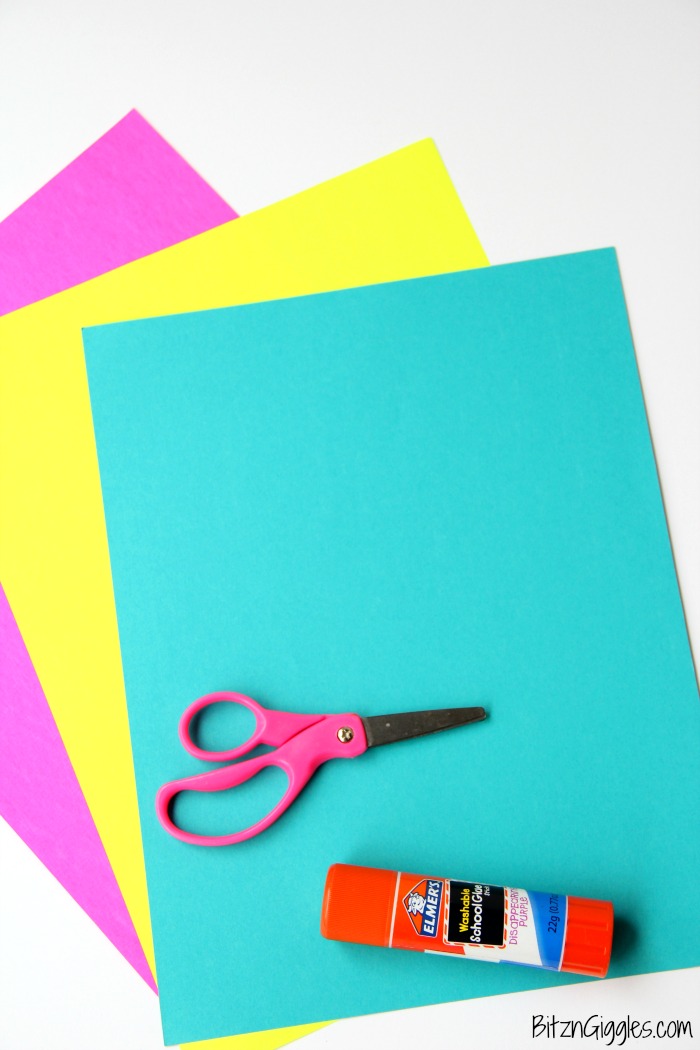
Pretty easy, right? Dane gets ideas from his iPad all of the time, but many of the projects he wants to tackle require a running list of materials to get started. I mean, who wants to have to run to the store every time your child wants to make something fun? Not me, friends. Not me.
This project was super duper easy. It looks like there's lots of steps but between my photos and the video, you'll have your slinky fish created in no time.
There's a bit of cutting involved and, let me tell you what. . .it doesn't need to be perfect. The shapes are all very simple for the parts of the fish. You can cut them freehand.
You'll need:
- 1 tail
- 2 fins
- 1 tongue
- 2 eyes
- 2 insides of eyes
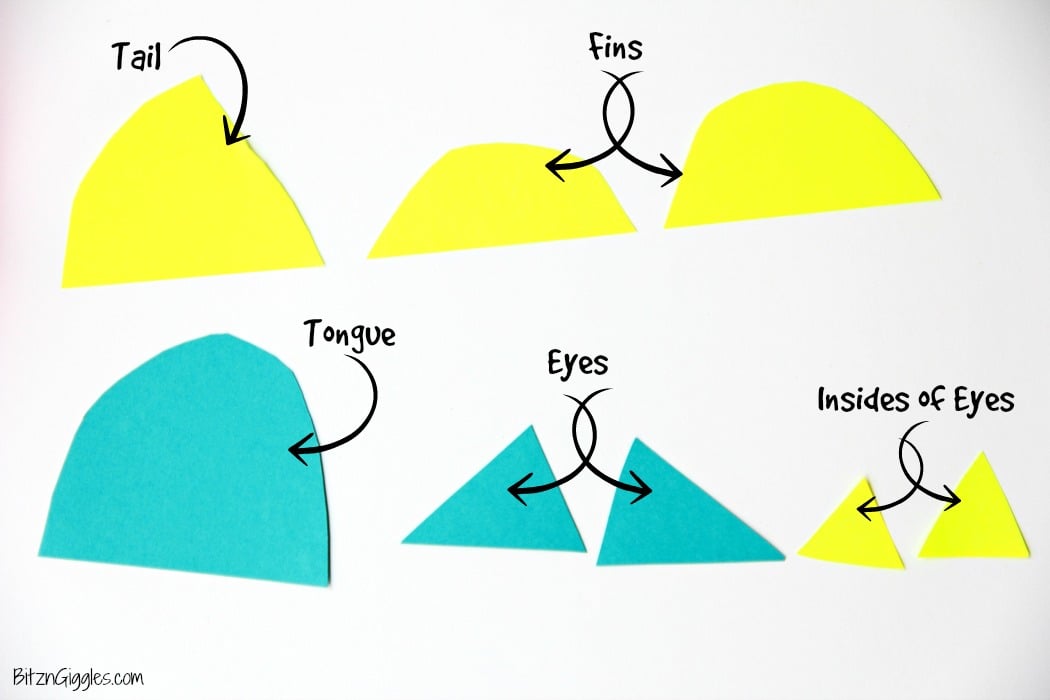
We used various colors of construction paper to make the fish colorful. Use whatever colors you like! Make these fish your own! Once you make the first one, you'll find yourself experimenting with the colors, the shapes and giving each fish a bit of a different look.
Once you have your pieces cut out, you can start on the main body of the fish. Dane was so patient with me through the project and he helped me get some good photos of each and every step. Are you ready to start on the slinky fish body? You are? Then, here we go!
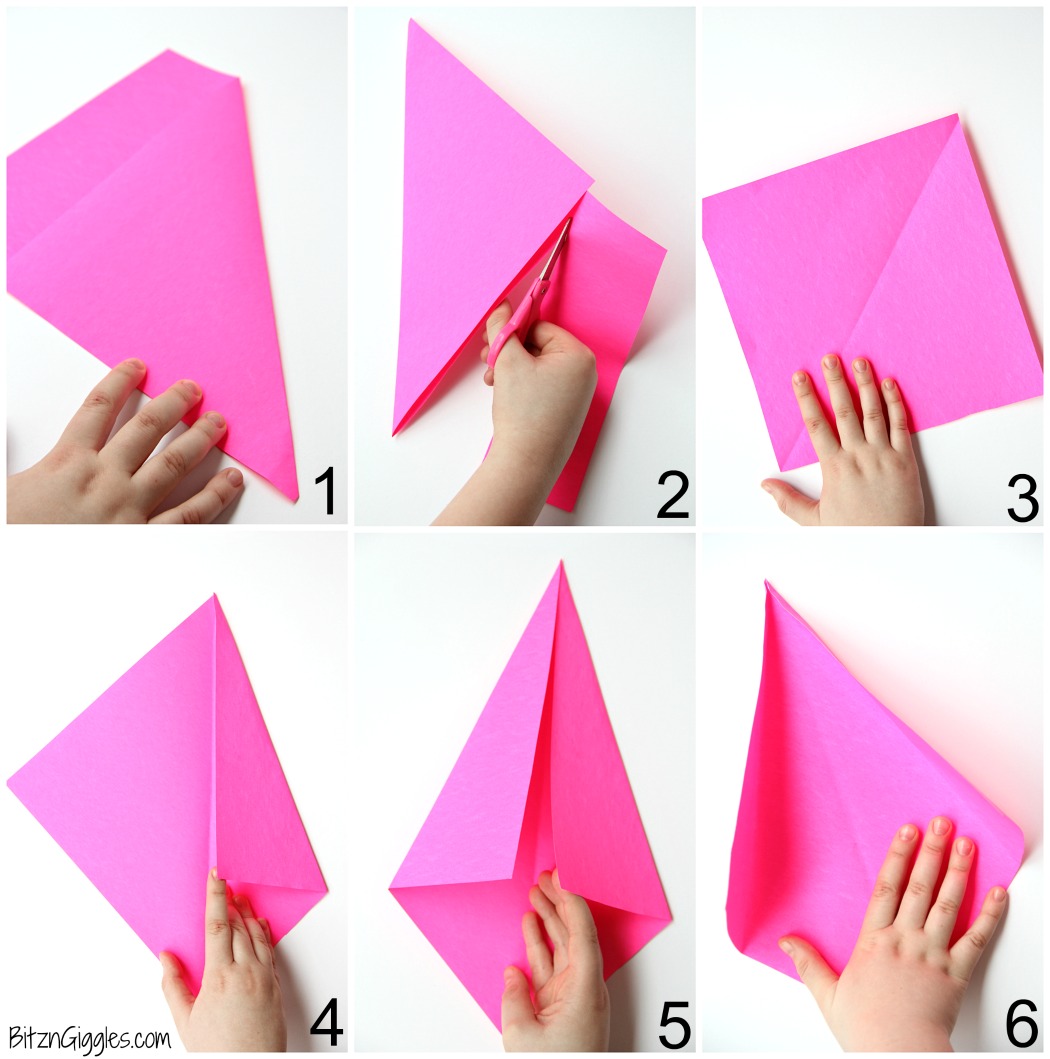
Start with an 8.5 x 11" sheet of paper and cut out an even square. Follow steps 4-6, folding the two corners into the center and then kind of straightening it out again.
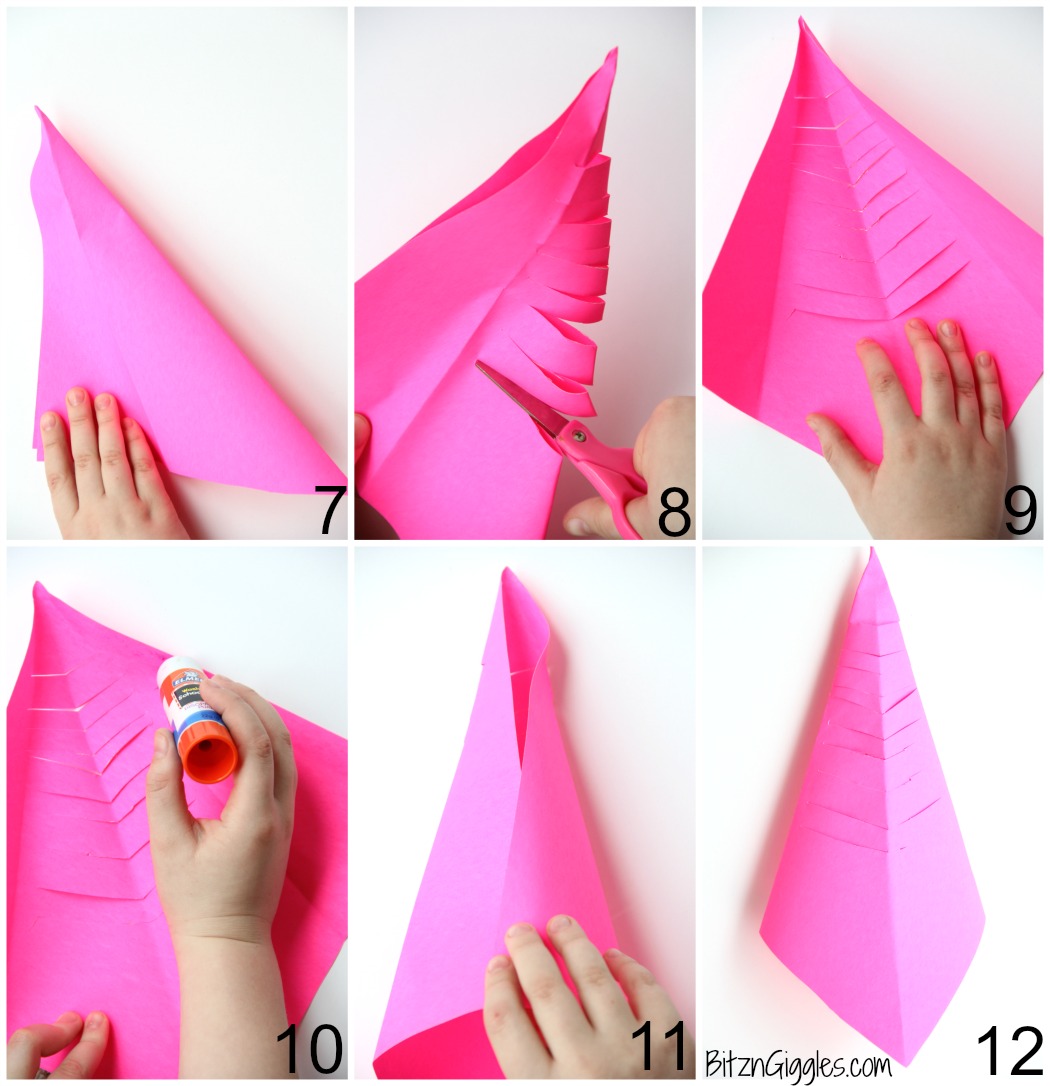
7. Fold, taking the upper right corner and matching it up to the lower left corner.
8. Cut slits into the right side of your folded piece of paper.
9. Unfold the paper.
10. Run a glue stick along the entire right side of the paper.
11. Fold the right side of the paper over the left side, creating what looks like a tall hat.
12. Flip the hat over so the slits show at the top.
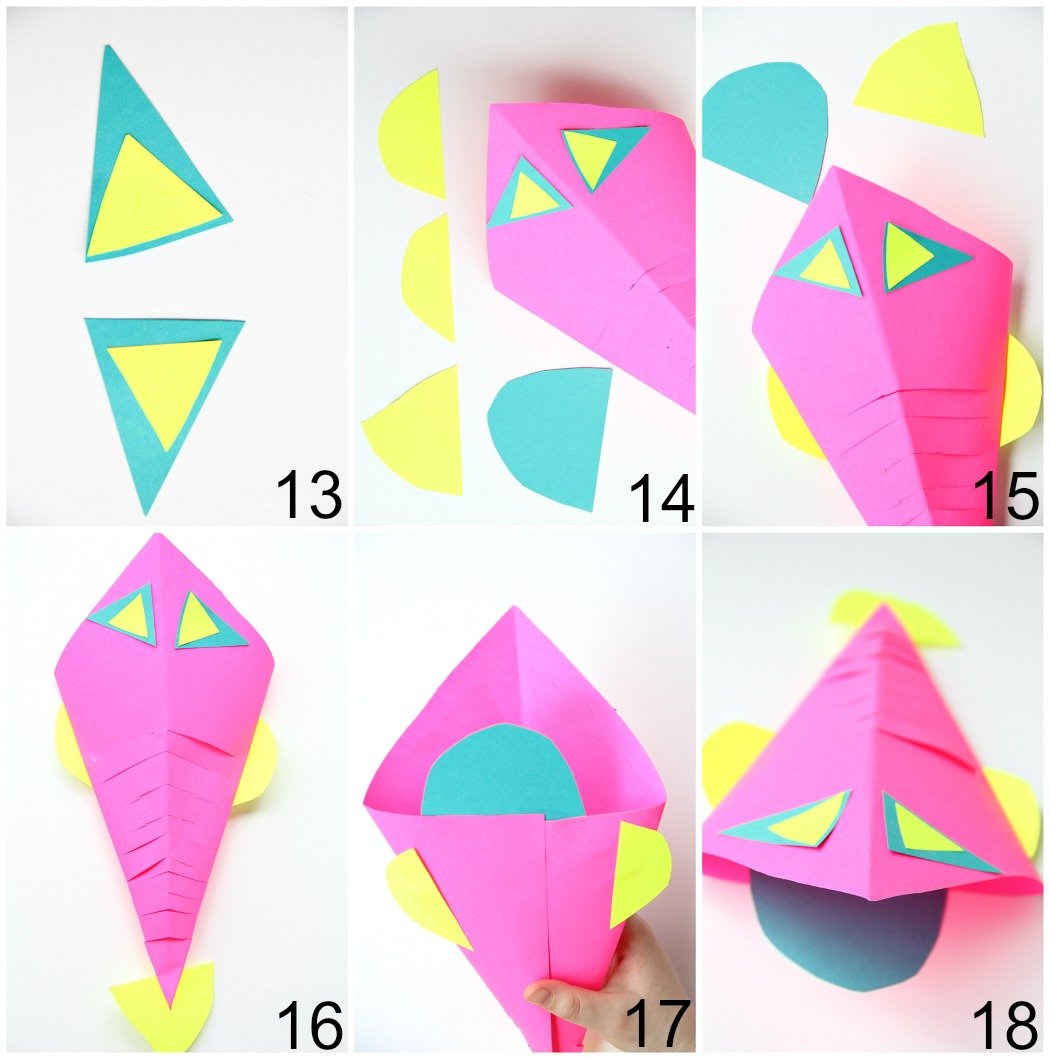
13. Glue the insides of the eyes to the center of the eyes.
14. Glue the eyes onto the head of the fish.
15. Glue the fins onto the fish.
16. Glue the tail onto the fish.
17. Glue the tongue onto the fish.
18. And there you have it - your very own slinky fish craft!
Josh even got in on the project and helped me with some of the pictures, too. I'm telling you, you're entire family is going to love these fish!
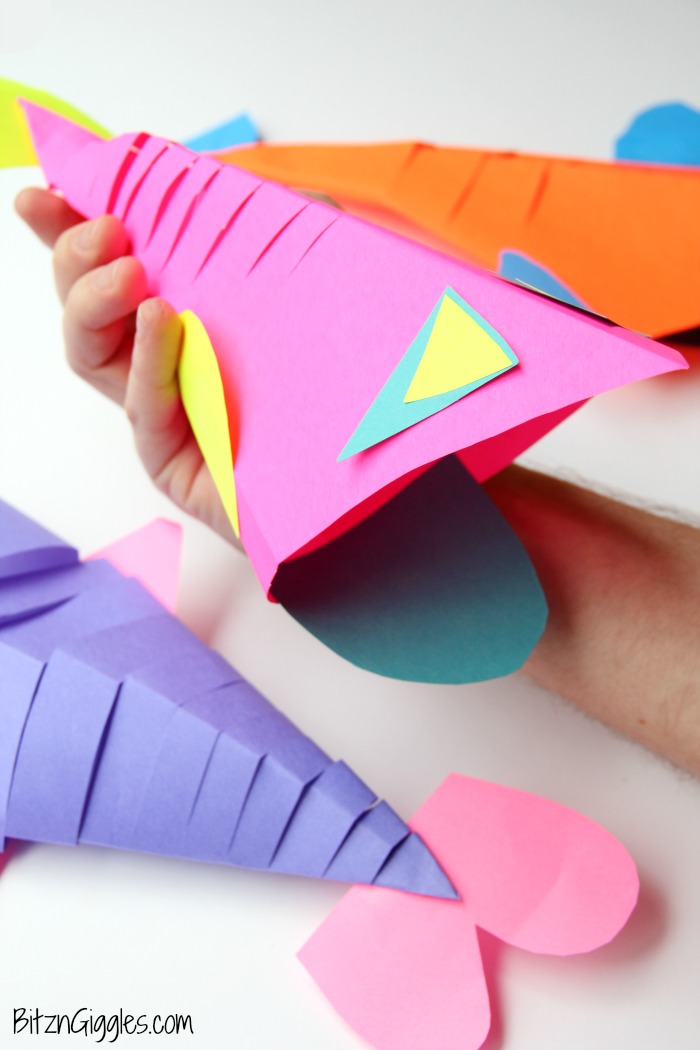
After making a few fish, the best tip I can give is to try and find a lightweight piece of paper for the fish body. The lighter the paper, the more "fluid" your fish's movements will be.
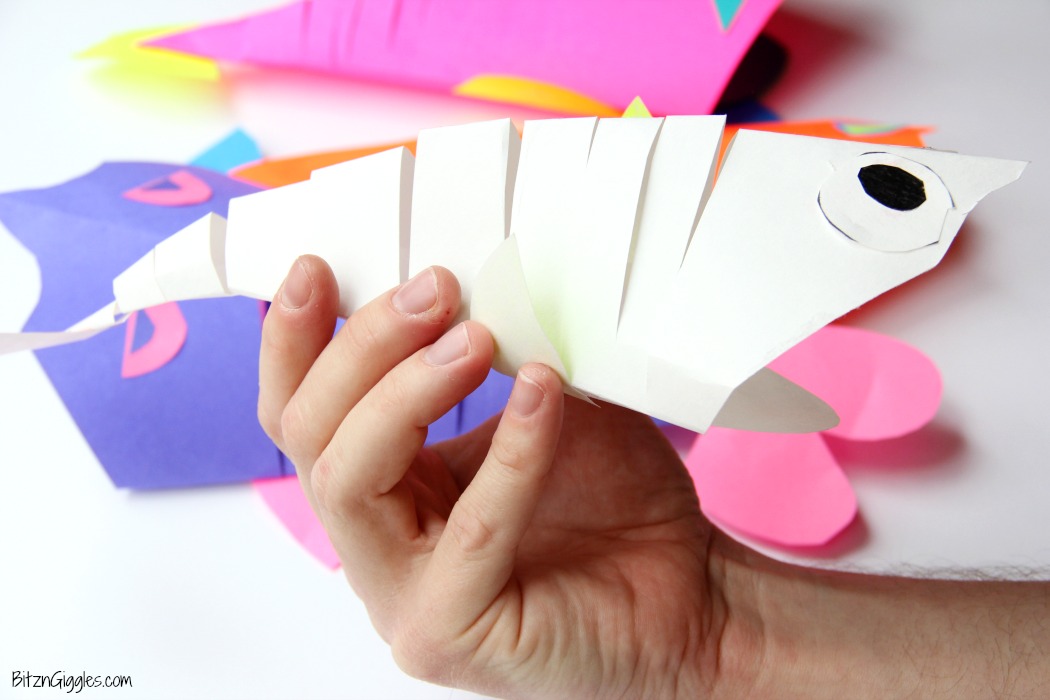
This white fish actually moved the best. He was the first fish we made. It was basically a prototype made out of copy paper. We made fish after fish after fish that day. I'm betting you will too. It's so much fun matching up different colors, substituting in different shapes for the eyes, etc. and making them all swim along in the air.
Because there is cutting involved I recommend adult supervision for this craft. It's too much fun for a child to do on their own, anyway. You're going to have a hard time not wanting to try this one for yourself. TOO MUCH FUN.


Jo-Anne the crazy lady
Cute