
Birdseed Ornaments

This post may contain affiliate links. · As an Amazon Associate I earn from qualifying purchases.
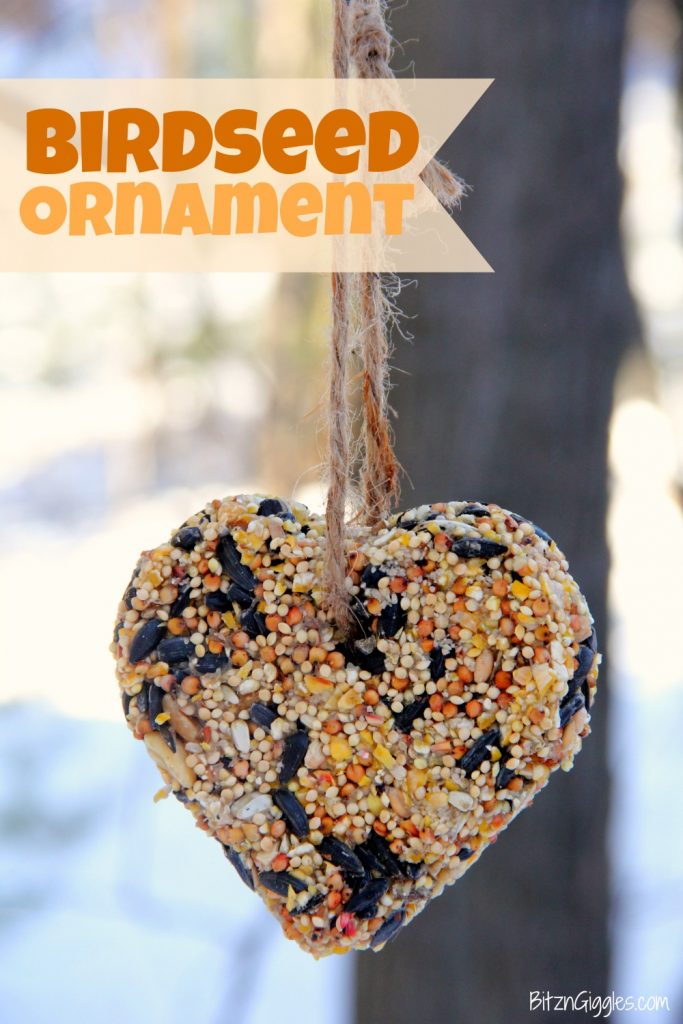
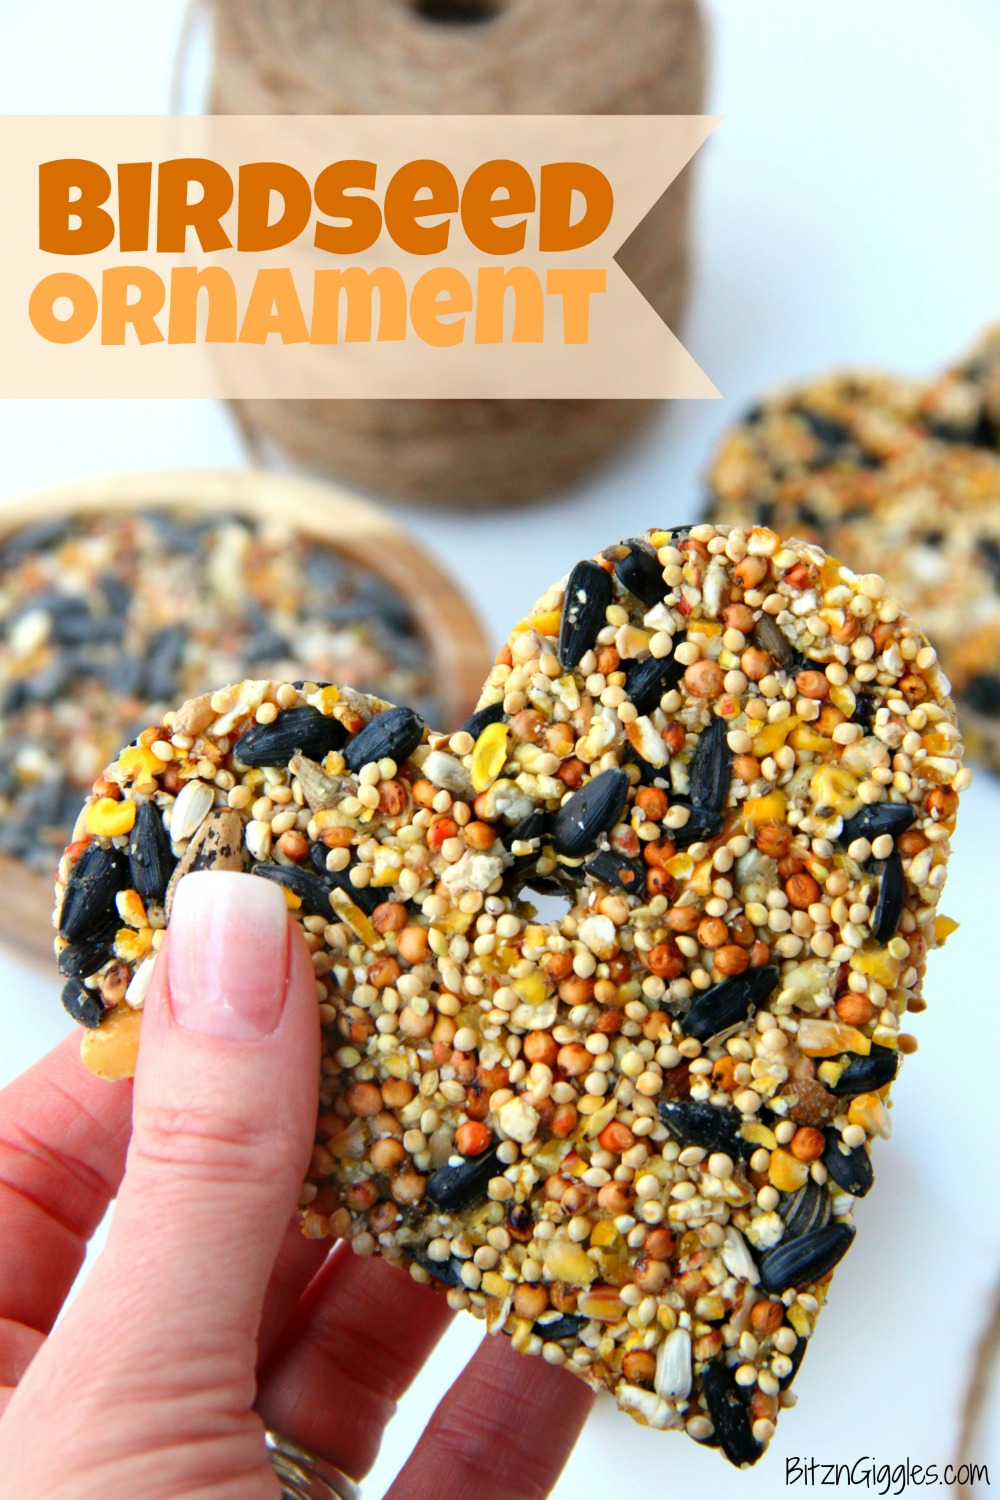
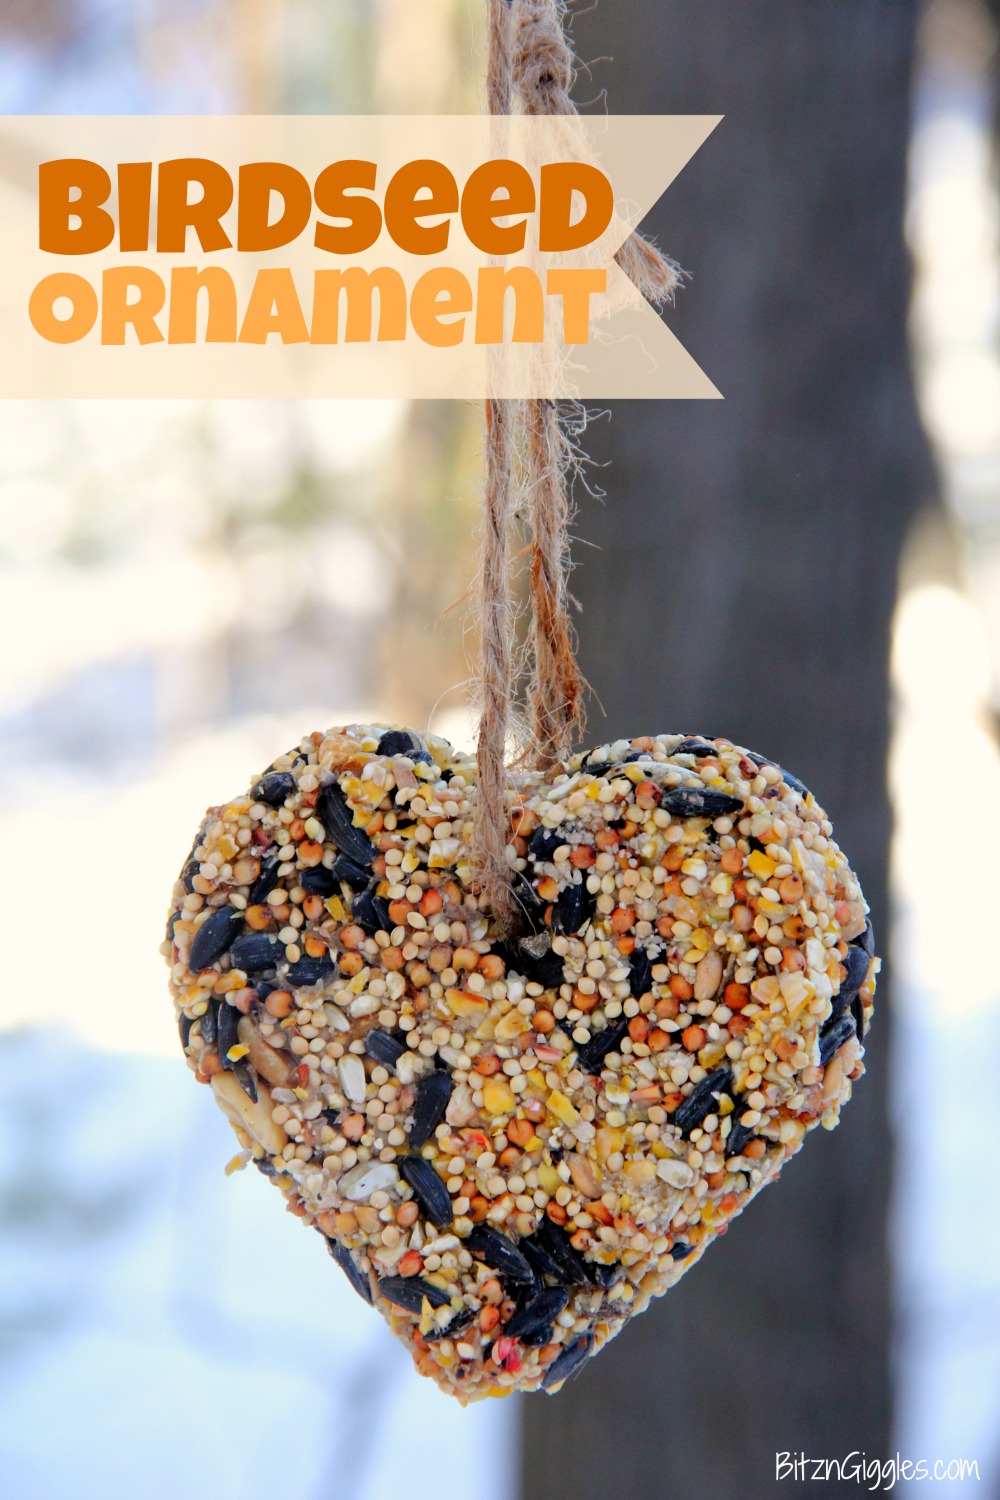
Birdseed Ornaments - Easy to make ornaments made with birdseed and simple ingredients from your pantry!
Want to Save This Recipe?
This post may include affiliate links. Please see my disclosure.
If you live in the Midwest, this time of year can be the worst. The skies are gray and cloudy, the trees are bare and the snow is dingy and dirty.
Besides the deer, the one sign of life we see active in our backyard are the birds. Not the robins, mind you - they won't be back for a few more months yet - but we do have finishes, chickadees, cardinals and sparrows that stick around.
So, today, we're going to show a little love to our bird friends and make some birdseed ornaments. I decided heart-shaped ornaments were appropriate because we're so close to Valentine's Day, but any cookie cutter shapes will do.
These ornaments are really simple to make and the birds will appreciate a little extra treat to get them through the rest of the winter. So, let's make some ornaments!
HOW TO MAKE BIRDSEED ORNAMENTS
To make birdseed ornaments, you'll need:
- Birdseed
- Unflavored gelatin
- Corn syrup
- Water
- Cookie cutters
- Drinking straws (cut into four pieces)
- Twine
To begin making the ornaments, you're going to want to start with the gelatin mixture. Add ¼ cup cold water to a bowl and then pour the package of gelatin on top of the water.
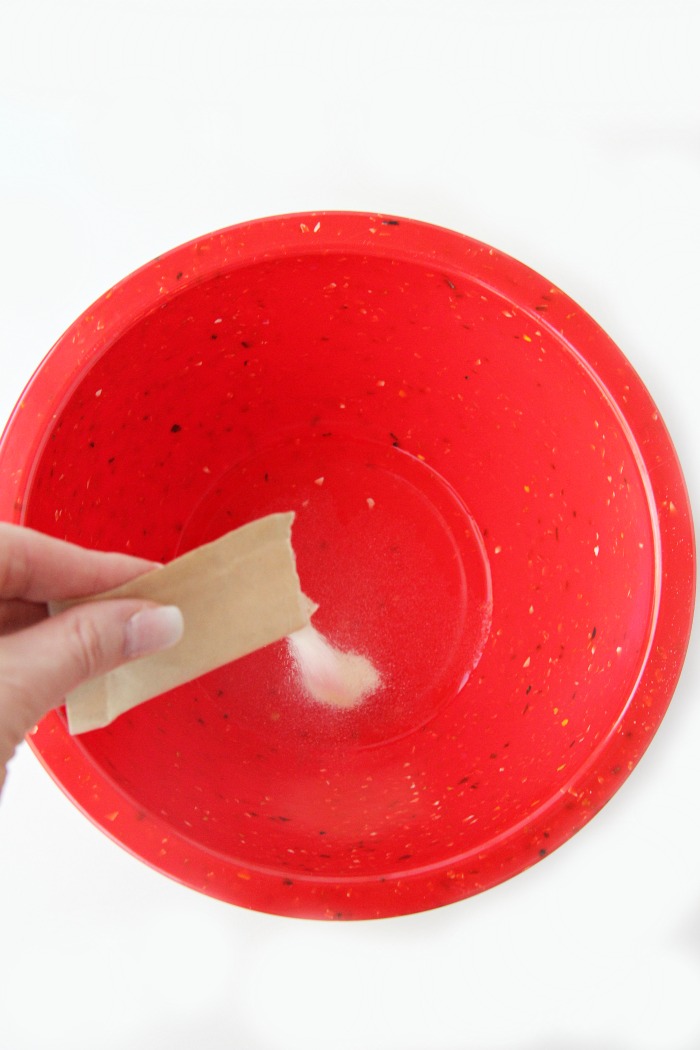
When you add the boiling water to the bowl, make sure to stir until all of the gelatin is dissolved.
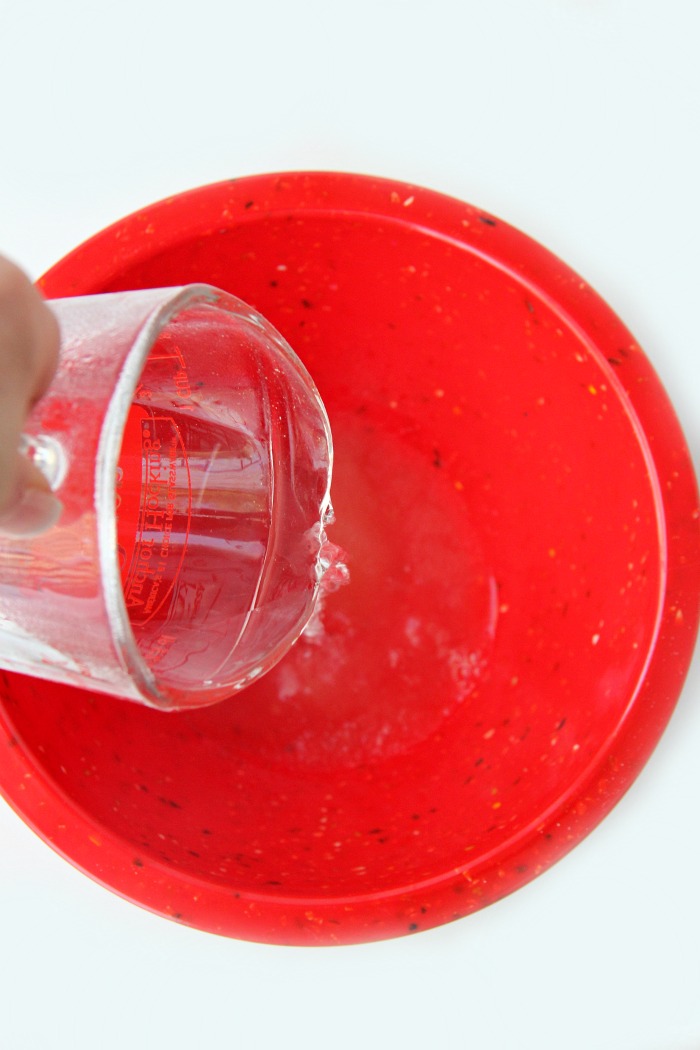
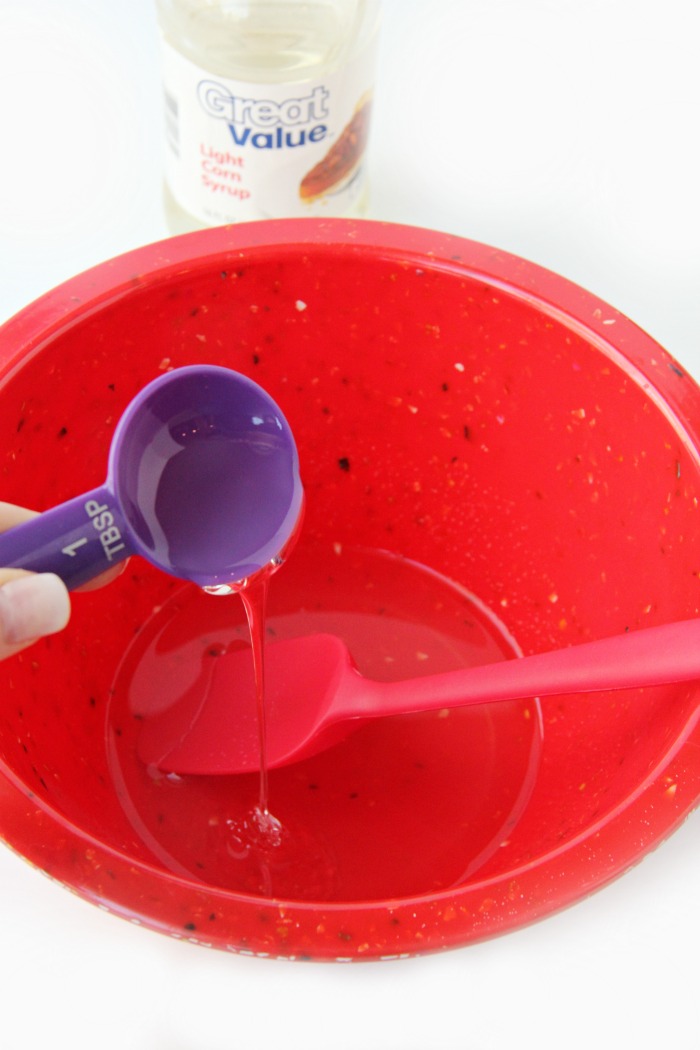
Add the corn syrup to the gelatin mixture and mix well.
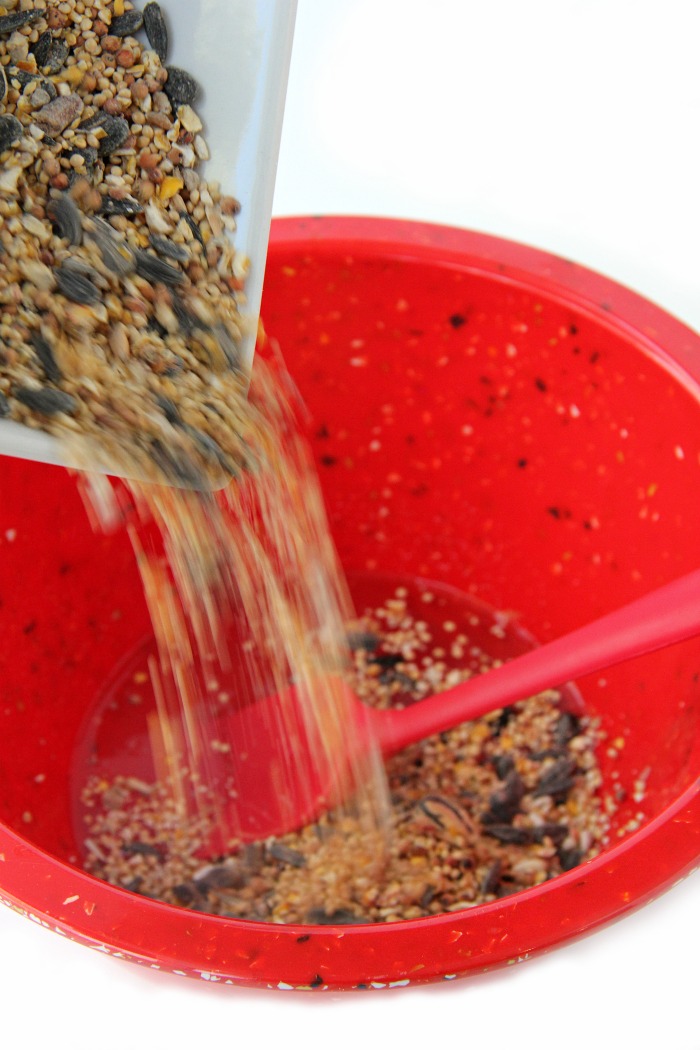
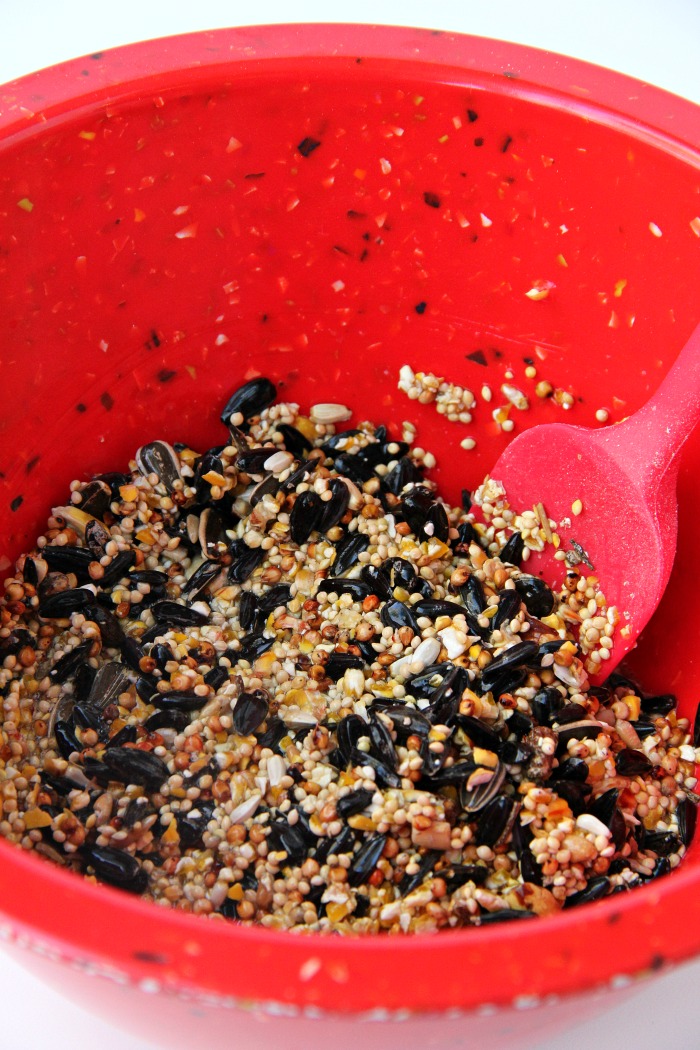
Add in the birdseed and mix until well-combined.
WHAT KIND OF BIRDSEED SHOULD I USE?
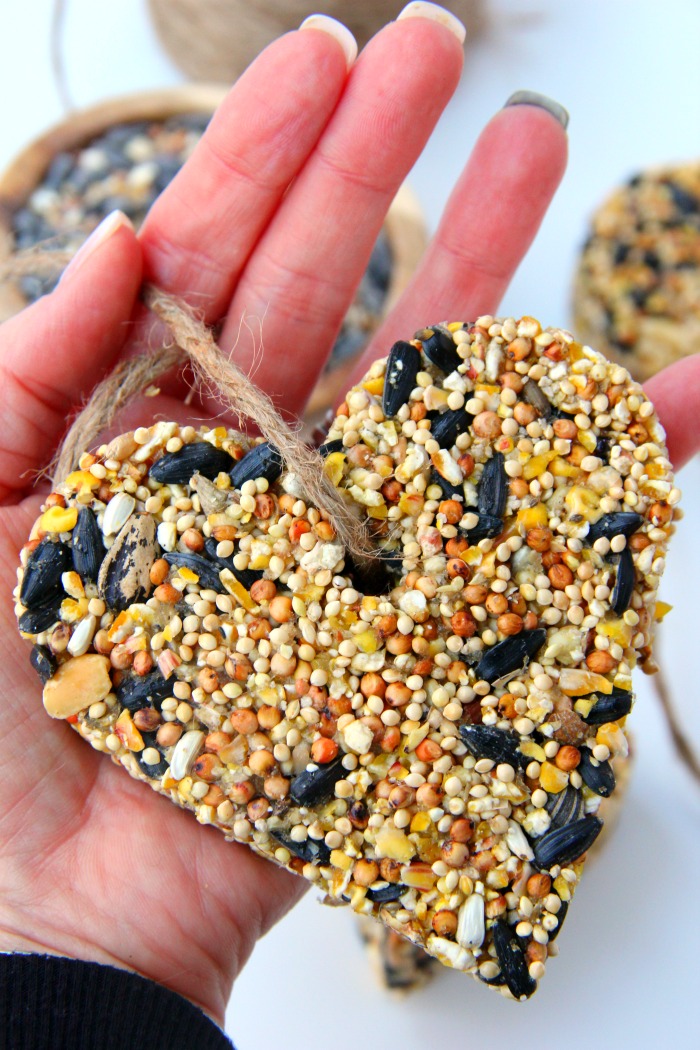
To ensure the ornaments don't fall apart easily, make sure to use a mixture with mostly small seeds. I used a birder's blend which does have safflower and sunflower seeds. The ornaments worked because I packed them tightly.
If you're going to be making these ornaments with children, I would opt for a blend like this songbird mix which doesn't contain any large seeds at all.
After the mixture is well-combined, place the bowl in the refrigerator for about 15 minutes to allow the birdseed mixture to thicken and set.
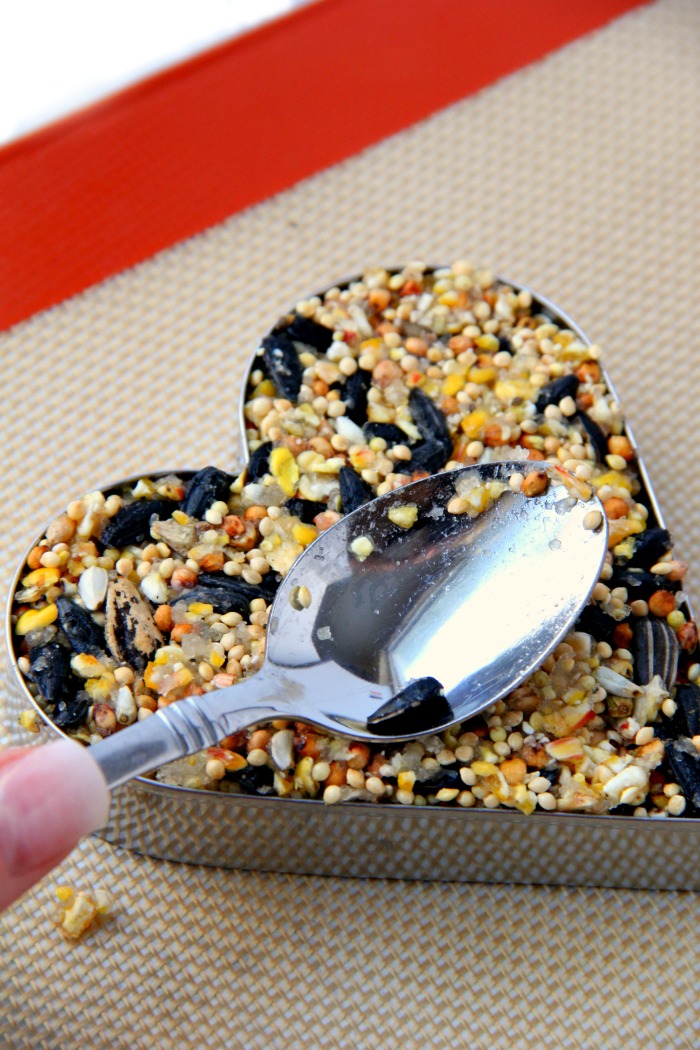
Place the cookie cutters onto a lined baking sheet and use the back of a spoon to press the birdseed firmly into the cookie cutters until they are filled all the way to the top.
DO I NEED TO GREASE THE COOKIE CUTTERS BEFORE ADDING THE SEED?
No, you don't need to grease the cookie cutters, but it might be a good idea if you're making ornaments with angles or points, like stars.
Adding a little nonstick spray before adding the seed will make it easier to remove the ornaments from the cutters when they're dry.
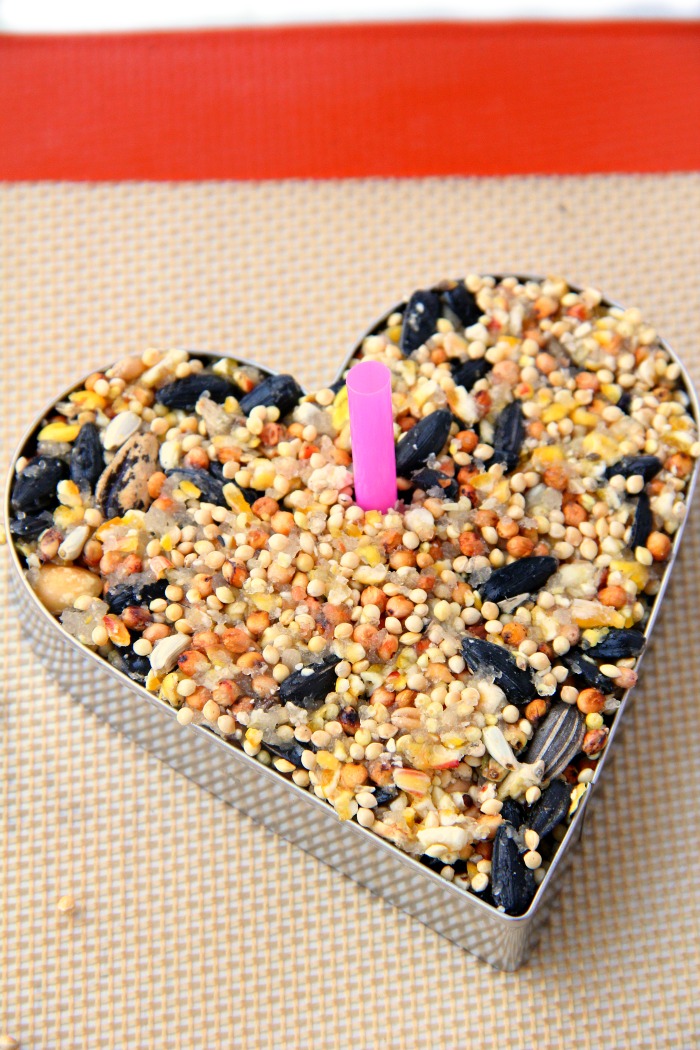
After the birdseed is packed into the cutters, place pieces of the drinking straw through the tops of each of the shapes, leaving ample space between the hole and the edge of the shape to ensure there's enough strength there when you add the twine and go to hang the ornament later.
HOW MANY ORNAMENTS WILL ONE RECIPE MAKE?
Depending on how large of cookie cutters you use, the recipe should make 3-4 ornaments.
Refrigerate the ornaments overnight and gently pull the pieces of straw out of the ornaments.
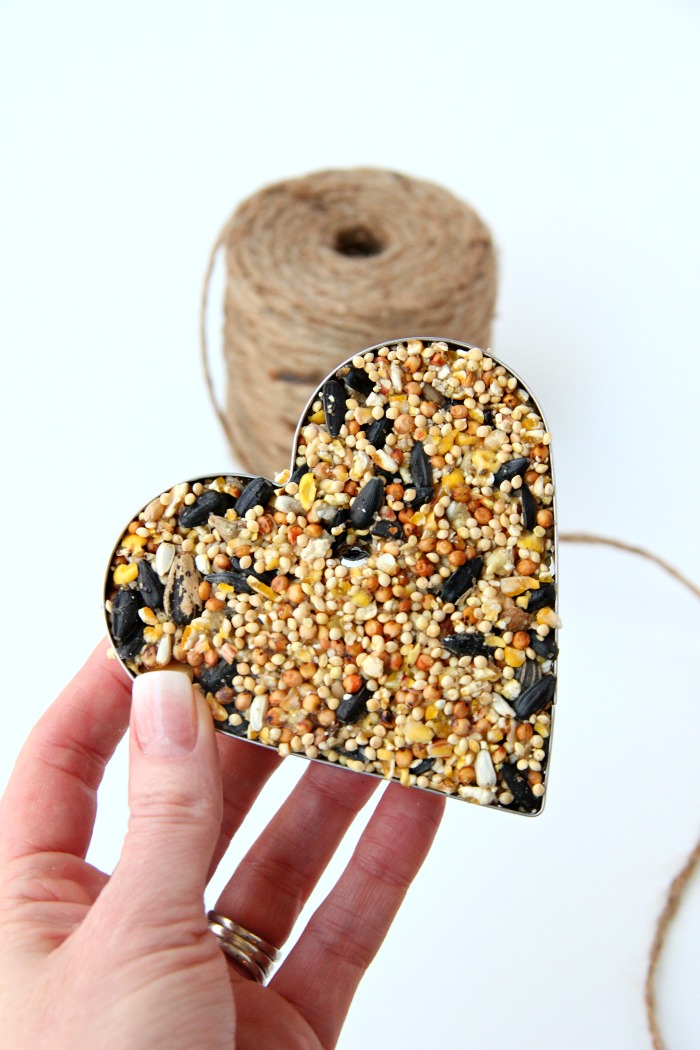
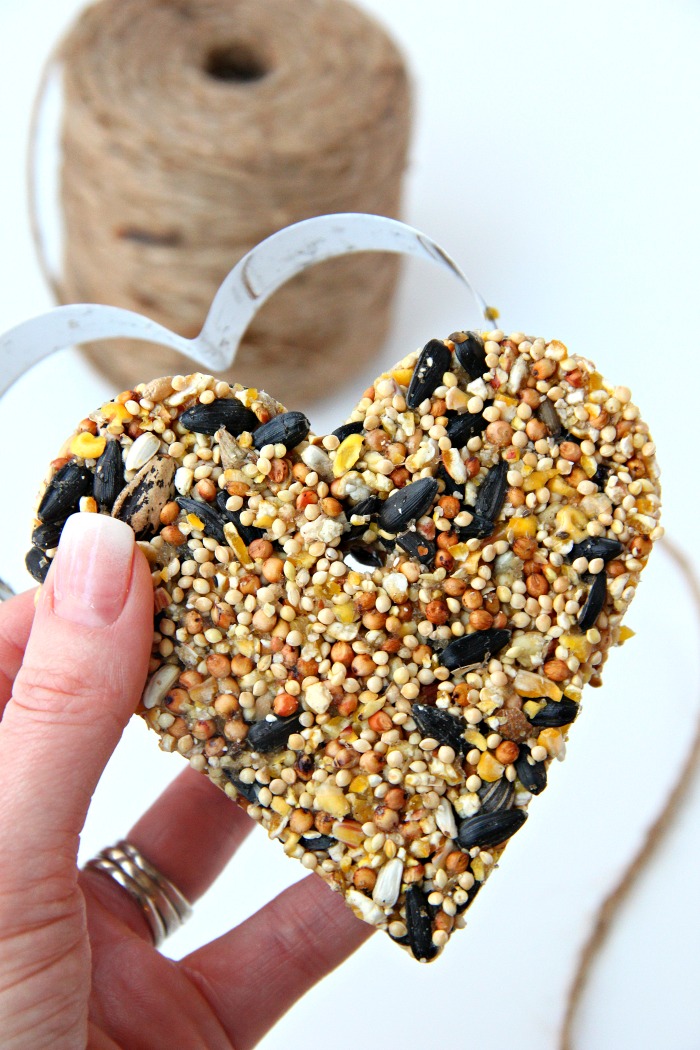
Gently pull the sides of the cookie cutters away from the birdseed and push the ornaments out of the cutters.
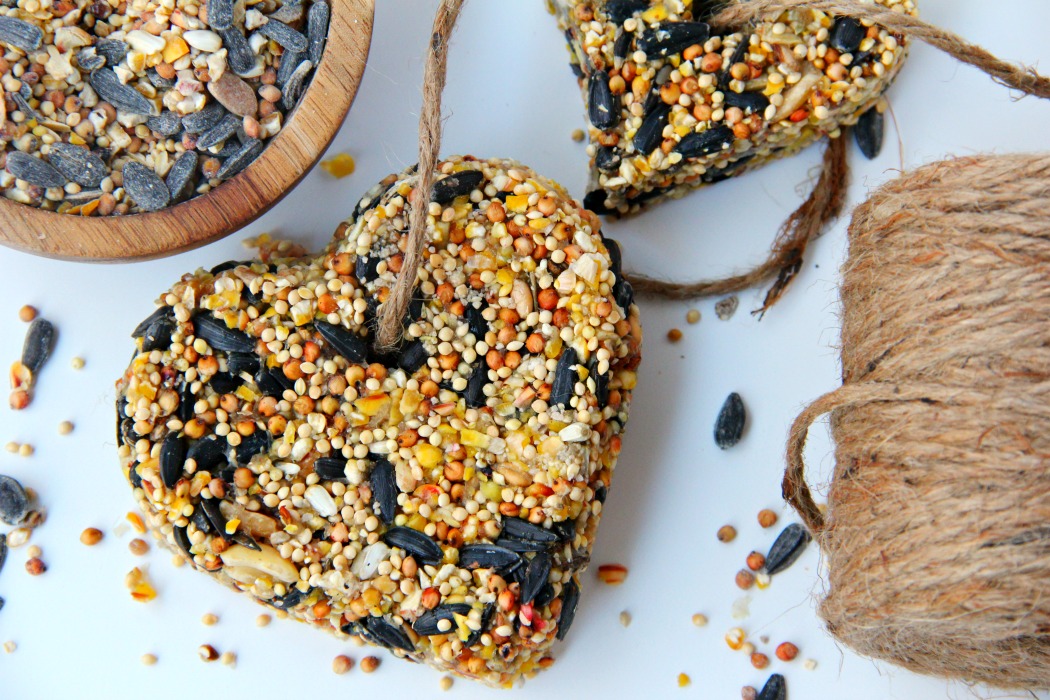
Cut off pieces of twine and loop them through the holes in the ornaments. Tie the two loose ends together to create a "hanger."
CAN I DOUBLE OR TRIPLE THE RECIPE TO MAKE MORE ORNAMENTS?
I wouldn't. I would make one batch at a time.
The birdseed should be a bit wet and sticky when you press it into the cookie cutters so I would recommend making the ornaments in batches rather than making a huge batch and some of the mixture drying out while you're filling the cookie cutters.
WILL BIRDSEED ORNAMENTS HOLD UP IN THE SUMMER?
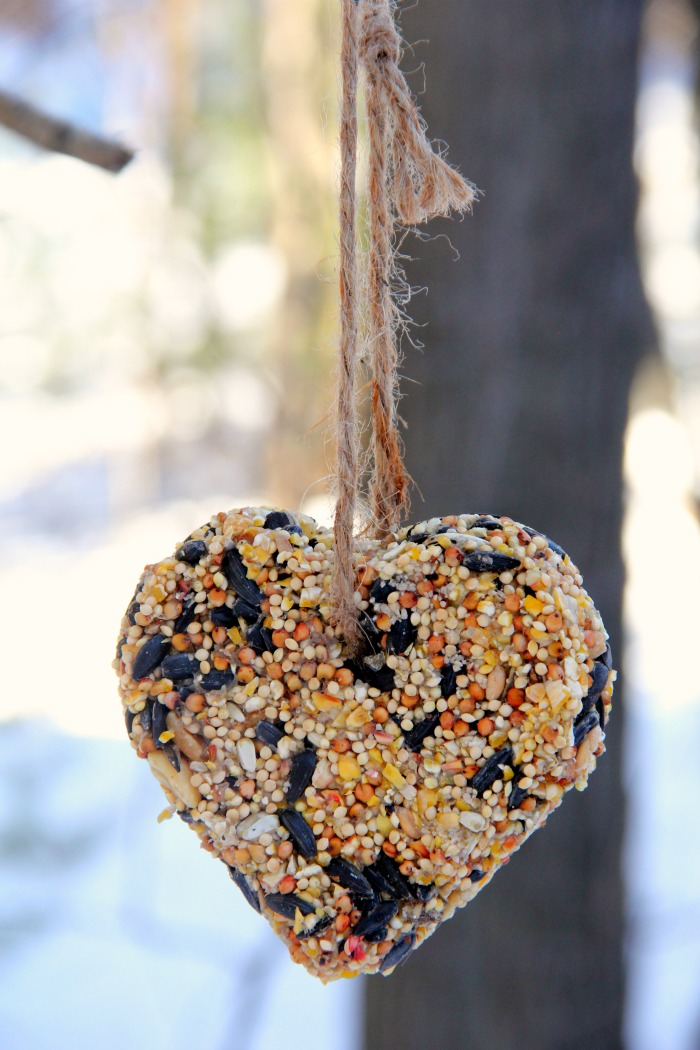
Cookie cutter birdseed ornaments work the best in the winter when it's cold outside. They are sure to hold their shape.
They should even be able to withstand the spring, but I would think if the temperature went beyond 60º Fahrenheit or the ornament was hanging right in the sun, it may be enough to melt the gelatin.
LOOKING FOR MORE FUN FAMILY DIY ACTIVITIES?
- Scented Sidewalk Chalk
- Easy Lollipops
- Conversation Heart Soap
- Galaxy Jar
- Water Bead Stress Ball
- Glitter Friendship Bracelets

Birdseed Ornaments
Equipment
- Cookie cutters
- Scissors
Materials
- ¾ to 1 cup birdseed
- 1 package unflavored gelatin
- 2 tablespoons corn syrup
- ½ cup water divided
- Drinking straws cut into four pieces
- Twine
Instructions
- Add ¼ cup cold water to a bowl.
- Pour the package of gelatin on top of the water.
- Add ¼ cup boiling water to the gelatin mixture and stir until the gelatin is dissolved.
- Add the corn syrup and stir until dissolved.
- Add the birdseed and combine.
- Refrigerate the birdseed mixture for 15 minutes.
- Place cookie cutters onto a lined baking sheet and use the back of a spoon to press birdseed firmly into the cookie cutters until filled all the way to the top.
- Place the pieces of drinking straw through the tops of each of the shapes leaving ample space between the hole and the edge of the shape.
- Refrigerate the ornaments overnight.
- Pull the pieces of straw out.
- Gently pull the sides of the cookie cutters away from the ornaments and push the ornaments out of the cutters.
- Cut off a piece of twine, loop it through the hole in the ornament and then tie the two ends together to create a "hanger."
- Hang the ornaments from tree branches in your yard.