Want to Save This Recipe?
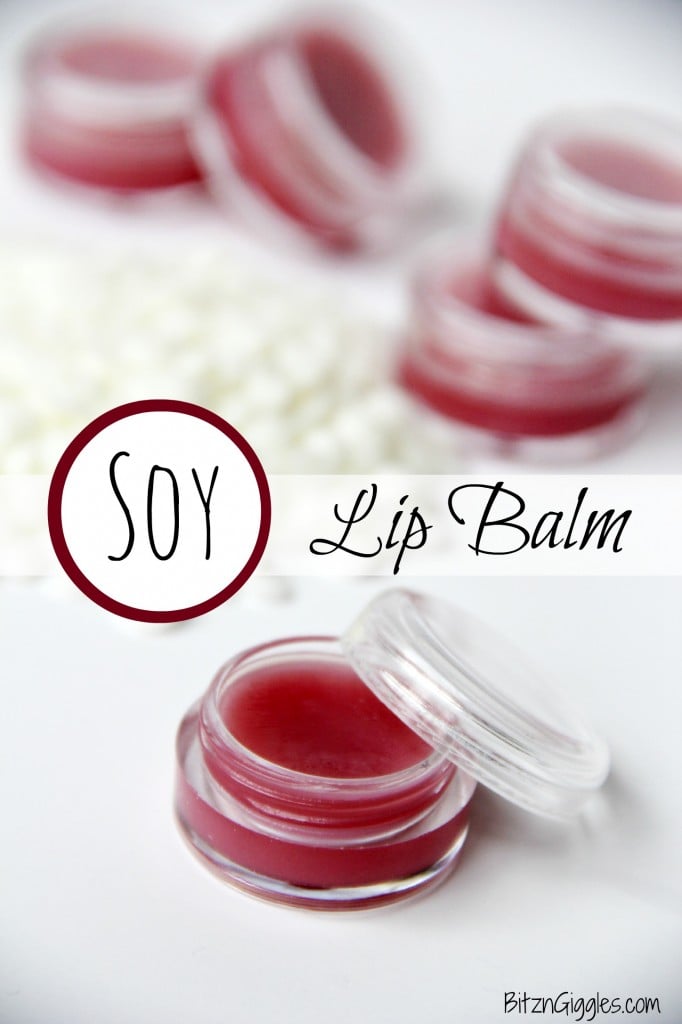
With the nicer weather just around the corner, who doesn't want to have their sun-kissed lips shine? Today I'm sharing a quick and easy recipe for making your own lip balm. A lot of the recipes out there use beeswax, but this one uses soy. Years ago I used to make a lot of soy candles. Then, I had children and the candle-making stopped, however, I had a huge bag of soy pastilles left to use! This soy lip balm is wonderful for gift giving and great for those bits of favorite lipstick you may have left over in the tube!
Here's what you'll need:
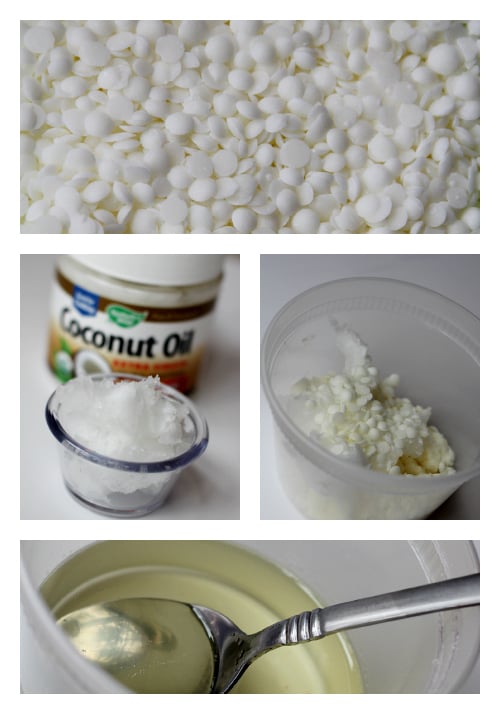
- 4 tablespoon Coconut oil
- 3 tablespoon Shea butter
- 1 tablespoon Soy wax pastilles
- ½ teaspoon Vitamin E oil (I got mine from Walmart in the vitamin section)
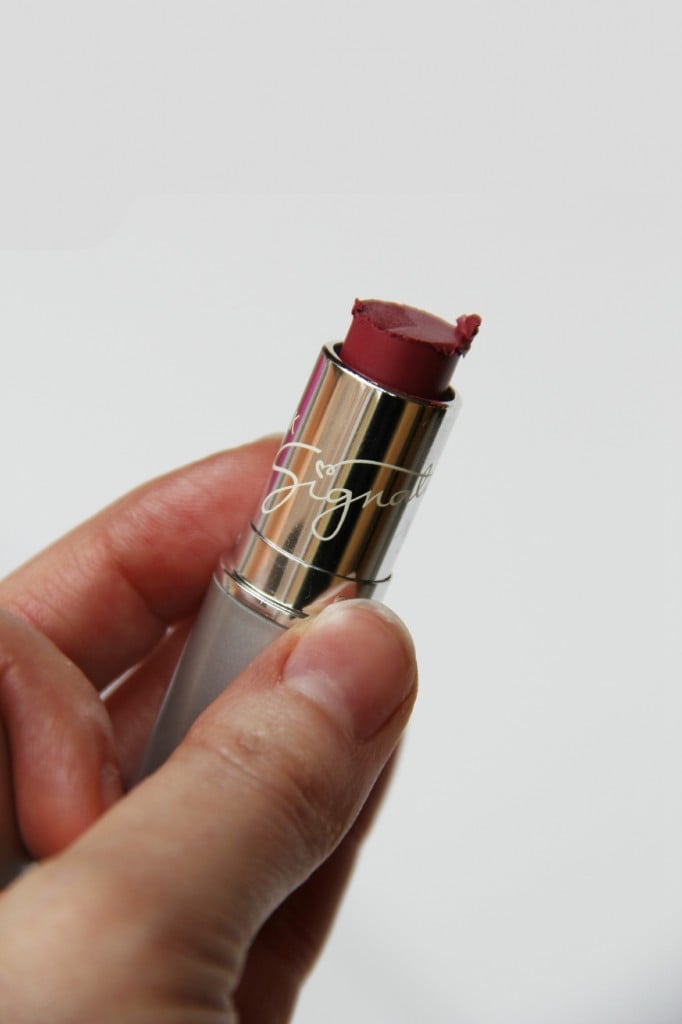
- Chunk of your favorite lipstick
- 8 drops of your favorite essential oil (I used peppermint)
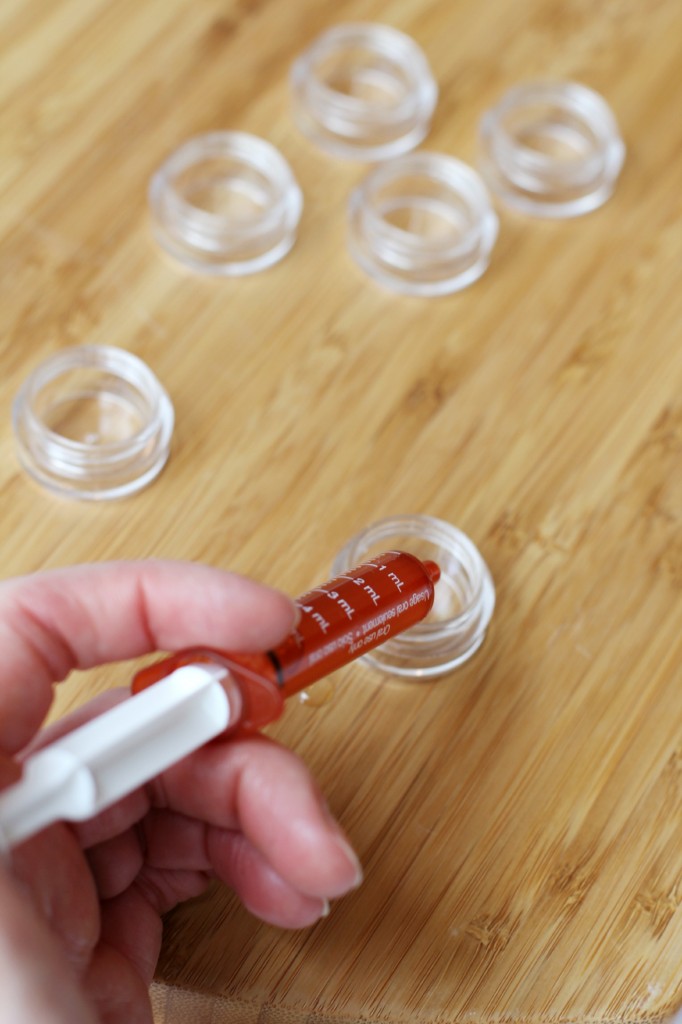
- Medicine dropper
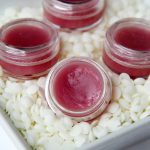
- Lip balm containers - Mine were 5 gram containers and I filled close to 20 with the recipe
Put your wax, shea butter, and coconut oil into a microwaveable safe bowl (I used something disposable) and heat for 1 minute or until the soy wax is almost completely melted. Pull the container out of the microwave, add your vitamin E oil and lipstick and heat for another 20-30 seconds or until the lipstick chunk is melted.
Why use Vitamin E? Supposedly it helps the lip balm last longer.
Just so you get an idea of what I call a "chunk" of lipstick I've included the photo below. This Mary Kay lipstick was always a favorite. Lately, I wear more lip gloss and balm than lipstick, so it just made sense to turn my favorite lipstick into lip balm.
If you've ever wondered whether or not the Kool-Aid tinted lip balm you see all over Pinterest really works, the jury is still out. I've tried it and it's always turned out gritty even after I stirred and stirred. Think you can get around it by using the liquid concentrate Kool-Aid? NOPE. The Kool-Aid never completely dissolves either and floats to the top of the lip balm.
When everything is dissolved, mix in your essential oil, get out your medicine dropper and start filling the containers.
Let the lip balm cool and harden. Now remember, because you're using coconut oil and soy this lip balm is subjective to melting if conditions get too warm. I wouldn't suggest putting this lip balm in your purse on a trip to Disney World in the middle of July. Just keep that in mind.
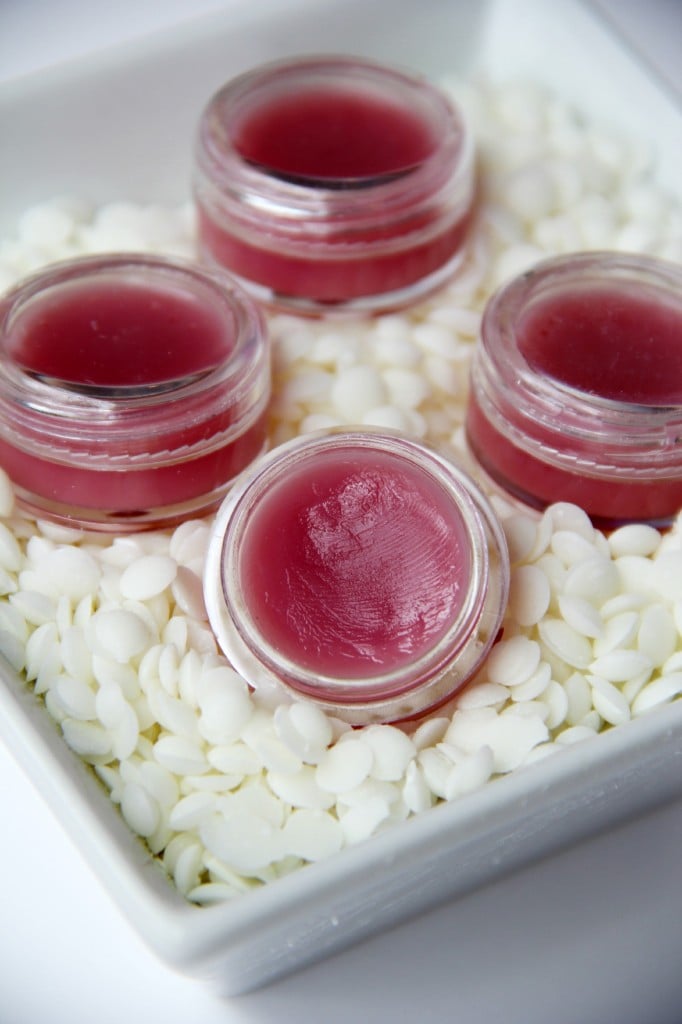
When the lip balm has cooled for about an hour, dig right in and try it out. I did. I couldn't wait. You can even see my fingerprints in the balm in the picture! Enjoy and share the love! How much fun would it be to give these cute little containers to your besties? They'll love you for it!
Homemade Soy Lip Balm
Materials
- 4 tablespoons Coconut oil
- 3 tablespoons Shea butter
- 1 tablespoon Soy wax pastilles
- ½ teaspoon Vitamin E oil I got mine from Walmart in the vitamin section
- chunk of your favorite lipstick
- 8 drops essential or food-safe fragrance oil I used peppermint
- Medicine dropper
- 5 mL Lip balm containers
Instructions
- Put your wax, shea butter, and coconut oil into a microwaveable safe bowl (I used something disposable) and heat for 1 minute or until the soy wax is almost completely melted.
- Pull the container out of the microwave, add your vitamin E oil and lipstick and heat for another 20-30 seconds or until the lipstick chunk is melted.
- When everything is dissolved, mix in your essential oil, get out your medicine dropper and start filling the containers.
- Let the lip balm cool and harden. Now remember, because you're using coconut oil and soy this lip balm is subjective to melting if conditions get too warm.,
- When the lip balm has cooled for about an hour, dig right in and try it out.
Notes
- Microwave Safety and Heating Instructions: Ensure safety when melting the ingredients for your DIY soy lip balm by using a microwave-safe bowl or container. Heat the mixture in short intervals, checking frequently to prevent overheating. Stir the ingredients between intervals to ensure even melting. Be cautious when handling hot containers and ingredients, using oven mitts or kitchen towels to protect your hands.
- Customize with Lipstick and Essential Oils: Personalize your lip balm by adding a chunk of your favorite lipstick for color and essential oils for fragrance. Experiment with different lipstick shades to create custom-tinted lip balms, and choose essential oils with soothing or invigorating scents, such as peppermint or lavender, to enhance the lip balm experience. Adjust the amount of lipstick and essential oil according to your preferences for color and scent intensity.
- Container Filling and Cooling: Use a medicine dropper to fill the lip balm containers with the melted mixture, ensuring precise and mess-free application. Allow the lip balm to cool and harden completely before using or sealing the containers. Be patient during the cooling process, as rushing may cause uneven texture or premature solidification. Once cooled, test the lip balm to ensure it meets your desired consistency, and enjoy the moisturizing benefits of your DIY creation.
Chelsea Jackman
Love that it’s vegan and the use of soy instead of candelila wax! Your vitamin E should be mixed tocopherols (not the vitamin E from the drugstore), usually called MT-50 or MT-90. This MUST be added and kept at a temperature lower than 40C/104F so that the vitamin E can act as an antioxidant and protect the precious oils, butters, and waxes in your finished lip balm. Tocopherol loses its power as an antioxidant when exposed to higher temperatures.
Az
Is soy wax softer than beeswax? Is this why this recipe uses harder oils?
Sara
Yes, soy wax is definitely softer than beeswax!
Sabrina Wilson
I love lip balms, especially DIY ones! I’m definitely pinning this to make later since I’m out of my current lip balm. When you get time, I’d love for you to come check out my corner of the blogosphere at https://organicdailypost.com/ultimate-guide-to-essential-oils/
Erin
hi, about how many of the small jars would this recipe make ??
Sara
I was able to fill close to 20 of them!
Terry
Great post - thank you! If I were to leave the lipstick out, would that make a huge difference to the consistency?
Sara
The balm will be fine at room temperature, but if left in the sun or in a very warm place, it will begin to liquify.
Lacie
Would this work as a stick or just as a tin/jar?
Sara
Hi Lacie,
I think soy may be a bit too soft for a stick. I think your best bet would be using a tin or a jar. Good luck!
Danielle
love it! Thanks for linking up to The Feature Friday Linky Party!
Danielle
I love this! I'd love for you to link this up to my Feature Friday Linky Party! http://www.blissfulanddomestic.com
Sara
Thanks for the invite, Danielle! I just linked up!
Marti
I love this! It's perfect for all year round and I love the color. Thanks for the tip about kool-aid! Thank you for sharing it with us. Pinned to the party board! 🙂
Sara
Thanks for the pin, Marti!
Jen DB
What a great idea! Now I want to go make lip balms... (like I need another project, ha!)
Sara
Jen, I think that's how we all feel! But projects are SO much fun! 🙂
Lauren
Such a great idea! These would make great gifts for my lipgloss loving friends. I'd be thrilled if you'd link up at this week's Off the Hook!
Sara
Thanks so much, Lauren! I'll be sure to stop by!
Natasha in Oz
Wow, what a great gift idea. Thanks for the excellent tutorial. We don't have Kool-Aid here in Australia so I'm glad to read it's not needed!
If you have a minute to spare I'd be thrilled if you could share this great post at my weekly Say G'day Saturday link up. It has just started and this would be a fantastic addition!
Best wishes and happy Mother's day!
Natasha in Oz
Sara
Thanks for stopping by Natasha and I appreciate the invite. I'll be sure to stop by tonight and link up!
Michelle from Weekend Craft
I love that you used a bit of lipstick for the tint. I had heard that Koolaid doesn't work well. It looks so professional! I'd buy some in a shop! Thanks for stopping by Creative Spark Link Party. Hope to see you back next Wednesday!
Sara
Aww. . .thanks, Michelle! Nope, sorry to say the Kool-Aid did not work when I tried it. The lipstick was much easier!
Julie@Sweet and Spicy Monkey
I absolutely love this idea as I just have to have my lip balm! Thanks so much for sharing...Pinning!
Sara
Thanks so much, Julie! So do I - like 24/7!