Want to Save This Recipe?
This post may include affiliate links. Please see my disclosure.
My house is overflowing with plastic Easter eggs. I've been using them for quite a few projects lately and now I have more eggs than I really know what to do with. An Easter egg hunt this year for the kiddos is inevitable.
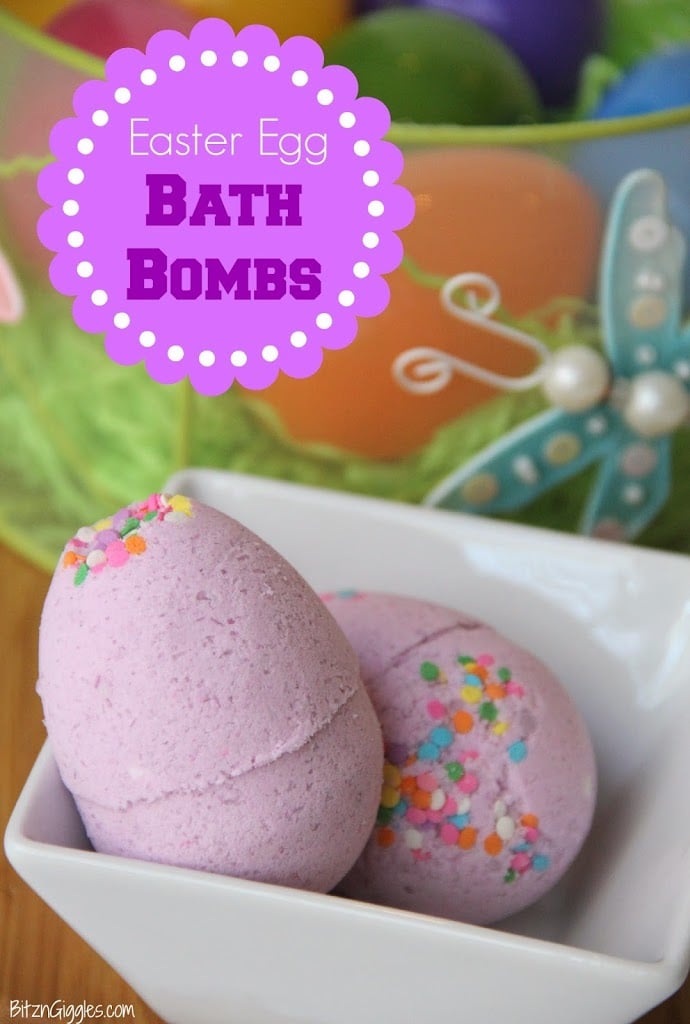
Today, I'm using a pack of my larger plastic Easter eggs for a super fun project. Get ready because we're making Easter Egg Bath Bombs! You know, those fun little balls you throw into the tub that start to fizz and make your water smell heavenly. Yep, those are the ones. And yes, you can make them yourself!
Ingredients (Will make 6 large bath bombs)
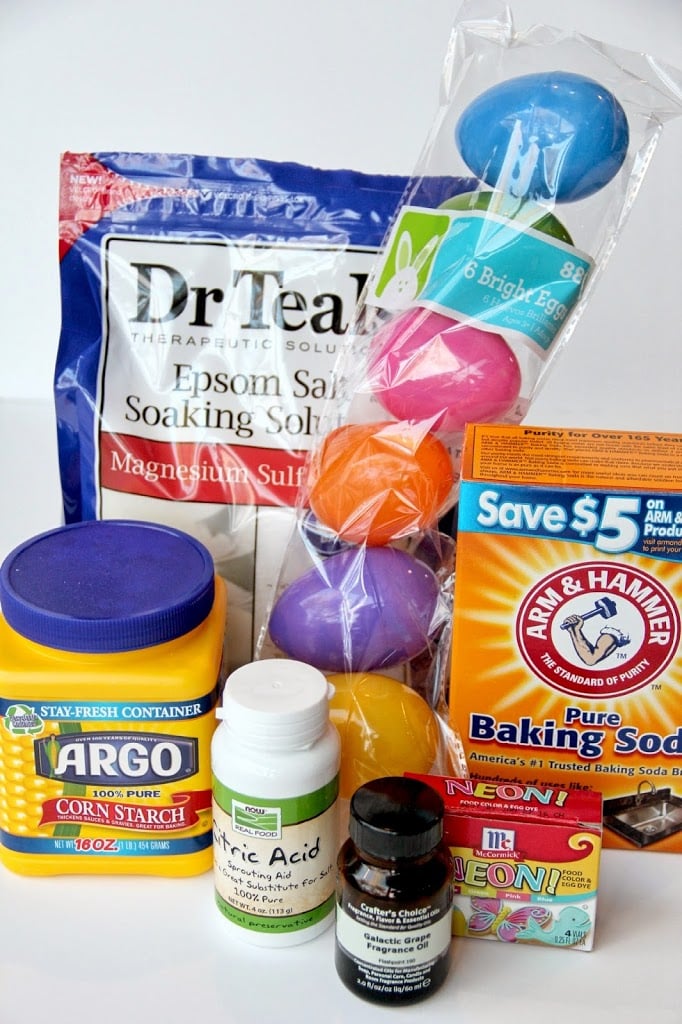
- 8 oz. Baking soda
- 4 oz. Epsom salt
- 4 oz. Cornstarch
- 4 oz. Citric acid
- 3 teaspoons water
- 2 teaspoons essential oil or fragrance oil for soaps, etc.
- 2-5 drops food coloring
- Larger plastic Easter eggs or silicone/plastic mold
- Confetti sprinkles (optional)
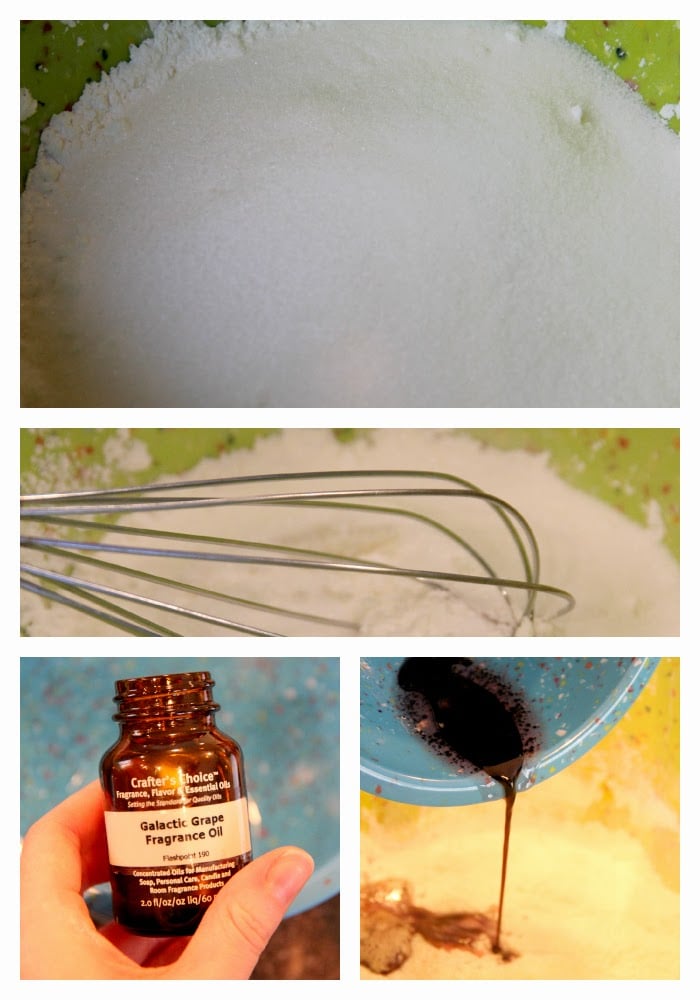
In a large bowl, combine the Epsom salt, cornstarch, baking soda and citric acid. Stir the ingredients together using a whisk. In a separate small bowl, mix together your wet ingredients: water, fragrance/essential oil and food coloring. Notice I used Galactic Grape. It smells AWESOME. Did you ever chew grape Hubba Bubba gum as a kid? Yes? This fragrance oil smells just like it!
Pour your wet ingredients into the bowl with your dry ingredients and whisk together.

The mixture will start to clump a little. Use your fingers to ball up a bit of the mixture to see if it is starting to stick together a bit. If not, you can add a little more water, but be careful. ONLY add a very little at a time or you will ruin the entire mixture. Take one of your eggs and put a little of the confetti sprinkles in one side or both. Then start tightly packing the bath bomb powder into both sides of the egg. Make sure there aren't any air pockets - just a small hole is enough to make your bath bomb crumble so really pack the mixture in tightly.
This is also the step where you could place a very small toy inside the egg if you would like. Keep in mind this needs to be very small and light or the egg will not pack correctly. One time I tried to hide some turtle erasers in the eggs and they fell right apart.
Then push the sides together and let the egg sit on a towel covered with waxed paper for at least 15 minutes.
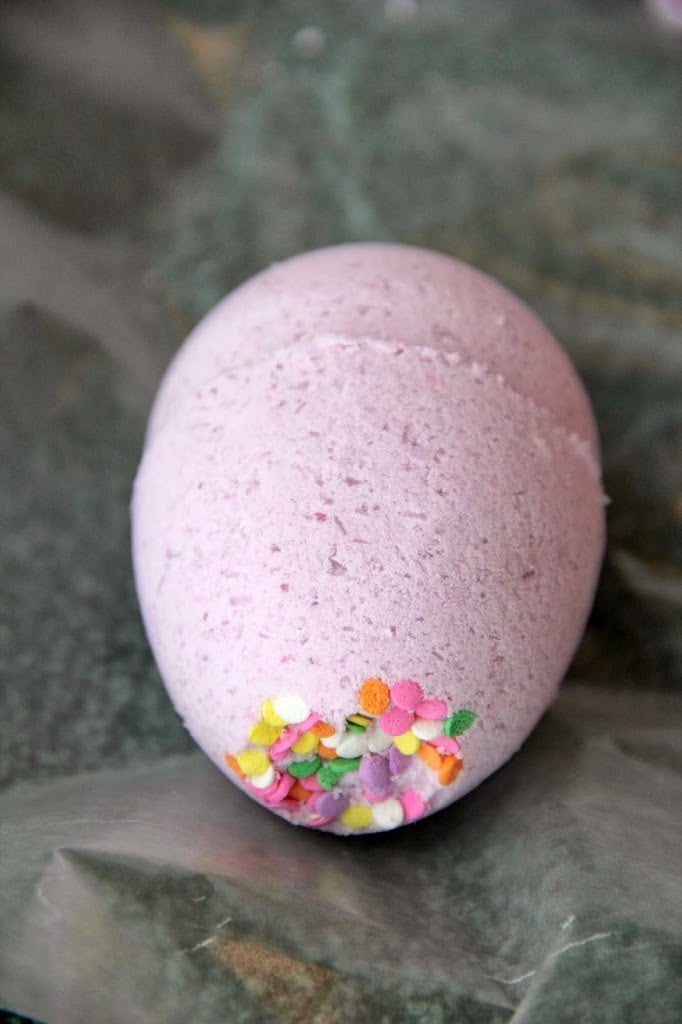
After 15 minutes carefully pry open the egg to see if the mixture has formed to the mold. If it has, it will look like this. The eggs need to dry completely overnight before you try and use them or package them up as gifts.
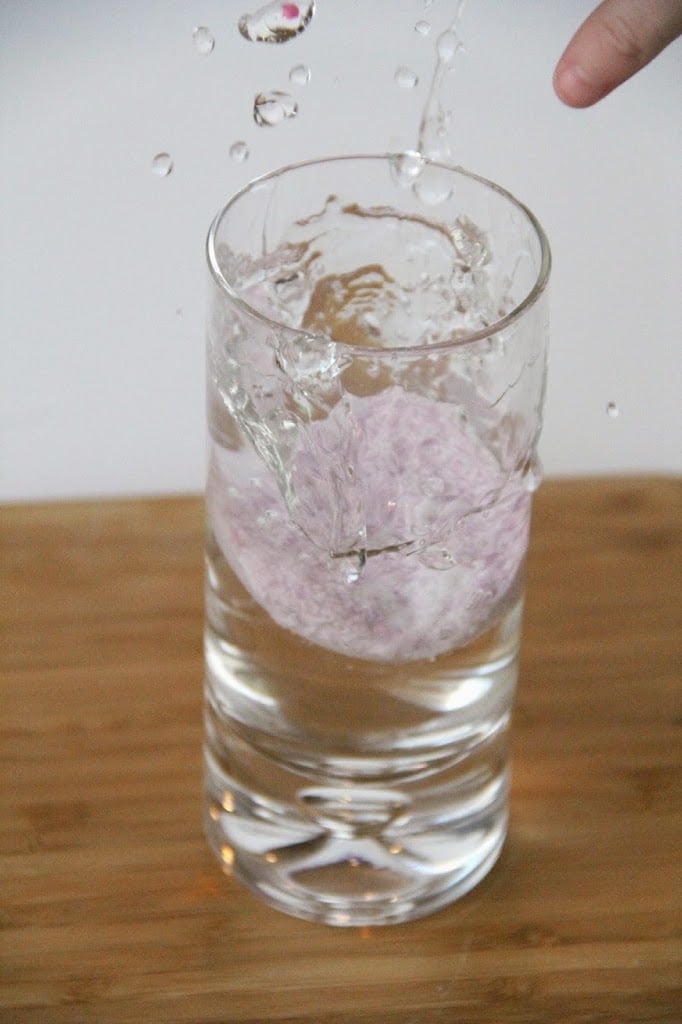
Just for fun, I had my 2-year-old help me out with a quick experiment. She dropped half of a bath bomb into this glass of water.
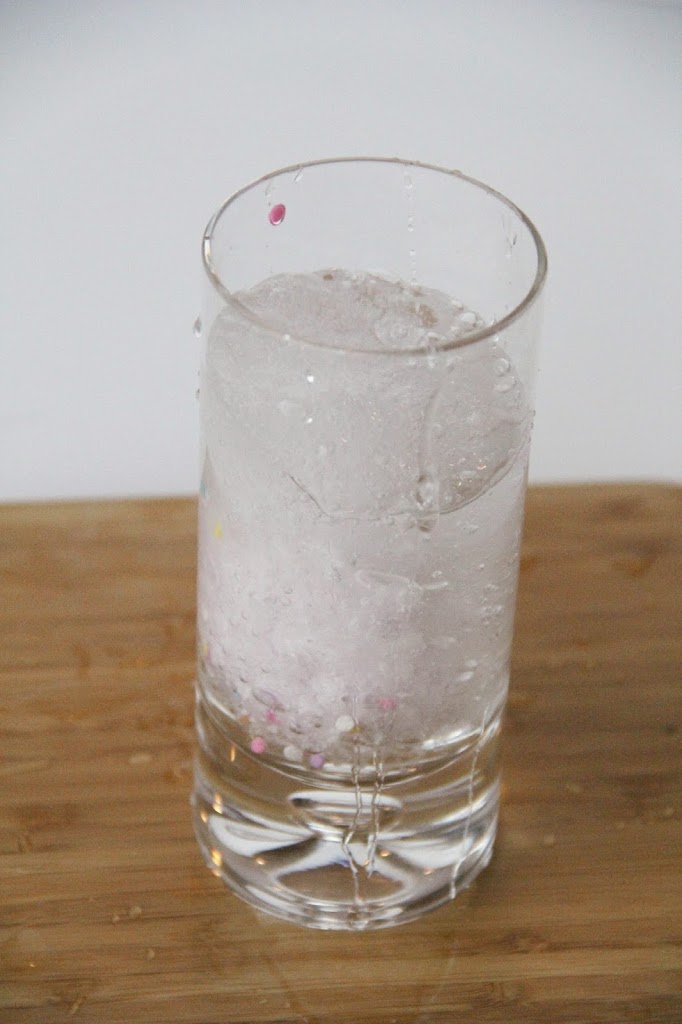
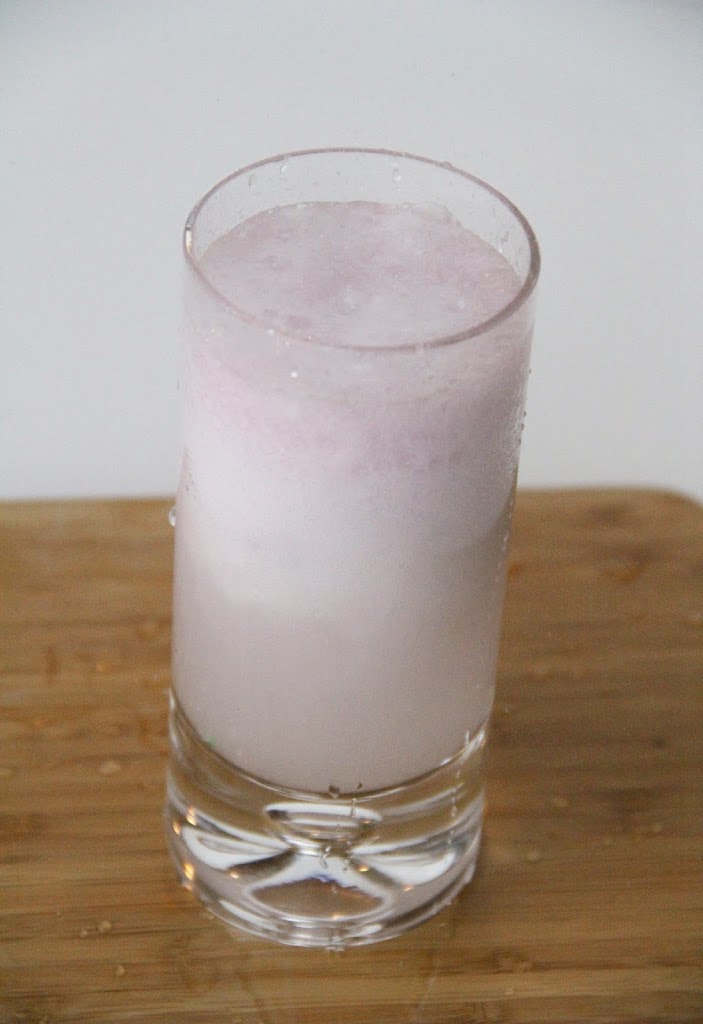
It worked better than we thought it would. It started fizzing and it fizzed more, and more, until I had a big mess on the table. Picture me placing my camera down as carefully and quickly as possible while I ran the glass of water to the sink to finish erupting. Really, Sara? Way to use your brain on this one. Sink next time, Einstein.
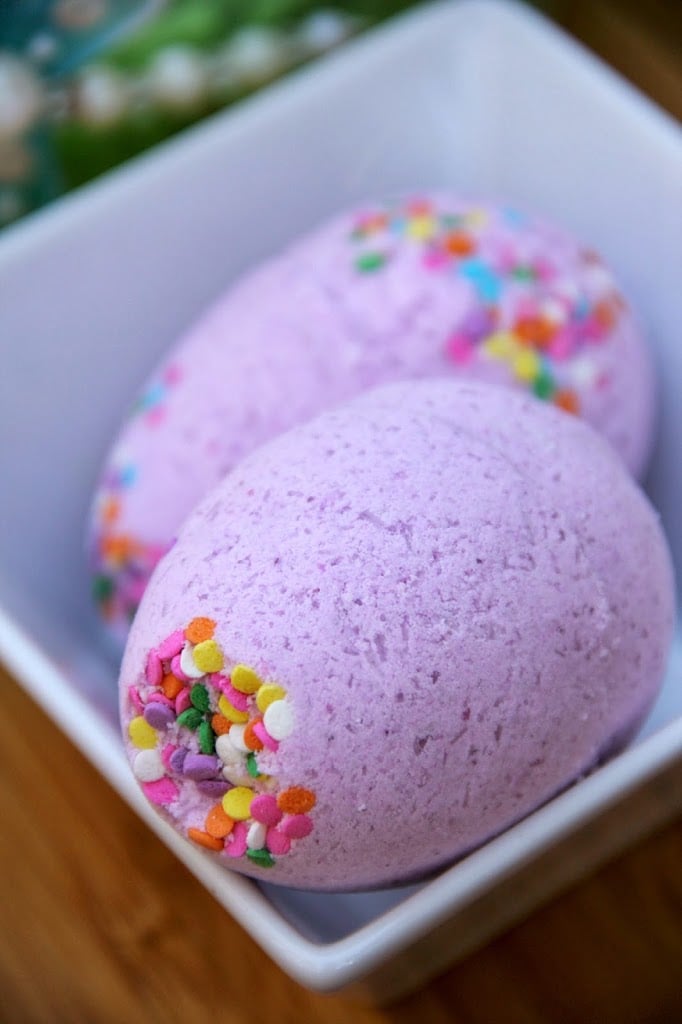
This is how my bath bombs turned out. Pretty sweet, right? These would be great gifts for friends and family and would be so much fun to put in the kids' Easter baskets. Since my kiddos actually saw these already, we'll just be playing with them in the tub this week.
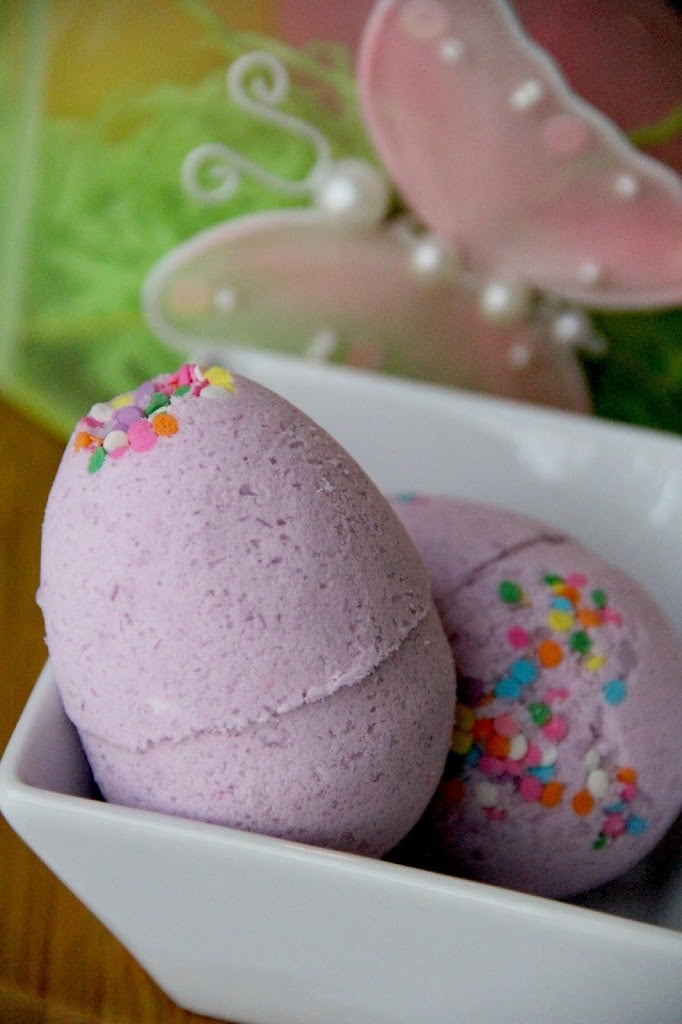
Have fun making your own bath bombs! My house still smells like Galactic Grape and I'm LOVING it!
Easter Egg Bath Bombs
Materials
- 8 oz Baking soda
- 4 oz Epsom salt
- 4 oz Cornstarch
- 4 oz Ctric acid
- 3 teaspoons Water
- 2 2 Essential oil
- 2-5 drops Food coloring
- Silicone/plastic mold
- Confetti sprinkles (optional)
Instructions
- In a large bowl, combine the Epsom salt, cornstarch, baking soda and citric acid. Stir the ingredients together using a whisk.
- In a separate small bowl, mix together your wet ingredients: water, fragrance/essential oil, and food coloring. Notice I used Galactic Grape. It smells amazing.
- Pour your wet ingredients into the bowl with your dry ingredients and whisk together.
- The mixture will start to clump a little. Use your fingers to ball up a bit of the mixture to see if it is starting to stick together a bit. If not, you can add a little more water, but be careful.
- Take one of your eggs and put a little of the confetti sprinkles in one side or both. Then start tightly packing the bath bomb powder into both sides of the egg.
- Make sure there aren't any air pockets - just a small hole is enough to make your bath bomb crumble so really pack the mixture in tightly.
- Then push the sides together and let the egg sit on a towel covered with waxed paper for at least 15 minutes.
- After 15 minutes carefully pry open the egg to see if the mixture has formed to the mold.
Notes
- Precision in Measurement: Accurate measurement of ingredients is crucial for the success of your Easter Egg Bath Bombs. Use a kitchen scale to ensure you're measuring the baking soda, Epsom salt, cornstarch, and citric acid precisely. Even slight deviations can affect the final texture and fizziness of your bath bombs.
- Test for Consistency: Before filling all your molds, test the consistency of the mixture by squeezing a small amount together in your hand. It should hold its shape without crumbling excessively. If it's too dry, add a few drops of water at a time until you achieve the right consistency. If it's too wet, you risk premature fizzing.
- Gentle Handling: When removing the bath bombs from the molds, be gentle to prevent breakage. Use a careful and slow prying motion to release the bath bomb from the mold without damaging its shape. Placing the molds on a towel-covered surface helps absorb excess moisture and prevents sticking.
dominika
hi I don't have Epsom salt in my country and I cant find it anywhere what else could I use
Sara
You could try substituting sea salt for Epsom salt! Good luck!
Alissa
About how many eggs will this recipe make? Regular 2 1/2-3" long eggs...? Thank you!!!!
Sara
I made six bath bombs with the jumbo eggs so I would assume with the regular-sized eggs you would end up with about 8-10.
Amanda
Did you weigh out 4 and 8 oz or use 1/2 and 1 cup measures?
Sara
Amanda, I used cup measures! Good luck!
Jessica
Ah! Love these! Such a great idea. 🙂
Christy@Confessions of a Serial Do-it-Yourselfer
What a fun project and clever to use the plastic Easter eggs as forms! Thanks so much for sharing at our Get Your DIY on party! XO
Marti
How fun! Love these! Thanks for sharing them with us at Show-licious Craft Party. I hope you stop by tomorrow and link up what you've been working on this week! Pinned to the party board. 🙂
Sara
You bet, Marti! Thanks for stopping by!
Jillian
I was wondering the best local place to purchase the citric acid?
Sara
Hi Jillian,
I've heard that some supermarkets carry citric acid. Look near the canning supplies and jam making aisle. Good luck!
Angel
I bought mine at Wal-mart. It was by the canning supplies, near the mason jars.
Steph Seibert
Pinning now!! 😀 Going to make these for sure! Thanks for sharing! http://timeforseason.blogspot.com/2014/04/my-favorite-things-saturdays-45.html
Sara
Thanks for the pin, Steph! I'm planning to stop by your party tonight!
Theresa
Love the bath bombs! Pinning it. Thanks for sharing at My Favorite Things party Theresa @DearCreatives
Sara
My pleasure, Theresa! Thanks for hosting such a great party!
Cindy Eikenberg, Little Miss Celebration
What a great idea and love this for an Easter gift! Sara, thanks so much for sharing at Best of the Weekend and will be pinning to our party board! Hope you're having a wonderful week!
Sara
Thanks so much for stopping by Cindy! I'll be back to party with you and the ladies tonight!
Laura
Such a great idea! I've been wanting to make bath bombs and haven't known where to find citric acid. So, thanks for that link. And thanks for linking up to Work it Wednesday!!
Sara
Hi Laura! Good luck with your bath bombs! Amazon always has EVERYTHING!
torrie poston
can you use cream of tartar instead of citric acid? & if so, how much?
Sara
No, stick with citric acid for this project. Cream of tartar won't do the trick!
Kirsten
I found citric acid @ Walmart.
Crystal Allen
You inspire me! Thank you for linking up at Wonderfully Creative Wednesdays. I featured your project as one of my favorites from last week on my blog this week. I'd love for you to take a peek:
http://www.sewcreativeblog.com/wonderfully-creative-wednesdays-easter-edition/#more-3446
Best Wishes,
Crystal
Sara
Thanks so much for the feature, Crystal! What a nice surprise!
Crystelle Boutique
NICE!!! What a fun Easter treat! I love how you used Easter eggs as the form....!! Great thinking.... It was so fun to see this linked up at our party. I pinned!! Thanks much!! 🙂
“hugs” Crystelle
Crystelle Boutique
Sara
Your party is getting bigger every week, Crystelle! Congrats and thanks for stopping by!
EstheticGoddess
What a cute idea!
Sara
Thank you!
monicandave
Hiya, I was just looking at your recipe and it looks like lots of fun. How much baking soda do you need though? I couldn't see it listed.
Sara
Add 8 oz. baking soda. So sorry it was missing from the recipe! It's in there now!