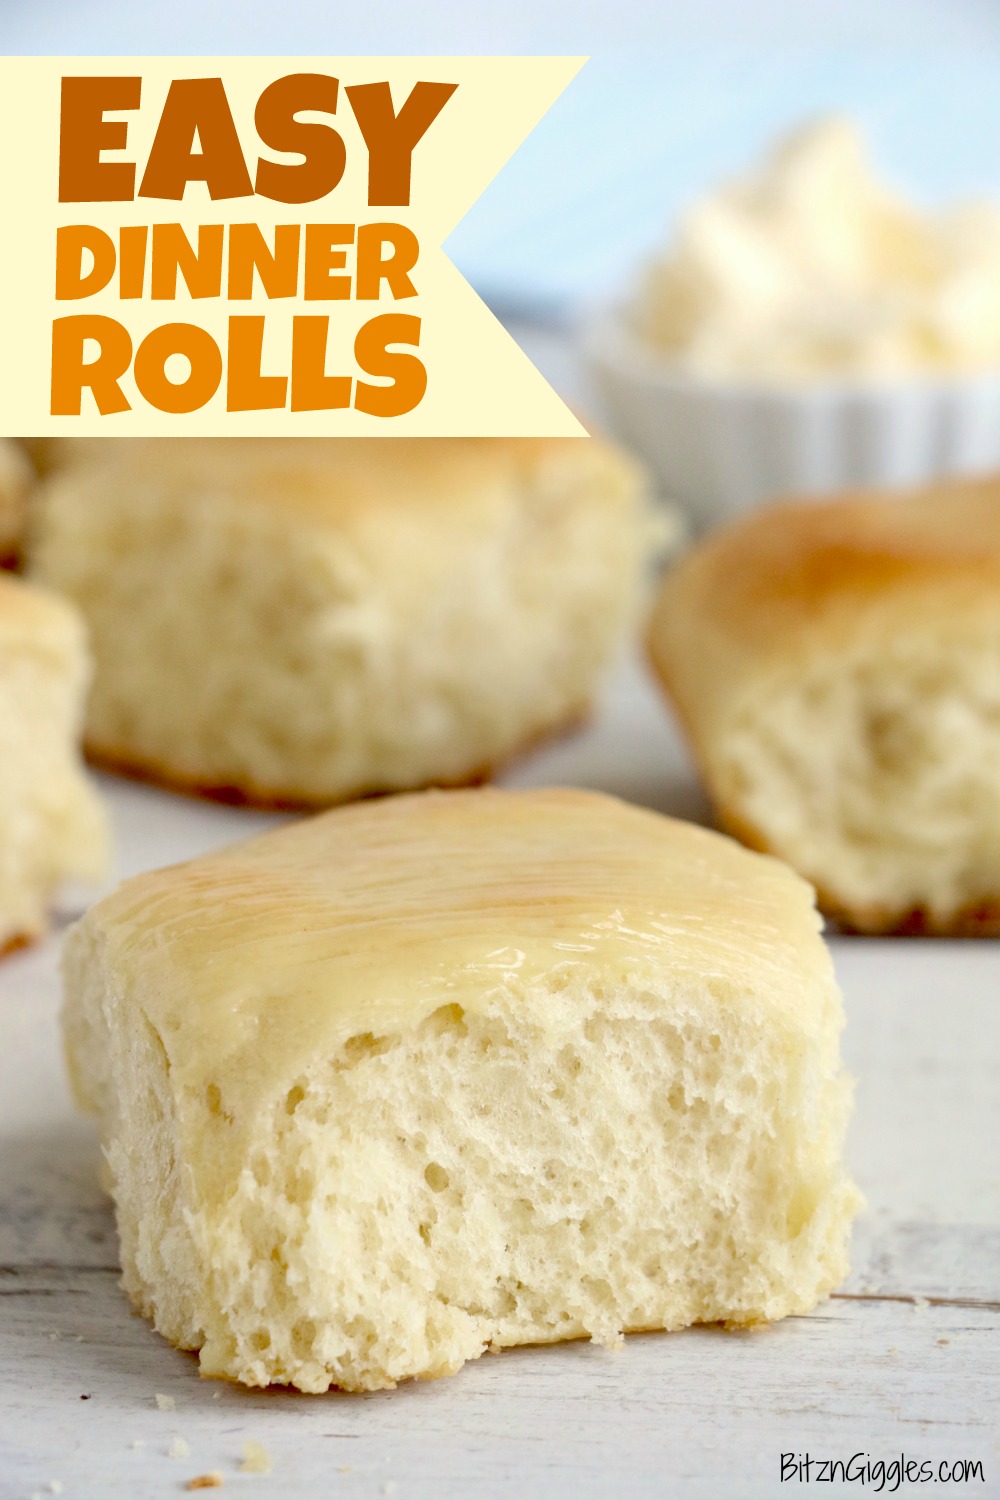
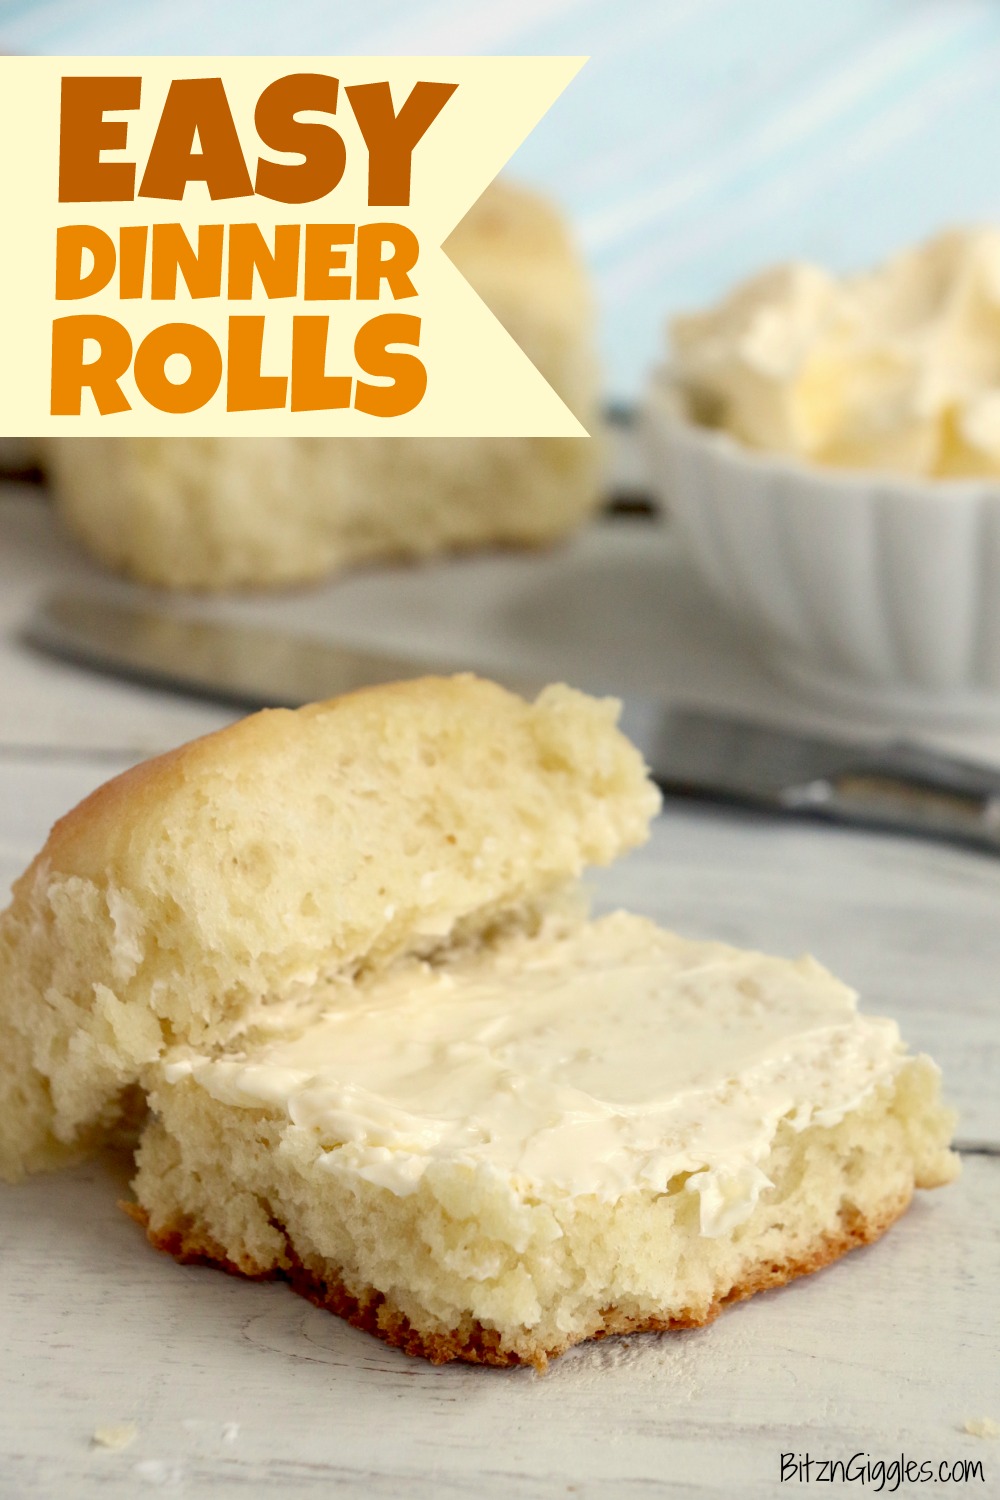
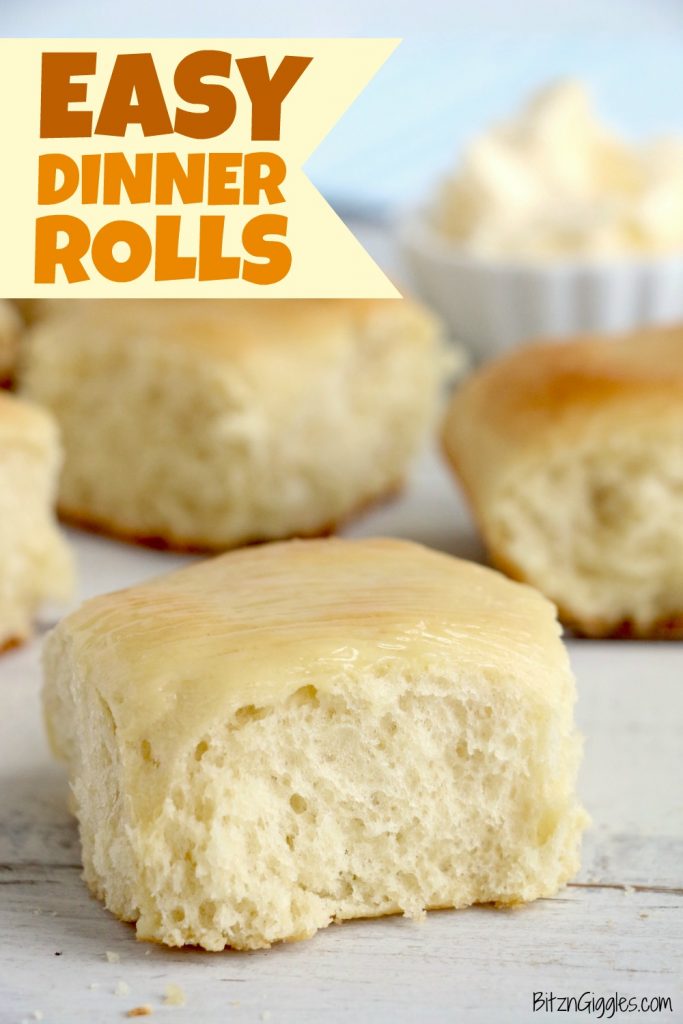
Easy Dinner Rolls - Delicious, freshly baked dinner rolls that come together easily for a holiday celebration or no-fuss weeknight meal!
Want to Save This Recipe?
This post may include affiliate links. Please see my disclosure.
No matter who is around the table at Thanksgiving, one of the things that no one can get enough of is dinner rolls! In fact, we always make jokes about how much we love my mom's "buns!"?
If we'd leave the dinner rolls unsupervised, I'm pretty sure the kids would devour every last one of them before they'd even take a bite of anything else on their plate.
And let's be honest. . .the story isn't much different for us adults. Without dinner rolls what else would we use to clean up all of that leftover gravy on our plates?
Bottom line is, I shouldn't have to do much convincing when it comes to making a decision whether or not to make these homemade buns.
The recipe is quite simple and uses standard items you probably already have in your fridge and pantry. The only thing you may need to run out and pick up is some active dry yeast.
Once you have that in hand, let's get baking!
HOW TO MAKE EASY DINNER ROLLS
To make these homemade dinner rolls, you'll need the following:
- Water
- Oil
- Active dry yeast
- Sugar
- Egg
- Salt
- Butter
- Flour
- Milk
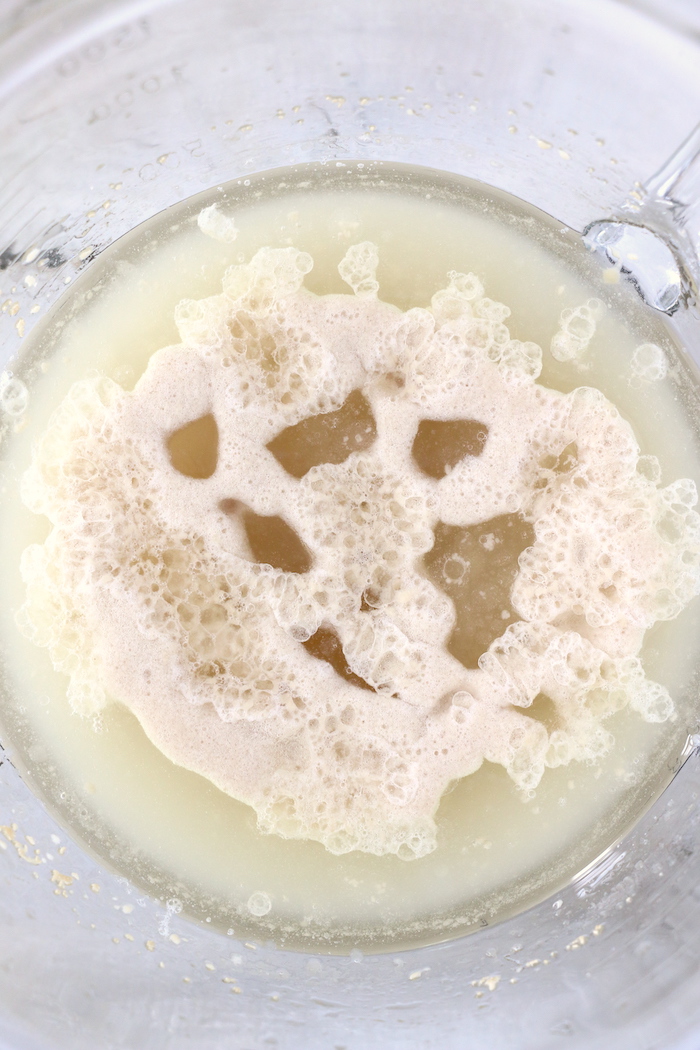
To get started, combine the water, oil, yeast and sugar in a large bowl and set it aside until it begins to bubble.
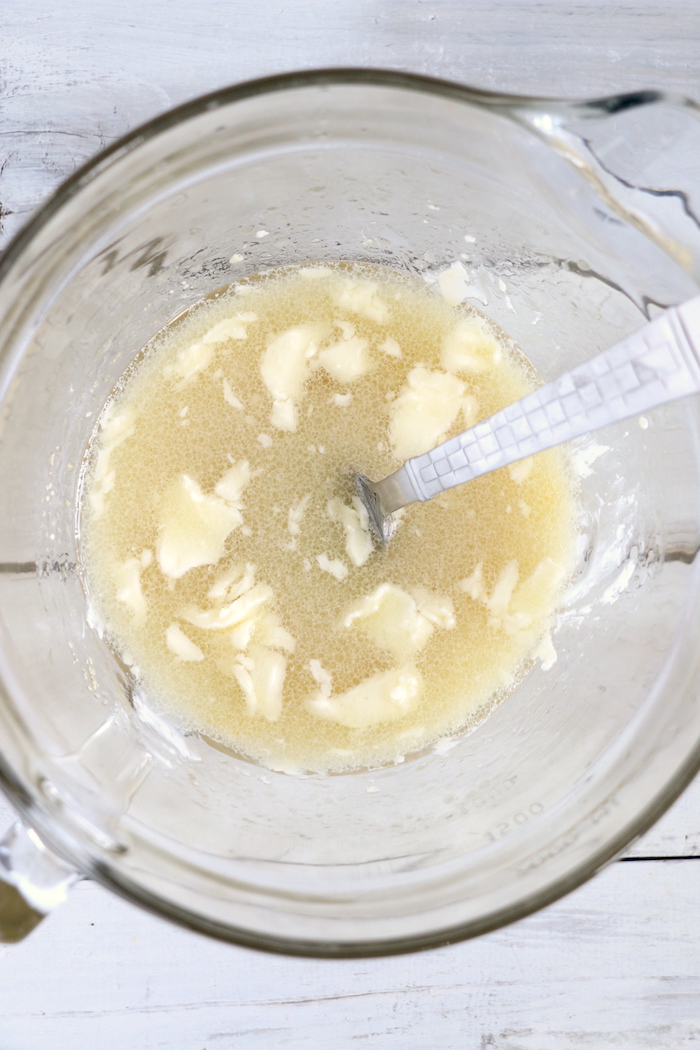
Stir in the egg, salt and butter.
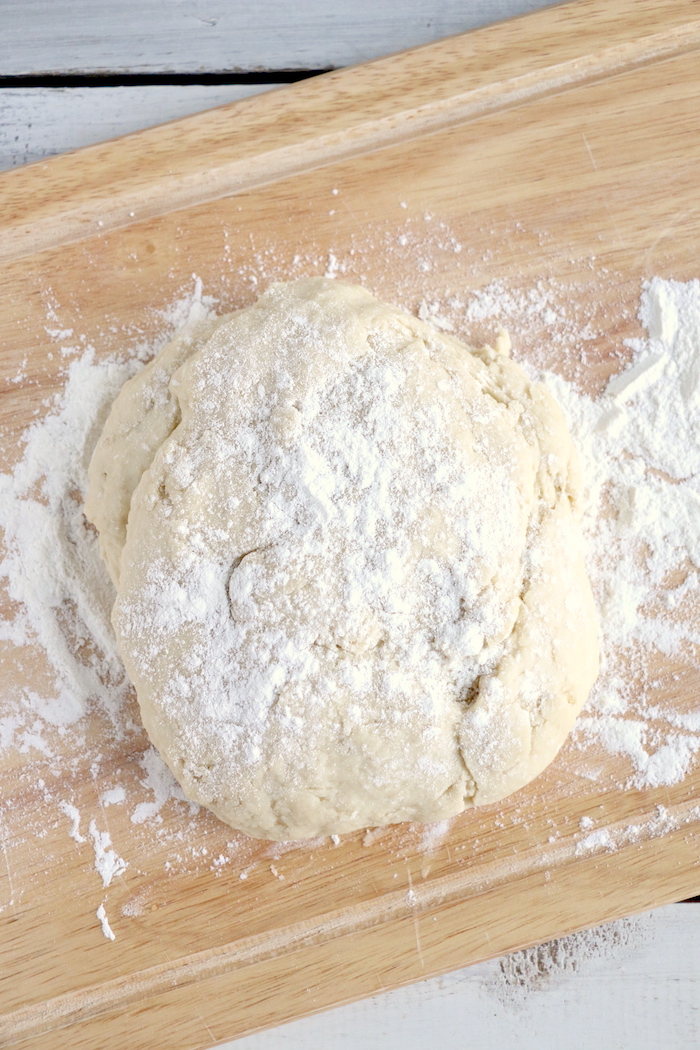
Add the flour one cup at a time, kneading the dough until it is soft. You don't want it to be sticky.
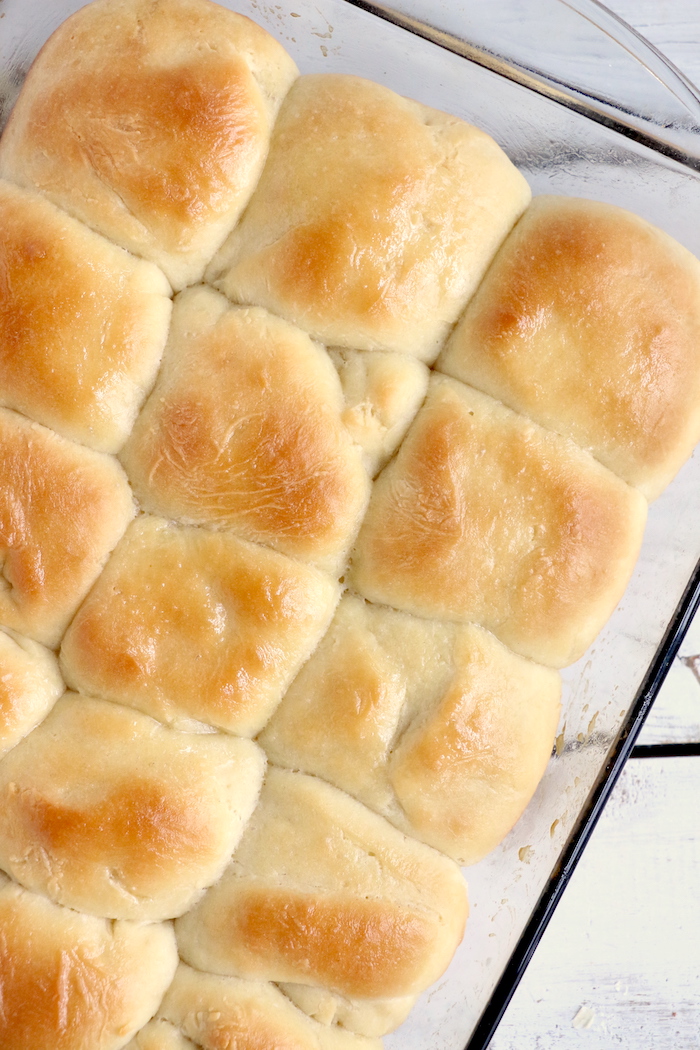
Form the dough into 15 uniform balls and place them into a greased baking pan. Cover the pan with a kitchen towel.
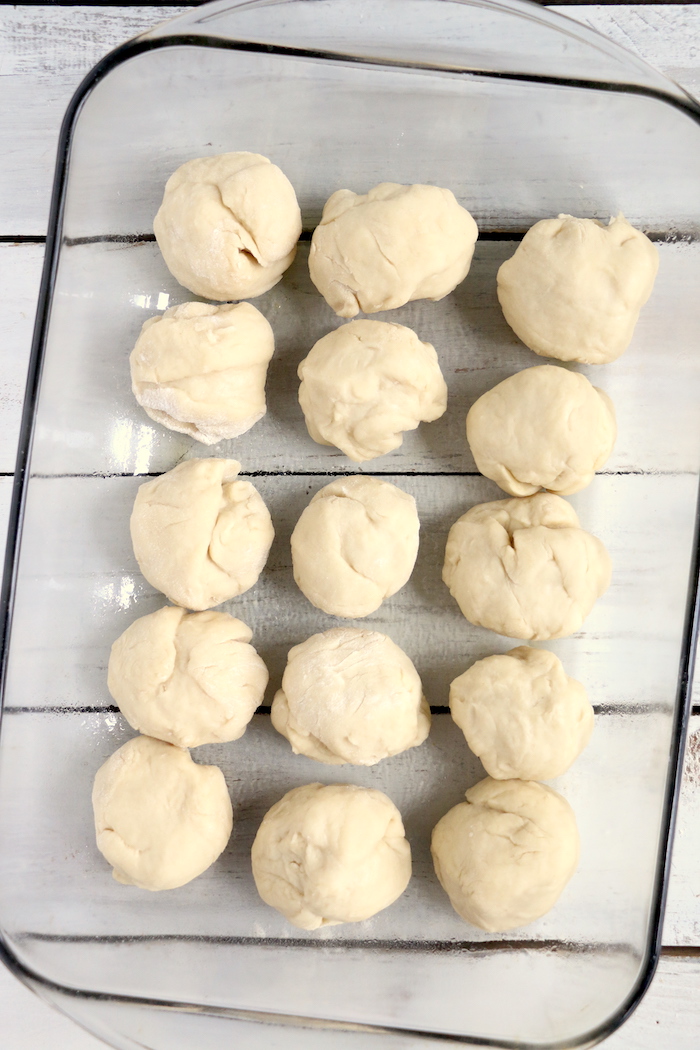
To help the dough to rise, I usually set the pan on top of and to the back of the stove while the oven preheats. The extra warmth will help the process along.
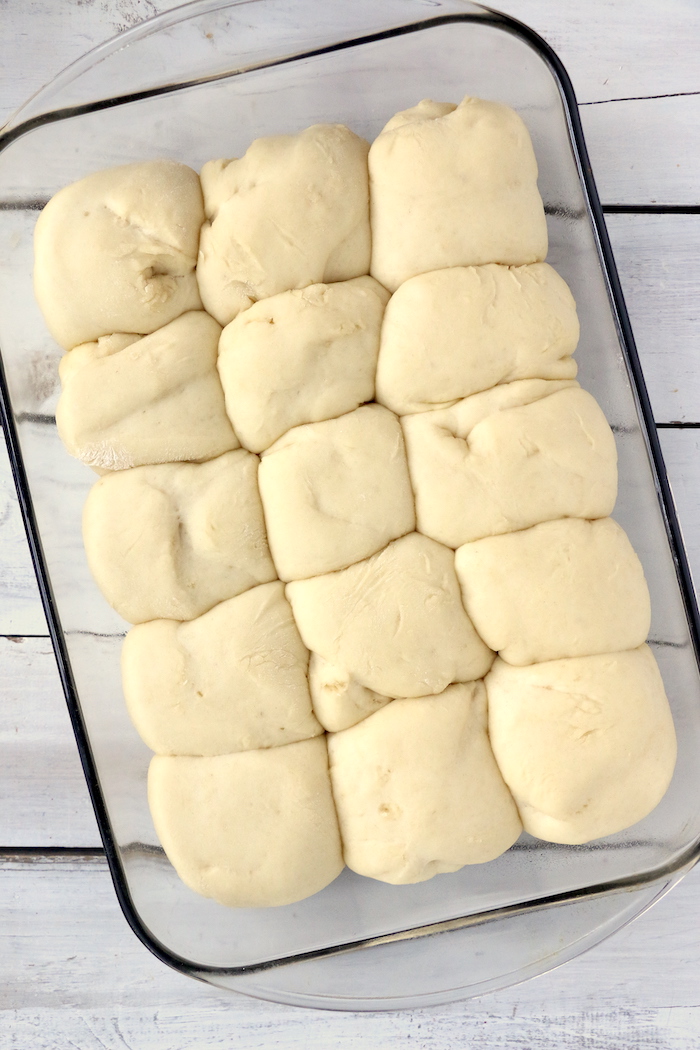
Lightly brush the rolls with milk and place them into the oven to bake for 10-12 minutes or until lightly browned.
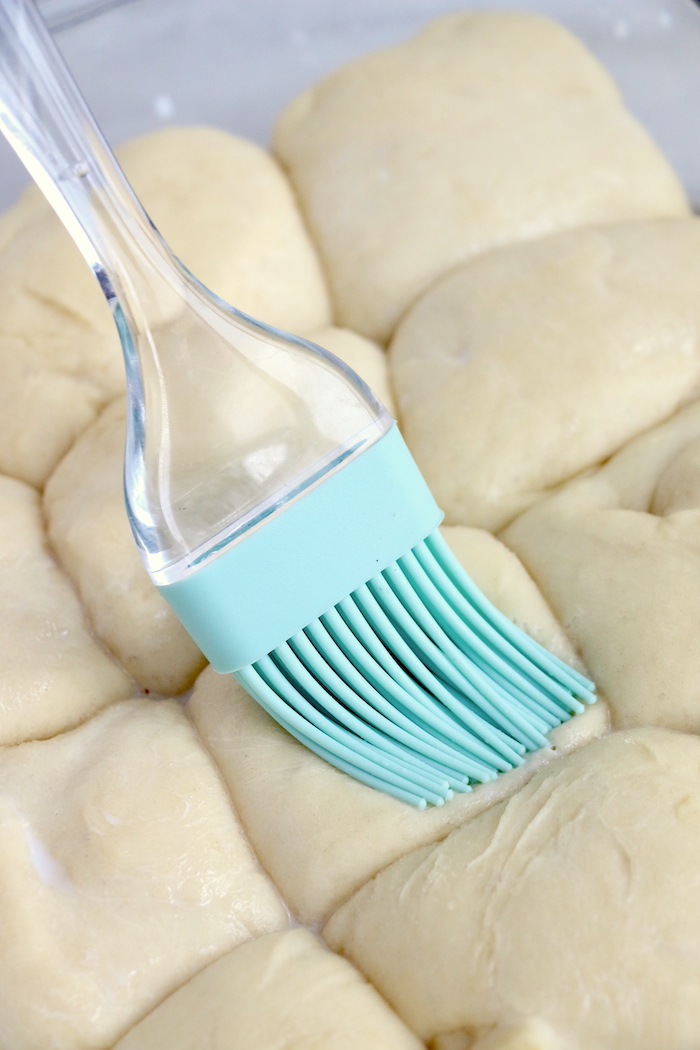
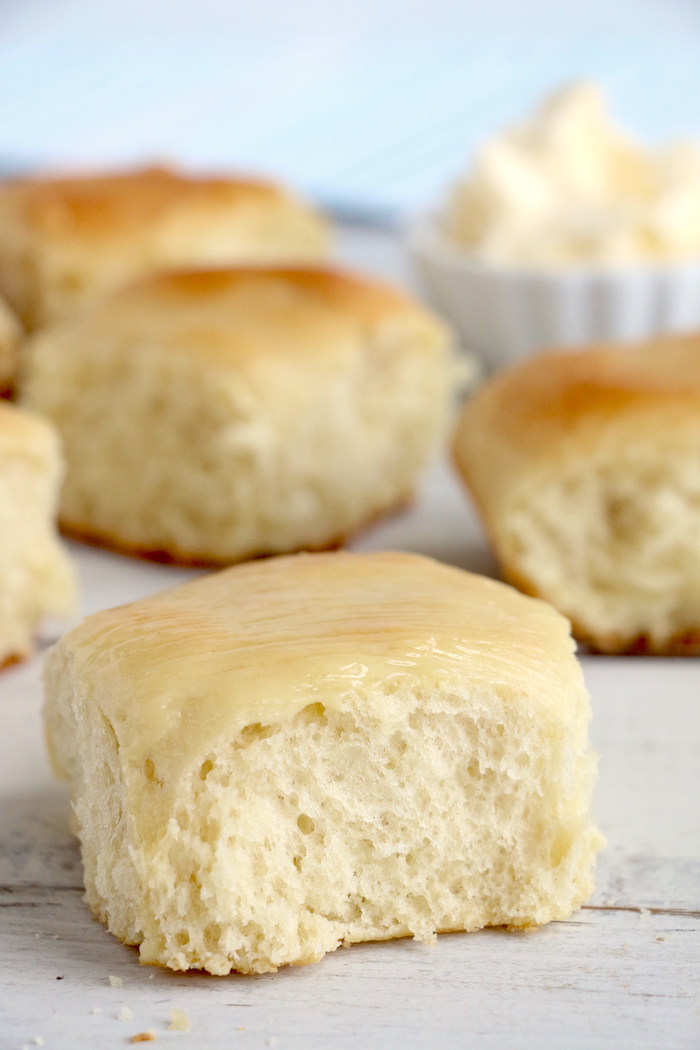
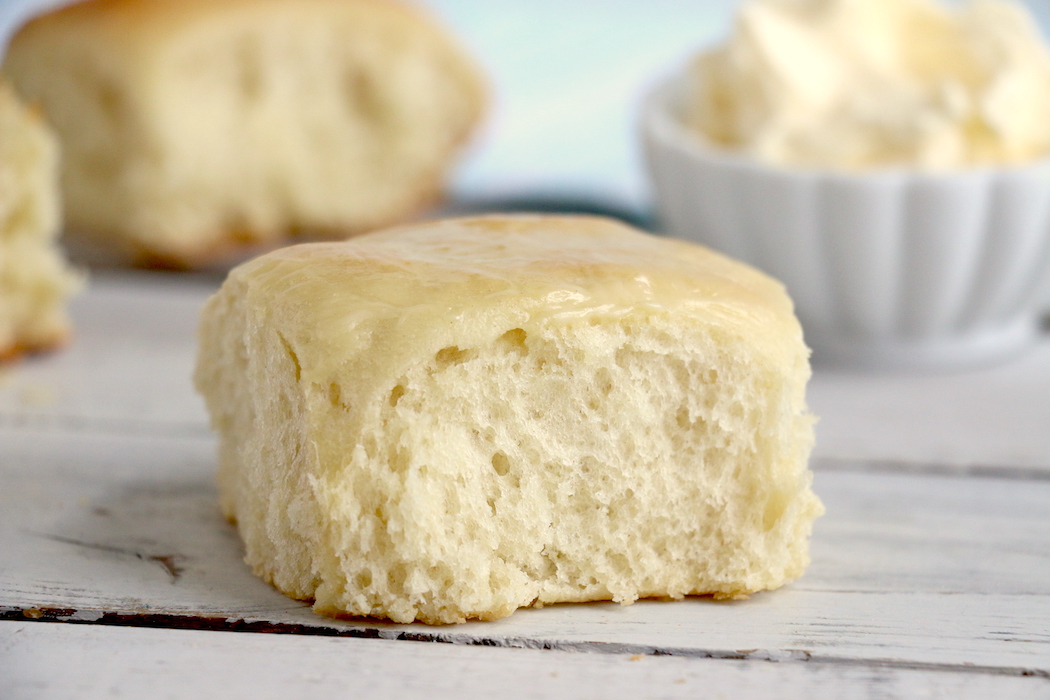
Once they come out of the oven, I like to lightly brush them with some melted butter.?
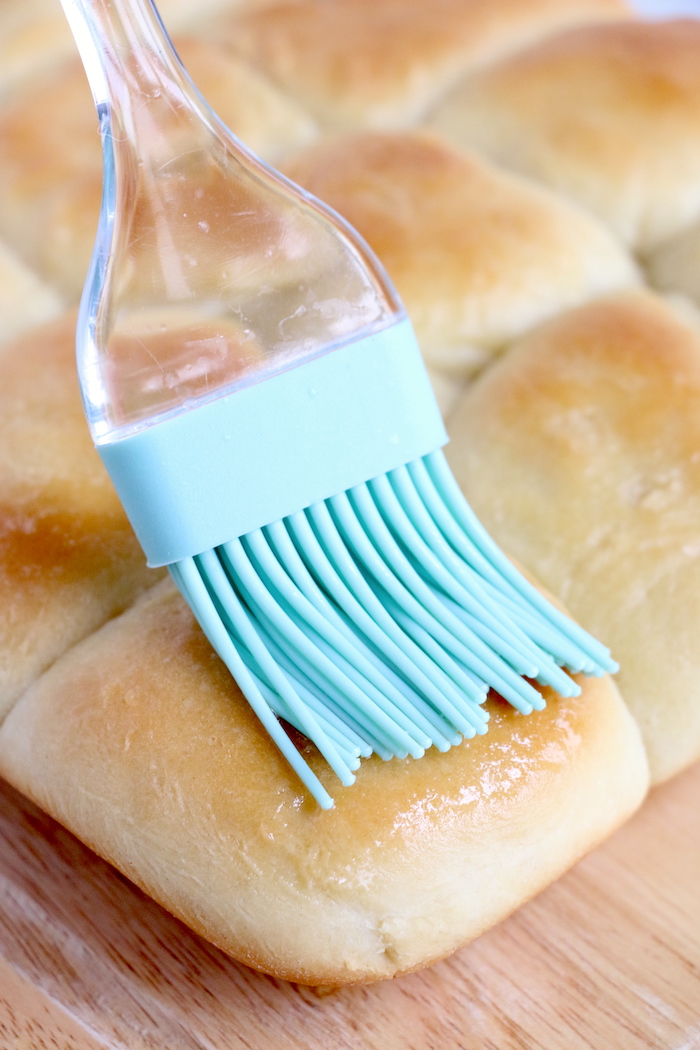
After that, they're ready to separate and enjoy.
WHAT'S THE BEST WAY TO KEEP DINNER ROLLS WARM AT THE TABLE?
As they come out of the oven, I like to place the rolls right into a bread warmer like this one or this one.
My mom still has a vintage West Bend aluminum bun warmer, which I love, but I think the only place you can purchase one anymore is on eBay.☹️
CAN I FREEZE DINNER ROLLS?
If you want to freeze the dinner rolls, follow these instructions:
- Bake the rolls according to the recipe with the exception of brushing them with the butter.
- Let them cool completely, then wrap them tightly in aluminum foil.
- Place the foil-wrapped package in a freezer bag or storage container and freeze for up to a month (any longer than that and the rolls will get freezer-burnt).
- Remove the rolls from the freezer the night you want to serve them.
- Take the foil-wrapped rolls out of the freezer bag and loosen the foil.
- Let the rolls thaw at room temperature overnight.
- Rolls can be served as soon as they've thawed but are even better if re-warmed (in their loose foil packing) for about 10 minutes in a 300°F oven.
HOW DO YOU STORE HOMEMADE DINNER ROLLS?
Place the dinner rolls in a Ziplock storage bag or wrap in aluminum foil and store at room temperature. The dinner rolls should last about five days at normal room temperature.
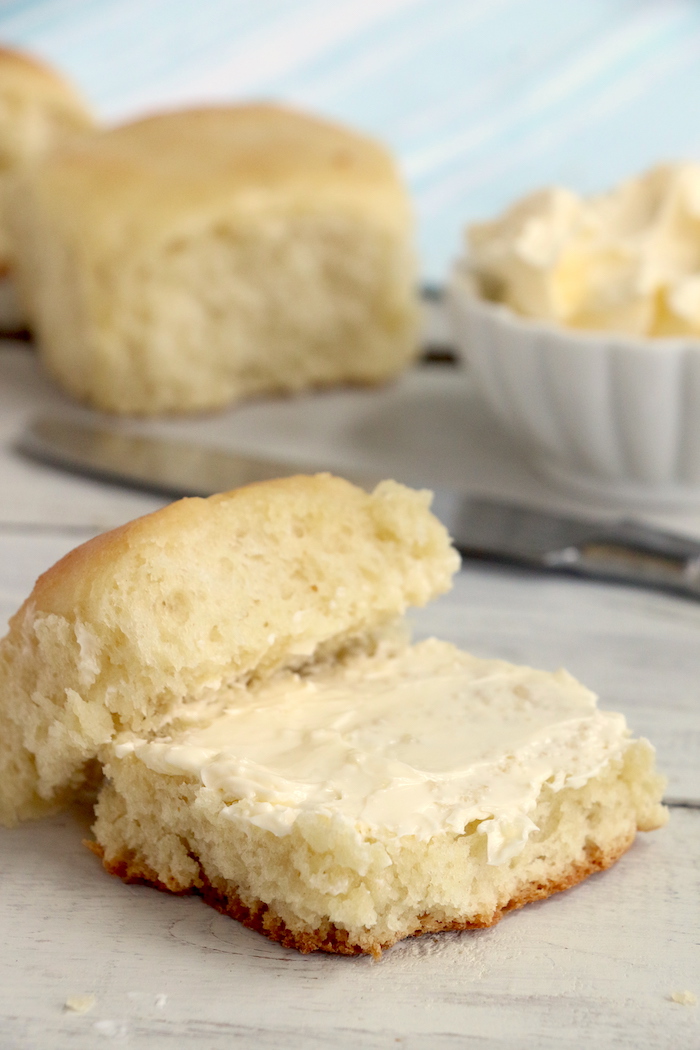
Impress your guests with these easy dinner rolls, and don't plan to have any left over! Remember what I said about dinner rolls - they're the one thing everyone will agree on and devour! Enjoy!
HUNGRY FOR MORE DELICIOUS SIDE DISHES?
- Cheesy Cauliflower & Broccoli Casserole
- Twice Baked Mashed Potato Casserole
- Pineapple Pretzel Salad
- Easy Pea Salad
- Thyme Carrots & Cauliflower

Easy Dinner Rolls
Ingredients
- 1 cup warm water
- ⅓ cup oil
- 2 tablespoons active dry yeast
- ⅓ cup sugar
- 1 egg (beaten)
- 1 ½ teaspoons salt
- 1 tablespoon butter (softened)
- 3 to 4 cups all-purpose flour
- ⅛ cup milk (room temperature)
- 1 tablespoon butter (melted (optional))
Instructions
- In a large bowl, combine water, oil, yeast and sugar.
- Set aside for 7-8 minutes or until yeast is bubbly.
- Stir in egg, salt and butter.
- Add flour, one cup at a time, kneading the dough for 8-10 minutes until it is soft (not sticky).
- Form dough into 15 uniform balls.
- Place dough balls in a greased 13" x 9" pan and cover with a kitchen towel.
- Preheat oven to 400º Fahrenheit.
- Allow dough to rise for 30 minutes (I often place the pan on top of the oven while I wait for it to preheat).
- Lightly brush with milk and bake for 10-12 minutes or until lightly browned.
- Lightly brush with melted butter before serving.
Notes
- Proper Yeast Activation: Ensure the yeast is properly activated before proceeding with the recipe. The water should be warm (about 110-115°F), but not too hot, as it can kill the yeast. Allow the yeast mixture to rest for 7-8 minutes, or until it becomes frothy and bubbly. This indicates that the yeast is active and ready to leaven the dough.
- Consistency of Dough: Pay attention to the texture of the dough as you knead it. It should be soft and elastic, but not sticky. If the dough is too sticky, gradually add more flour, a tablespoon at a time, until it reaches the desired consistency. Over-kneading can result in tough rolls, so aim to knead the dough for 8-10 minutes until it is smooth and supple.
- Proper Rising Conditions: Create a warm and draft-free environment for the dough to rise. Placing the pan of dough on top of the oven while it preheats can help expedite the rising process. Cover the dough with a kitchen towel to trap heat and moisture, promoting optimal rising. Allow the dough to double in size during this time, which typically takes about 30 minutes. This step is crucial for achieving light and fluffy dinner rolls.

Leave a Reply