How to Make Magnetic Slime -Wondering how to make slime with magnetic qualities? This step-by-step tutorial is so helpful and even includes a video!
Want to Save This Recipe?
This post may include affiliate links. Please see my disclosure.
Spring break this year was a little boring - at least for my son. My husband was off bass fishing in Texas with a buddy, my daughter was at daycare (like usual) and Dane stayed at home with me while I worked. Although he said that the days went quickly, I know that his time off wasn't overly exciting. We did however find time to go out for pizza one day and we worked on some fun projects together, including this super cool homemade Magnetic Slime!
Dane is so excited to show you how to make slime! And hey, I'm excited too. This is such an easy slime recipe and chances are you already have what you need right at home. . .minus the iron filings. We had to order those. 😉
Before we begin, I feel like I need to mention that since this recipe uses Borax, if you have really small children that still like to put "things" (and their hands in their mouths), I would save this project for when they are a bit older. My son is 7 and we had no problems. I did have him go and wash his hands after he got done playing with the slime, however. Bottom line - Borax isn't particularly toxic, but it's not good for you either. DO NOT allow your children to ingest this. . . and if your children have sensitive skin, try a different activity like these squeeze balls, electric eels or this cosmic colors experiment.
Alright, so first things first. Let's gather our materials:
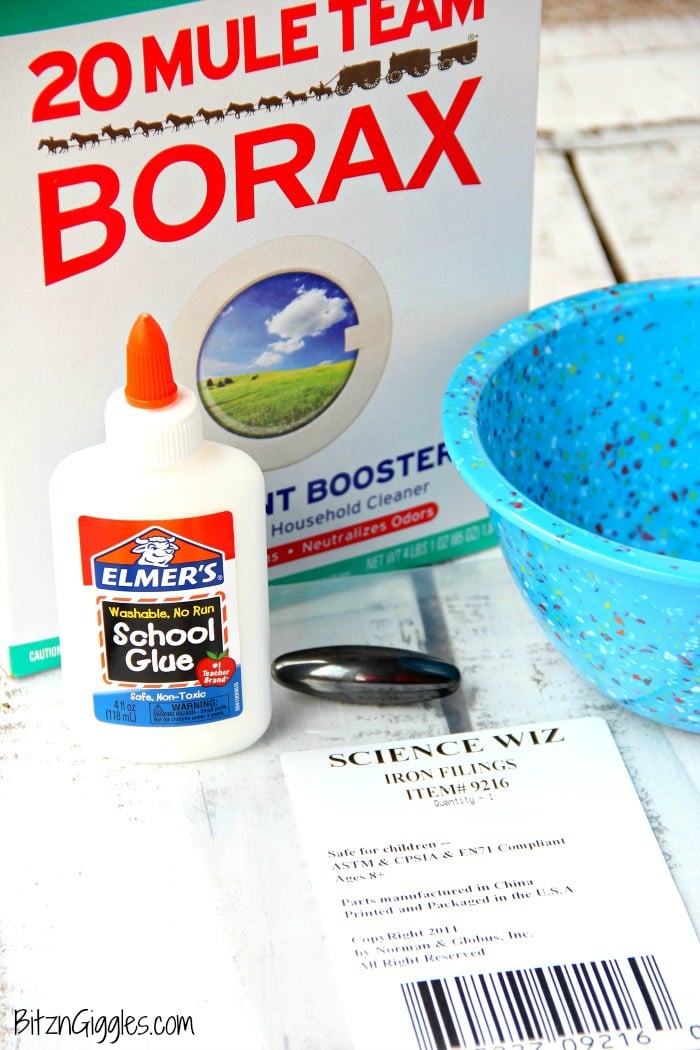
Ingredients and Materials
- 8 ounces white school glue
- ½ cup warm water
- 1 cup warm water
- 1 teaspoon Borax
- 32 grams iron filings (1.12 ounces) - You could round it to 1 ½ ounces if you'd like
- Strong magnet(s)
Before we start with the step-by-step tutorial it might be helpful for you to watch the video Dane and I made when we were making the magnetic slime. It's just a little over a minute so it just serves as a quick overview before you dig into the project yourself!
Cool, right?! Okay, here we go with the step-by-step. Begin by dumping your glue into a bowl.
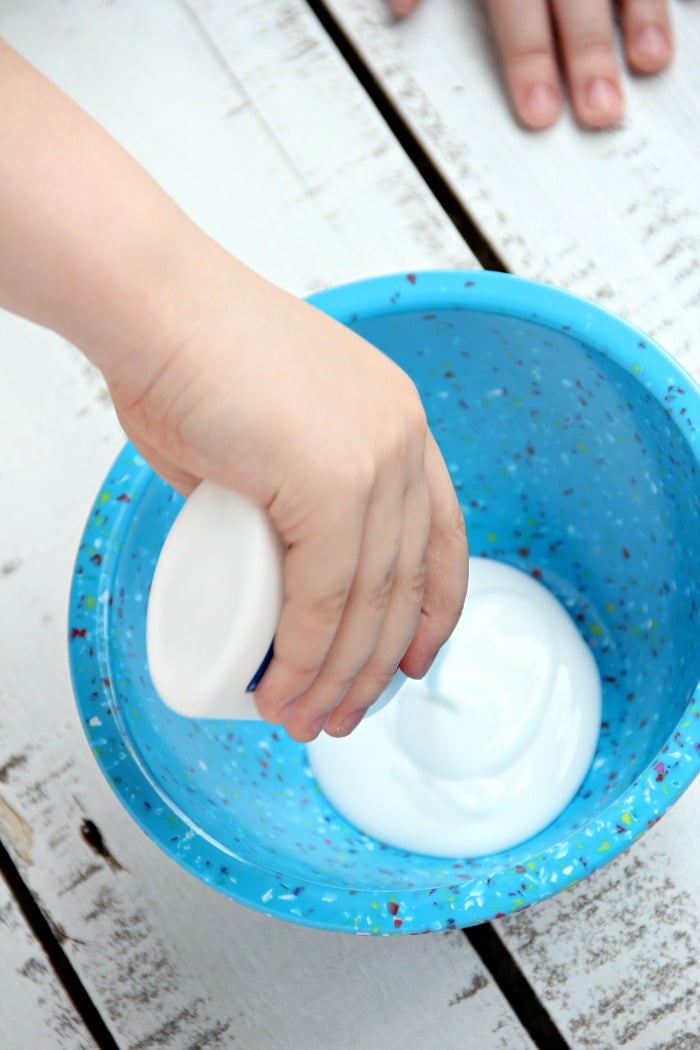
Stir in ½ cup warm water.
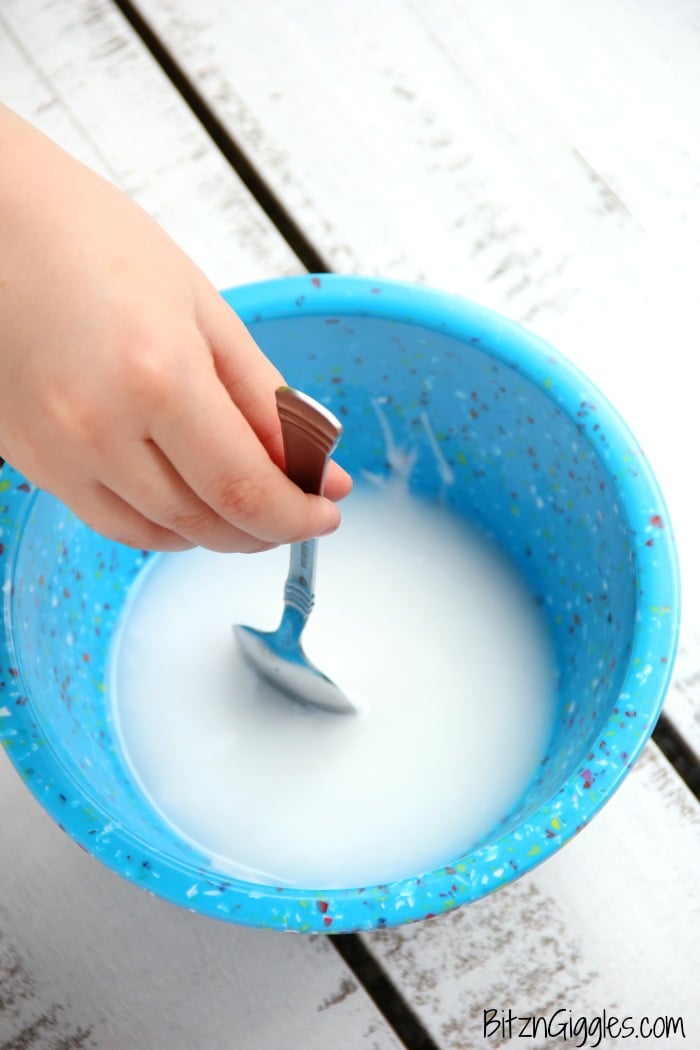
Keep stirring until it starts to goop up. Don't worry, you'll know when this starts happening. Dane's jaw dropped open when he started feeling the slime starting to form from the liquid.
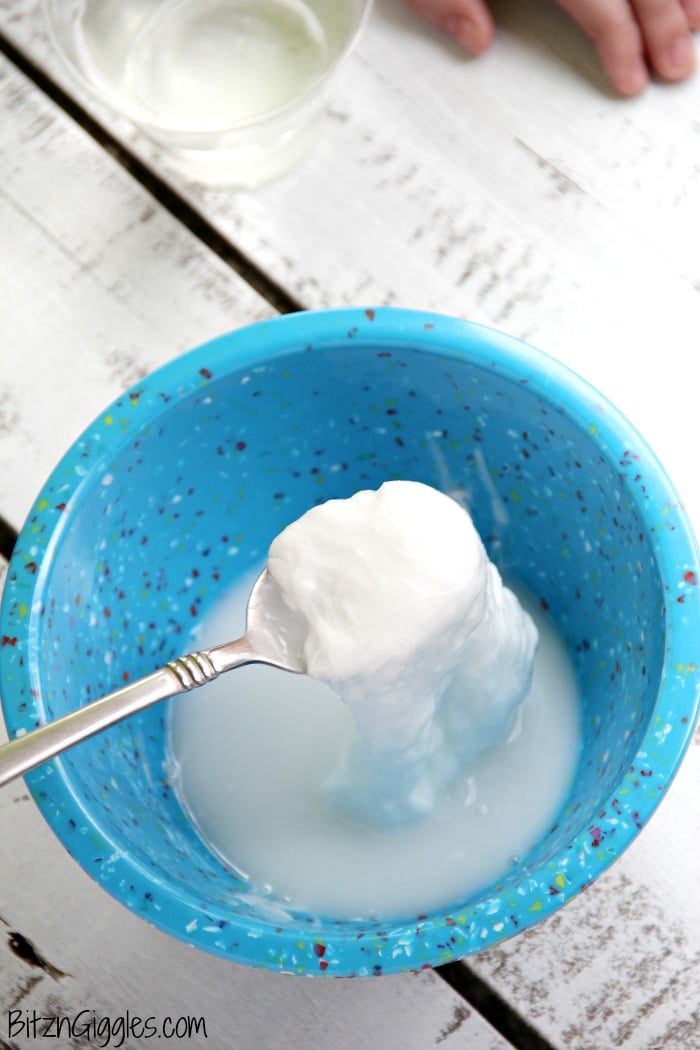
Just look at that little cloud of sliminess. The slime feels so cool. Dane loved playing with it and moving it from hand to hand. Remember: Don't forget to wash your hands after handling!
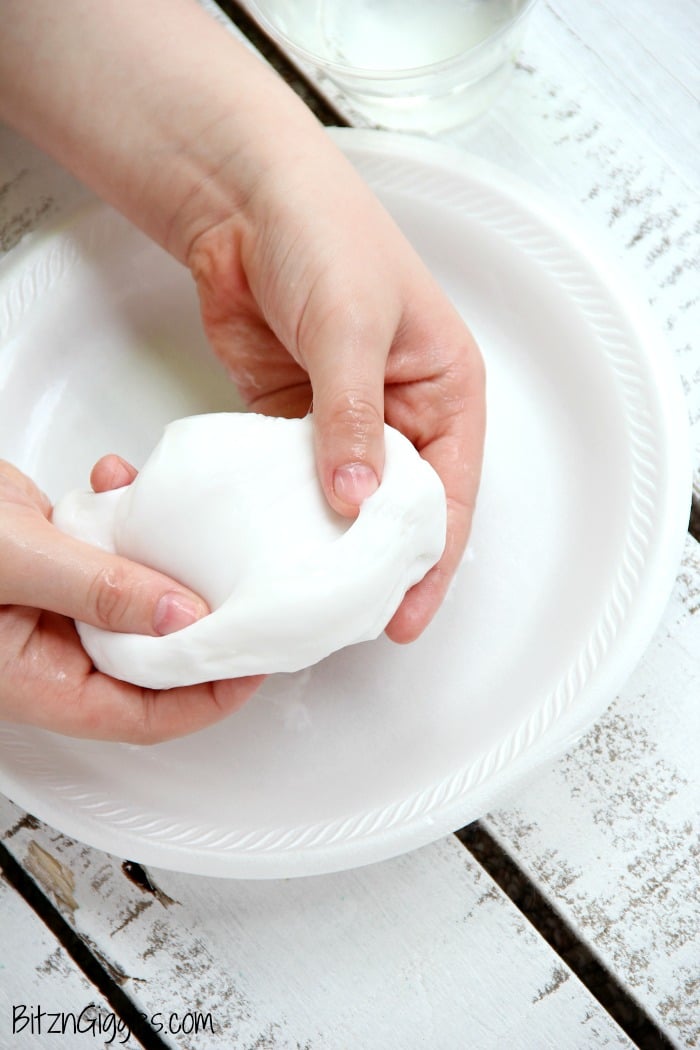
Go ahead and add the iron filings and work them into the slime.
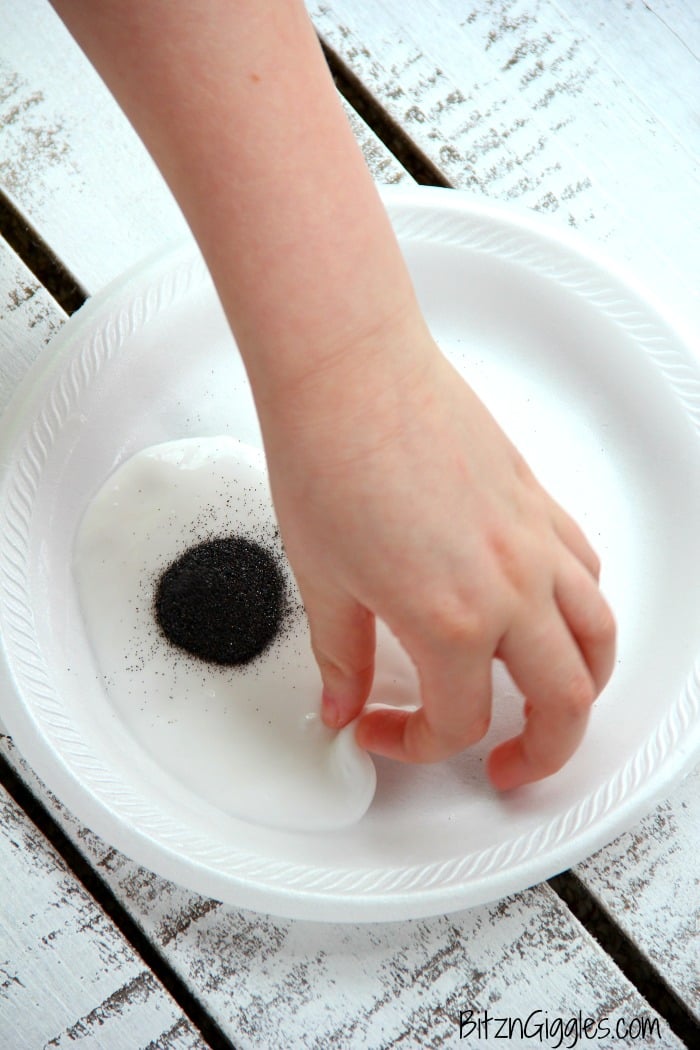
Massage the slime for a little while to make sure the iron filings are well-distributed.
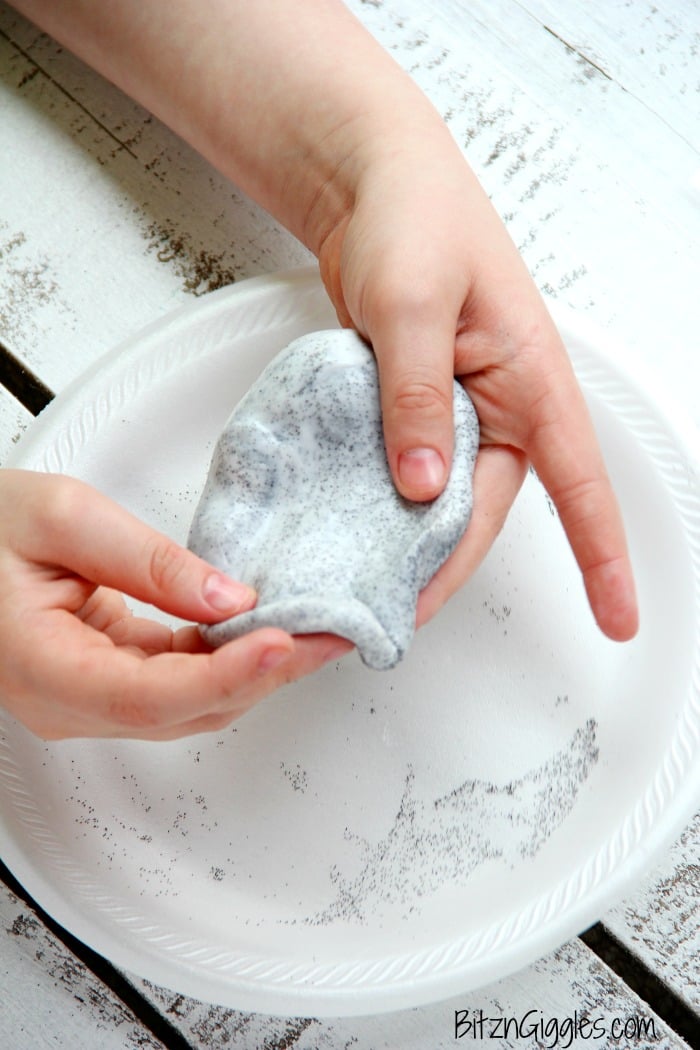
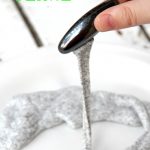
You'll end up with a pile of goop that looks something like this. . .
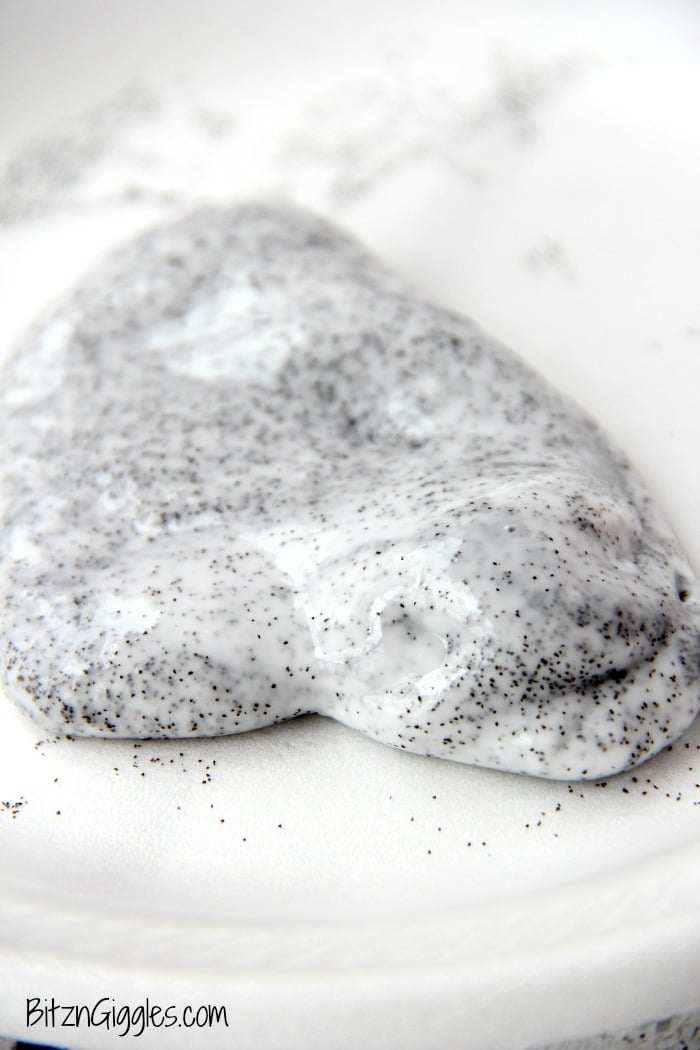
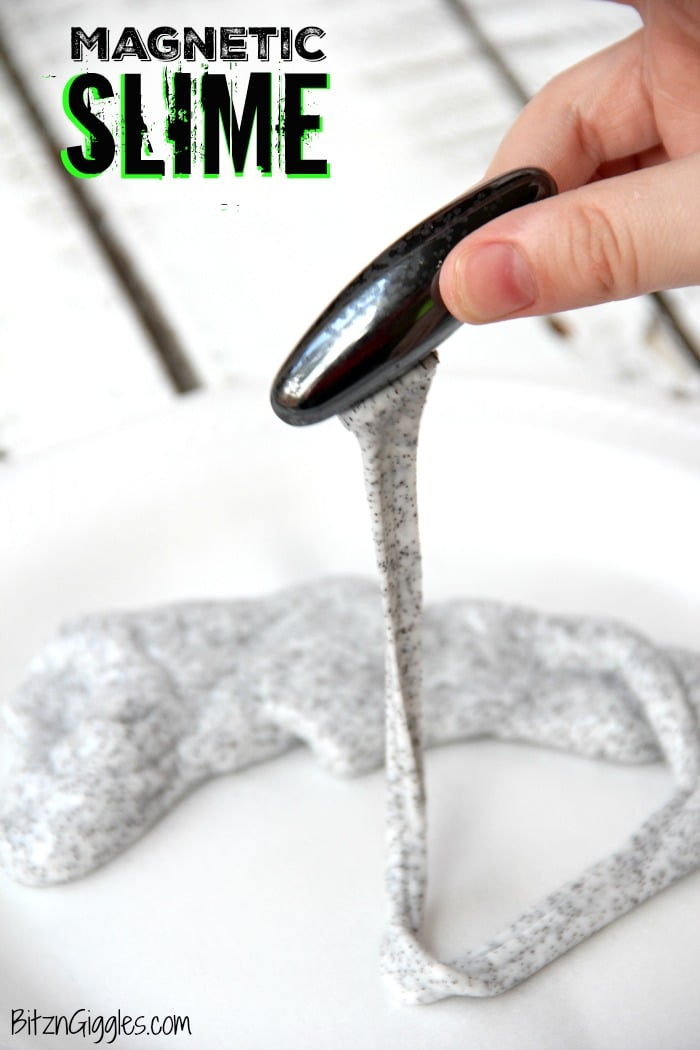
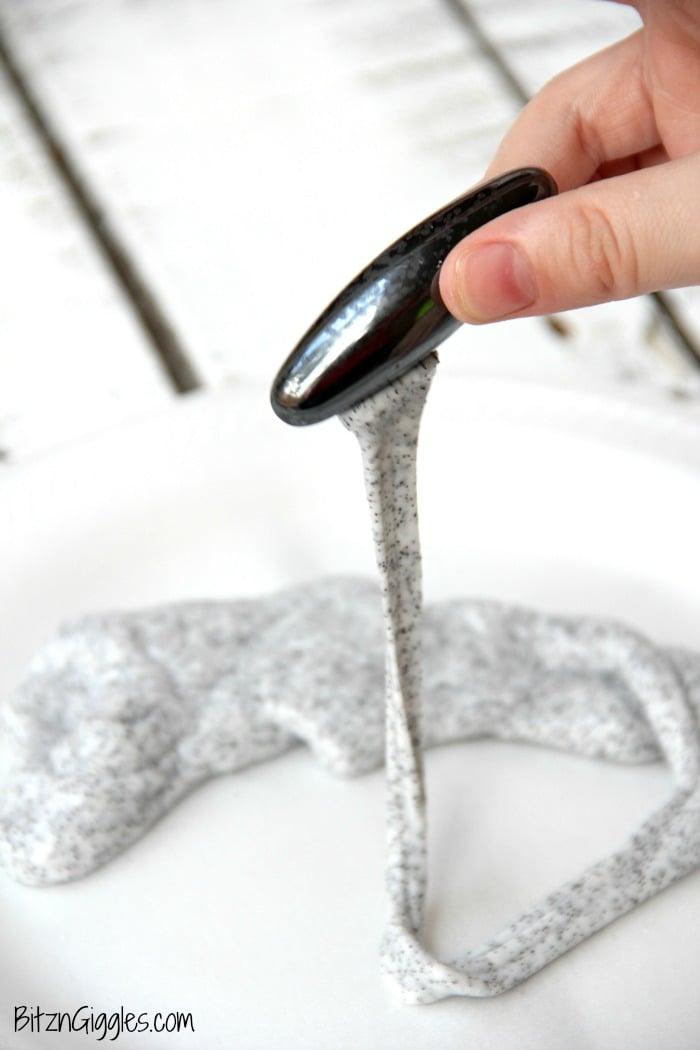
Now, grab your magnet and start having fun!! You're going to need a really strong magnet if you want to see the fun effects - craft magnets won't work here, folks! We used some rattle snake egg toys as our magnets, but I almost wish we had something even a bit stronger.
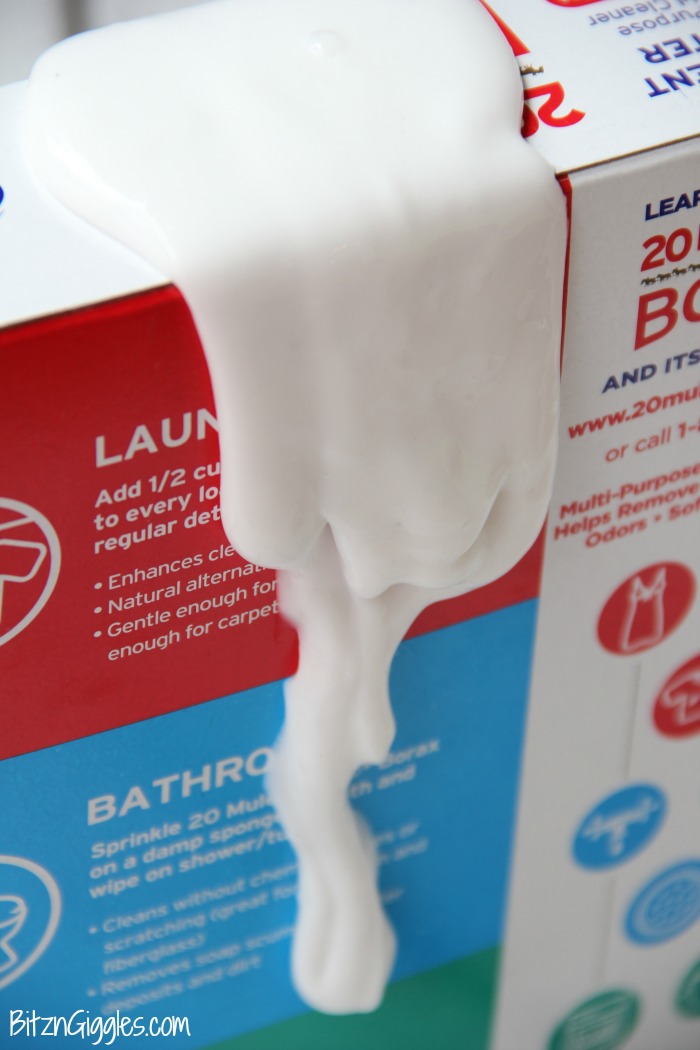
We had so much fun, we made even more slime without the iron filings - just to play with! Check out how it just ooooooozes down the back of the Borax box.
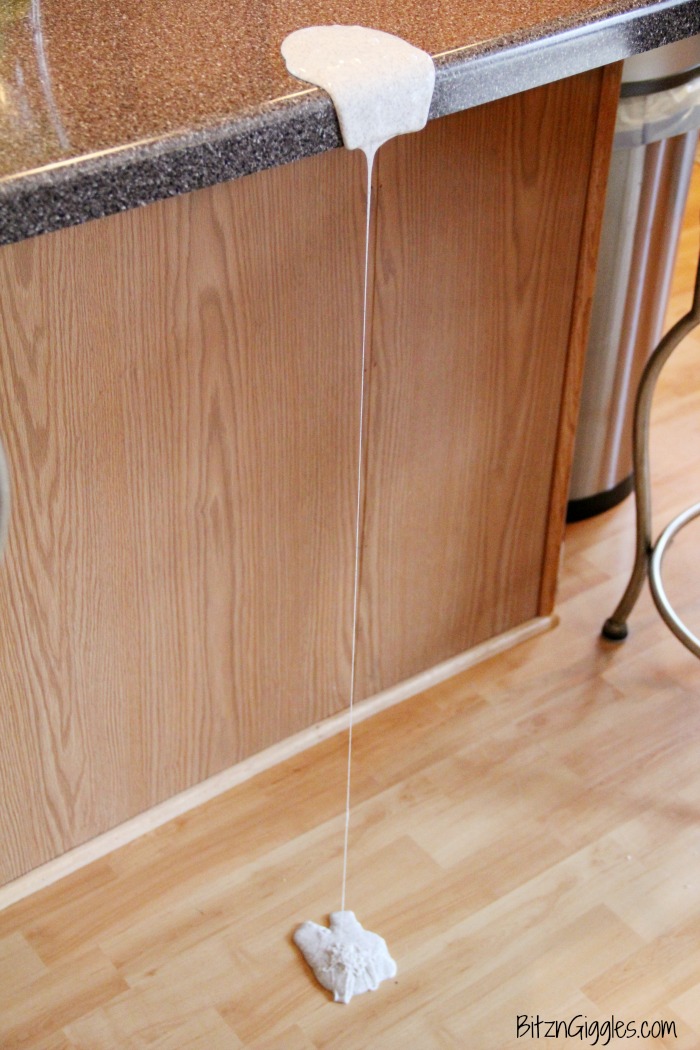
So, get going and make some homemade magnetic slime. Before Dane and I go, we have one more tip for you. Don't let this slime out of your sight! We had placed ours on top of the kitchen island and minutes later it made it's way to the edge and started oozing down right onto the floor!
From our experience, this slime will "lose its luster" in about 24 hours. I don't suggest keeping it longer than that. You can try, but we didn't. Once it made its way off of our island I wasn't sure this was something I wanted just lying (or oozing) around the house. As you know, we have a very curious puppy as well as a 4-year-old who still likes to put things in her mouth. So, after we had our fun, we got rid of it. Rest in peace you slime ball. 😉

How to Make Magnetic Slime
Materials
- 8 ounces White school glue
- 1 ½ cup Warm water
- 1 teaspoon Borax
- 32 grams Iron filings
- Strong magnet(s)
Instructions
- Stir in ½ cup warm water.
- Keep stirring until it starts to goop up. Don't worry, you'll know when this starts happening.
- Just look at that little cloud of sliminess. The slime feels so cool.
- Go ahead and add the iron filings and work them into the slime.
- Massage the slime for a little while to make sure the iron filings are well-distributed.
- Now, grab your magnet and start having fun!! You're going to need a really strong magnet if you want to see the fun effects.
Notes
- Safety First: When working with borax and iron filings, it's important to take safety precautions. Wear gloves to protect your skin from any potential irritation, and avoid contact with your eyes or mouth. Additionally, keep the slime away from young children or pets who might ingest it accidentally.
- Mixing Consistency: Ensure that the borax is properly dissolved in the warm water before adding it to the glue mixture. This helps to create a smooth and consistent slime texture. Stir the mixture thoroughly until the borax is completely dissolved to avoid clumps or uneven distribution.
- Choosing the Right Magnet: To experience the magnetic properties of the slime to the fullest, use a strong magnet. Neodymium magnets, also known as rare-earth magnets, are particularly effective for this purpose. Experiment with different sizes and strengths of magnets to see varying effects and have more fun with your magnetic slime!

Chinaza
I think slime is cool, but magnet slime is even better! I'm glad I'm following you on Pinterest. Please tell me if you have new crafts.
Sara
Magnet slime is super cool! 🙂 Thanks for following me on Pinterest!
Simon
What's borox please
Sara
It's also called sodium borate. You can find Borax in the laundry detergent aisle (it's used as a laundry booster). I also included a link in the ingredients section so you can take a look at what the box looks like. You can also get a glimpse of it in the video.