Want to Save This Recipe?

This is officially my last Easter-themed post of 2014. I've had so much fun preparing for this blessed holiday. I can't wait to celebrate it with family this weekend. Today also is the last post to my cute and simple egg decorating series. If you missed my Crystal Eggs or Jeweled Eggs be sure to check those projects out, too!
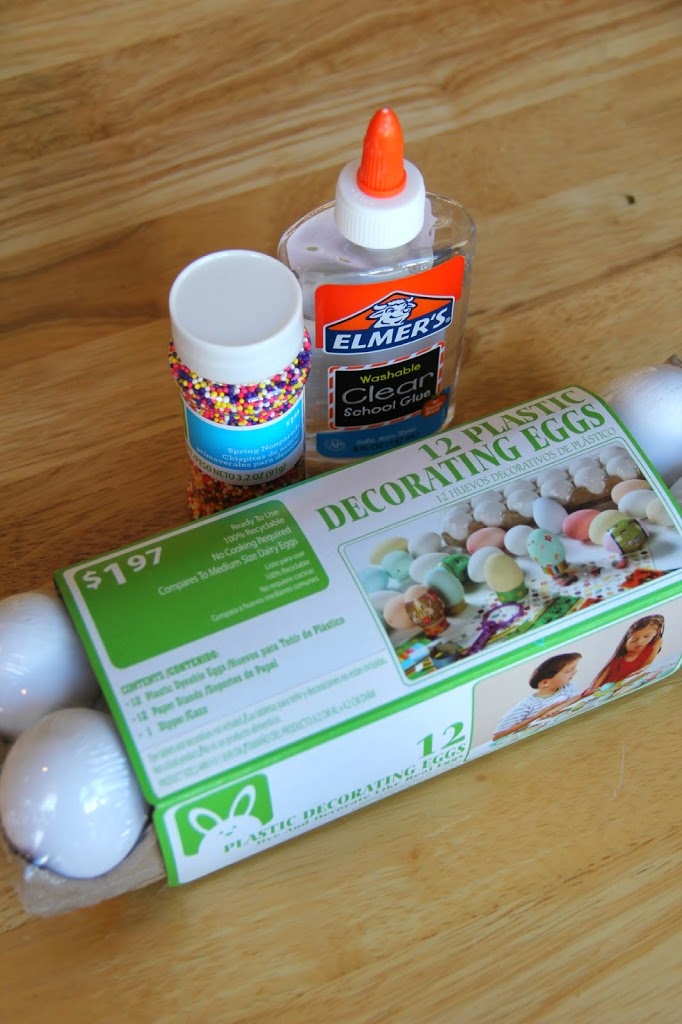
For these eggs, you'll need:
Materials:
- Plastic eggs (I found mine at Walmart)
- Nonpareil sprinkles
- Clear Elmer’s glue
Yep, that's it. Amazing, right?
Get a plastic disposable bowl and fill with a good amount of sprinkles. When I poured the nonpareils into the dish, my two-year-old came running into the kitchen like a dog at meal time. How she recognizes the sound of candy being poured into a dish, I have no clue, but I did need to pause for a minute to allow her to sample the "goods."
Once the candy is in the dish, grab a spoon and your glue. I've mentioned this in my other posts, too, but it's worth saying again. I don't use a paintbrush or anything to apply the glue to the egg. I actually just roll the egg in the glue. Why? Lack of patience. It helps to just squeeze out a glob of glue onto a paper plate. Then roll your egg around until it's fully covered.
Ready for the next part? Throw it into the bowl.
Roll it around a bit and then use the back of your spoon to "pat" the sprinkles onto the egg.
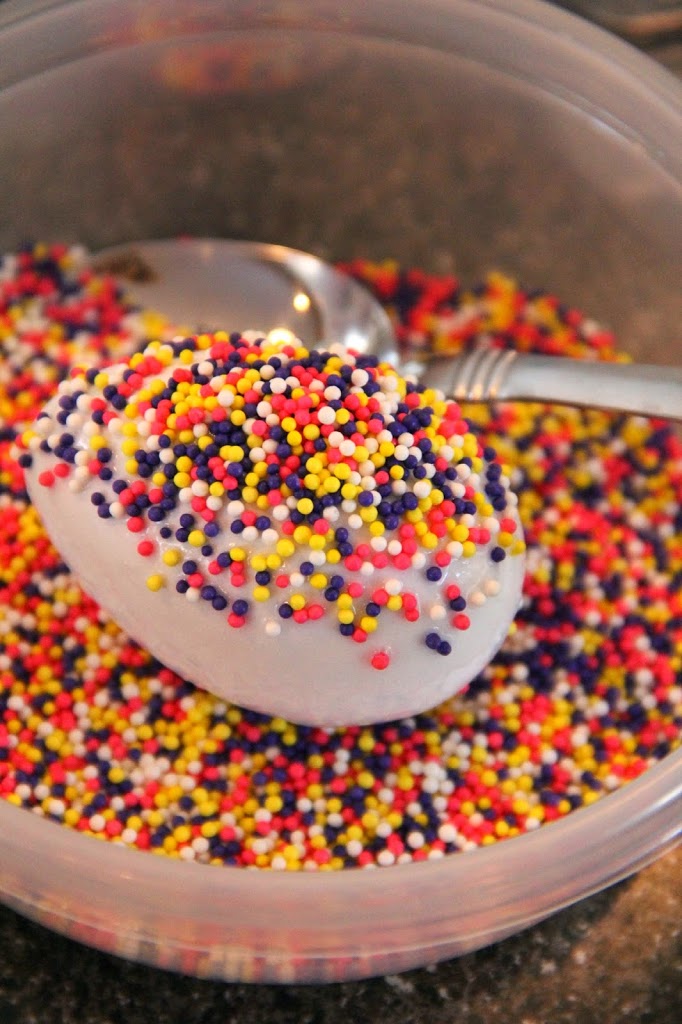
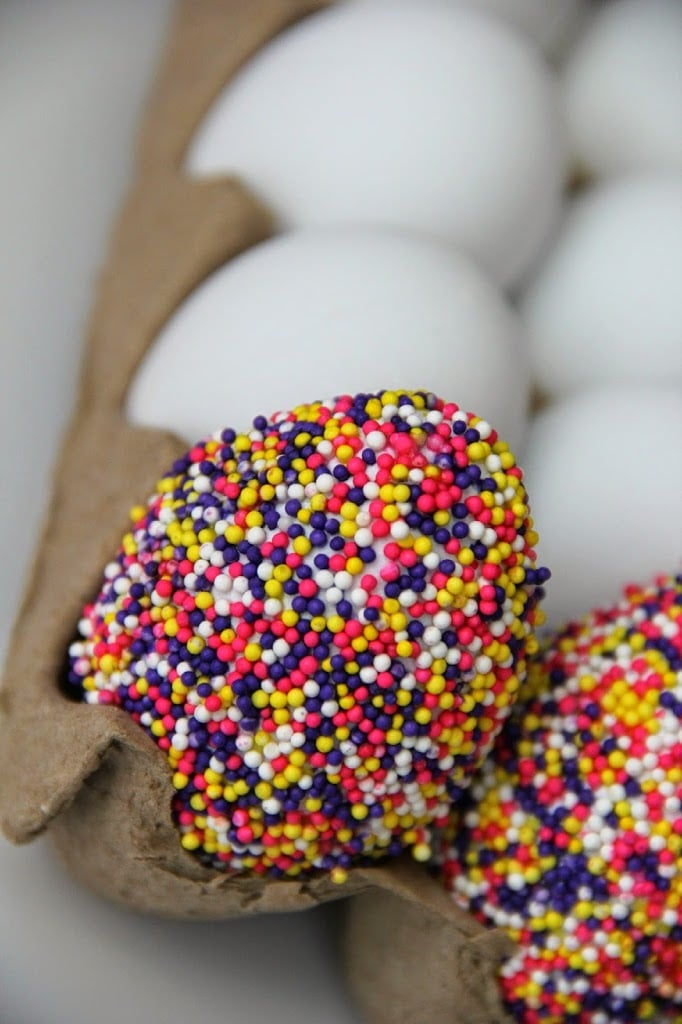
Pat the sprinkles real good so they adhere to the egg. A few of them will fall off so make sure to cover the egg entirely with the sprinkles.
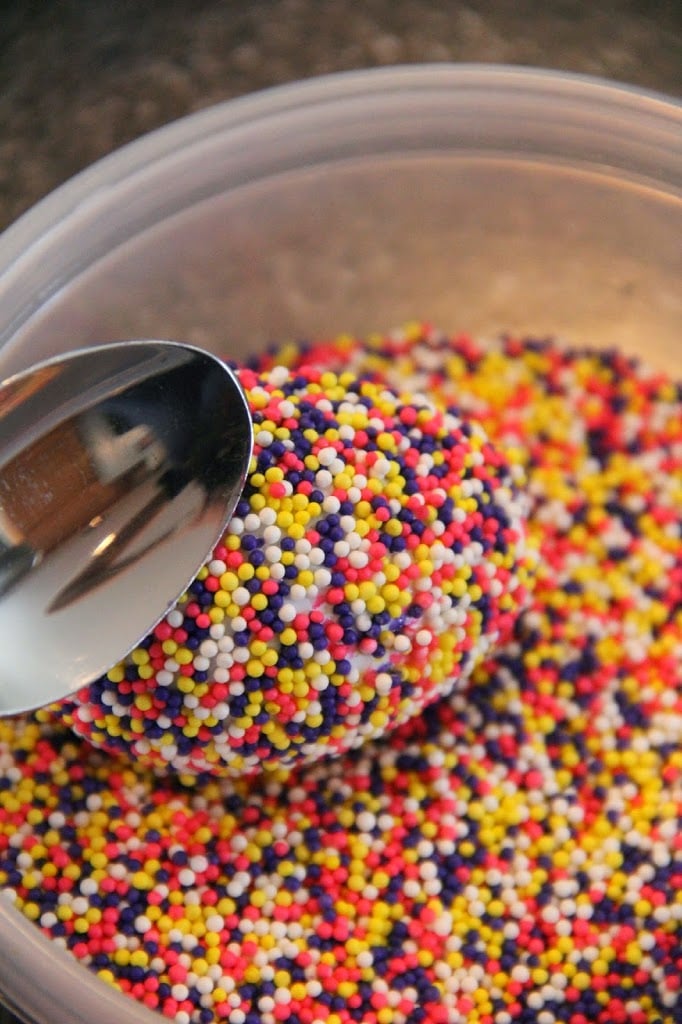
Place them back into the carton or on a waxed sheet of paper and allow them to dry. Was that easy, or what? Incredible. Super simple, but super cute!
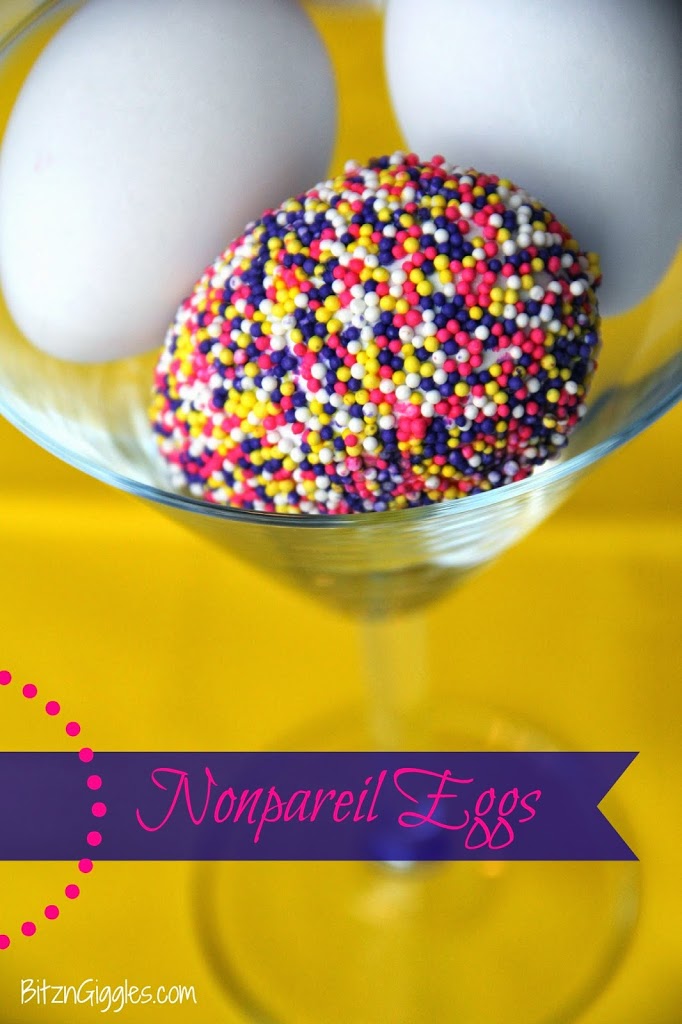
Remember that these eggs are delicate. They really are for decoration only. Make several and place them in a glass apothecary jar on the mantel! How beautiful would that look? These eggs are just the thing to add a pop of color to your space. Now "hop" to it and finish those final details to prepare for the weekend! Happy Easter everyone!


Nonpareil Eggs
Materials
- Plastic eggs
- Nonpareil sprinkles
- Clear Elmer’s glue
Instructions
- Get a plastic disposable bowl and fill with a good amount of sprinkles.
- Once the candy is in the dish, grab a spoon and your glue. I've mentioned this in my other posts, too, but it's worth saying again. I don't use a paintbrush or anything to apply the glue to the egg.
- Roll it around a bit and then use the back of your spoon to "pat" the sprinkles onto the egg.
- Pat the sprinkles real good so they adhere to the egg. A few of them will fall off so make sure to cover the egg entirely with the sprinkles.
- Place them back into the carton or on a waxed sheet of paper and allow them to dry.
- Remember that these eggs are delicate. They really are for decoration only. Make several and place them in a glass apothecary jar on the mantel!
Notes
- Even Coating: Ensure an even coating of nonpareil sprinkles by rotating the plastic egg in the bowl of sprinkles and gently pressing the sprinkles onto the surface with the back of the spoon. This helps to create a uniform and visually appealing design on the egg.
- Drying Time: Allow the nonpareil eggs to dry completely before handling or displaying them. Depending on the humidity level, this may take several hours. Placing them back into the carton or on waxed paper provides a stable surface for drying without risking misshaping or damaging the delicate eggs.
- Handle with Care: Nonpareil eggs are primarily for decorative purposes and may not withstand rough handling. When storing or displaying them, be gentle to prevent the sprinkles from falling off or the eggs from cracking. Consider placing them in a glass apothecary jar or on a secure surface away from heavy traffic areas.
Marti
What a cute idea! You are so creative! Thanks so much for sharing these with us! Pinned to the party board and the Easter board! 🙂