
Rainbow Sprinkle Bath Bombs

This post may contain affiliate links. · As an Amazon Associate I earn from qualifying purchases.
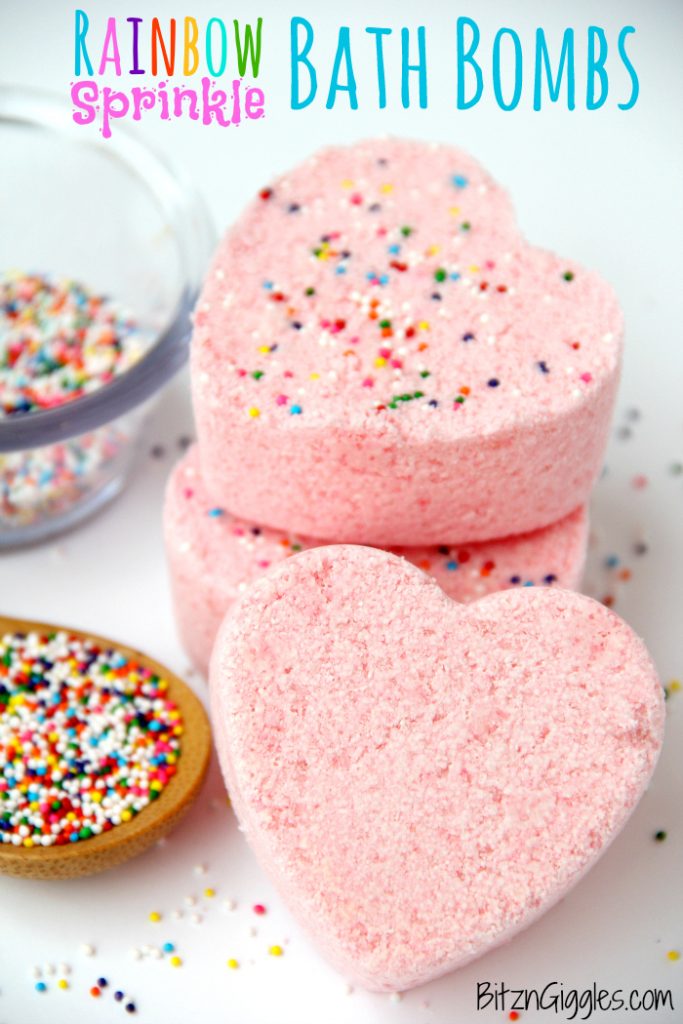
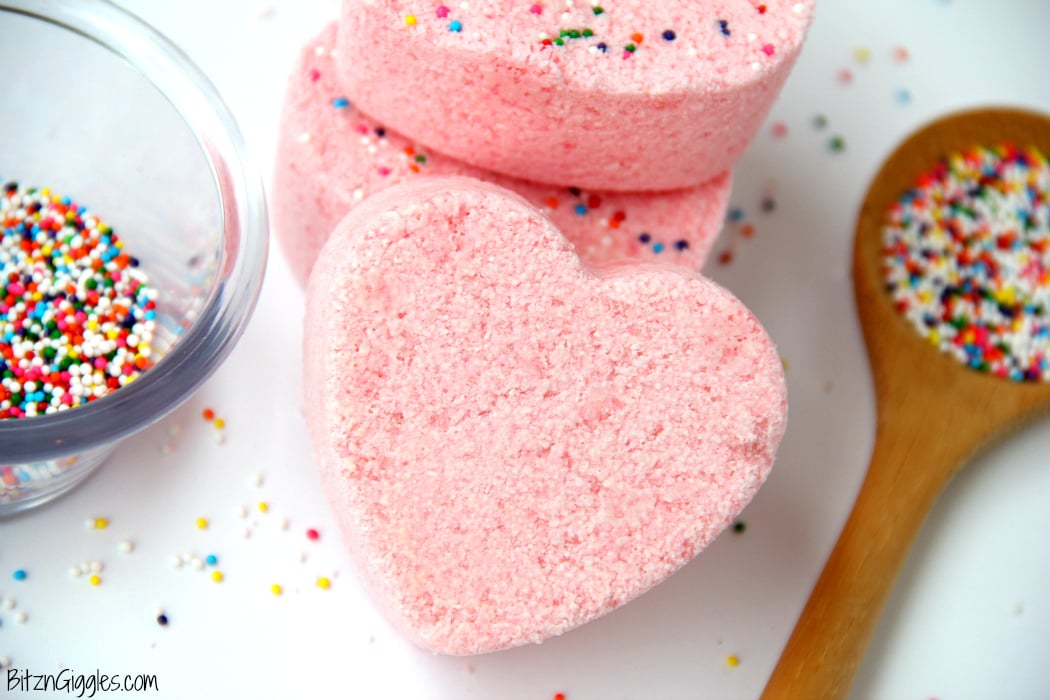
Rainbow Sprinkle Bath Bombs - Watch the rainbow appear when these bath bombs hit the water and start to fizz! They smell great, they're fun to make and they're soothing to the skin!
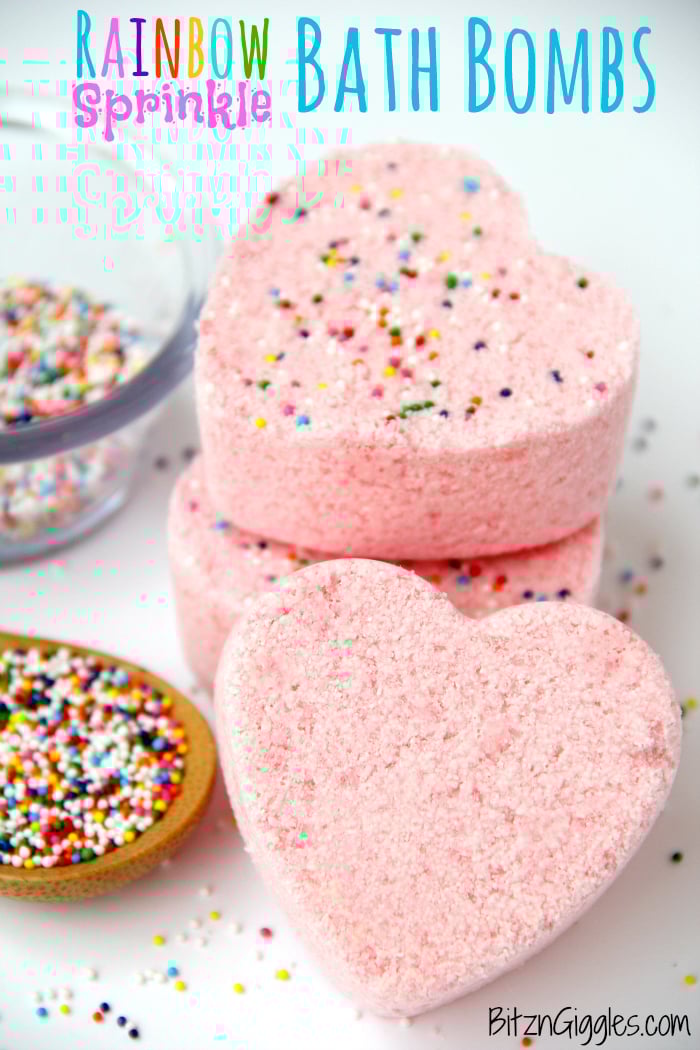
Want to Save This Recipe?
This post includes affiliate links. Please see my disclosure.
I'm really trying to focus on some colorful and happy projects to get through the cold, dull and dreary winter season. Today I'm sharing some Rainbow Sprinkle Bath Bombs that are, what I like to call, "Valentine's Day-inspired." Heck, they're really perfect for any time of year and they'd make a great gift for the ones you love! Mother's Day is only a couple months away. Hint. Hint.
So, the idea for these bath bombs came to mind the other day as I was looking for some paprika in my horridly disorganized kitchen cabinet. Behind the garlic powder (where I thought the paprika would be) was a bottle of citric acid.
During canning season in late summer I always make sure to pick up a couple bottles at the grocery store to have on hand. For some reason, this jar got separated from the rest of its family members and I lost track of it.
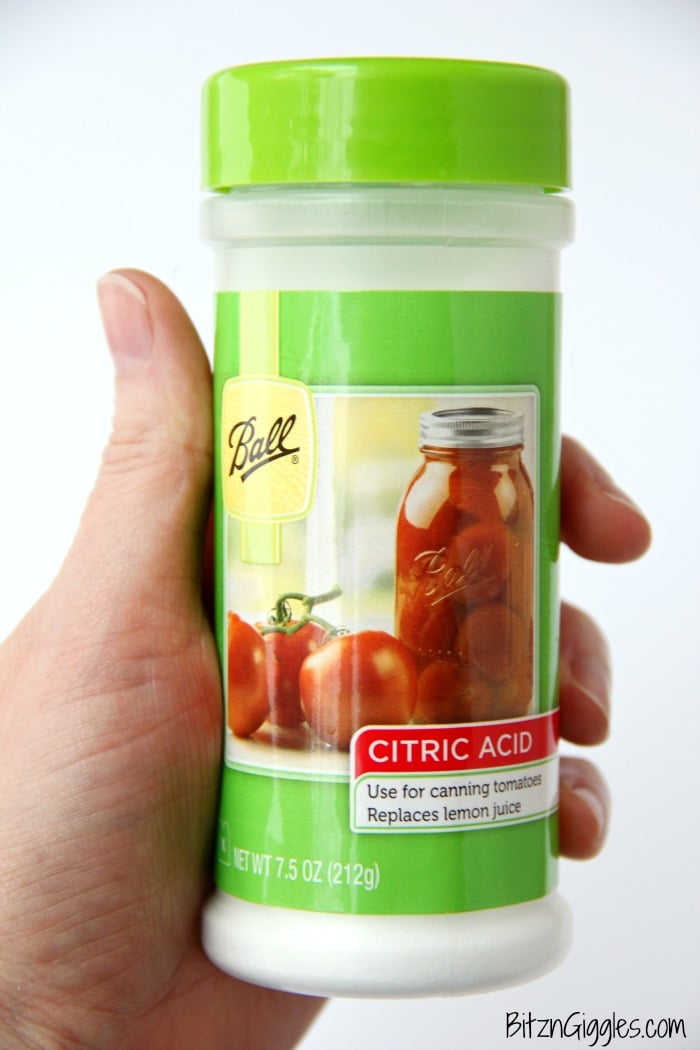
Although citric acid is easiest to find in stores during canning season, if you're desperate and can't find it in your local stores this time of year, you can get it through Amazon.com. Bath products are so much fun to make on your own. They make great gifts and it's so much more affordable to make some of this stuff yourself! Make sure you check out my Easter Egg Bath Bombs, Peppermint Bath Bombs, Vanilla Sugar Lip Polish and all of my DIY beauty ideas!
So, before I get too far ahead of myself, let me list out the ingredients you're going to need to make these beautiful bath bombs:
Ingredients (Will make 6-9 large bath bombs)
- 8 oz. Baking soda
- 4 oz. Epsom salt
- 4 oz. Cornstarch
- 4 oz. Citric Acid
- 3 teaspoons water + additional drops as needed
- 2 teaspoons fragrance oil, etc. or 8-10 drops essential oil
- 2-5 drops food coloring
- Silicone heart mold
- Rainbow Nonpareils
Because I was making heart-shaped bath bombs, I used some pink neon food coloring and a cotton candy fragrance oil. So much fun, right?! So, let's get started!
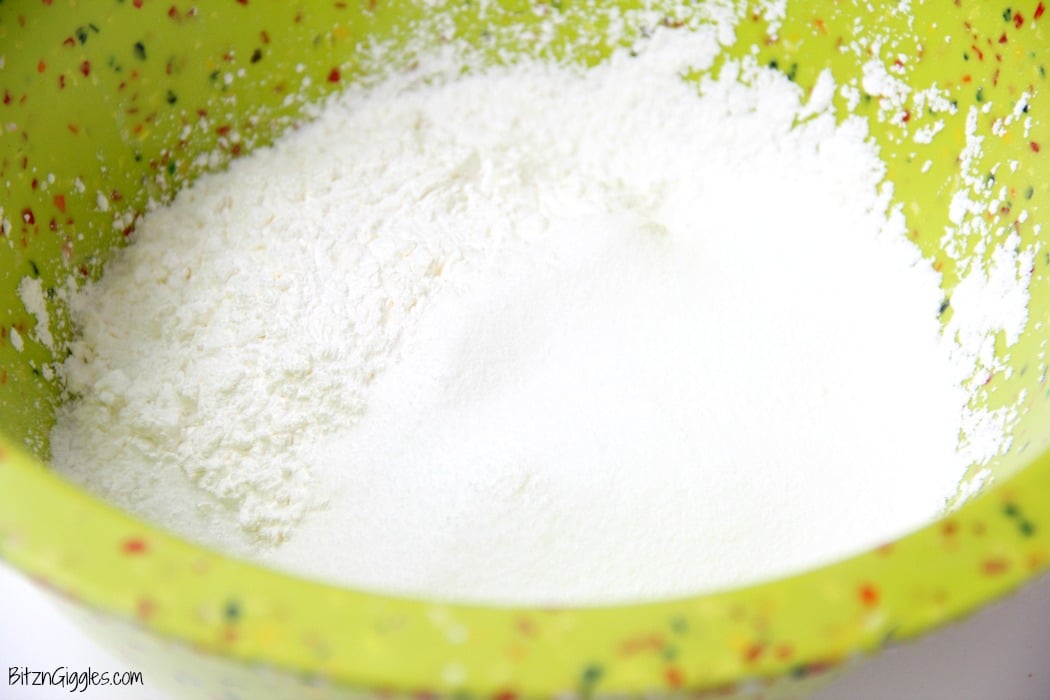
In a large bowl, combine the Epsom salt, cornstarch, baking soda and citric acid. Stir the ingredients together using a whisk.
In a separate small bowl, mix together your wet ingredients: water, fragrance and food coloring.
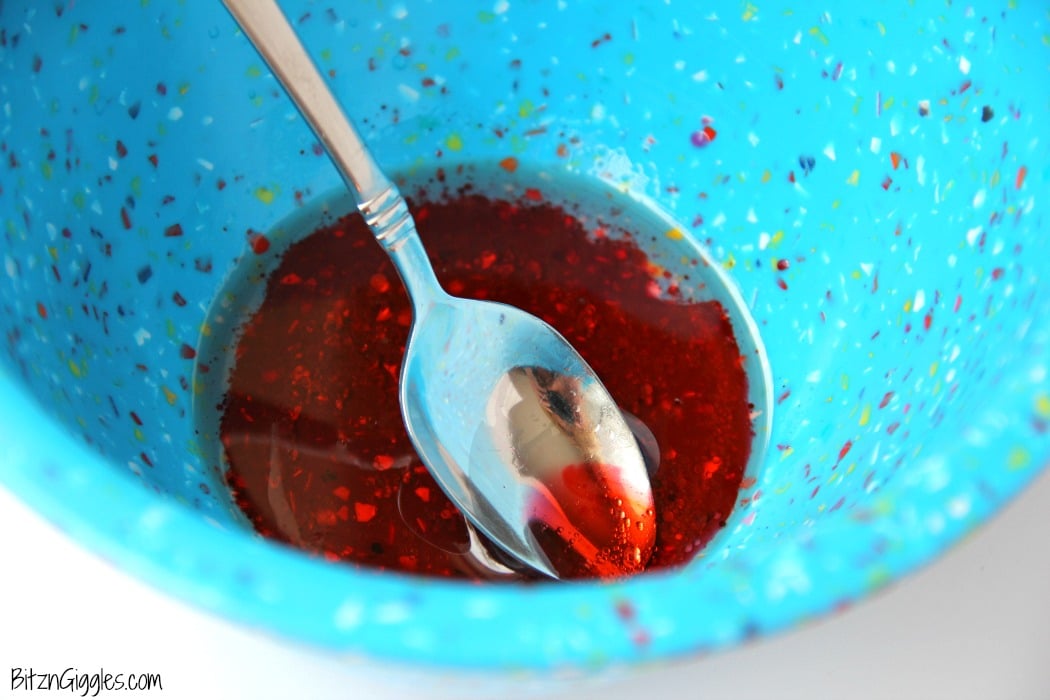
I know a lot of people who spend a ton of money on bath bombs. I'm here to tell you. . .it's not necessary! You can make your own so affordably! And I promise you, it's super easy. You're with me so far, aren't you? Of course you are!
Alright, now slowly whisk in the wet ingredients to the dry ingredients a little at a time. Don't dump the whole thing in at once because you'll ruin the fizz. How? Well, the fizz will happen now instead of later. . .when you actually want it in your bath. So pour lightly and slowly while whisking away!
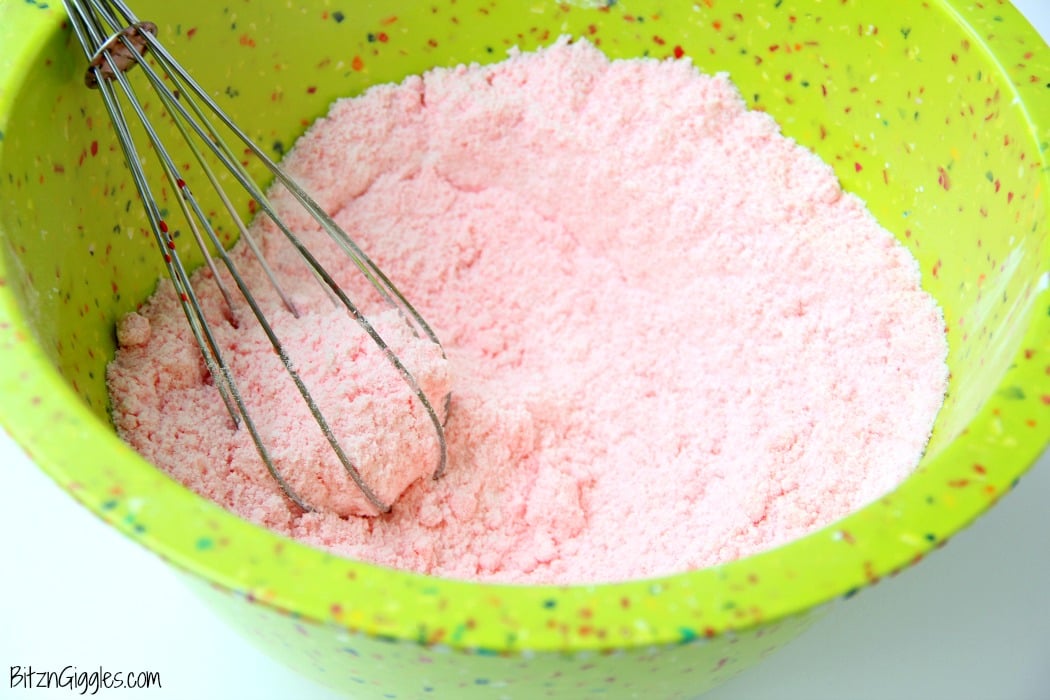
You want to get the mix to a "clumping" consistency. If it seems to be a little dry, add a drop or two of water at a time and continue to mix. Use your fingers to test the consistency. Pinch a bit between your fingers. Does it stick together? Yes? Then you're ready to put it into your mold.
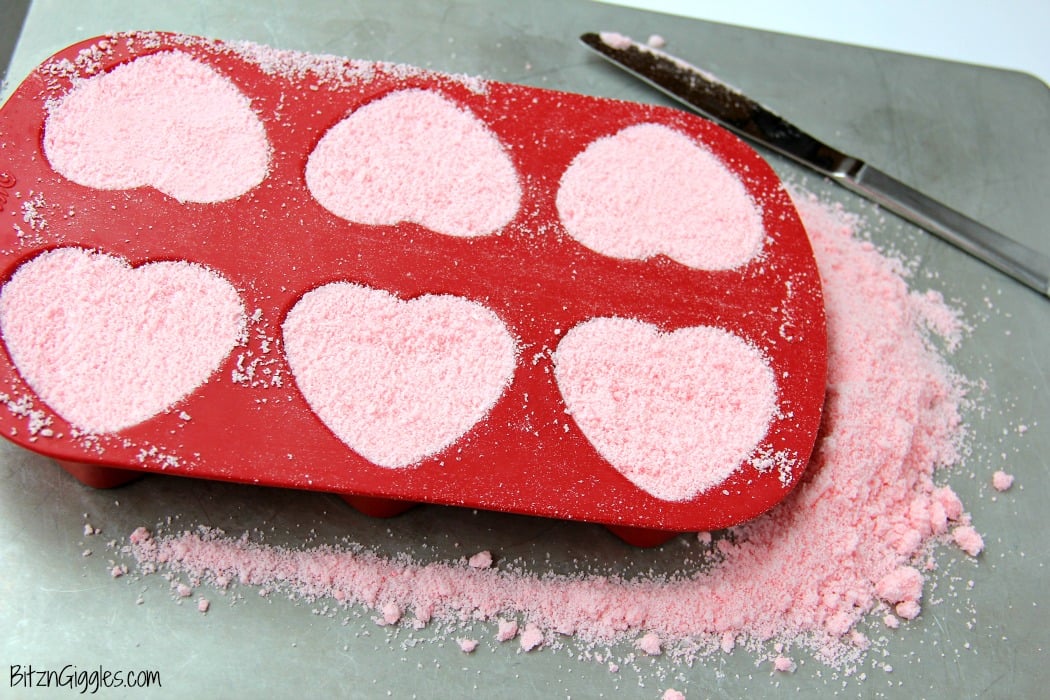
I can get about eight bath bombs out of this mold - nine if I'm not filling them completely to the top, but you know me. Go big or go home. So, yeah. I fill them to the top and then I slide a butter knife across the top to clean up the excess around the mold. I have two of these molds, so the excess I just packed into my second mold.
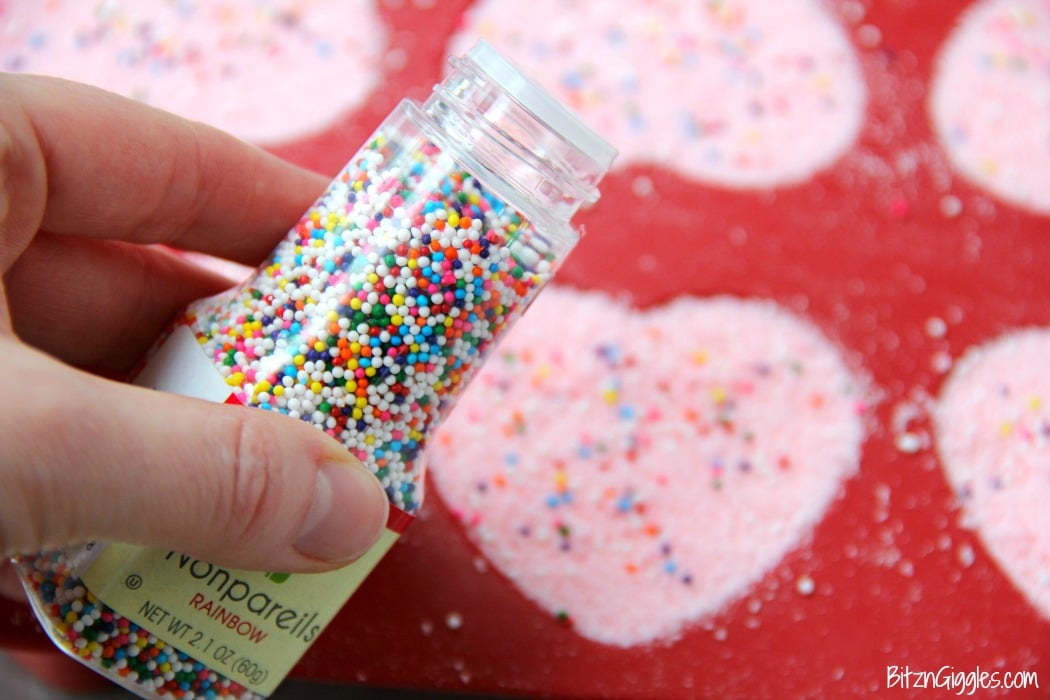
Okay, now for the the fun part. Get out those sprinkles and start shaking them on! I just put sprinkles on the tops of my bath bombs (which are technically the bottoms). If you want sprinkles on both sides, you can shake some into the mold before you add the powder mixture.
I like to have more control over the placement of the sprinkles so I usually just add them to the top of the mold and then lightly press them into the powder using the back of a small spoon. Those little infant feeding spoons still come in handy! Raise your hand if you have a couple in your kitchen drawer, too!
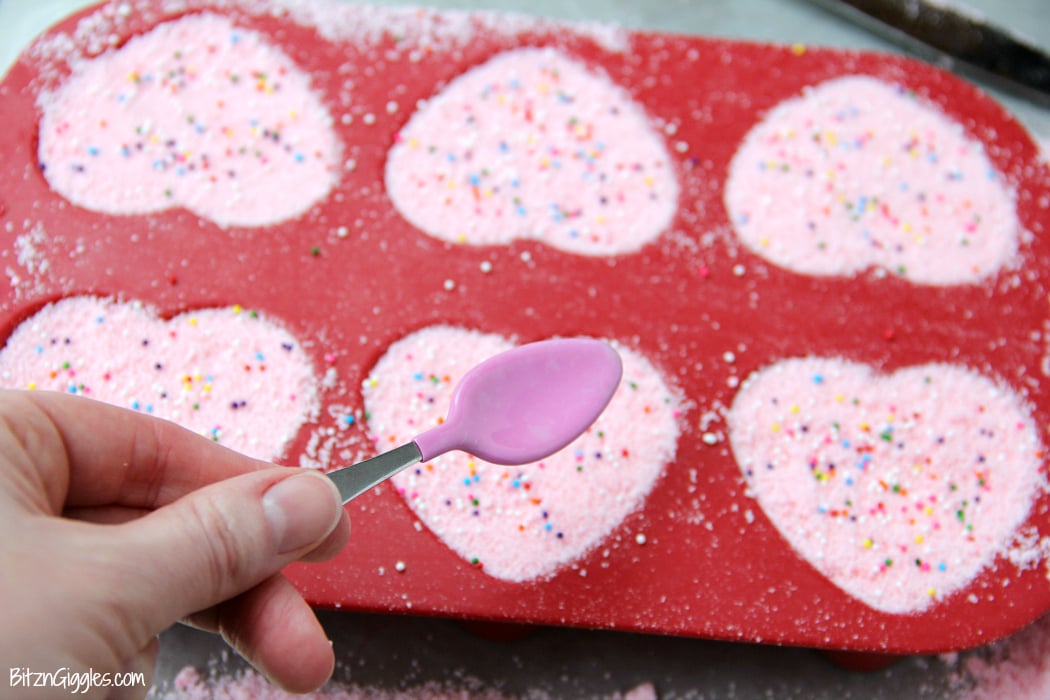
If you feel like the tops of your bath bombs are still a bit too "powdery," you can always spritz the tops with a little water. A LITTLE water. Otherwise you're going to have premature fizzing again. 😉
Alright, now you wait. Like overnight wait. I'd say at least 12-14 hours for sure - 24 hours if you want to be certain that they'll pop out of the molds for you with no problems.
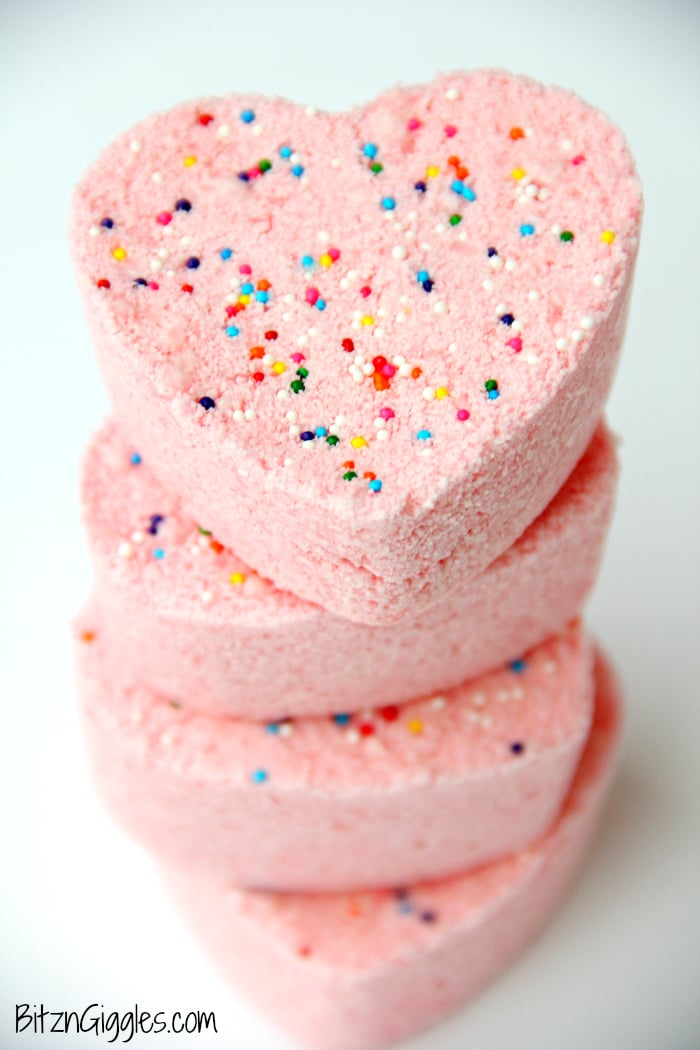
I just love these hearts. Aren't they pretty?
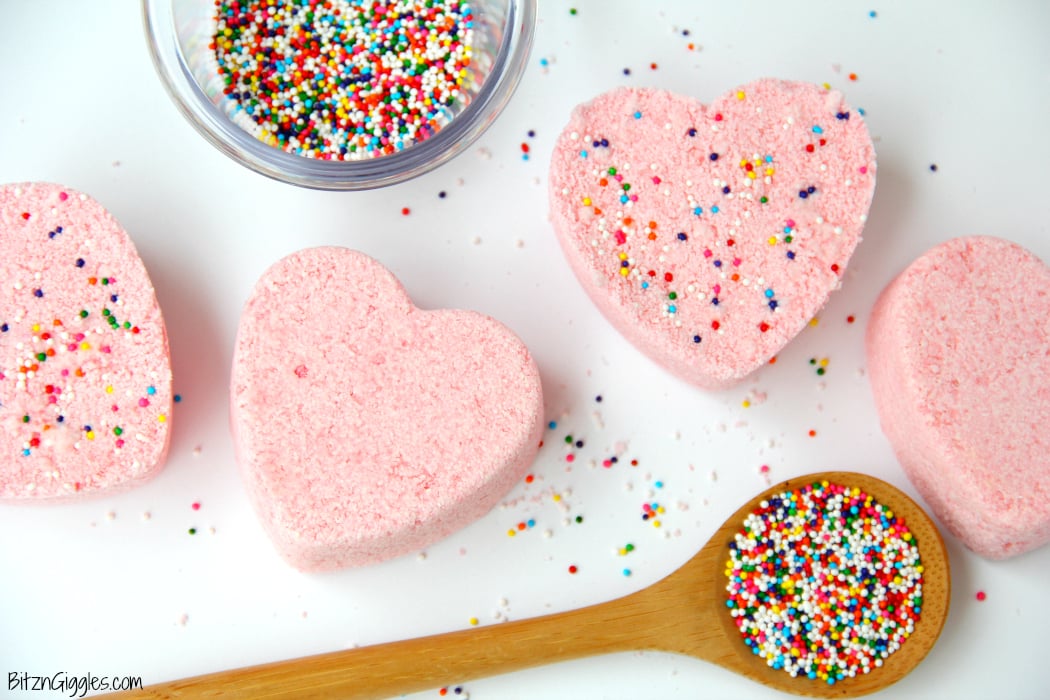
I actually prefer the sprinkles on just one side, however, if you do decide to add sprinkles to both sides, you're going to have an even more "colorful" show in the bathtub.
What's so awesome about these bath bombs is that when they start to fizz, the sprinkles begin to release their color, producing a rainbow effect. Pretty cool, right?! And. . .they will turn your bath water pink (well, you may need to use 2-3 if you have a big tub). My little girl loves these, by the way.
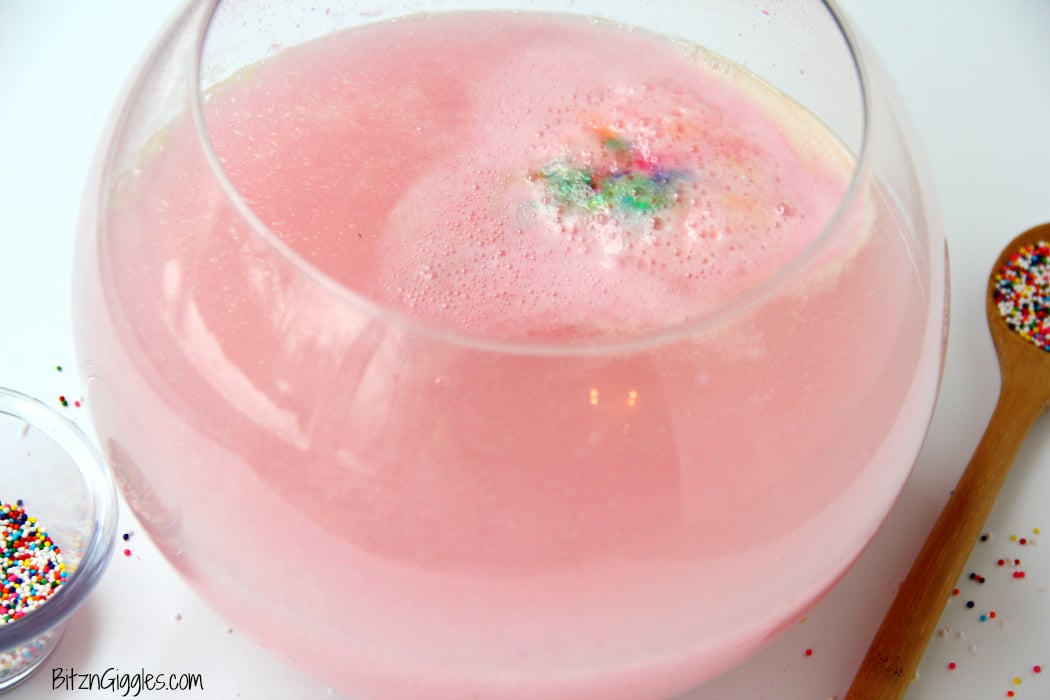
I put a video together so you could see the whole process from end to end. I've watched this over and over because I just love the fizzing part.
I hope you love them, too!
Rainbow Sprinkle Bath Bombs
Materials
- 8 oz. Baking soda
- 4 oz. Epsom salt
- 4 oz. Cornstarch
- 4 oz. Citric Acid
- 3 teaspoons Water
- 2 teaspoons Fragrance oil
- 2-5 drops Food coloring
- Silicone heart mold
- Rainbow Nonpareils
Instructions
- In a large bowl, combine the Epsom salt, cornstarch, baking soda and citric acid. Stir the ingredients together using a whisk.
- In a separate small bowl, mix together your wet ingredients: water, fragrance and food coloring.
- Now slowly whisk in the wet ingredients to the dry ingredients a little at a time. Don't dump the whole thing in at once because you'll ruin the fizz.
- You want to get the mix to a "clumping" consistency. If it seems to be a little dry, add a drop or two of water at a time and continue to mix.
- Use your fingers to test the consistency. Pinch a bit between your fingers. Does it stick together? Yes? Then you're ready to put it into your mold.
- I fill them to the top and then I slide a butter knife across the top to clean up the excess around the mold.
- Get out those sprinkles and start shaking them on! I just put sprinkles on the tops of my bath bombs (which are technically the bottoms).
- If you feel like the tops of your bath bombs are still a bit too "powdery," you can always spritz the tops with a little water.
- Now you wait. Like an overnight wait. I'd say at least 12-14 hours for sure - 24 hours if you want to be certain that they'll pop out of the molds for you with no problems.
Notes
- Mix Wet and Dry Ingredients Gradually: When combining the wet and dry ingredients, it's essential to do so gradually to avoid activating the fizz prematurely. Slowly whisk the wet ingredients into the dry mixture a little at a time, ensuring thorough incorporation without causing excessive fizzing. This gradual approach helps maintain the integrity of the bath bombs' fizzing action and ensures that they retain their shape during the molding process.
- Achieve the Right Consistency: The consistency of the bath bomb mixture is crucial for successful molding and fizzing. Aim for a "clumping" consistency where the mixture holds together when squeezed between your fingers. If the mixture seems too dry and crumbly, add a drop or two of water at a time until you reach the desired consistency. Be cautious not to add too much water, as this can cause the mixture to become too wet and lose its ability to hold its shape.
- Allow Sufficient Drying Time: Patience is key when making bath bombs, especially when it comes to drying time. After molding the bath bombs, allow them to dry for at least 12-14 hours, preferably overnight, to ensure they are fully set and hardened. If you want to be extra cautious or live in a humid climate, consider allowing them to dry for up to 24 hours. Proper drying time ensures that the bath bombs hold their shape and release their fragrance and fizz effectively when added to the bathwater. Once fully dried, store the bath bombs in an airtight container to preserve their freshness until ready for use.
I love these! Is there a substitute to use instead of Epsom salts? Thanks
Hi Iris! You could try Himalayan pink salt or sugar as a substitute for the Epsom salts.
I love these I made mine white though with a whole lot more sprinkles, turned out great
Love these so cute! My little girl (5) loves her bath bombs she will find making them super fun too! Thanks for adding sprinkles even better! I think my little summer campers will love making these too:)
Sprinkles just make everything even more fun, don't they! So glad you like the bath bombs!
Hello thank you so much for sharing this recipe.... I have several hard working teachers that will absolutely love these... great success to you
Regards,
Debbie/ D Lynn Originals
That makes me so happy, Debbie! I hope the teachers enjoy them!
Hi I’m making 16 bath bombs, can I just double the recipe? Or do you recommend me making it in two batches?
You can double the recipe, but I recommend making it in two batches so the mixture doesn’t dry out or start reacting before you get everything molded. Smaller batches are easier to control and give more consistent results.
I have some mini heart-shaped cake pans. Do you think those will work instead of the silicone molds?
Hi Jodie, potentially, yes, however, the bath bombs will be more difficult to remove from cake pans than they are from flexible silicone molds.
How much citric acid is 4 oz. in teaspoon/tablespoon/cup measure?
4 ounces = 8 tablespoons
Thanks so much!!! Can't wait to make these!
Good luck, Lynda! I can't wait to hear how they turn out!
Do you need to pack these hard?
I usually use the back of a spoon to help the sprinkles stay on and it also helps pack the bath bombs into the mold as well.
Hi! I made these yesterday and today when I went to remove them from the mold (about 12 hours) they had risen! And only the top was hard and bottom still wet. Did I pack too much in? Not wait long enough?!
Kristie, You may have added a little too much liquid when making them - it could have caused a reaction. Regardless, it may help to flip them halfway through drying time to make sure both sides harden.
Love this! Can they stay sitting out or do they need to stay in an air tight container??
They could probably stay sitting out. They may lose a little bit of their color. I usually keep mine in a ziplock bag and they keep for quite a long time!
I am glad I found this today!! I am going to make these for my daughter for Valentine's Day! Thank you!!
I love this idea! I can't wait to try this next weekend! This would make a great gift too! My sisters would love this!
Let me know how it goes! I can't wait to hear!
What kind of sprinkles are good for bath bombs and where can I get them please?
I used Rainbow Nonpareils. I provided a link under the ingredients section to where I purchased them on Amazon.
SO pretty and I love that you added sprinkles!