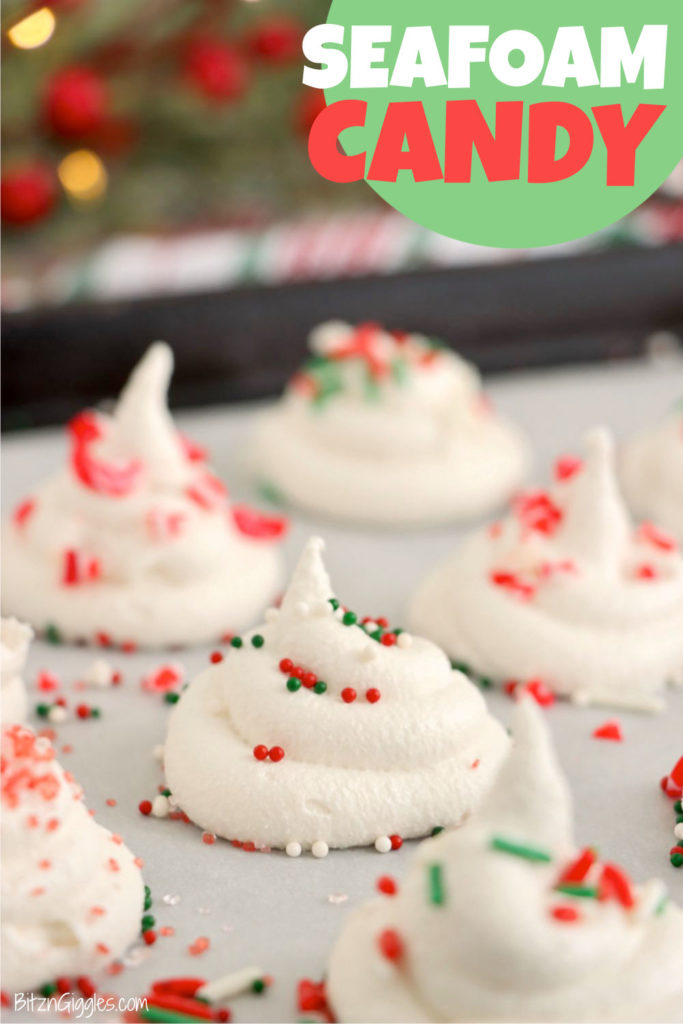
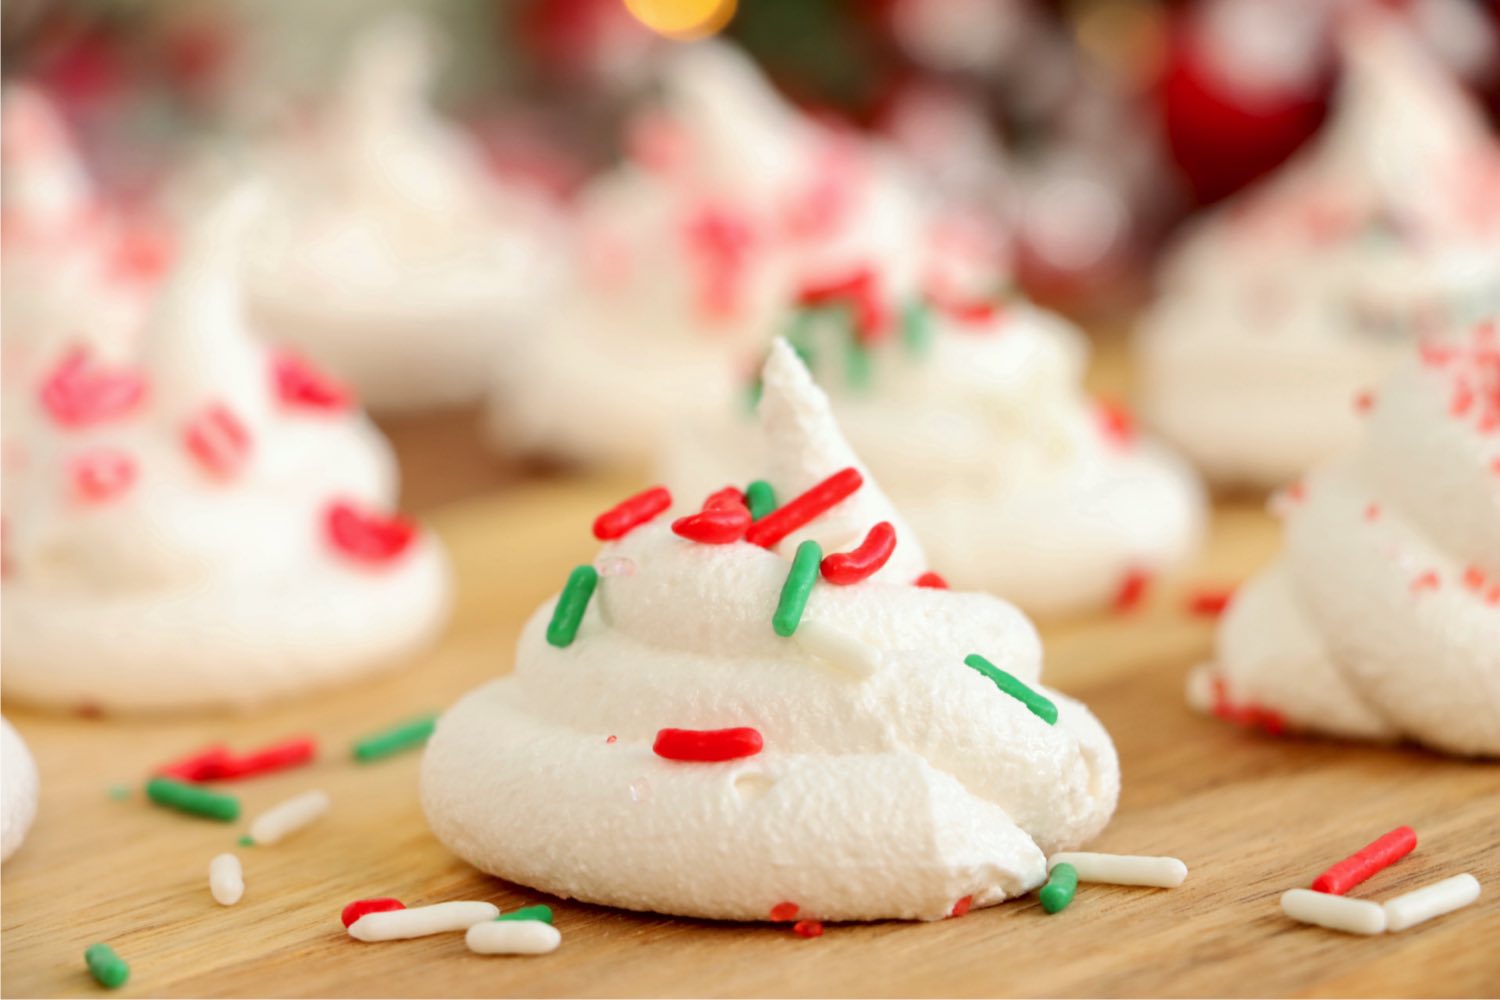
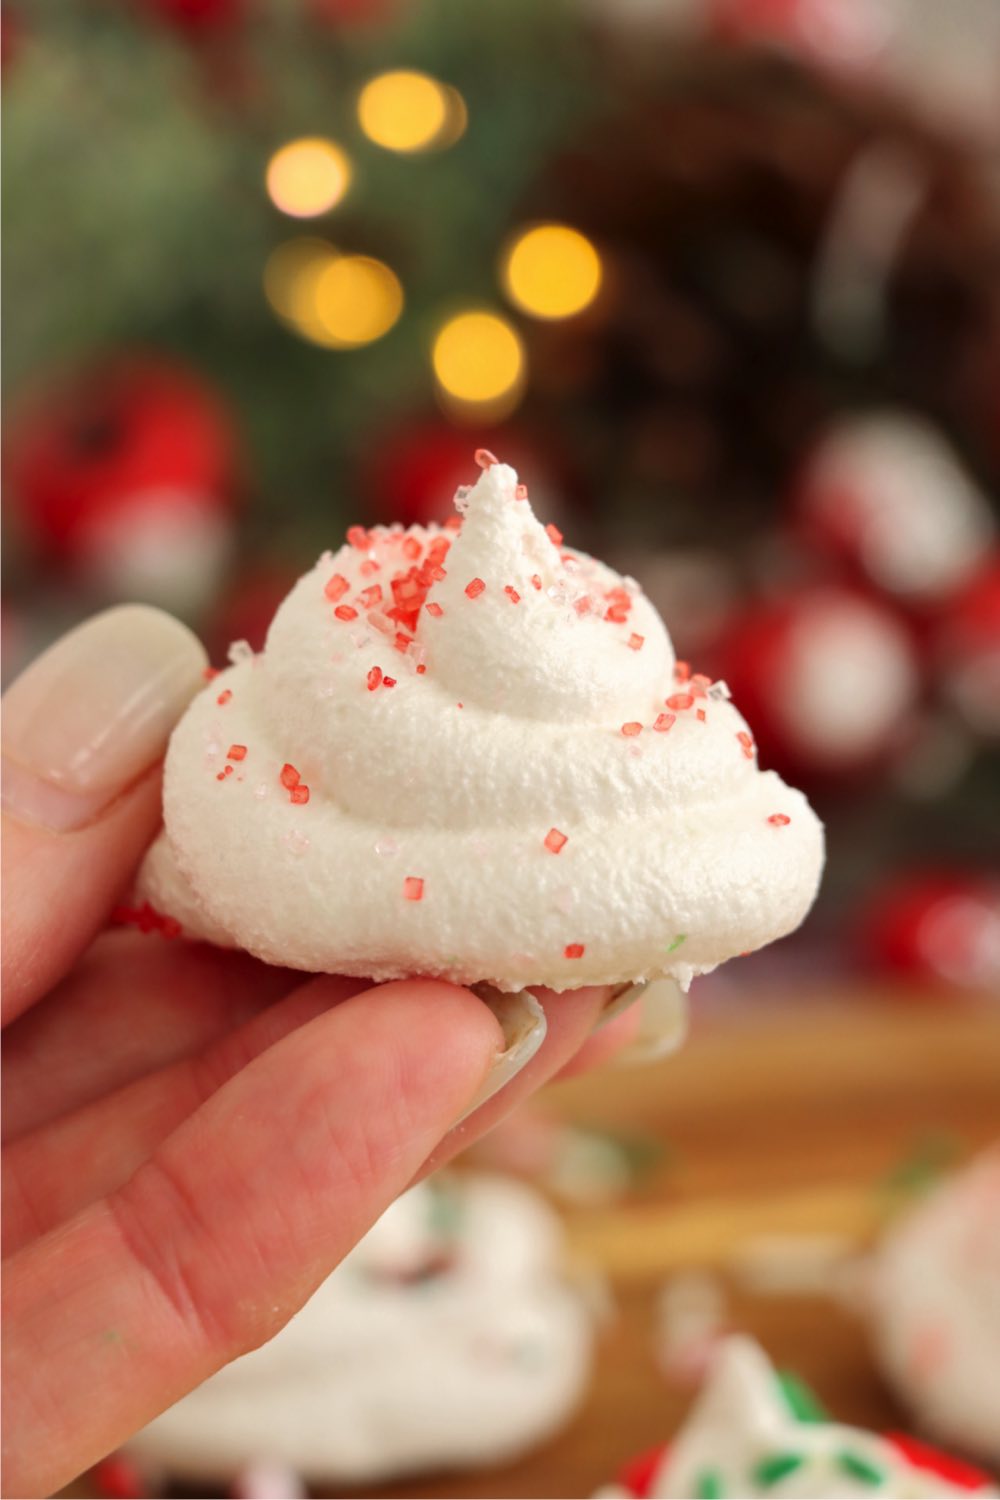
Seafoam Candy Recipe - Light and airy, old-fashioned divinity candy - a sweet, smooth, and nougat-like confection topped with Christmas sprinkles.

Want to Save This Recipe?
This post may include affiliate links. Please see my disclosure.
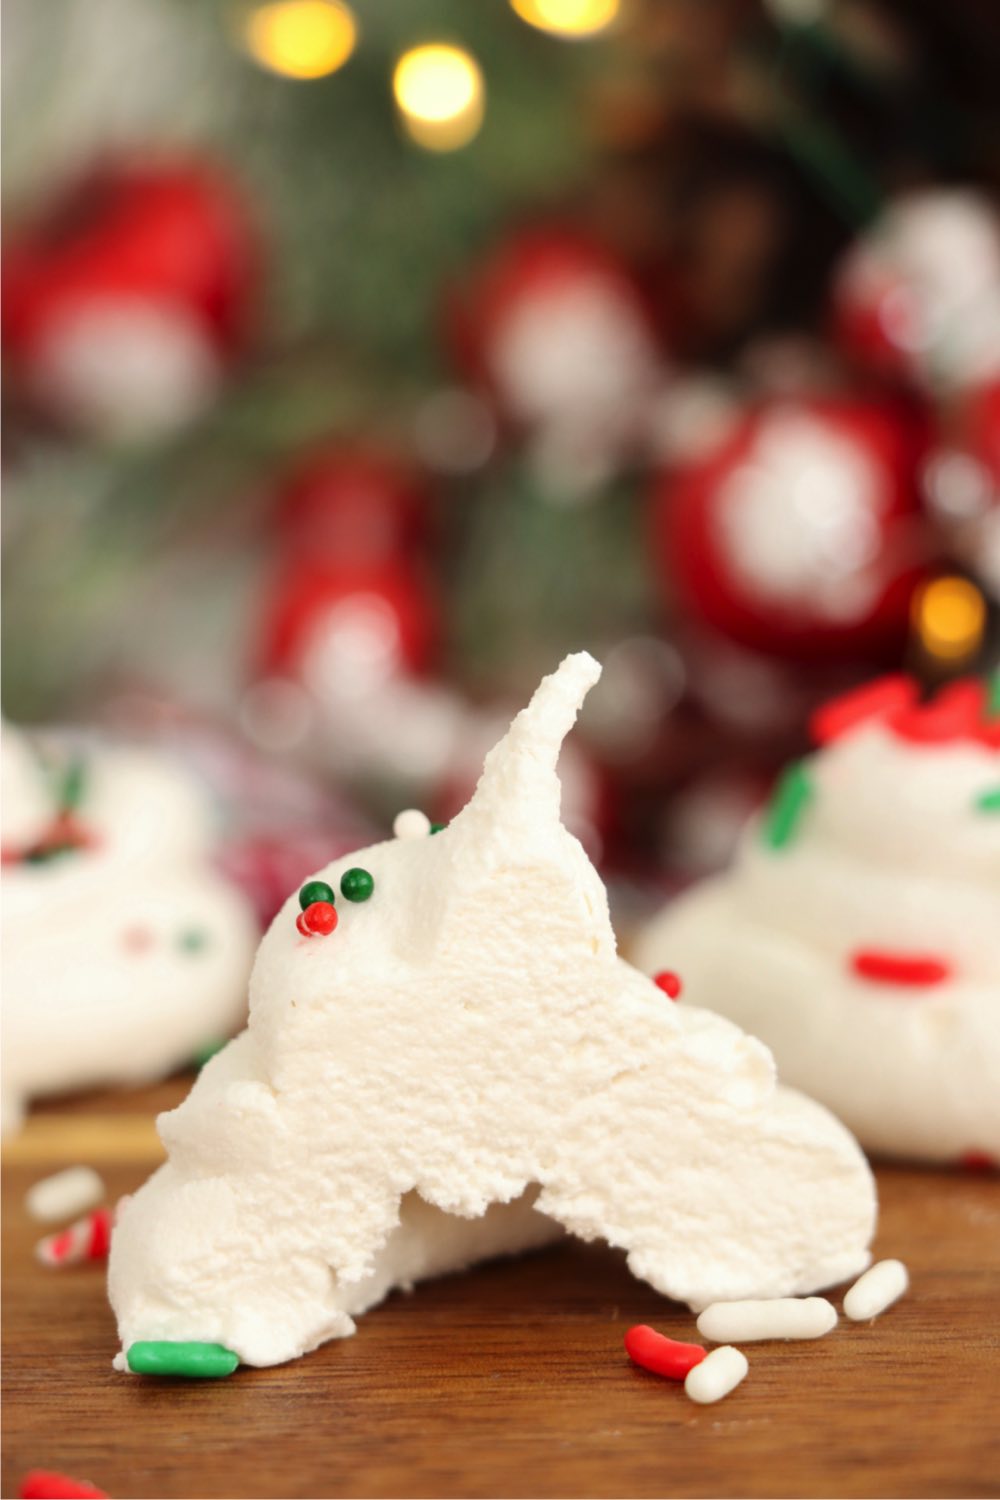
I've come to the conclusion that different parts of the country have different ideas of what seafoam or divinity candy really is. For my family, it's always been this white, nougat-like candy made with egg whites and corn syrup. It makes sense, right? Foam in the sea is also airy and white.
Others, however, believe it's what we've always called sponge candy or angel food candy.
Regardless of what you call it where you live, this old-fashioned seafoam candy recipe is perfect for sharing around the holiday season! It's as smooth as fudge, as airy as a marshmallow, and perfectly chewy all at once! For a Valentine's Day version, check out this Cherry Jello Divinity Candy.
Making this divinity candy recipe requires a little bit of patience and time, but the final product is so worth it! Whether it's enjoyed at a holiday party or festive gathering, this seafoam candy is sure to be a fan favorite this holiday season!
HOW TO MAKE HOMEMADE SEAFOAM CANDY
Before you get started, make sure you have the following ingredients:
- Large egg whites
- Granulated sugar
- Packed brown sugar
- Water
- Light corn syrup
- Salt
- Vanilla extract
- Variety of Christmas sprinkles
Once you've gathered all your ingredients, follow the steps below for making this heavenly holiday candy!
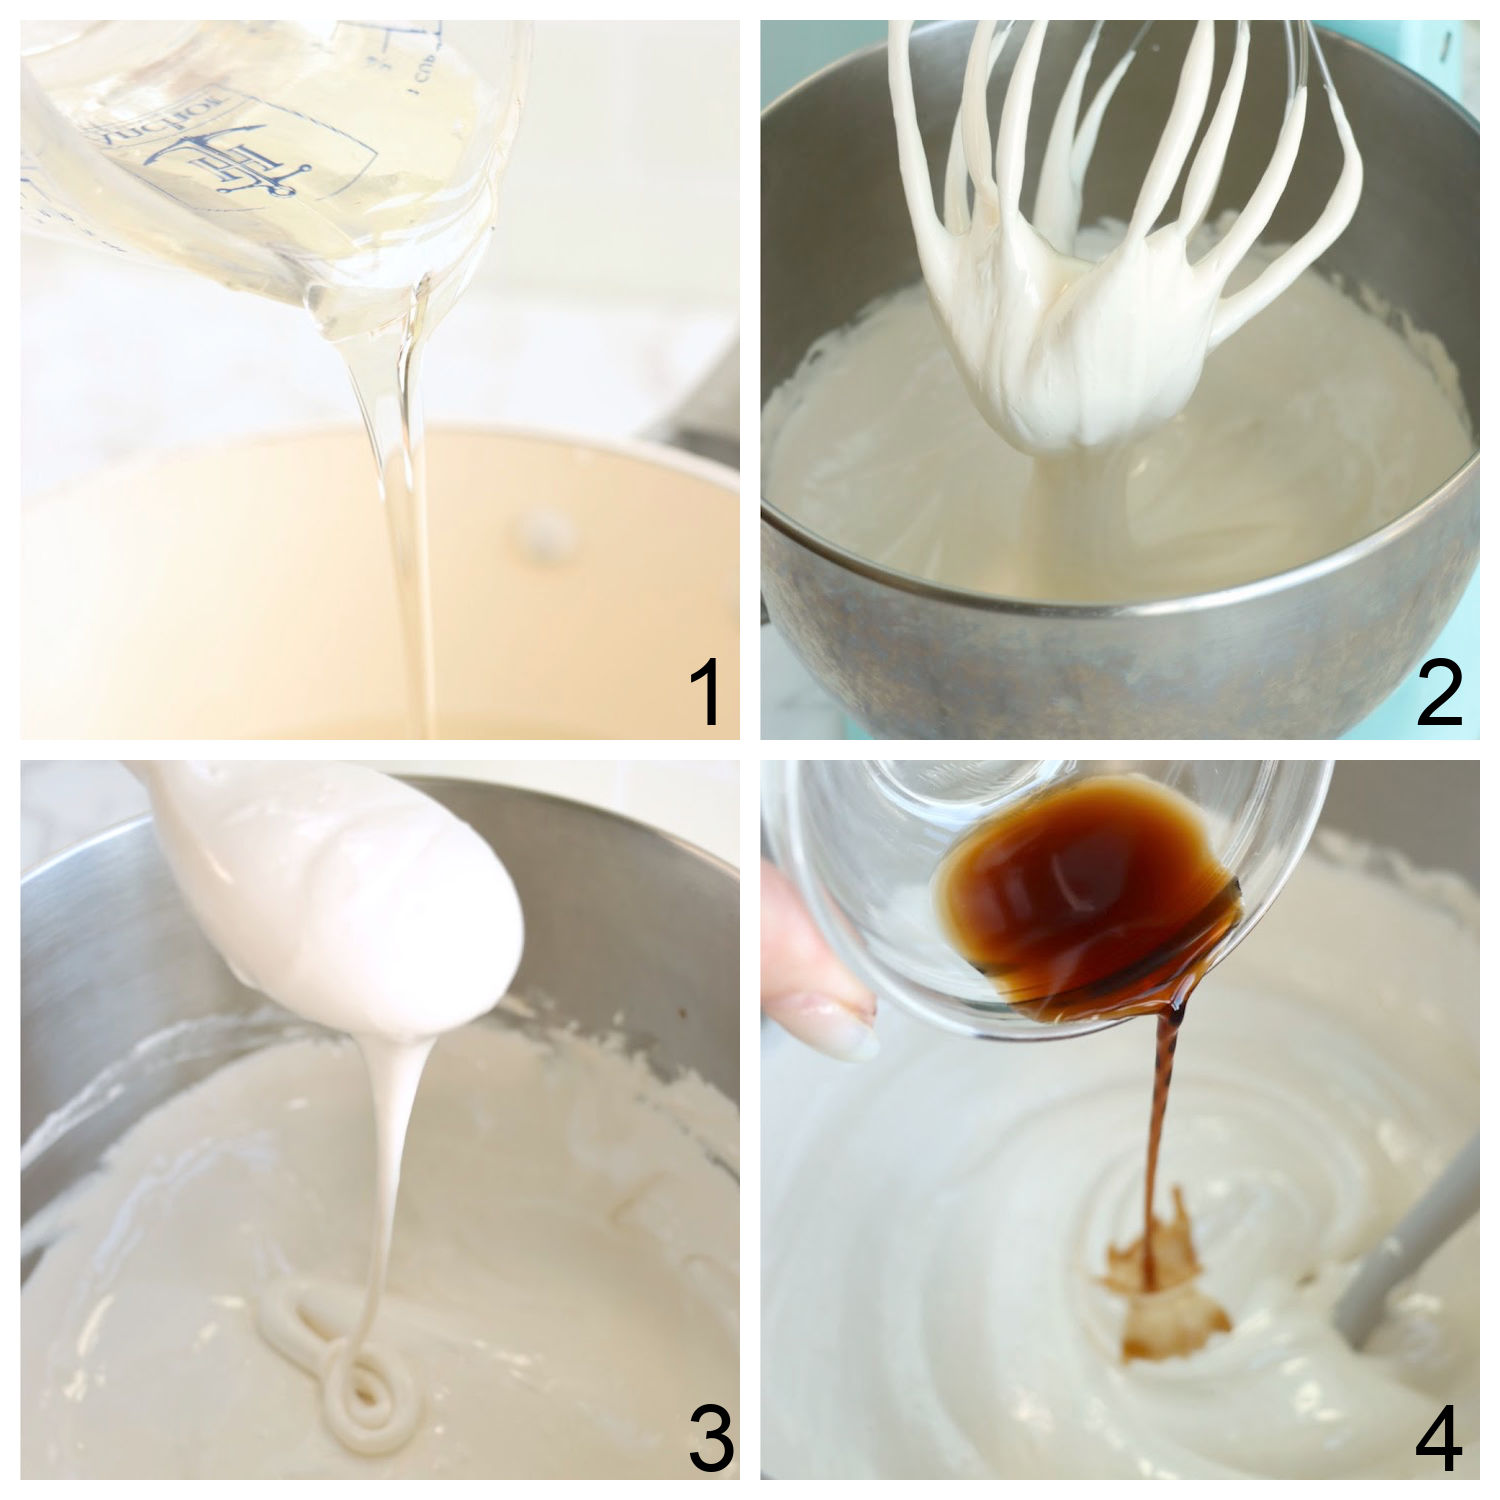
- Add both sugars, corn syrup, and water to a medium saucepan and cook the mixture over medium-low heat until sugar dissolves. When the sugar is dissolved and the mixture begins to boil, place candy thermometer on the pan.
- Place egg whites in a mixing bowl. When the syrup mixture on the stove reaches 240ºF, add salt to your egg whites and begin beating on high until stiff peaks form. Continue to cook the syrup mixture on the stove until it reaches 255ºF.
- When the hot syrup mixture reaches temperature, remove from heat and drizzle in a slow, thin stream into the stiff egg whites while the mixer is running. Continue beating the mixture until it holds its shape. This will take several minutes. When ready, the mixture will be glossy and very thick.
- Add vanilla and stir in with a spatula. Allow mixture to cool for 10 minutes before transferring it into a piping bag with a large star tip.
Follow steps 7-11 in the recipe card below to finish up the candy.
TIPS FOR MAKING HOMEMADE SEAFOAM CANDY
- Use a candy thermometer for accurate temperature readings. Heating the sugar syrup to the precise temperature is crucial for the perfect consistency. Around 250-260°F (121-127°C) is ideal.
- Humidity can affect the texture of the seafoam candy so low humidity days are best for candy-making.
- When beating the hot syrup into the egg whites, do it slowly and consistently. Pour the syrup in a thin, steady stream while beating the egg whites continuously to create a fluffy texture.
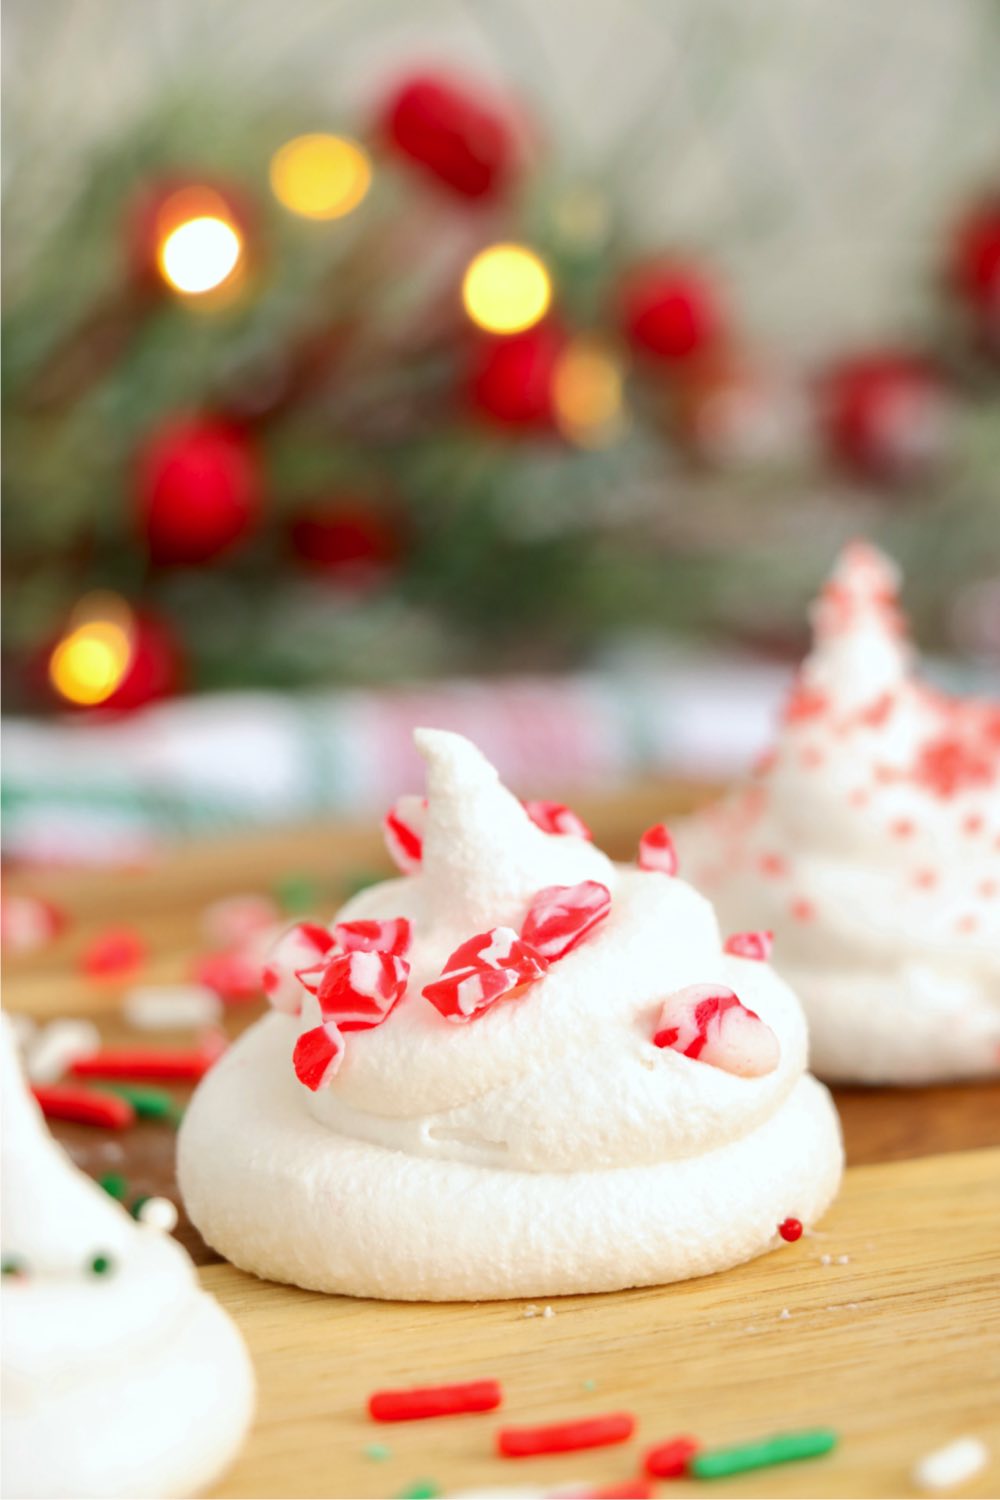
- Add chopped nuts, mini chocolate chips or crushed candy canes on top for more variation.
IS SEAFOAM CANDY THE SAME AS DIVINITY CANDY?
To me, they are the same thing and I use the names interchangeably. Others may say there are slight differences. For example, seafoam candy distinguishes itself by using a blend of white and brown sugar compared to divinity's sole use of white sugar.
While both use corn syrup, divinity incorporates significantly more, leading to its heavier consistency, while seafoam remains lighter and airier due to the disparity in corn syrup quantities.
CAN I ADD EXTRA FLAVOR TO SEAFOAM CANDY?
Yes, you can add a variety of flavors such as peppermint or almond to your seafoam candy in step 5 of the recipe below.
HOW DO YOU STORE SEAFOAM OR DIVINITY CANDY?
Store seafoam candy in an airtight container away from moisture and heat for around 2-3 weeks. Layer it between wax paper to prevent sticking.
CAN YOU FREEZE HOMEMADE SEAFOAM CANDY?
Seafoam candy can be frozen in an airtight container with layers of parchment paper between pieces for up to a month. Thaw at room temperature before serving.
MORE HOLIDAY TREATS YOU'LL LOVE
- Sponge Candy Recipe
- Homemade Cordial Cherries
- Candy-Dipped Shortbread Cookies
- Christmas Cool Whip Truffles
- No-Bake Peanut Butter Clusters
- Christmas Peanut Butter Blossoms
- Chocolate Kiss Snowball Cookies
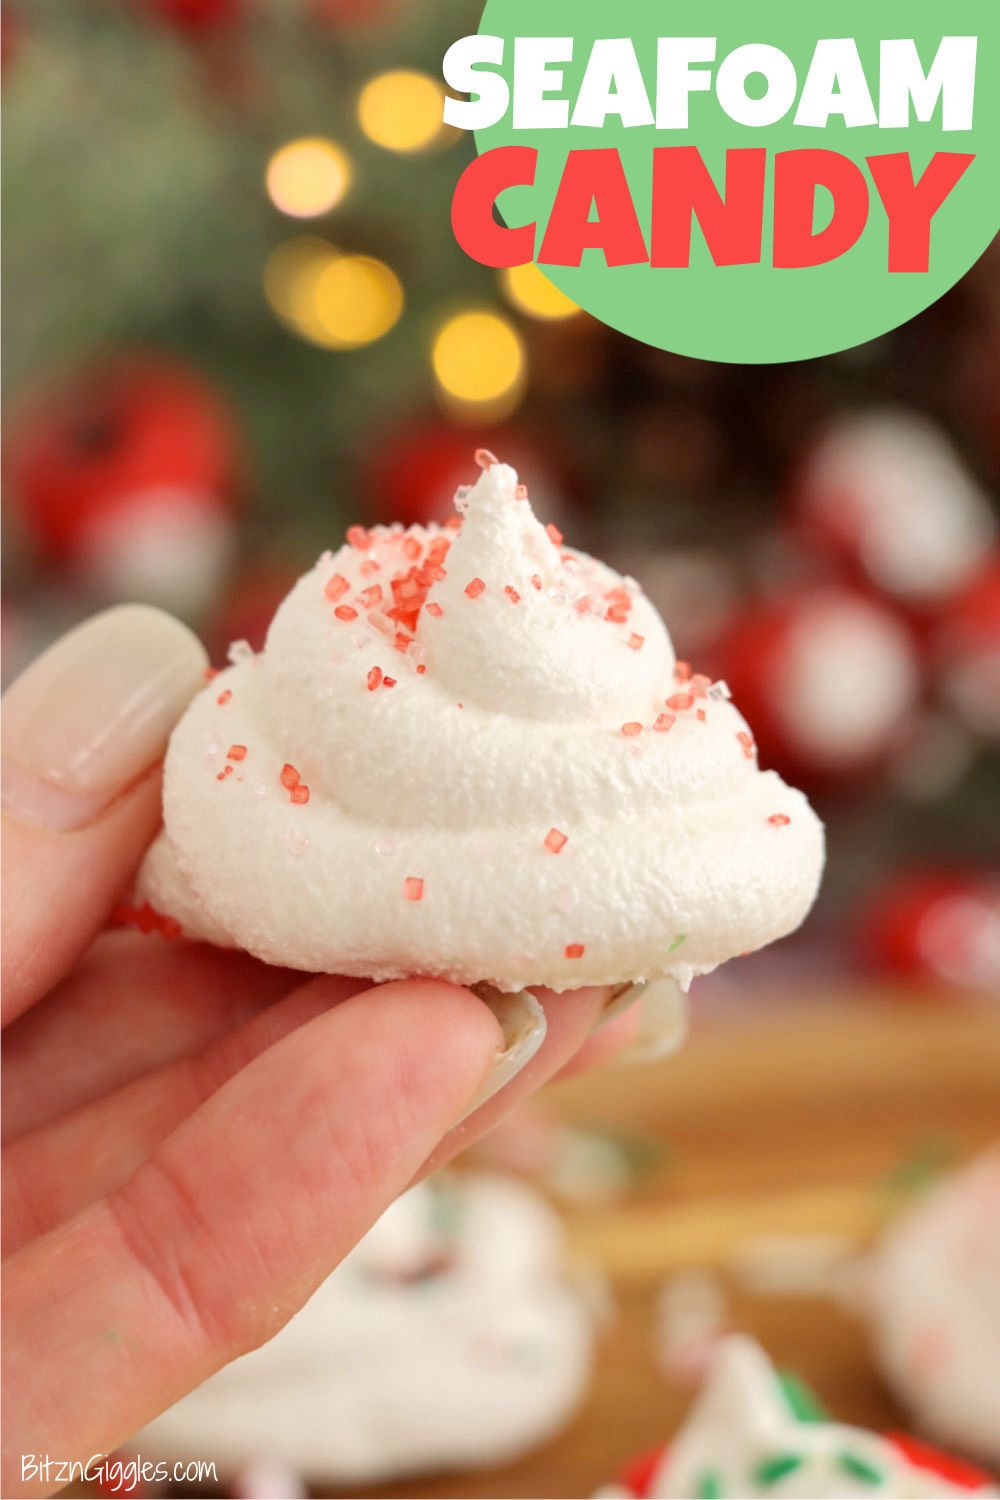
Seafoam Candy
Ingredients
- 2 large egg whites
- 1 cup granulated sugar
- 1 cup packed brown sugar
- ½ cup water
- 2 tablespoons light corn syrup
- ¼ teaspoon salt
- 1 teaspoon vanilla extract
- Variety of Christmas sprinkles
Instructions
- Add both sugars, corn syrup, and water to a medium saucepan and cook the mixture over medium-low heat until sugar dissolves. When the sugar is dissolved and the mixture begins to boil, place candy thermometer on the pan.
- Place egg whites in a mixing bowl.
- When the syrup mixture on the stove reaches 240ºF, add salt to your egg whites and begin beating on high until stiff peaks form.
- Continue to cook the syrup mixture on the stove until it reaches 255ºF.
- When hot syrup mixture reaches temperature, remove from heat and drizzle in a slow, thin stream into the stiff egg whites while the mixer is running. Be careful, go slowly or there will be some splatter! You can start on low speed and gradually increase the speed to high as you are adding the syrup. Continue beating until mixture holds its shape. This will again take several minutes. When ready, the mixture will be glossy and very thick.
- Add vanilla and stir in with a spatula.
- Allow mixture to cool for 10 minutes before transferring it into a piping bag with a large star tip.
- Prepare 3 baking sheets by lining them with parchment paper. Set aside.
- Continue cooling it until candy holds its shape when piped onto prepared pan.
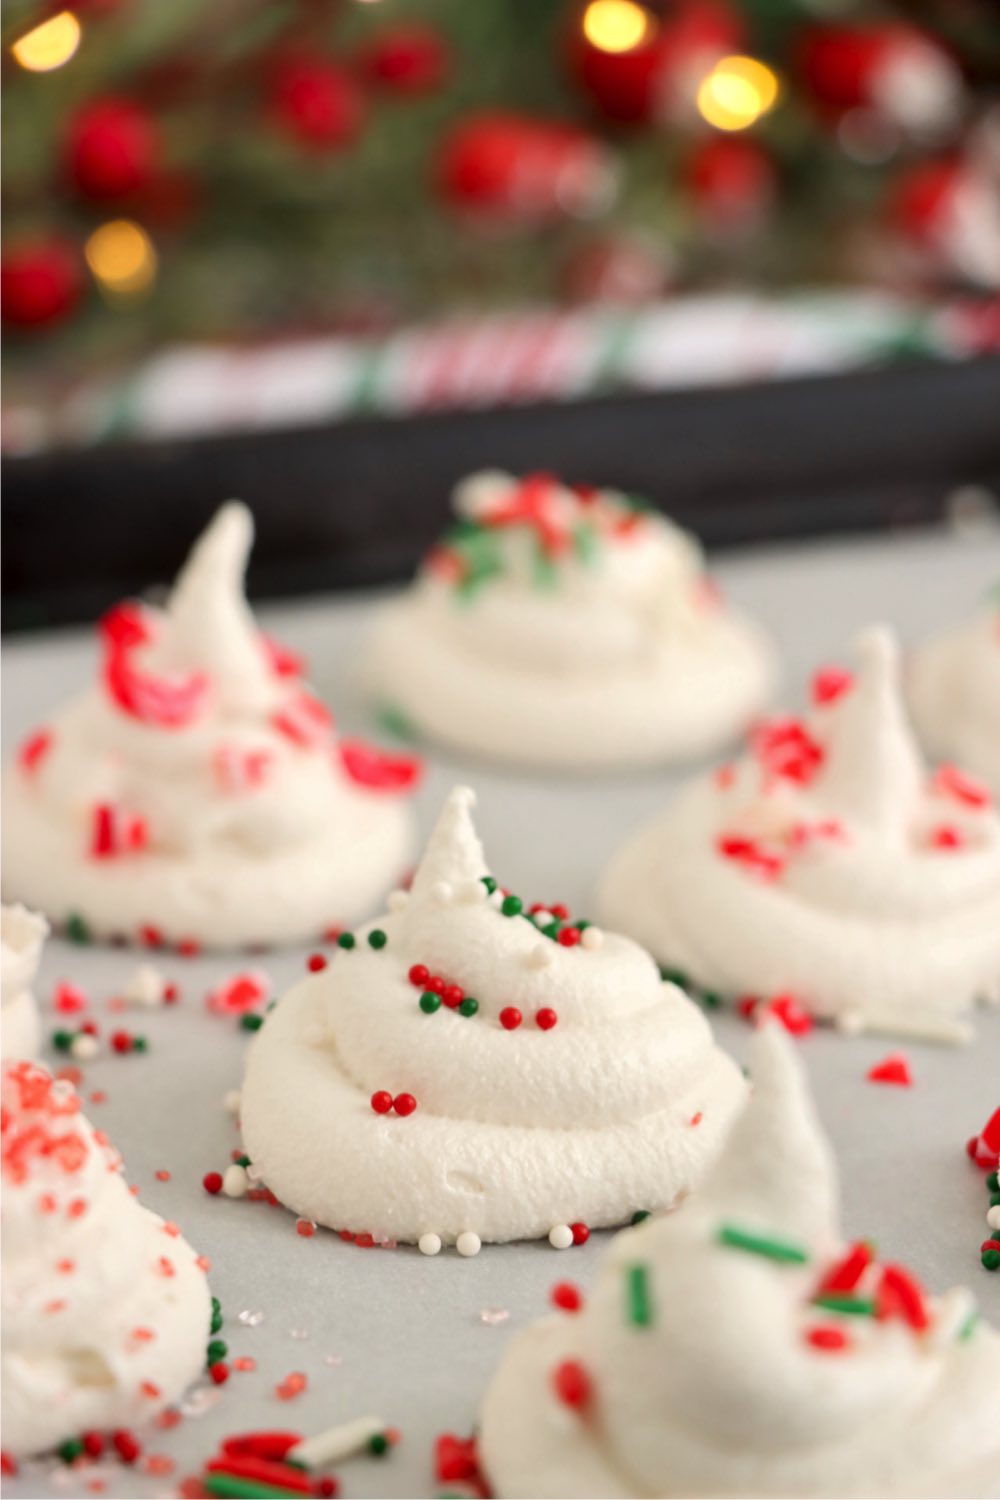
- Add sprinkles immediately after piping each piece of candy.
- Chill until hardened.
Notes
- Use a thermometer to make sure the candy is at the right temperature before taking it off the heat.
- Add different toppings like mini chocolate chips, crushed candy canes or chopped nuts for more of a variation in your candy.
- Low humidity days are the best for candy-making as humidity can affect the texture.
Aussie Jo
Sounds sweet and nice and not good for one's teeth