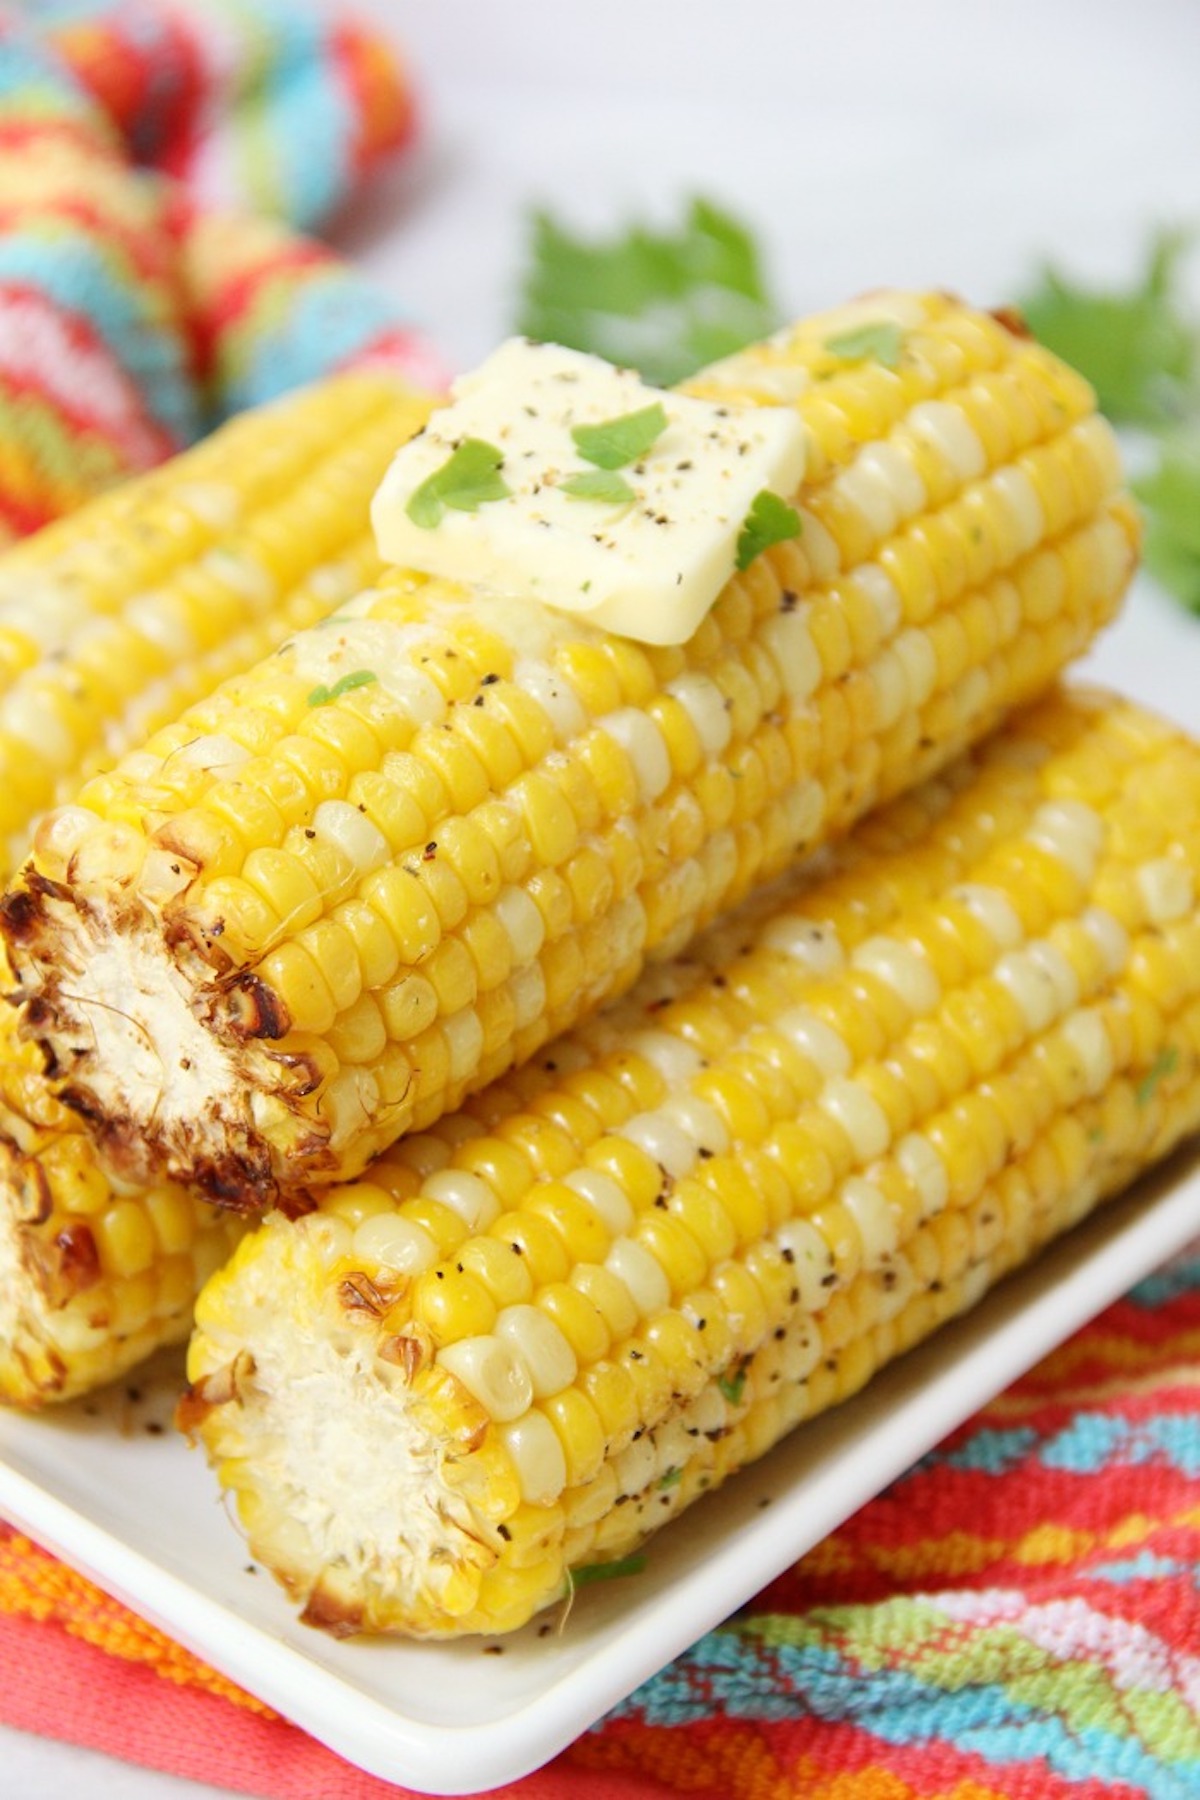
This Air Fryer Corn on the Cob is sweet and crisp corn on the cob made in the air fryer in less than 10 minutes!
Want to Save This Recipe?
Summer is in full swing and we've really been enjoying this warm weather in the Midwest! Over the 4th of July we'll be hosting lots of family and friends up at our lake cabin and when it's hot out, the last thing you want to do is turn on your oven or stove burners when preparing meals.
We grill out a lot when we're up at the lake, and lately, I've been using the air fryer to help prepare side dishes. This delicious air fryer corn is the perfect side to these easy air fryer burgers, air fryer pork chops, chicken breasts and more!
And, in my opinion, corn in the air fryer is even better than grilled corn!
Jump to:
Why You'll Love This Recipe
- Great for Large Groups: Corn on the cob is such a gorgeous representation of summer and a great choice when you're serving a larger group of guests.
- Saves the Grill: We love grilling out in the summer but the grill can get crowded easily when feeding a large group. I love using the air fryer to cook this corn on the cob and other summer side dishes while we use the grill our main dishes.
- Better Than Grilled Corn: If you ask me, this air fryer corn is even better than grilled corn! Plus, it's WAY easier!
Ingredients
Gather the ingredients below to make this delicious corn on the cob!
- Corn: We love using fresh summer sweet corn for this recipe! You'll need to remove the husks and silks before cooking so feel free to grab the pre-husked kind from the grocery store for easy prep!
- Nonstick cooking spray: You can use regular Pam or butter-flavored Pam for extra buttery goodness!
- Salt and Pepper: Keep it simple with salt and pepper to taste. Or get creative and add your favorite seasoning blend. See a few suggestions below!
- Butter: Once your corn is cooked, add butter to taste! If you ask me, you can never have too much butter for this delicious sweet corn!
See recipe card for full information on ingredients and quantities.
Substitutions & Variations
Besides salt and pepper, there are so many other great seasonings to add along with the butter for corn on the cob. Try some of these if you're feeling a little adventurous!
- Herbs de Provence
- Chili-garlic sauce
- Parmesan butter
- Seasoned salt
- Roasted garlic
How to Make Corn on the Cob in the Air Fryer
Once you've gathered all your ingredients, preheat air fryer to 400º Fahrenheit and follow the steps below for this delicious air fried corn!
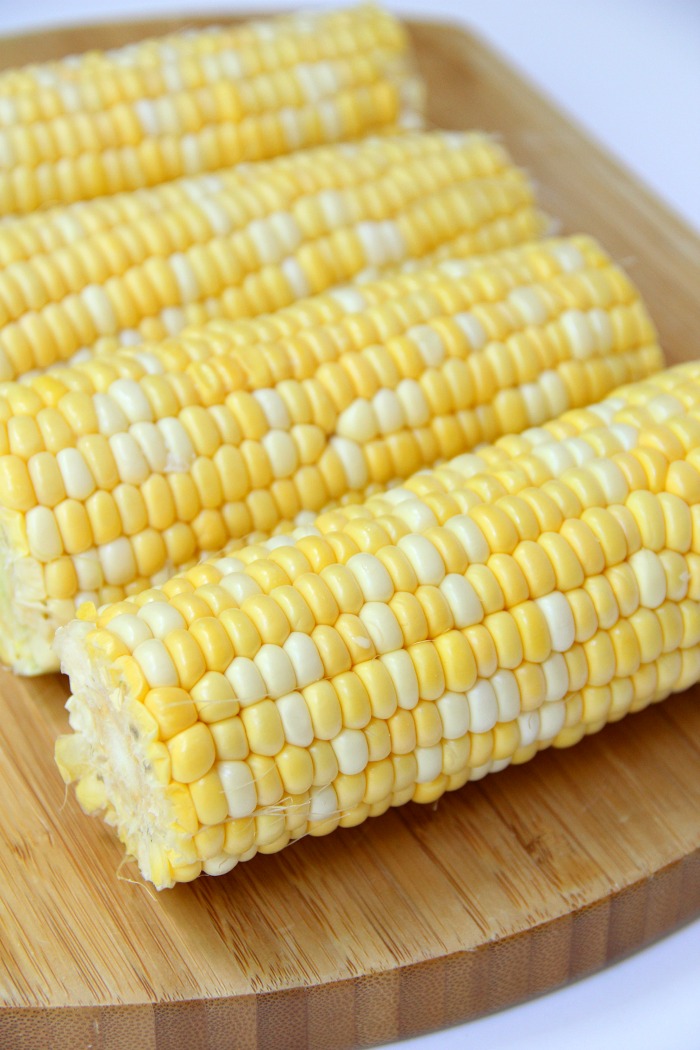
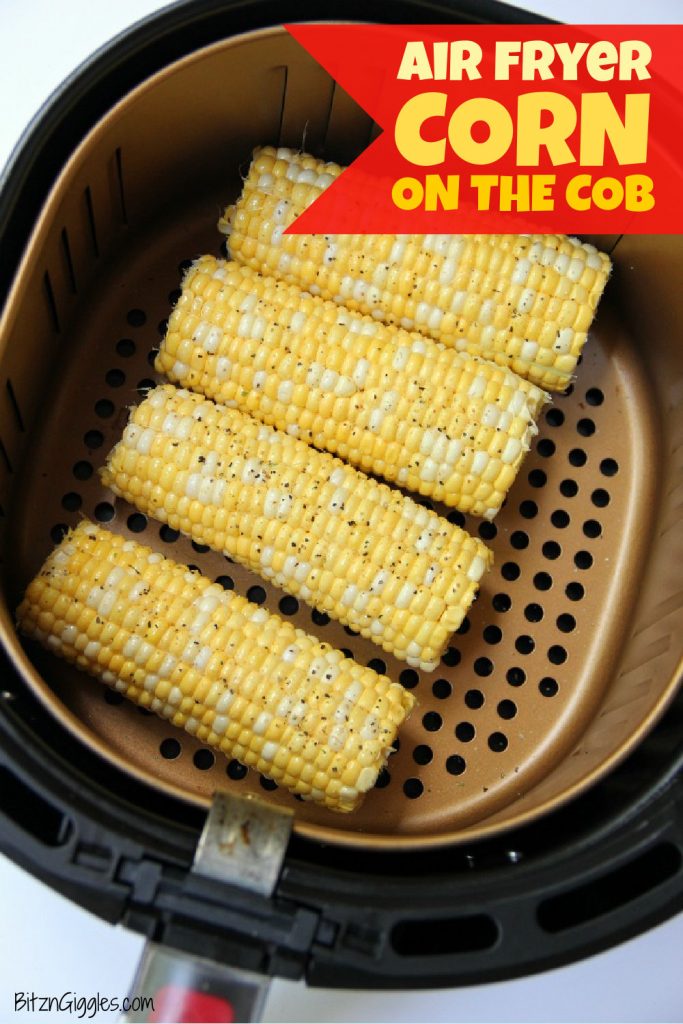
- Step 1: You'll want to start with husked and trimmed ears of sweet corn. I've found that four ears of corn are the perfect amount to cook at one time. You don't want to stack the cobs. They should all lay flat and have their own space in the fryer.
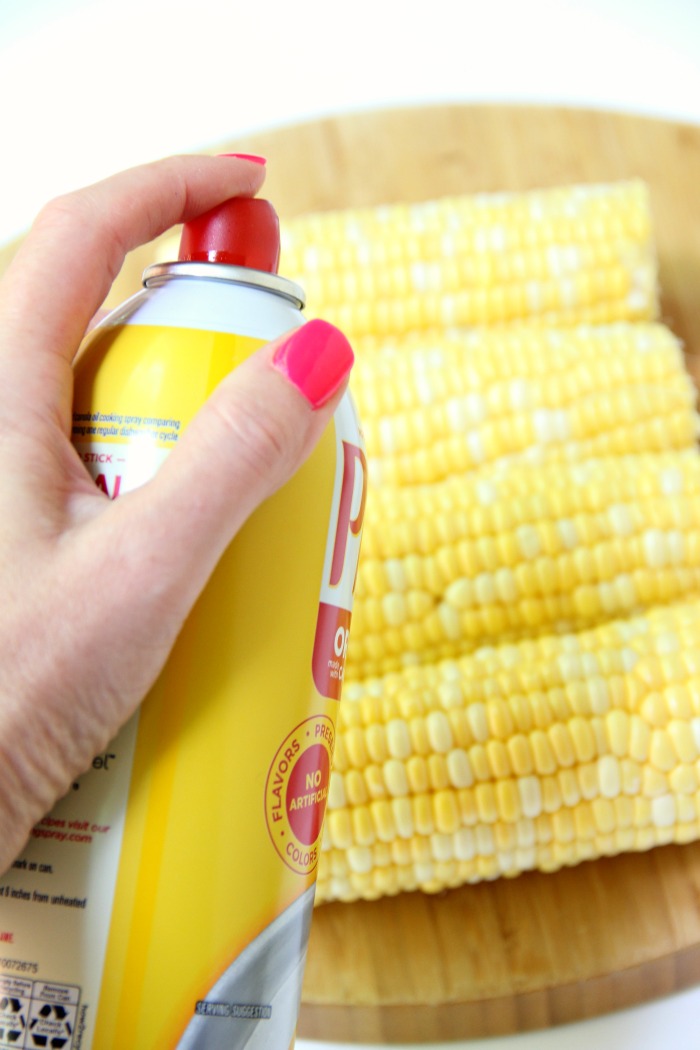
- Step 2: Liberally spray the ears of corn with a nonstick cooking spray like Pam. I looked in my pantry to see if I had the butter-flavored Pam but I didn't, so I just opted to use the original.
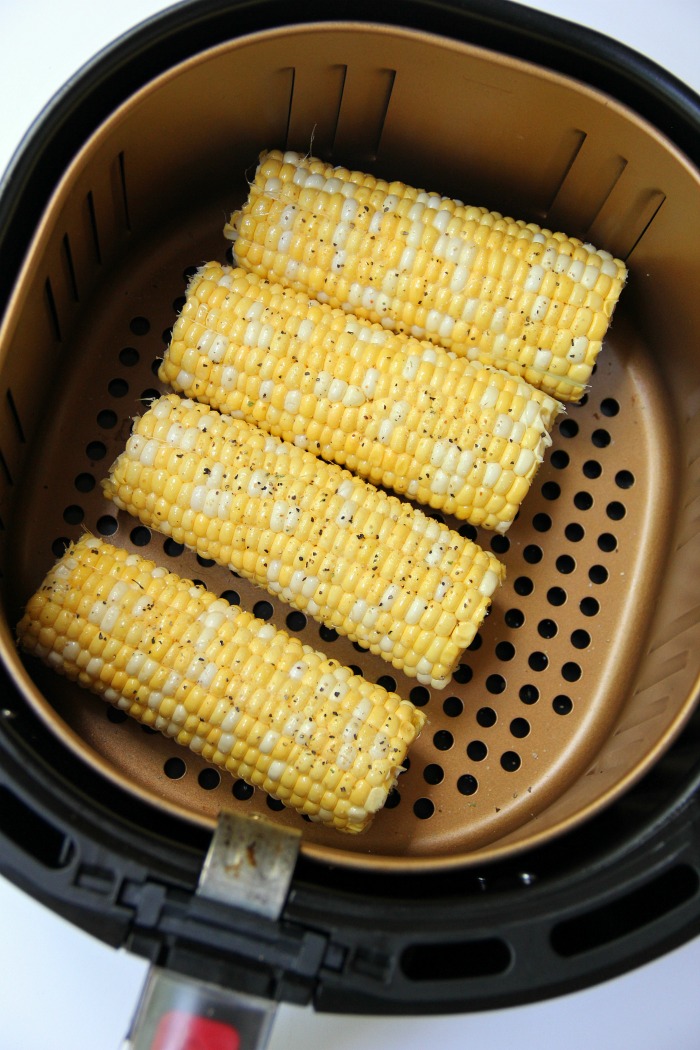
- Step 3: Season the corn with salt and black pepper (to taste) and place the ears in the air fryer basket.
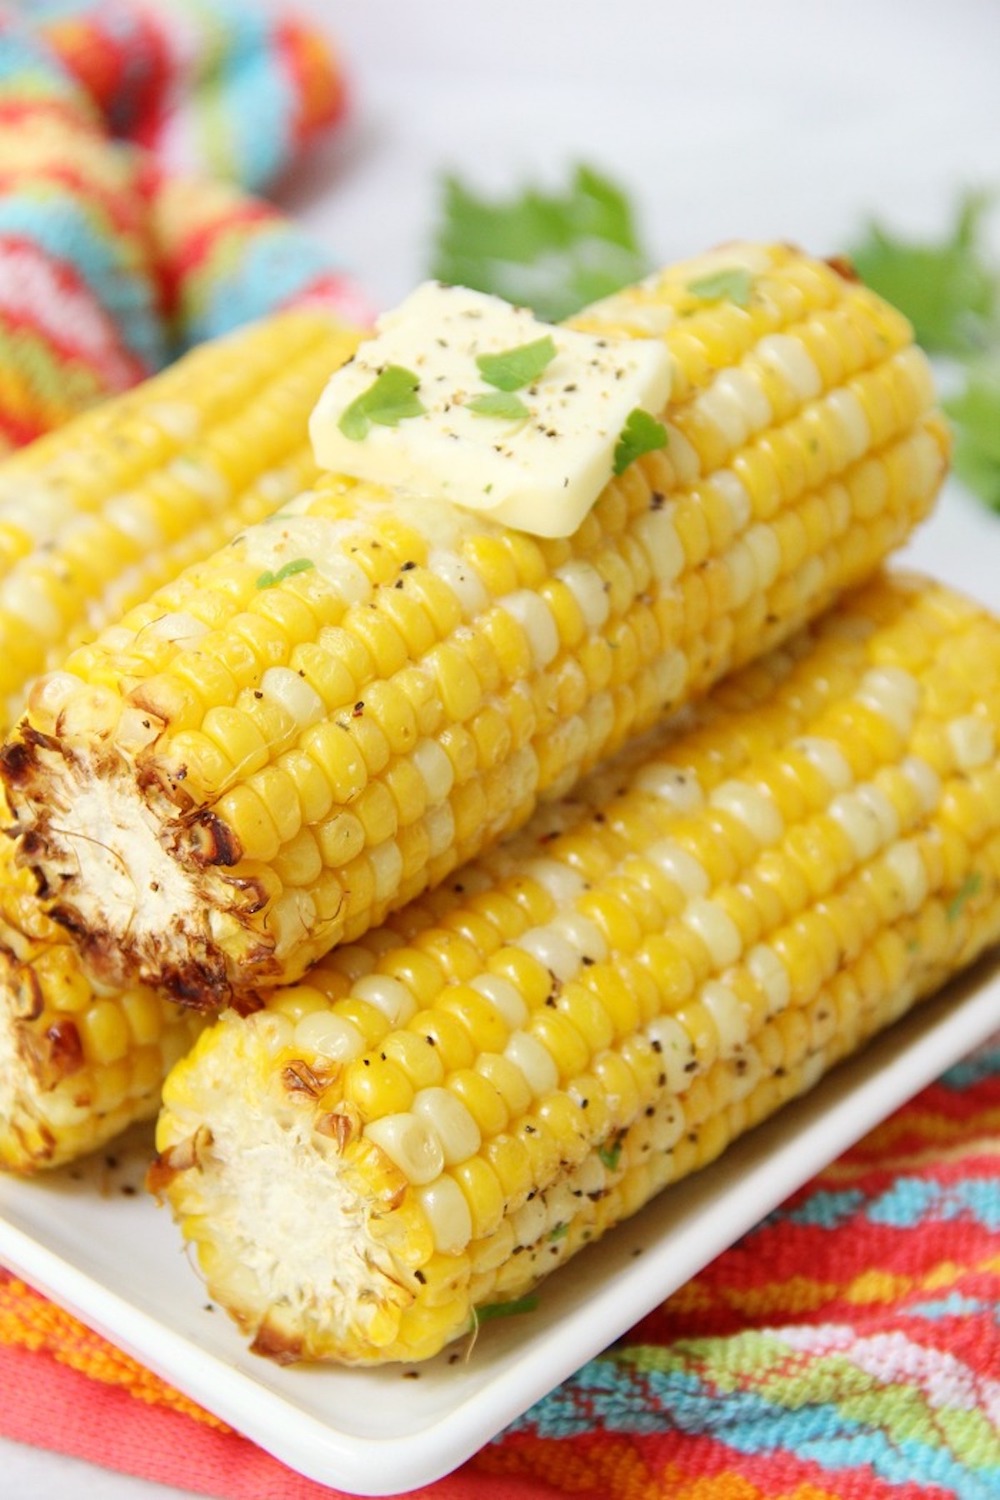
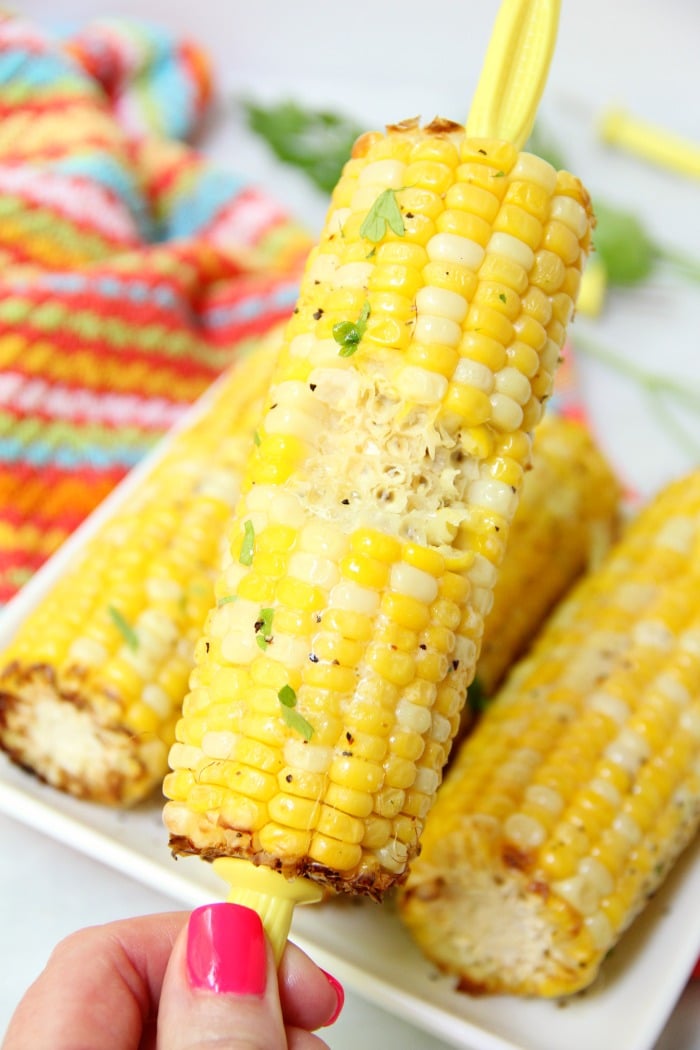
- Step 4: Cook for 10 minutes. Once done, add the melted butter and any other additional seasonings you want to try!
Helpful Tips
- Corn Preparation: Ensure that the corn ears are husked and trimmed before placing them in the air fryer. Removing the husk and silk allows for even cooking and prevents burning. You can also cut the corn ears in half or into smaller pieces to fit them better in the air fryer basket, especially if they are too long.
- Even Cooking: To achieve uniformly cooked corn on the cob, arrange the ears in a single layer in the air fryer basket, making sure they are not overcrowded. Overcrowding can lead to uneven cooking, resulting in some parts being undercooked while others are overcooked. If needed, cook the corn in batches to ensure each ear receives adequate heat circulation.
- Flipping for Evenness: Flip the corn ears halfway through the cooking time to ensure that all sides are evenly cooked and caramelized. This helps to prevent any side from becoming too charred while allowing each side to develop a delicious golden-brown color and flavor. Use tongs to safely flip the corn ears, being mindful of the hot air fryer basket.
Recipe FAQs
Yes, make sure to remove the husk and silk. Removing the husk and silk allows for even cooking and prevents burning. If you want to cook your corn with the husks still on, try this this easy way to make corn on the cob.
If your ears of corn don't fit in your air fryer, cut the corn ears in half or into smaller pieces so they will fit. You want your corn to lay flat in a single layer. Make sure not to overcrowd the air fryer to ensure even cooking. You may need to cook the corn in several batches if you have a smaller air fryer.
Storage & Freezing Instructions
Storage Instructions
Let corn on the cob cool then store in an airtight container in the fridge for 3-4 days. To reheat, place corn back in the air fryer and heat until warm. If you have leftover corn, you can also use it for my Mexicorn Dip or Fritos Corn Salad!
Freezing Instructions
You can freeze corn on the cob after air frying it, but for the freshest texture, you might prefer freezing uncooked, blanched corn instead and air frying just before serving. However, if convenience is key, freezing after air frying works well for quick reheating.
More Air Fryer Recipes You'll Love
Looking for other recipes like this? Try these:
Did you try this recipe?
If you decide to try this air fryer corn on the cob recipe or any other recipe on my website, please leave a ⭐️ star rating and let me know how it went in the 💬 comments below! I’d love to hear from you!

Air Fryer Corn on the Cob Recipe
Ingredients
- 4 ears of corn (husked and trimmed)
- Nonstick cooking spray (I used Pam)
- Salt and pepper to taste
- Butter to taste
Instructions
- Preheat air fryer to 400º Fahrenheit.
- Spray ears of corn with cooking spray.
- Season with salt and pepper.
- Place ears in basket of air fryer.
- Cook for 8-10 minutes, flipping ears halfway through cook time.
- Butter corn and enjoy!
Notes
- Corn Preparation: Ensure that the corn ears are husked and trimmed before placing them in the air fryer. Removing the husk and silk allows for even cooking and prevents burning. You can also cut the corn ears in half or into smaller pieces to fit them better in the air fryer basket, especially if they are too long.
- Even Cooking: To achieve uniformly cooked corn on the cob, arrange the ears in a single layer in the air fryer basket, making sure they are not overcrowded. Overcrowding can lead to uneven cooking, resulting in some parts being undercooked while others are overcooked. If needed, cook the corn in batches to ensure each ear receives adequate heat circulation.
- Flipping for Evenness: Flip the corn ears halfway through the cooking time to ensure that all sides are evenly cooked and caramelized. This helps to prevent any side from becoming too charred while allowing each side to develop a delicious golden-brown color and flavor. Use tongs to safely flip the corn ears, being mindful of the hot air fryer basket.


Anonymous
Super simple and easy to make. The cobs came out perfectly cooked and delicious, just like grilled !
Anonymous
Perfect! I love the texture and browned edges
virginia
can you used thaw out from frozen corn?
Sara
I wouldn't see why not!
Charlie
It is an awesome recipe. I like oily food. Can I add here a little bit more oil in this recipe?
Sara
Not sure about adding more oil. Maybe just put more butter on the corn before you eat it! Enjoy!
Dale
Absolutely perfect. Up until now I have been enjoying COTC in the instant pot but this is so much better. Thanks for sharing.
Sara
So glad you enjoyed it, Dale! I have a feeling I'll be making lots of corn come August!
SusieQ
Salt and pepper on a big plate before you put them into air fryer. Don't use pam to spray them unless you do it before you put them IN the airfryer. You don't want pam inside the unit. Trust me. Olive oil in sprayer does the trick or reg. oil Yummy
Pat
Tried this recipe tonight. Delicious! The air fryer almost gave it a 'right off the bbq grill
kind of taste.
Sara
Yum! And I love that you can use it year round!