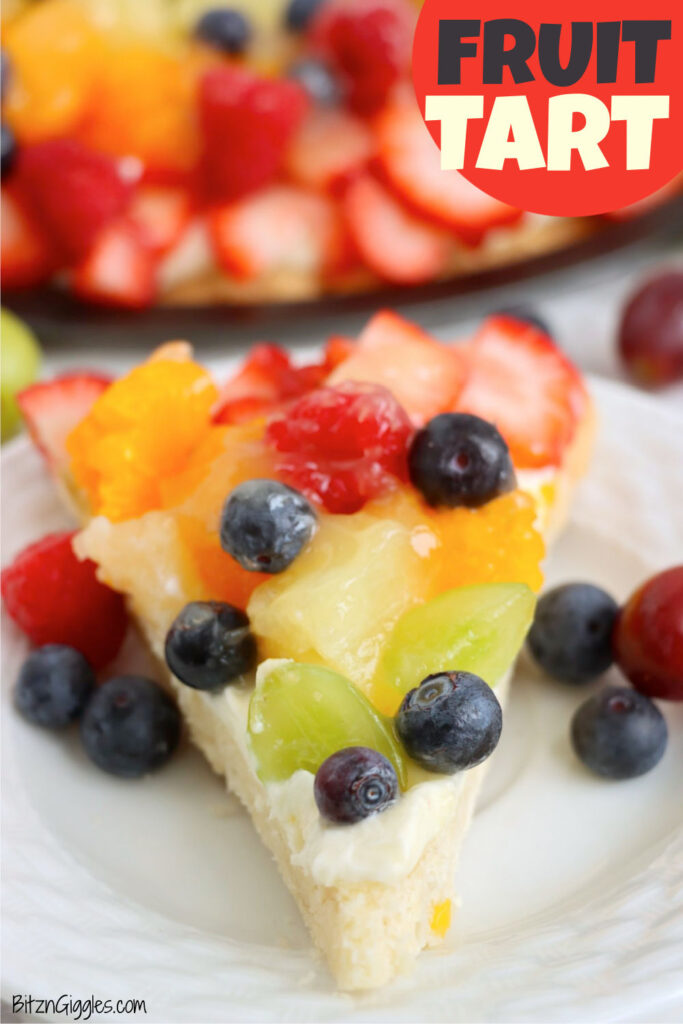
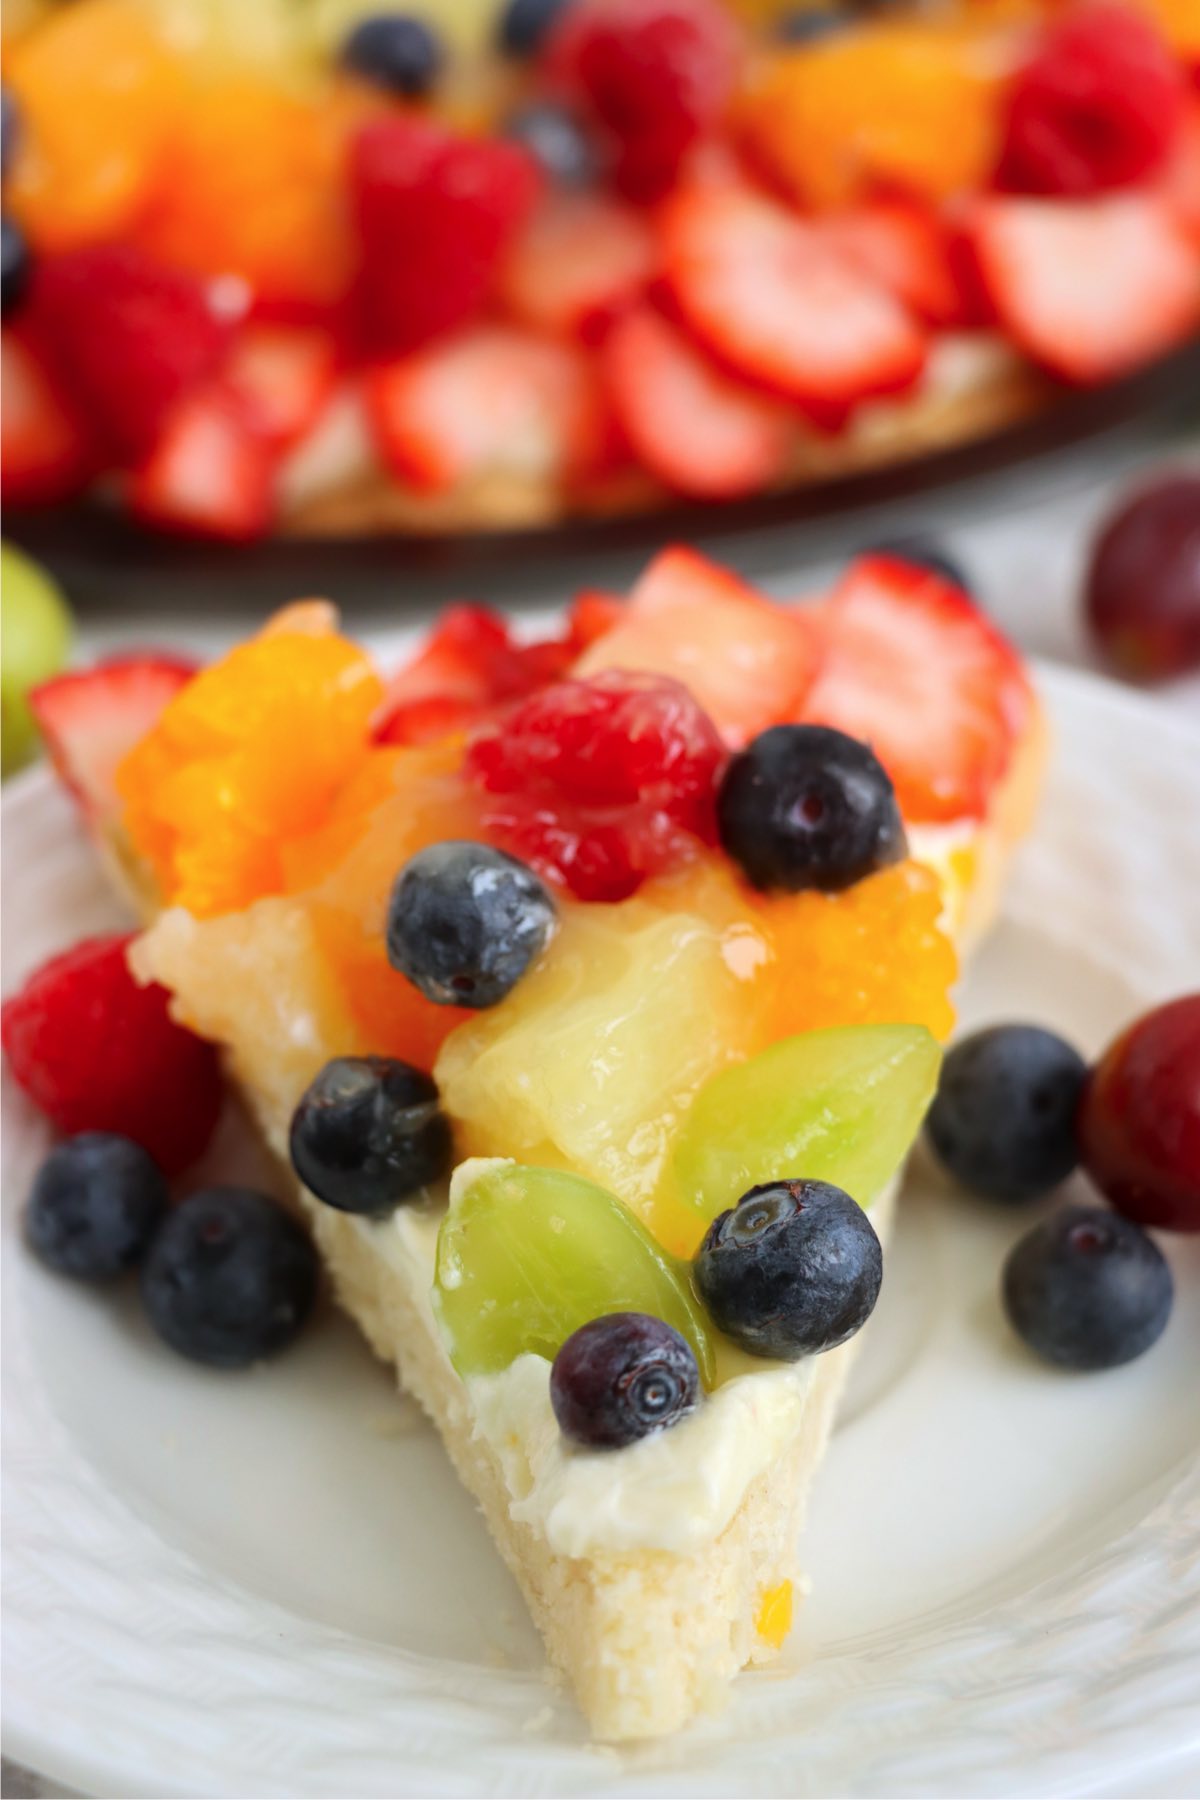
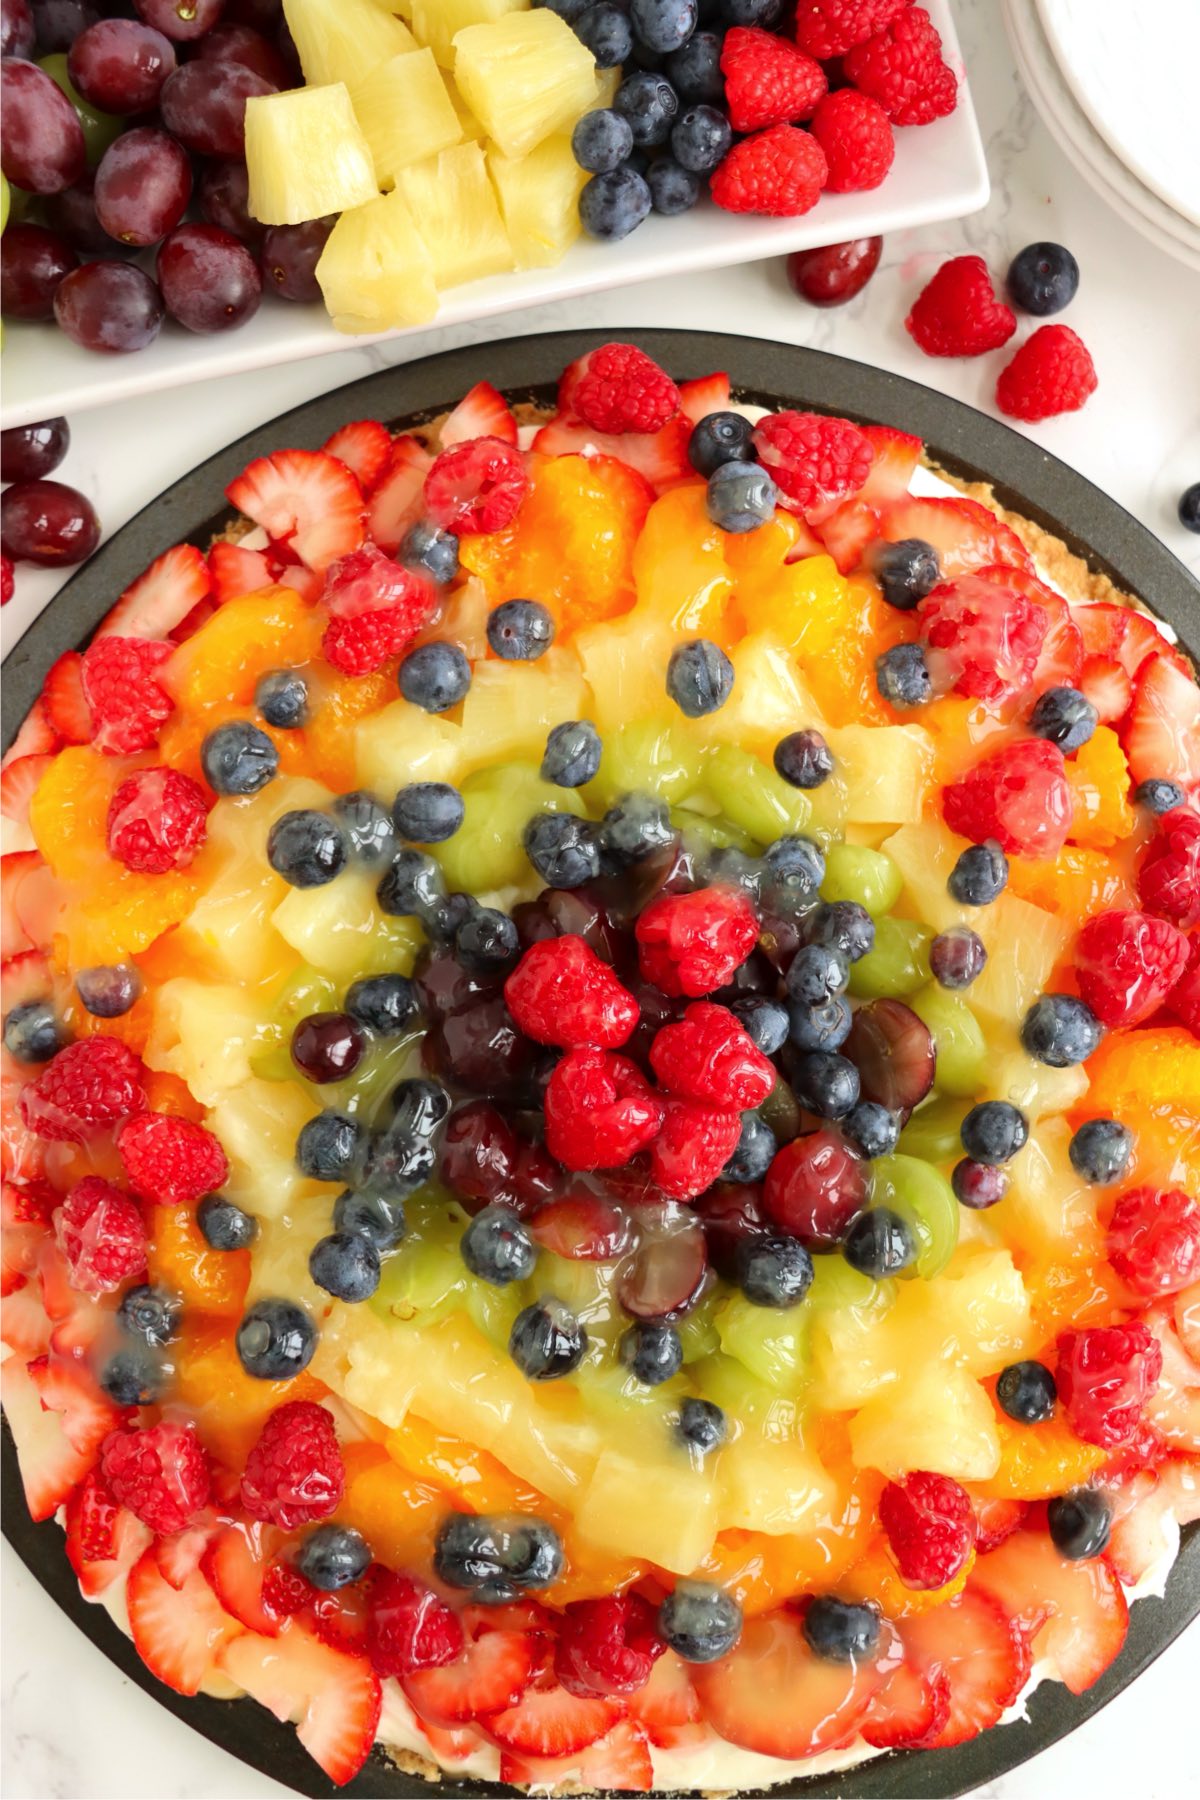
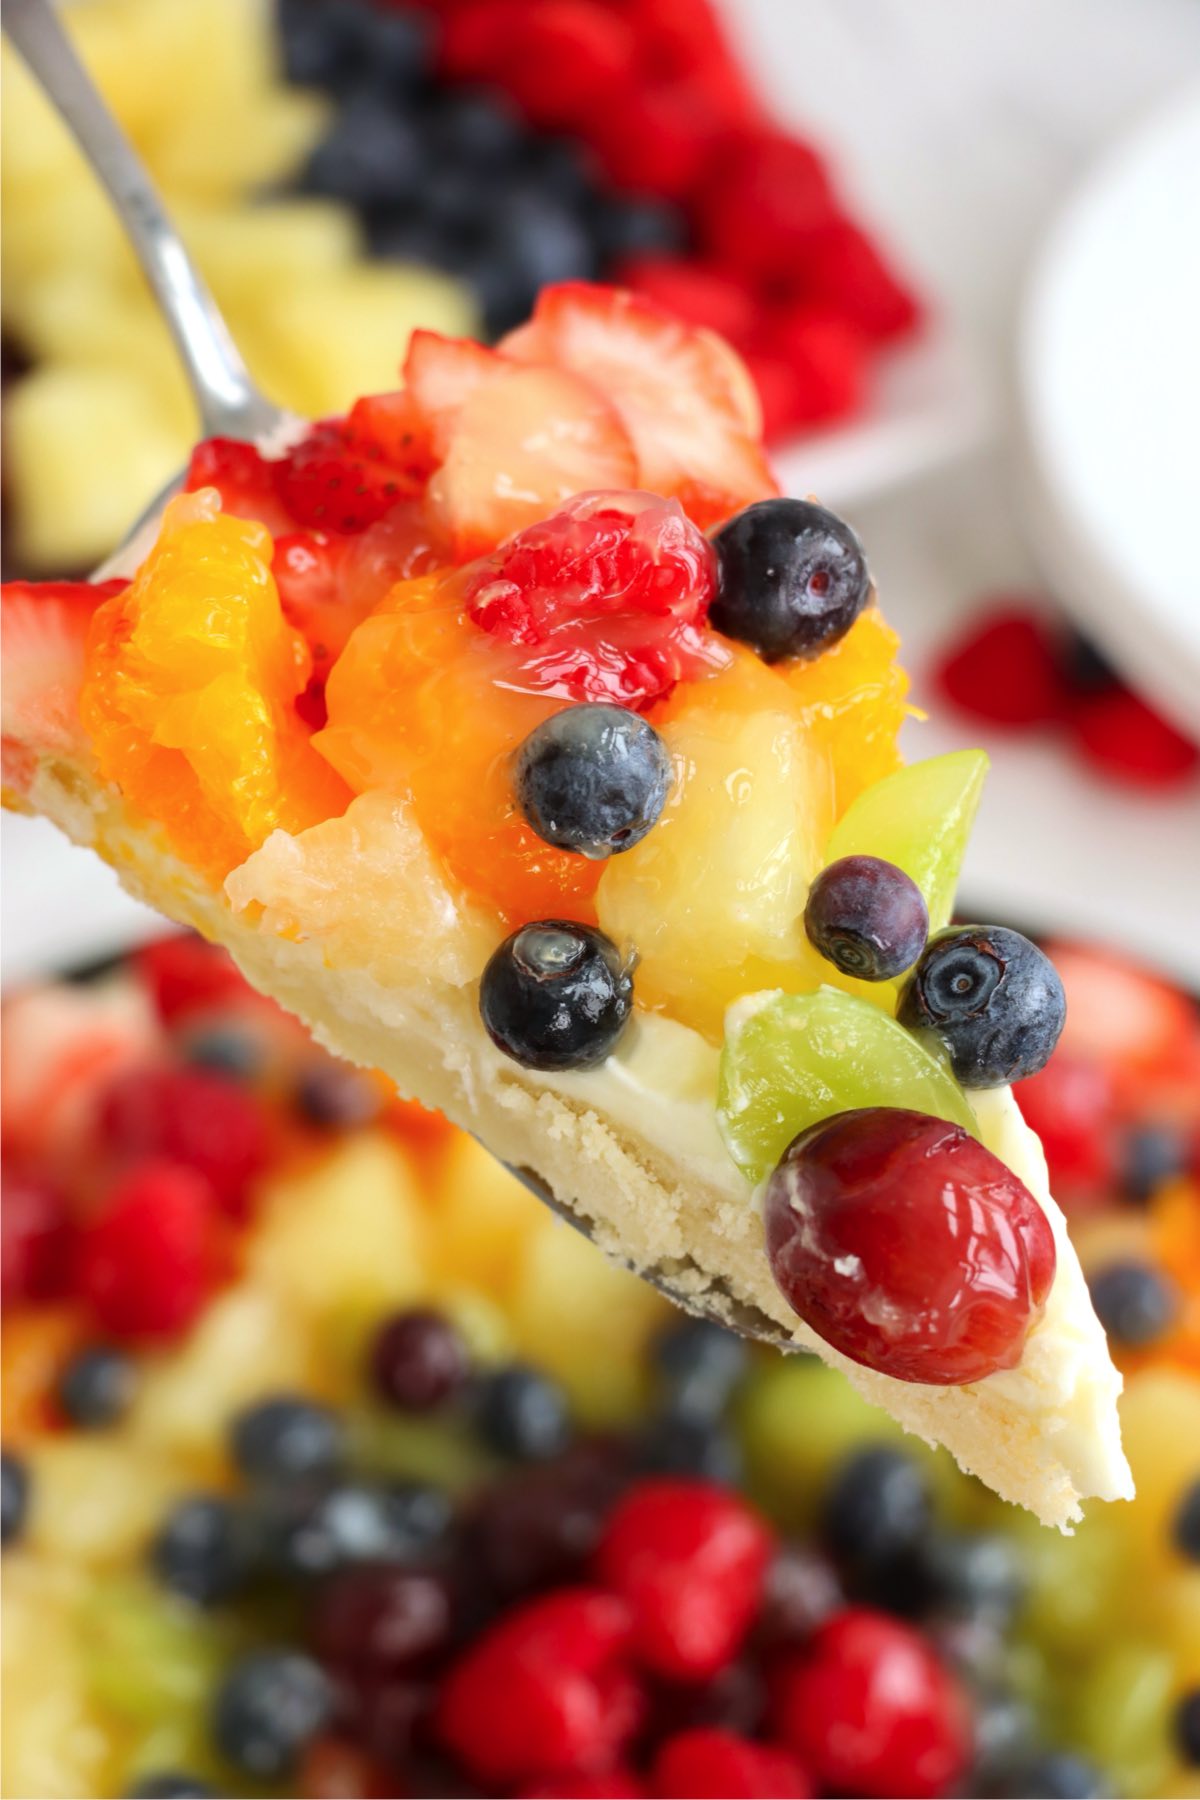
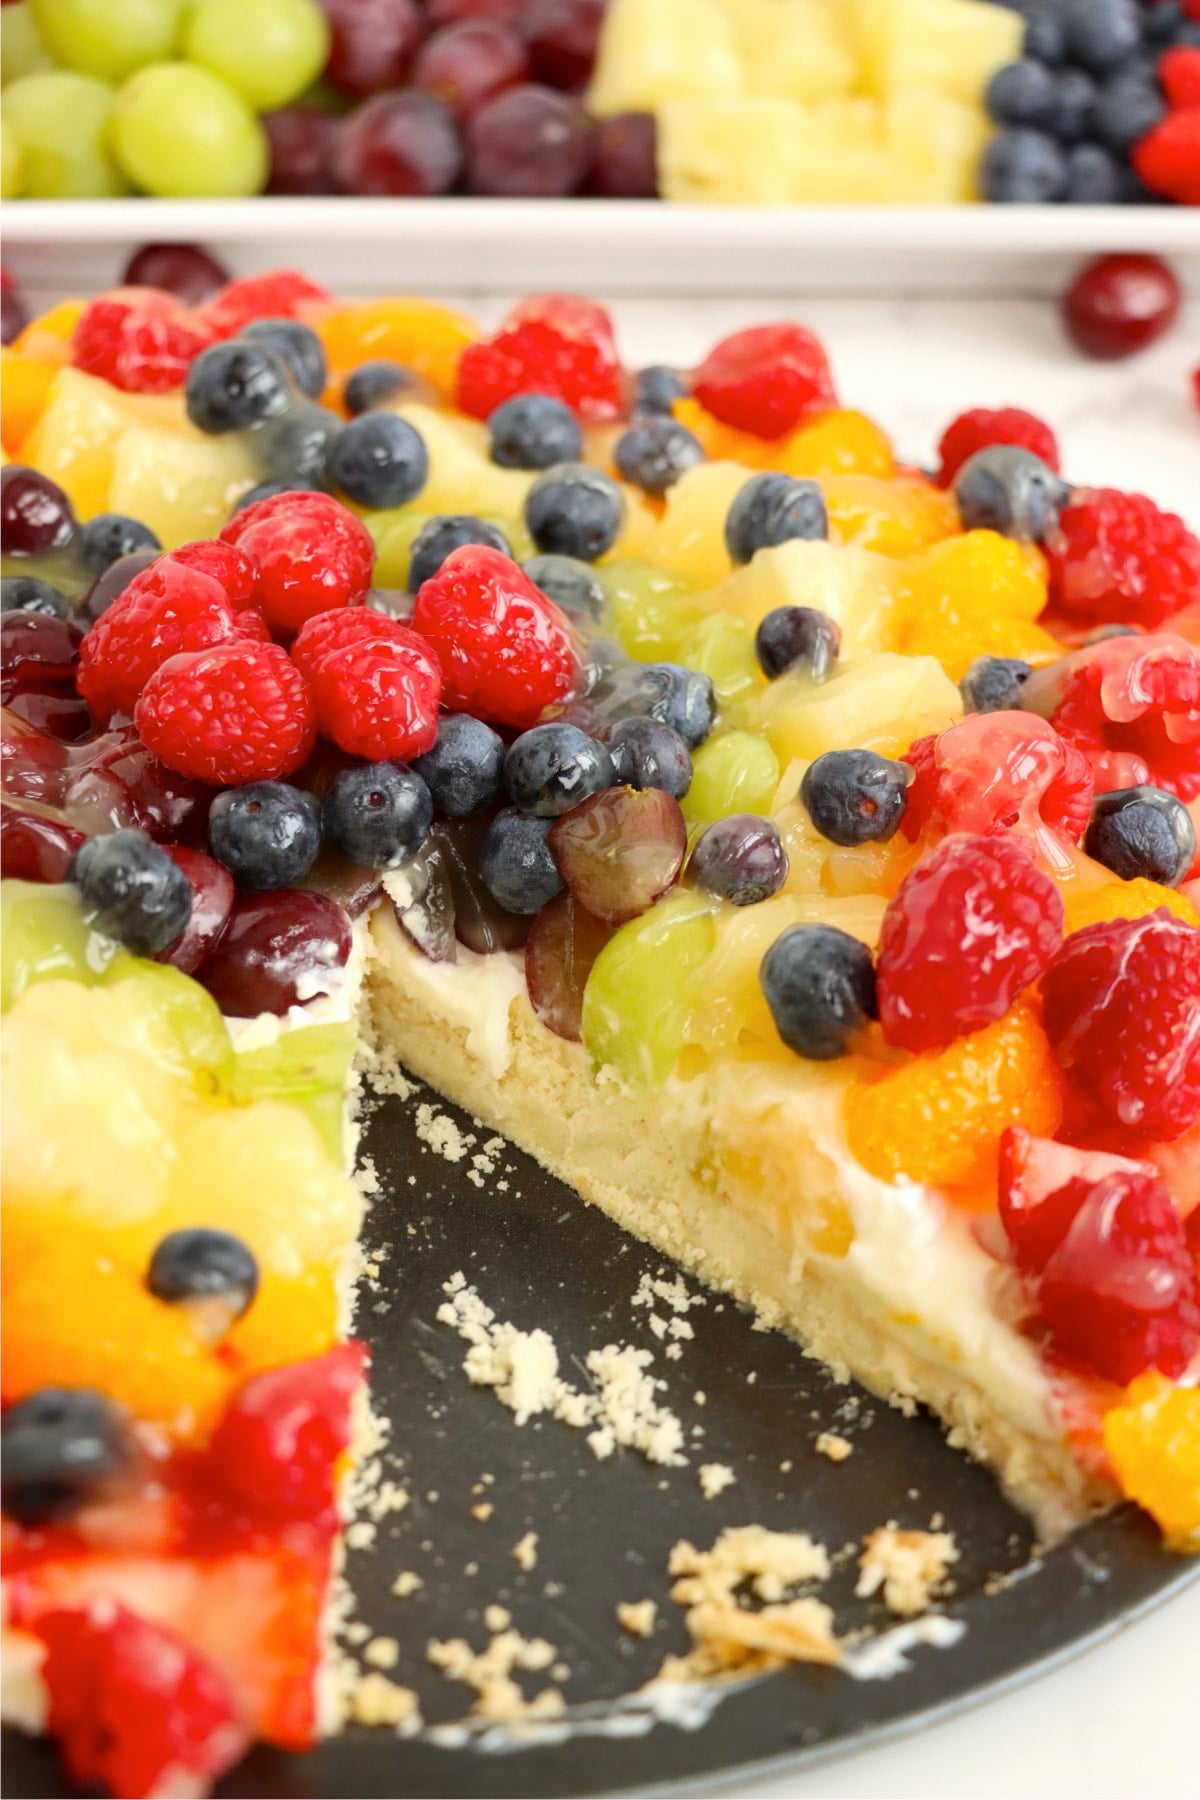
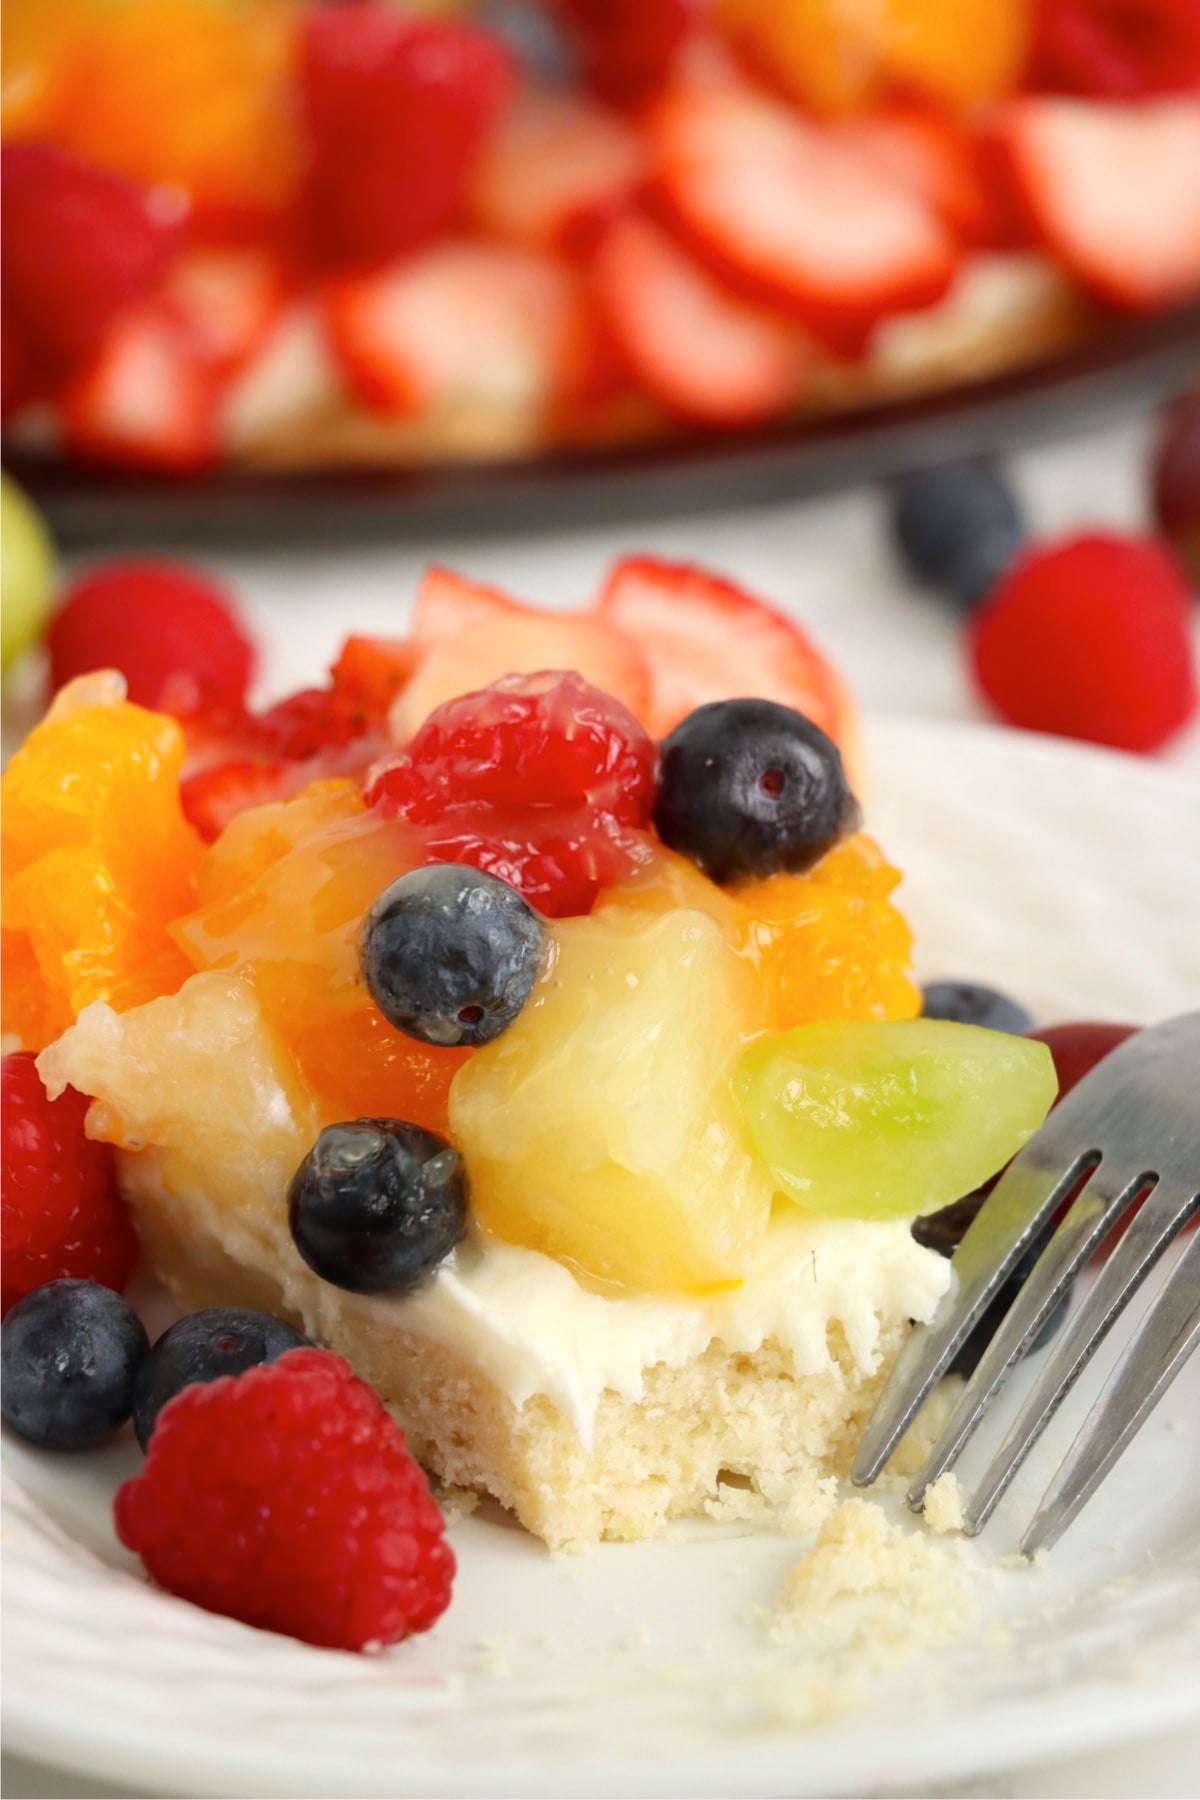
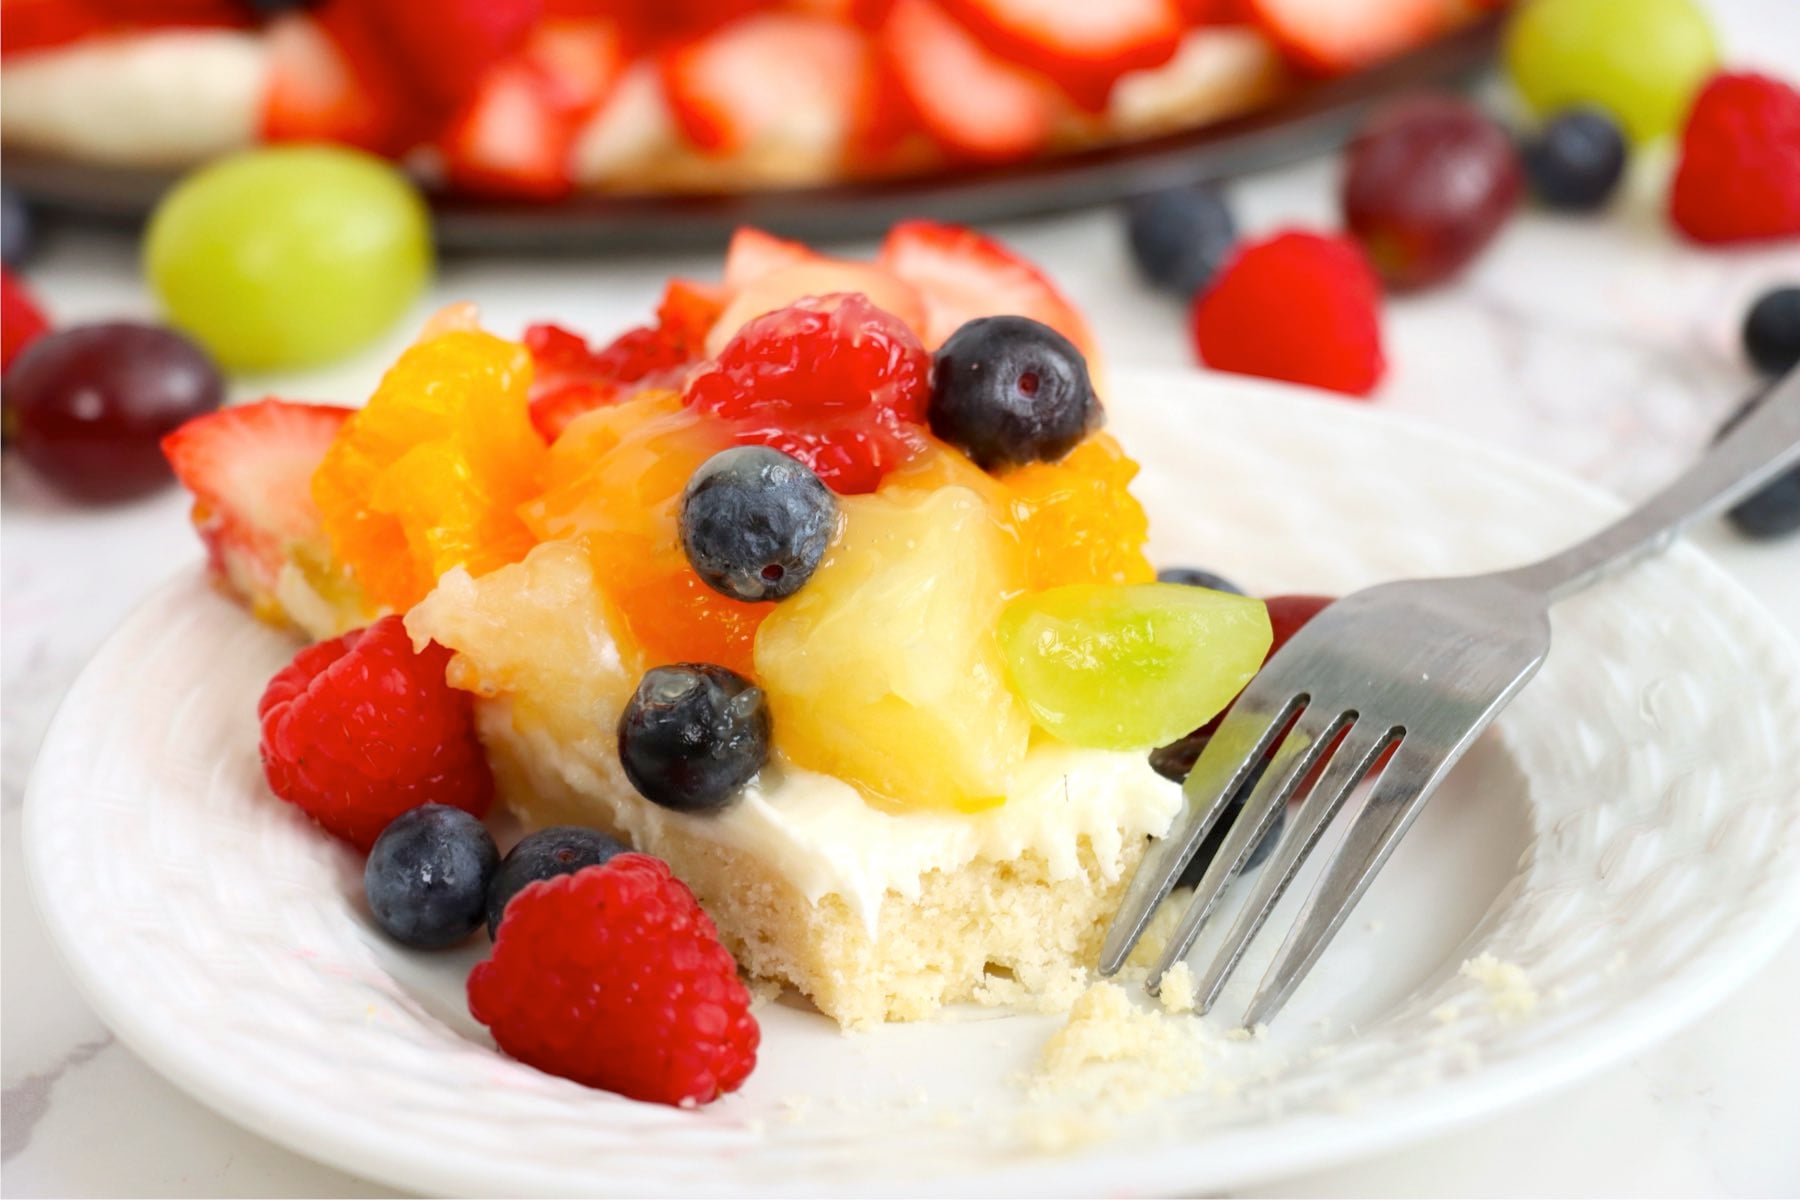
As the weather warms up, there's nothing better than a refreshing, fruit-filled dessert. This stunning basic Fruit Tart recipe features your favorite assortment of colorful, fresh fruits atop a smooth, velvety filling and a buttery, tender crust, all finished with a shiny pineapple glaze. The balance of fresh, bright flavors, and sweet, creamy richness makes it absolutely irresistible.
Want to Save This Recipe?
What makes this tart even more special is how endlessly customizable it is. Arrange all of your favorite fruits in beautiful patterns, slicing them and arranging them as you please. Invest in some mini cookie cutters to make some fun shapes out of the fruit! It's the perfect opportunity to bring out your artsy side and craft an eye-catching dessert that is almost too pretty to eat!
If you're a fan of this fruity pastry dessert, you'll love my Fruit Pizza or these adorable Sugar Cookie Fruit Cups. This Rainbow Fruit Dip is also great for serving alongside fresh fruit, and my Fruit Salsa makes for a great dip for cookies or crackers!
Jump to:
Why You'll Love This Recipe
- Fresh and naturally sweet - The natural sweetness of fresh, vibrant fruit is hard to resist, and it's even better paired with a flaky crust and velvety filling.
- Endless customizations - Make this fruit tart your own by choosing your favorite fruits and slicing them into fun shapes, mixing and matching colors, or arranging them into unique patterns. You could even just pile the fruit on like I did with this Vanilla Wafer Icebox Cake.
- A beautiful centerpiece - This stunning tart doubles as an impressive centerpiece, creating a dessert that's almost too beautiful to eat! I've always felt the same about this American Flag Fruit Pizza as well!
- Healthier dessert option - This fruit-filled treat is a great way to get some vitamins and nutrients while still being a satisfying dessert.
- Incredibly easy to make - Simple ingredients and quick steps make this recipe one that anyone can put together with ease!
- Make-ahead friendly - Prepare the individual components in advance and assemble when you're ready! It's the perfect solution for busy days or entertaining.
Ingredients
Gather the ingredients below to make this easy fruit tart!

- Butter - Softened butter is the key for smooth, easy mixing and a light, tender crust. Let it sit at room temperature for about an hour before adding, or microwave in short intervals until just softened.
- Powdered sugar - Adds a delicate sweetness and soft texture to the crust.
- All-purpose flour - Gives the crust structure and keeps it tender.
- White chocolate chips - Melted into the filling, these add creamy sweetness that perfectly complements the fresh fruit.
- Heavy whipping cream - Creates a light, fluffy filling texture.
- Cream cheese - Gives the filling a rich, slightly tangy flavor. Be sure to use softened cream cheese to avoid lumps.
- Pineapple juice - Adds a bright, fruity flavor to the glaze that enhances the overall taste of the tart.
- Sugar - Adds sweetness and balances out the tartness.
- Cornstarch - Thickens the glaze and gives it a smooth, shiny finish that preserves the moisture of the fruit.
- Lemon juice - Adds a hint of acidity that balances out the sweetness and brightens all the flavors.
- Assorted fresh fruit - You can use almost any fruit you love for this tart, just pick the ripest and juiciest! Just keep in mind that especially juicy fruits such as mangoes or peaches should be added shortly before serving as they can weep, and fruits like bananas and apples will start to brown once cut.
See recipe card for full information on ingredients and quantities.
Substitutions & Variations
- Other glaze options - If you're not a fan of pineapple, try an apricot or apple glaze using jelly, jam, or preserves. Simply heat a few spoonfuls of your jam of choice over the stovetop until it becomes runny or loose. You may need to add a little water and strain if needed. Then brush the glaze over your tart and enjoy!
- Individual servings - For individual-sized portions, divide the dough into mini tart pans. The baking time will vary depending on the size of the pans, so watch them closely as they bake. If you like single serving desserts like this, you should check out our Air Fryer Lava Cakes!
- For chocolate lovers - Add a layer of melted chocolate to the cooled crust before filling. Not only does this keep the crust firm, but it adds some extra sweetness and rich chocolate flavor.
- Store bought dough - Short on time? You can always swap in a store bought sugar cookie dough or pastry dough for an easy shortcut without sacrificing flavor.
- Swap the fruit - Use whatever fruit you have on hand or what's in season. Berries, kiwi, mango, peaches, and mandarin oranges all work beautifully. Just avoid overly watery fruits that can make the tart soggy.
- Different crust option - Try mini graham cracker pie crusts or shortbread crust instead of the sugar cookie base for a slightly different texture and flavor.
How to Make a Basic Fruit Tart
Once you've gathered all your ingredients, preheat the oven to 300°F and lightly spray a 12-inch pizza pan with nonstick cooking spray, then follow the steps below for a delicious fresh fruit tart with cookie crust!
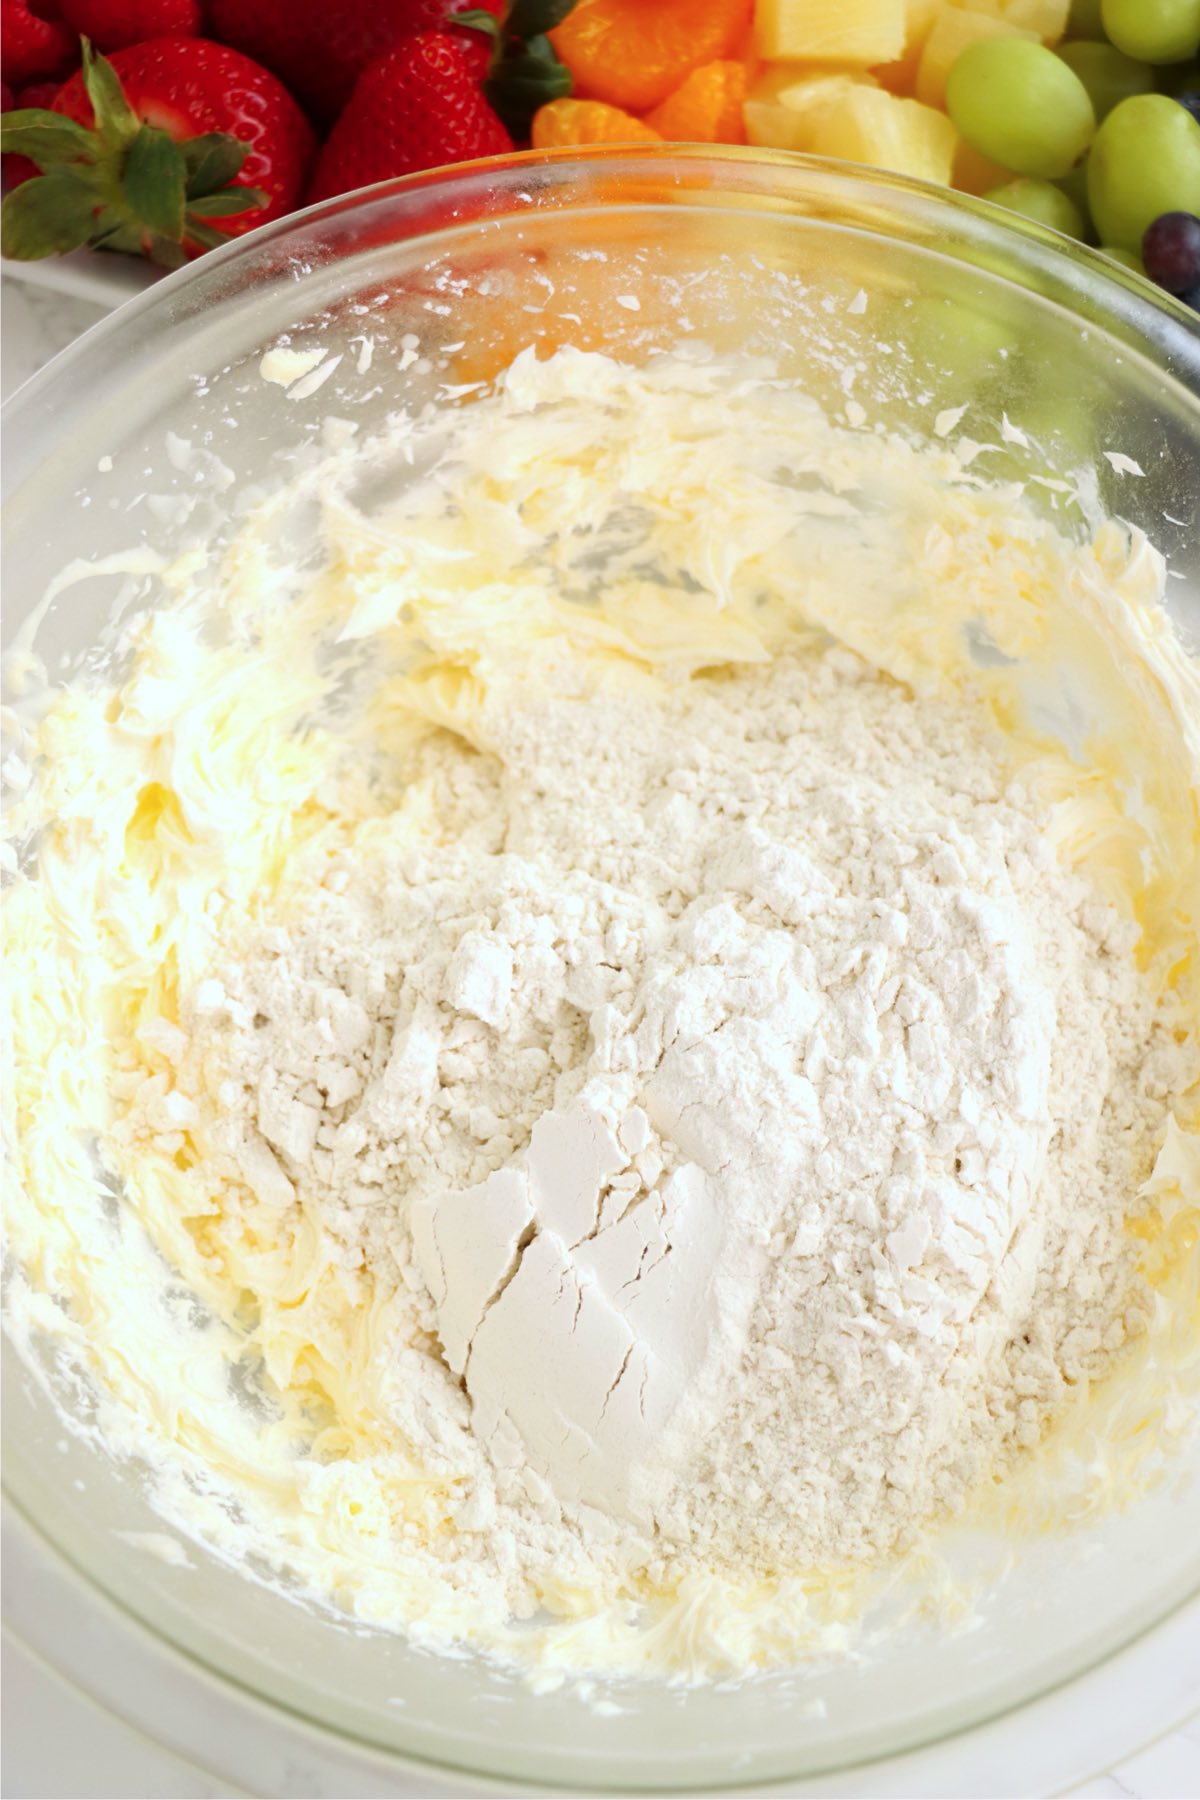
- Step 1: In a large mixing bowl, cream the butter and powdered sugar together until light and fluffy, then add the flour and mix until combined.
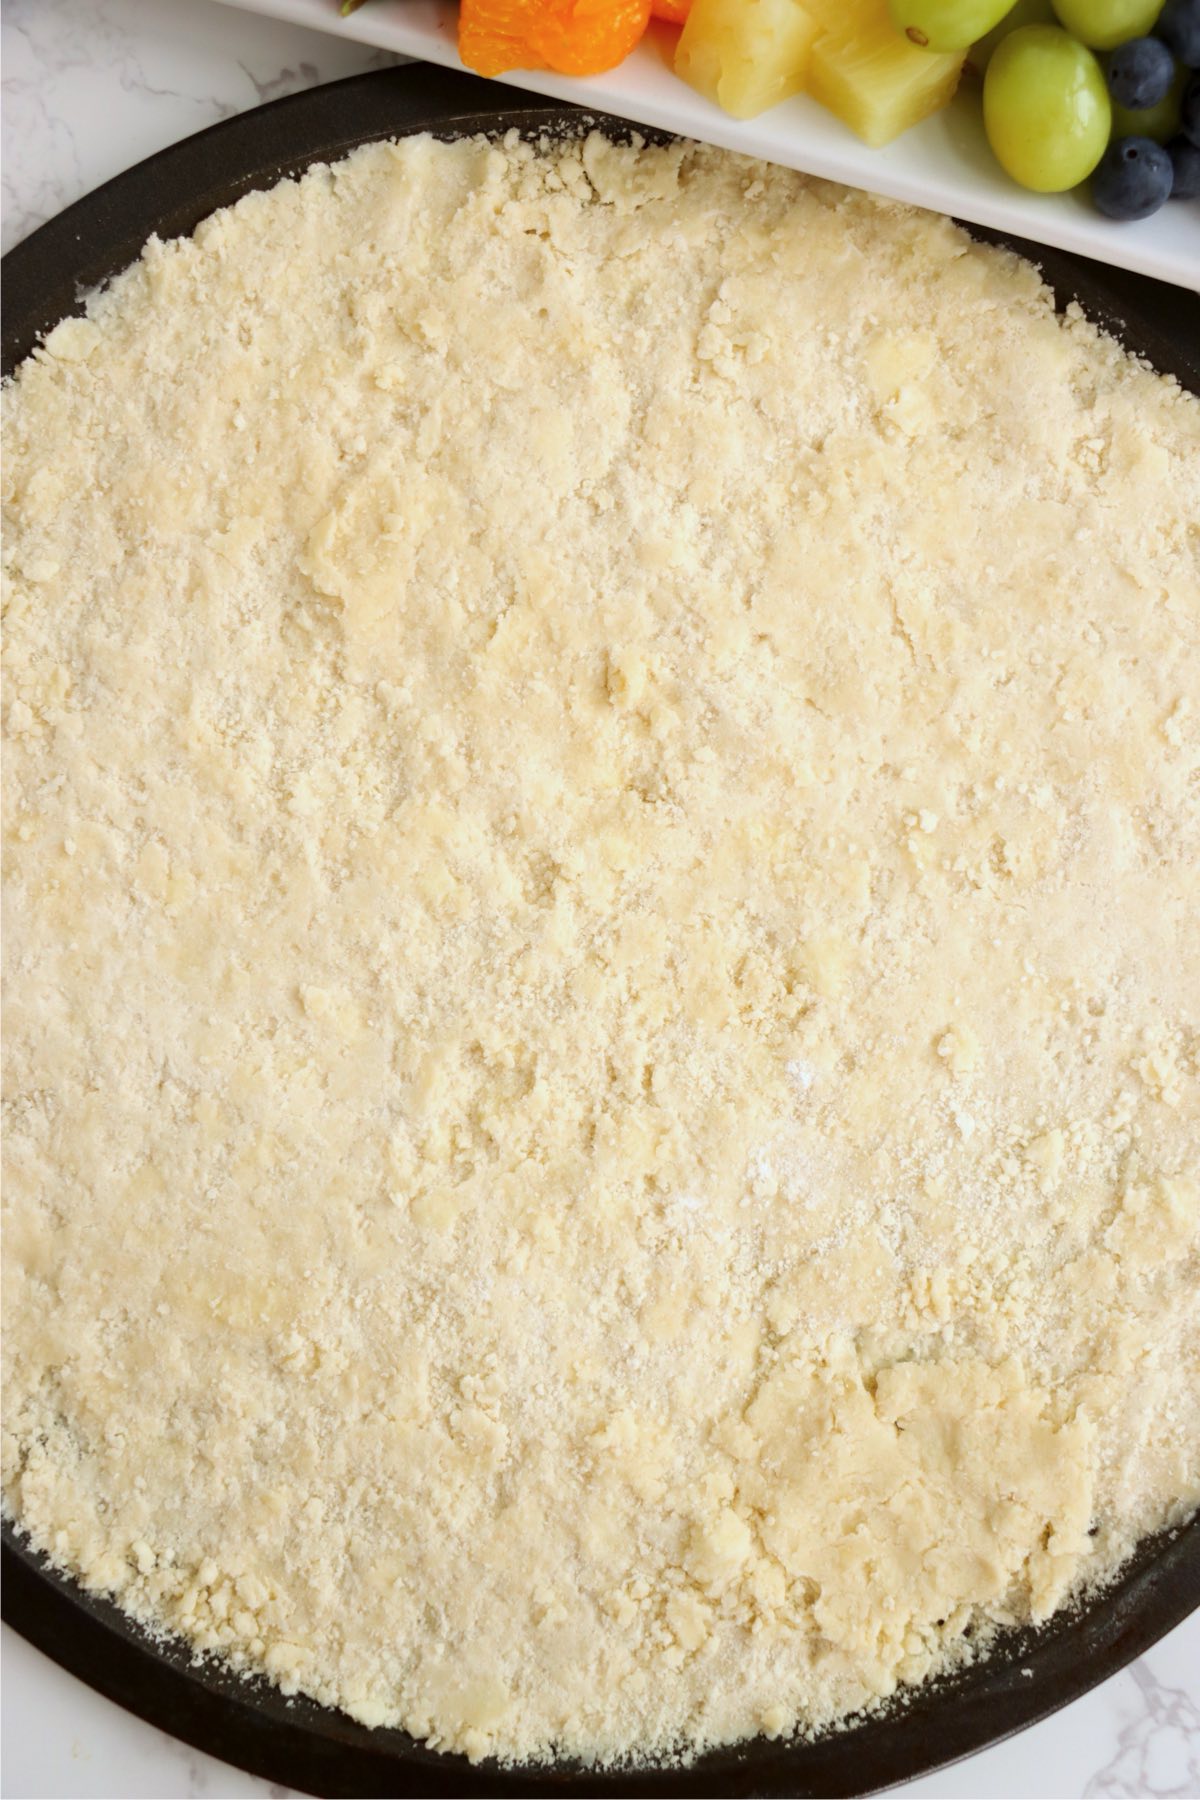
- Step 2: Evenly press the mixture onto the prepared pizza pan, bake for 25-28 minutes until lightly browned, then set aside to cool completely.
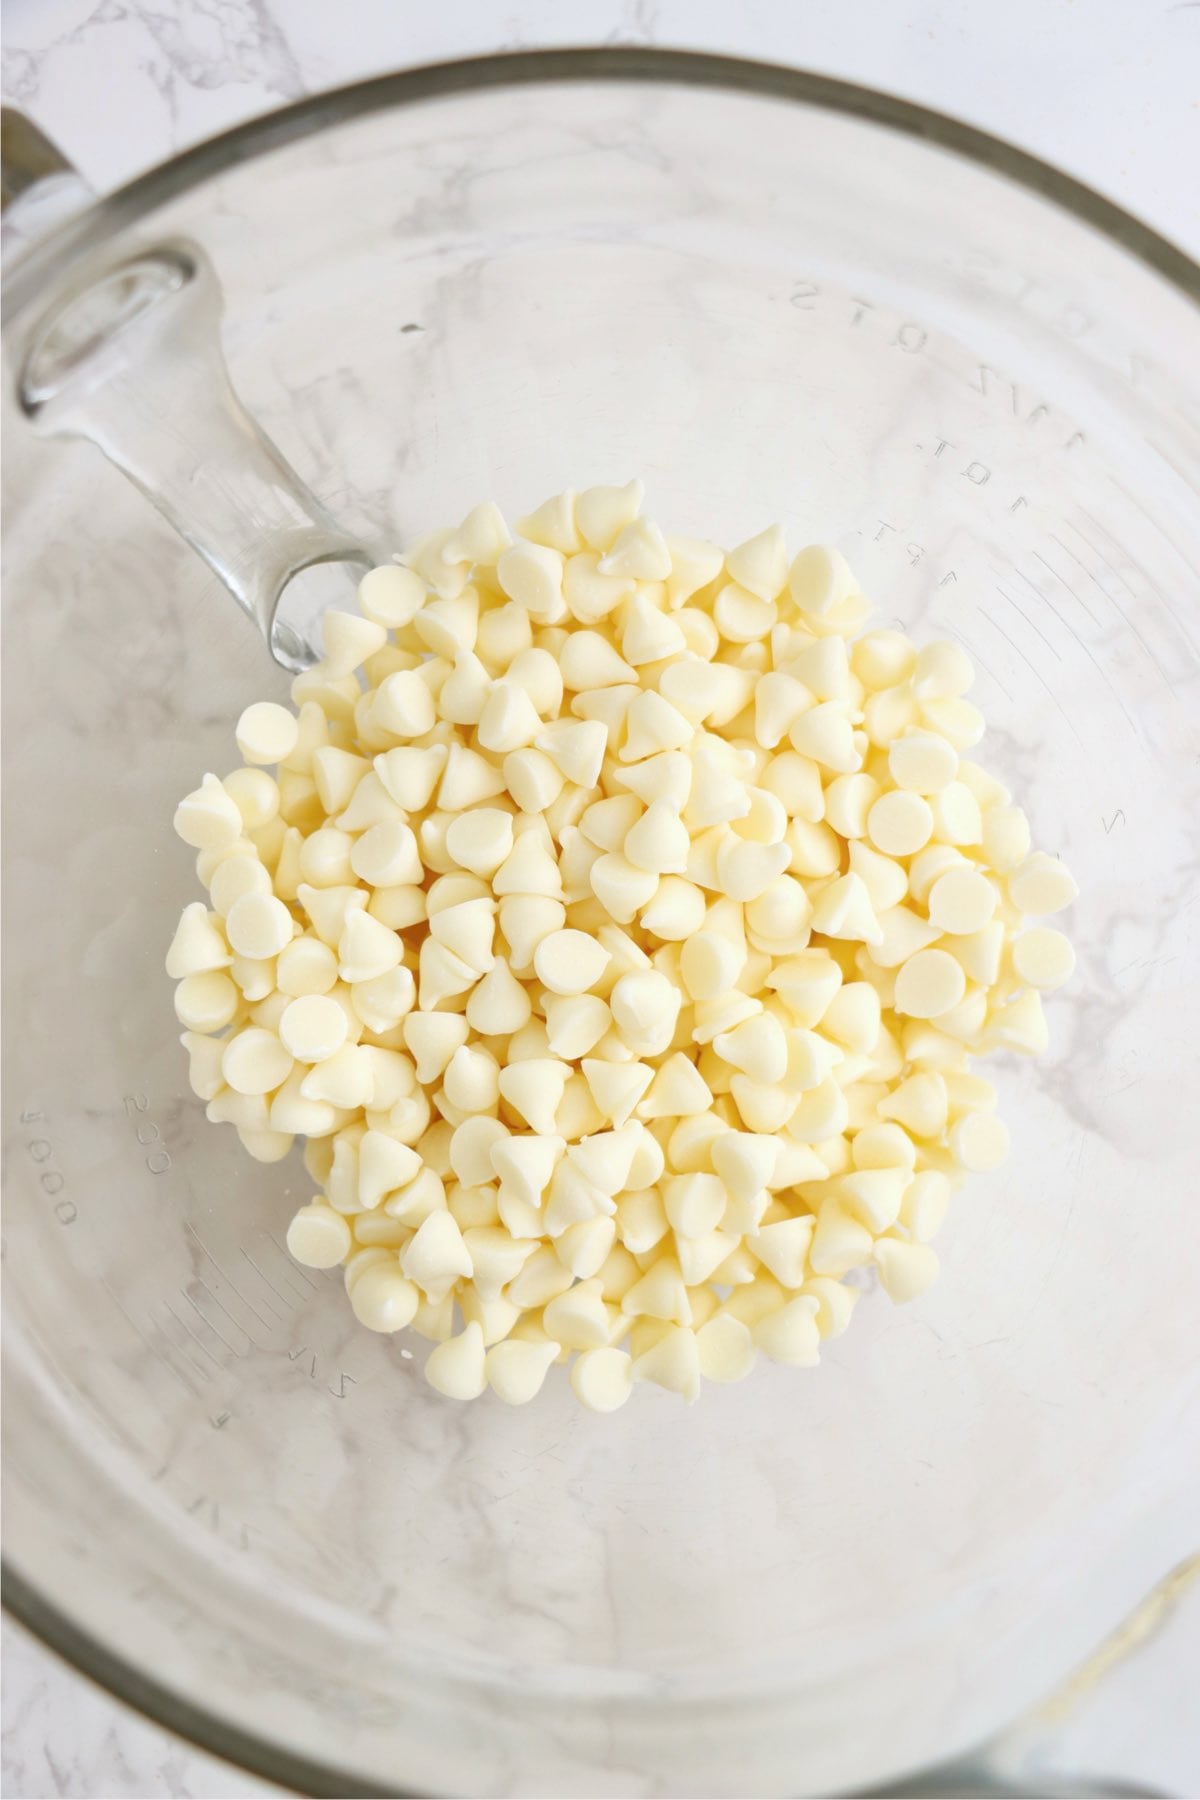
- Step 3: In a medium mixing bowl, heat white chocolate chips in 30-second intervals, stirring often, until they are melted. Allow to cool.
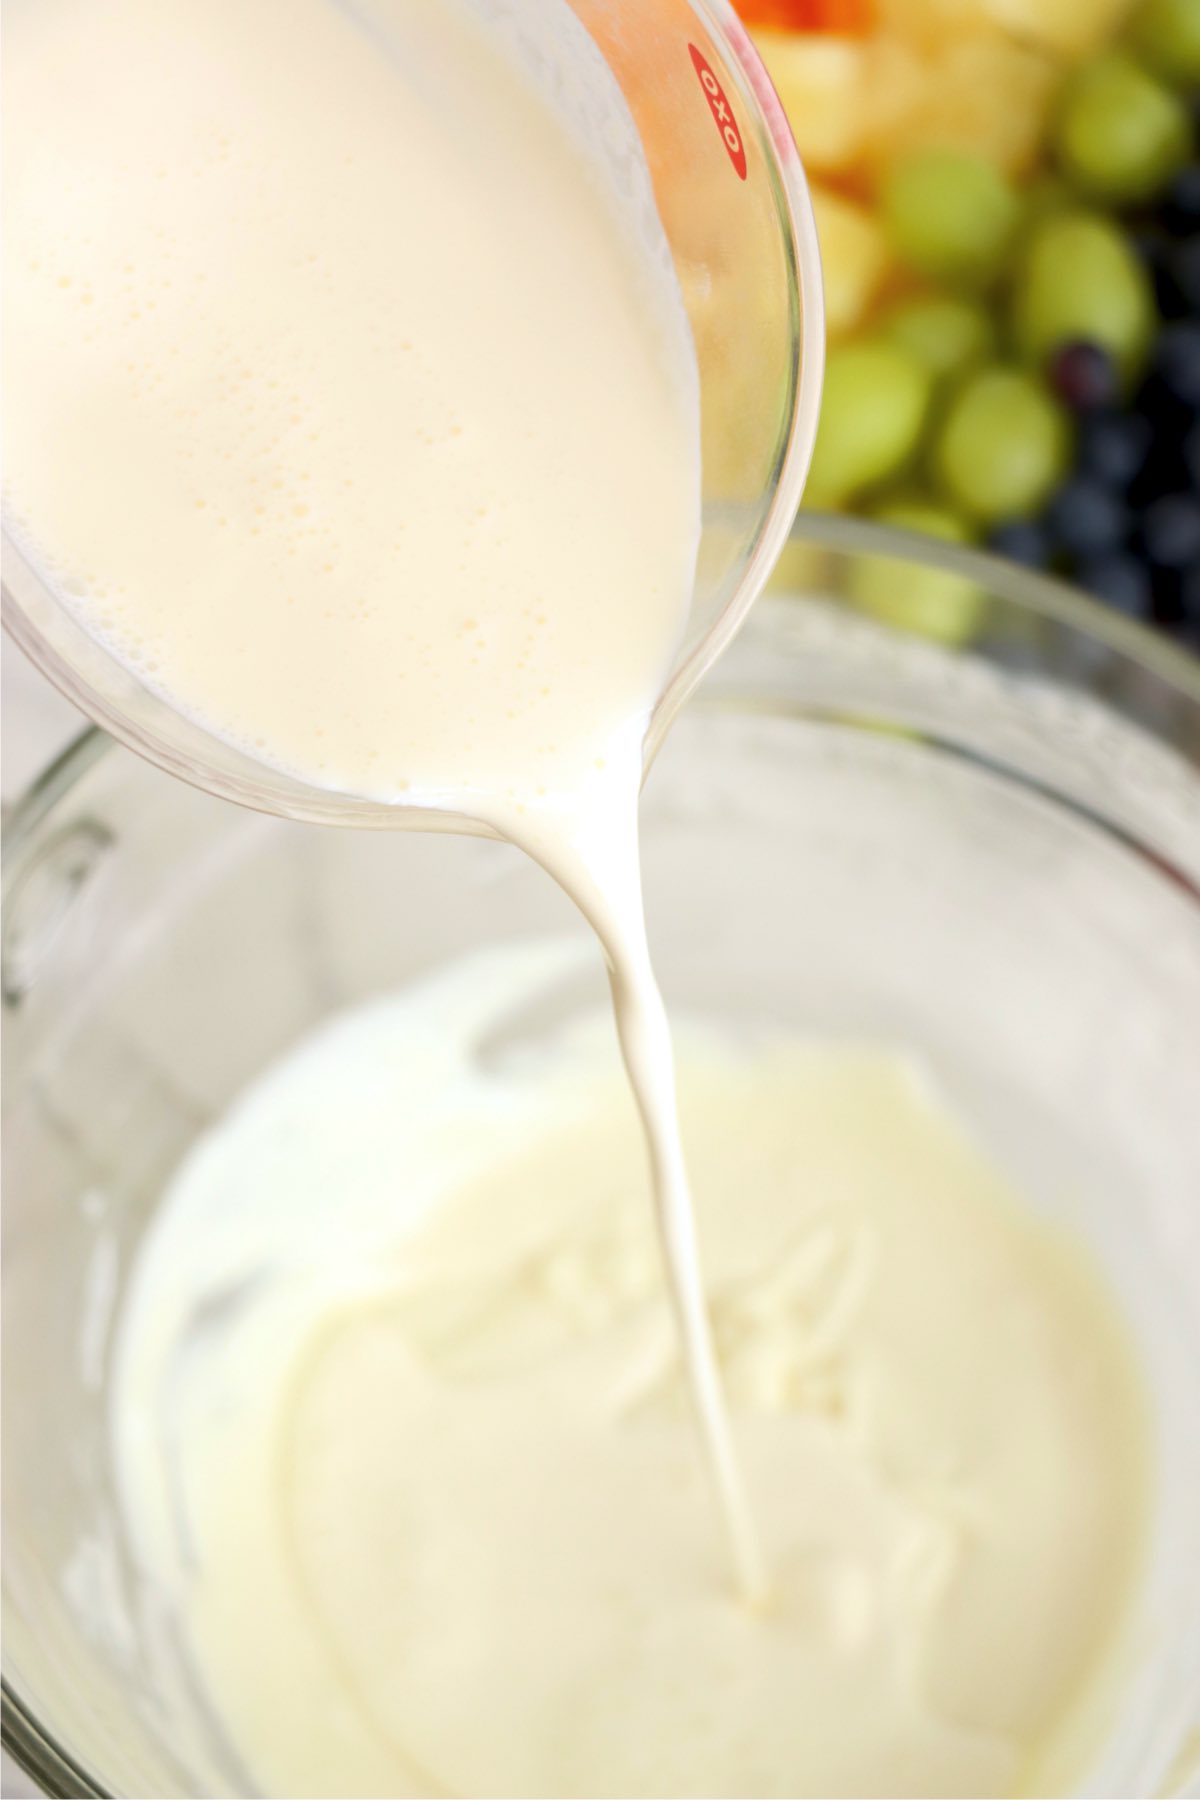
- Step 4: Add heavy whipping cream and beat until smooth.
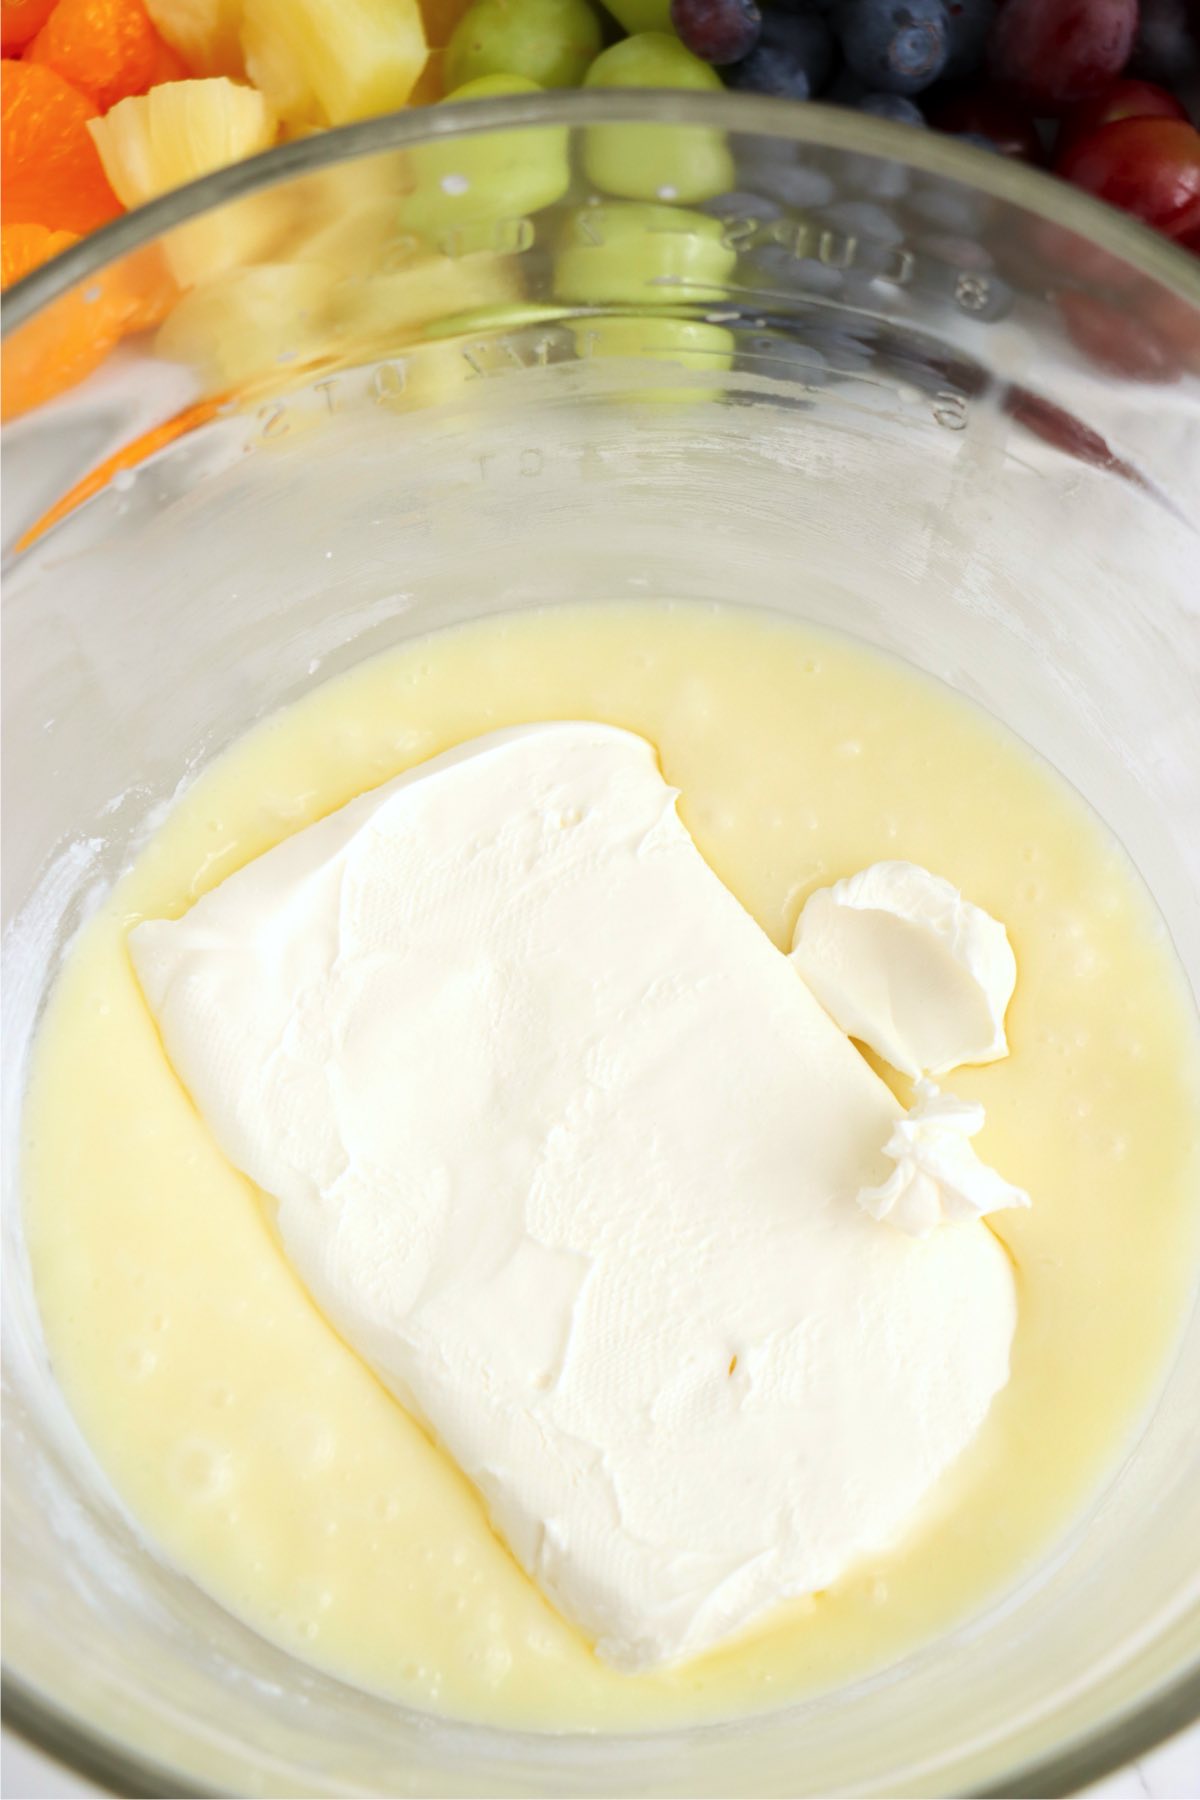
- Step 5: Add cream cheese. Beat again until smooth.
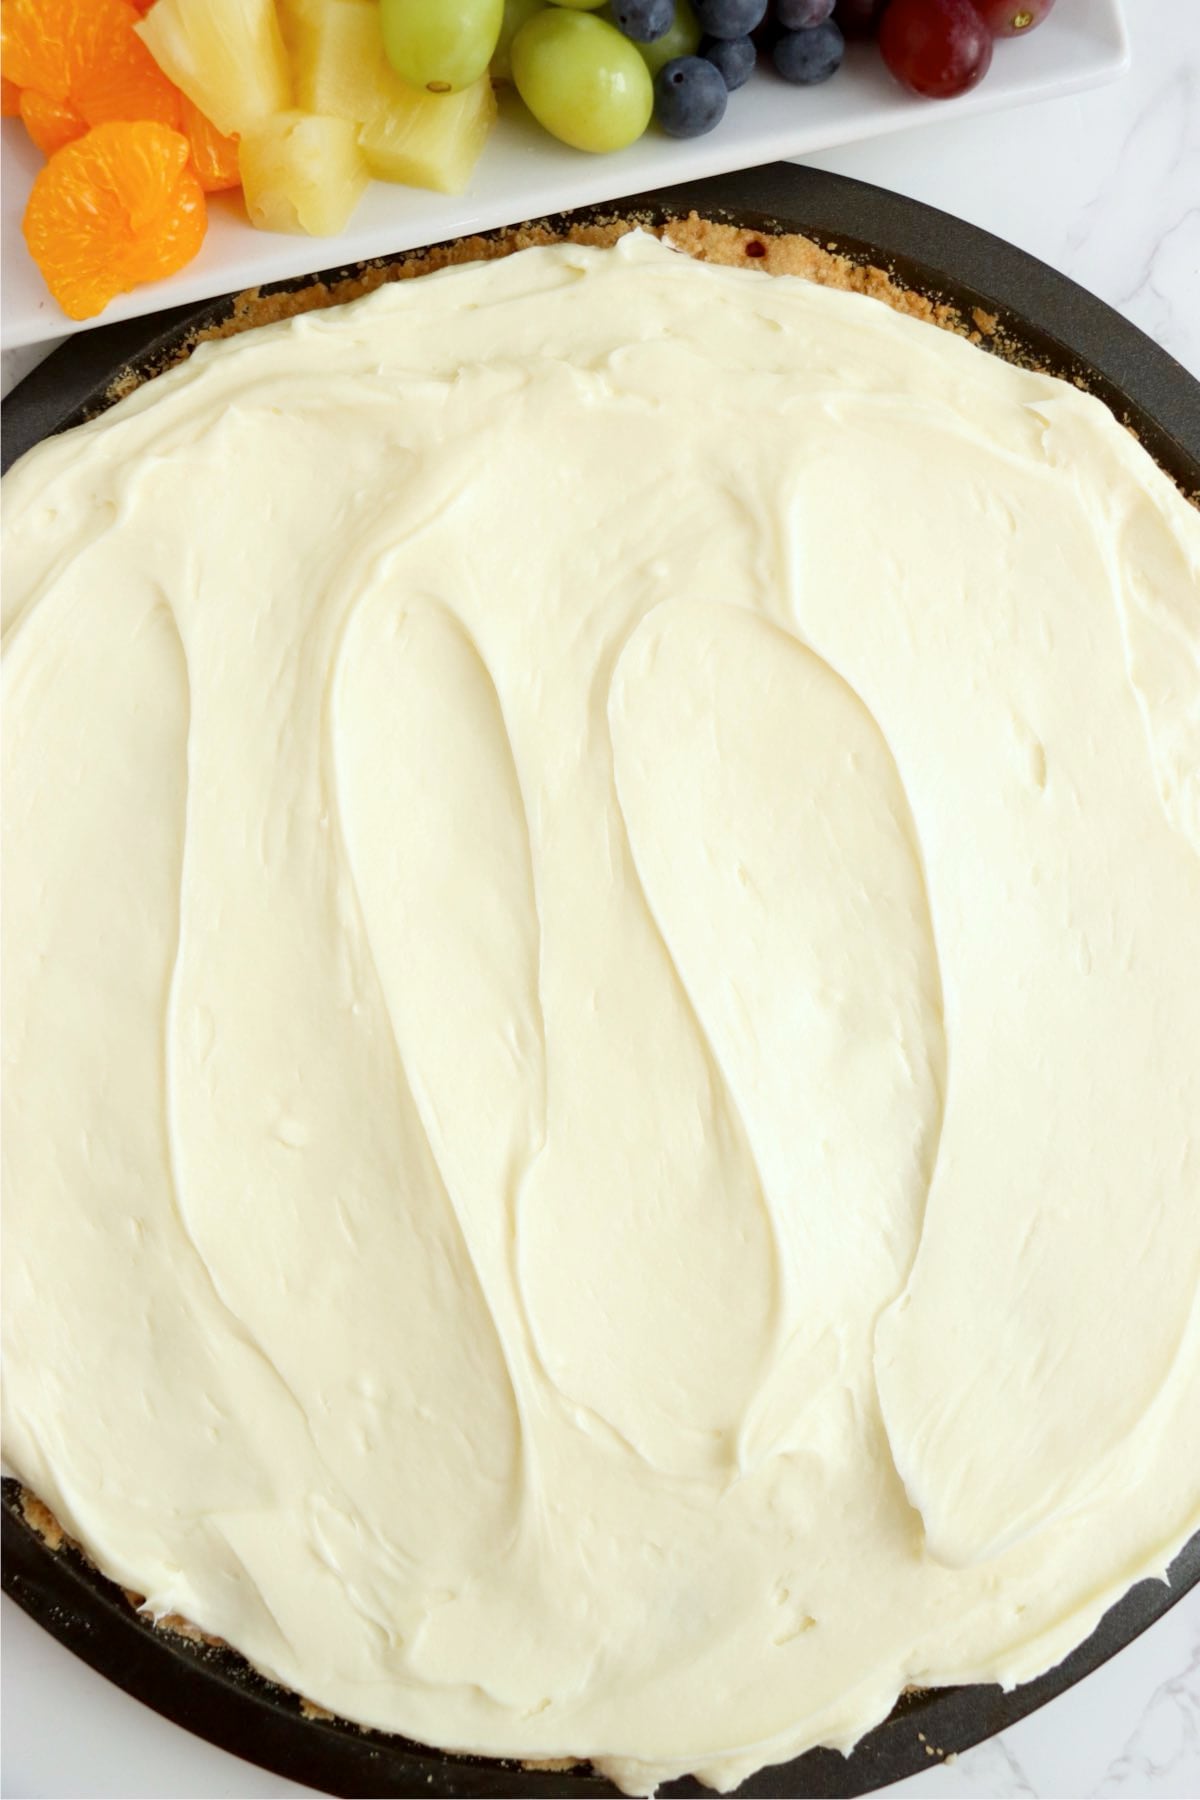
- Step 6: Spread this mixture over cooled crust.
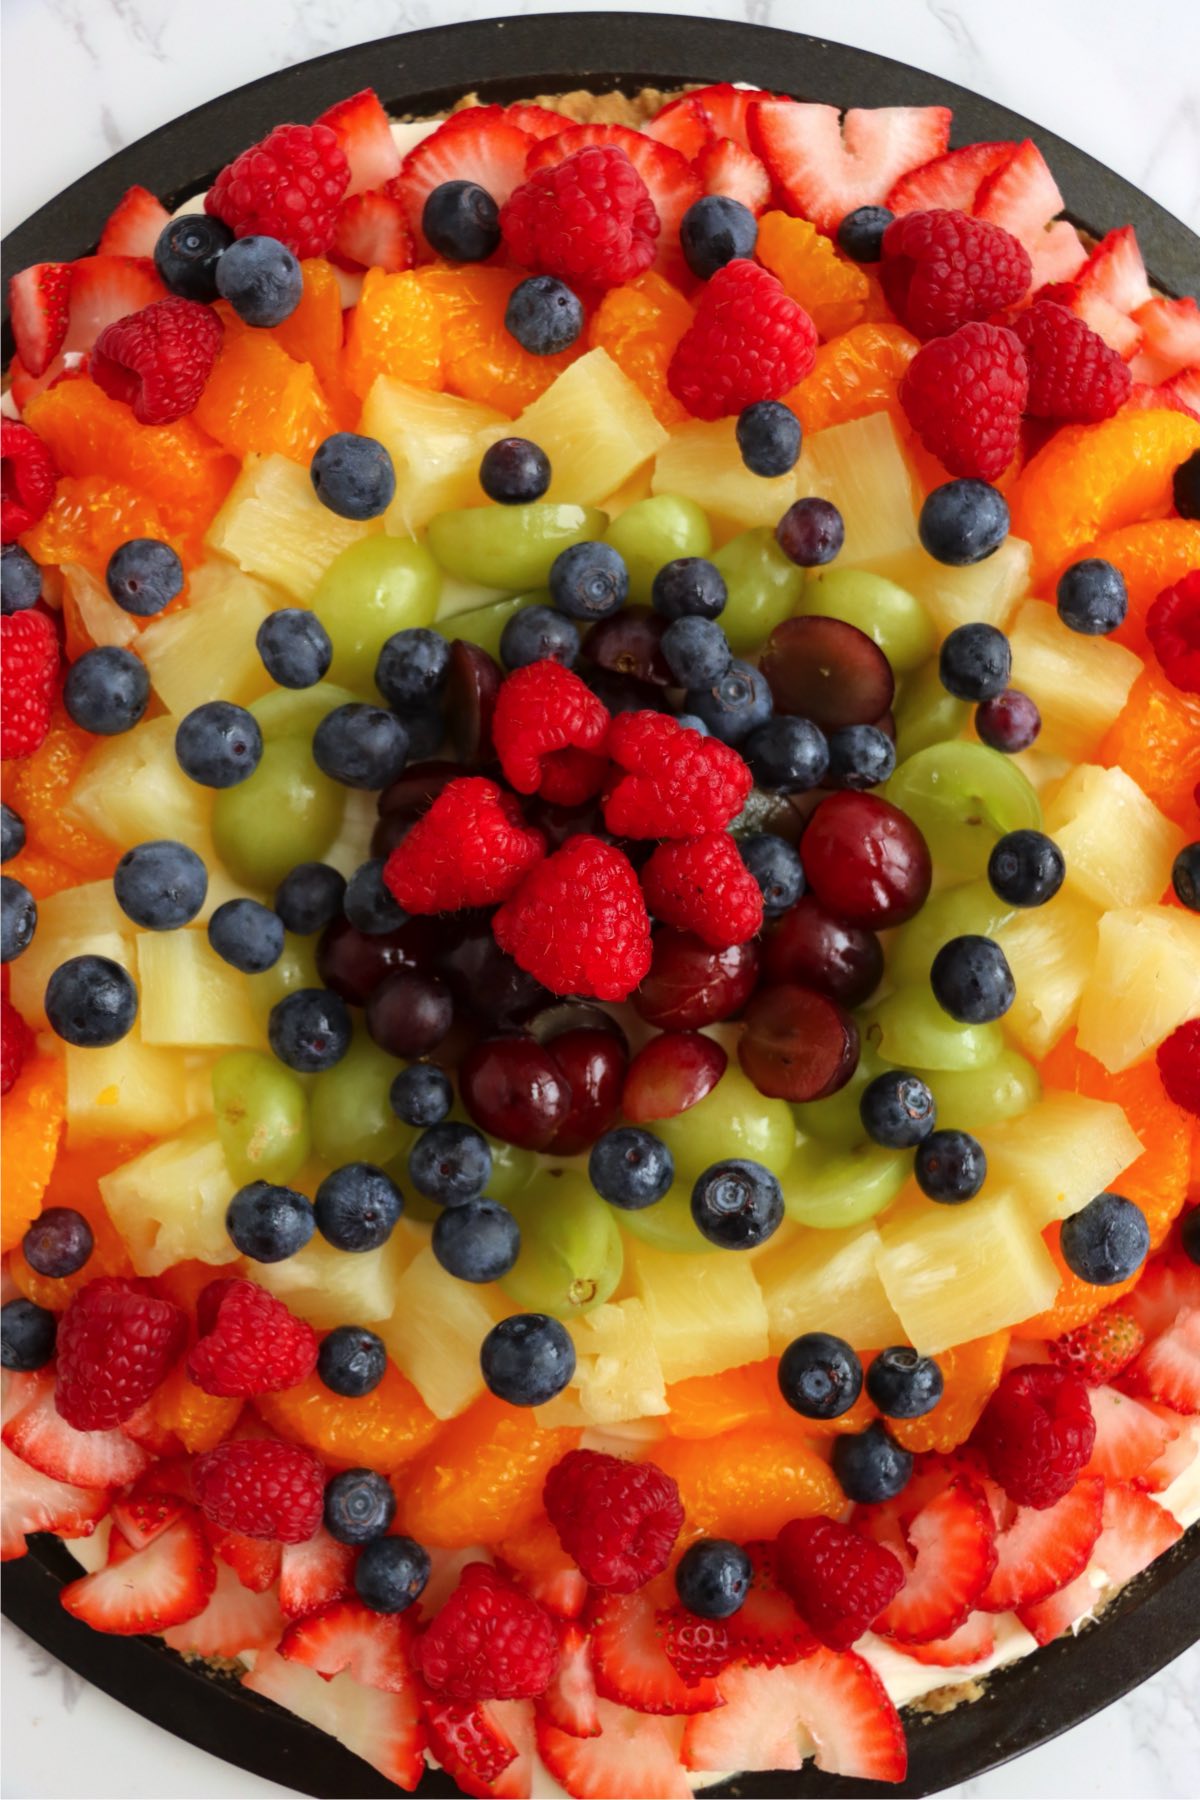
- Step 7: Arrange your fresh fruit over the cream cheese layer.
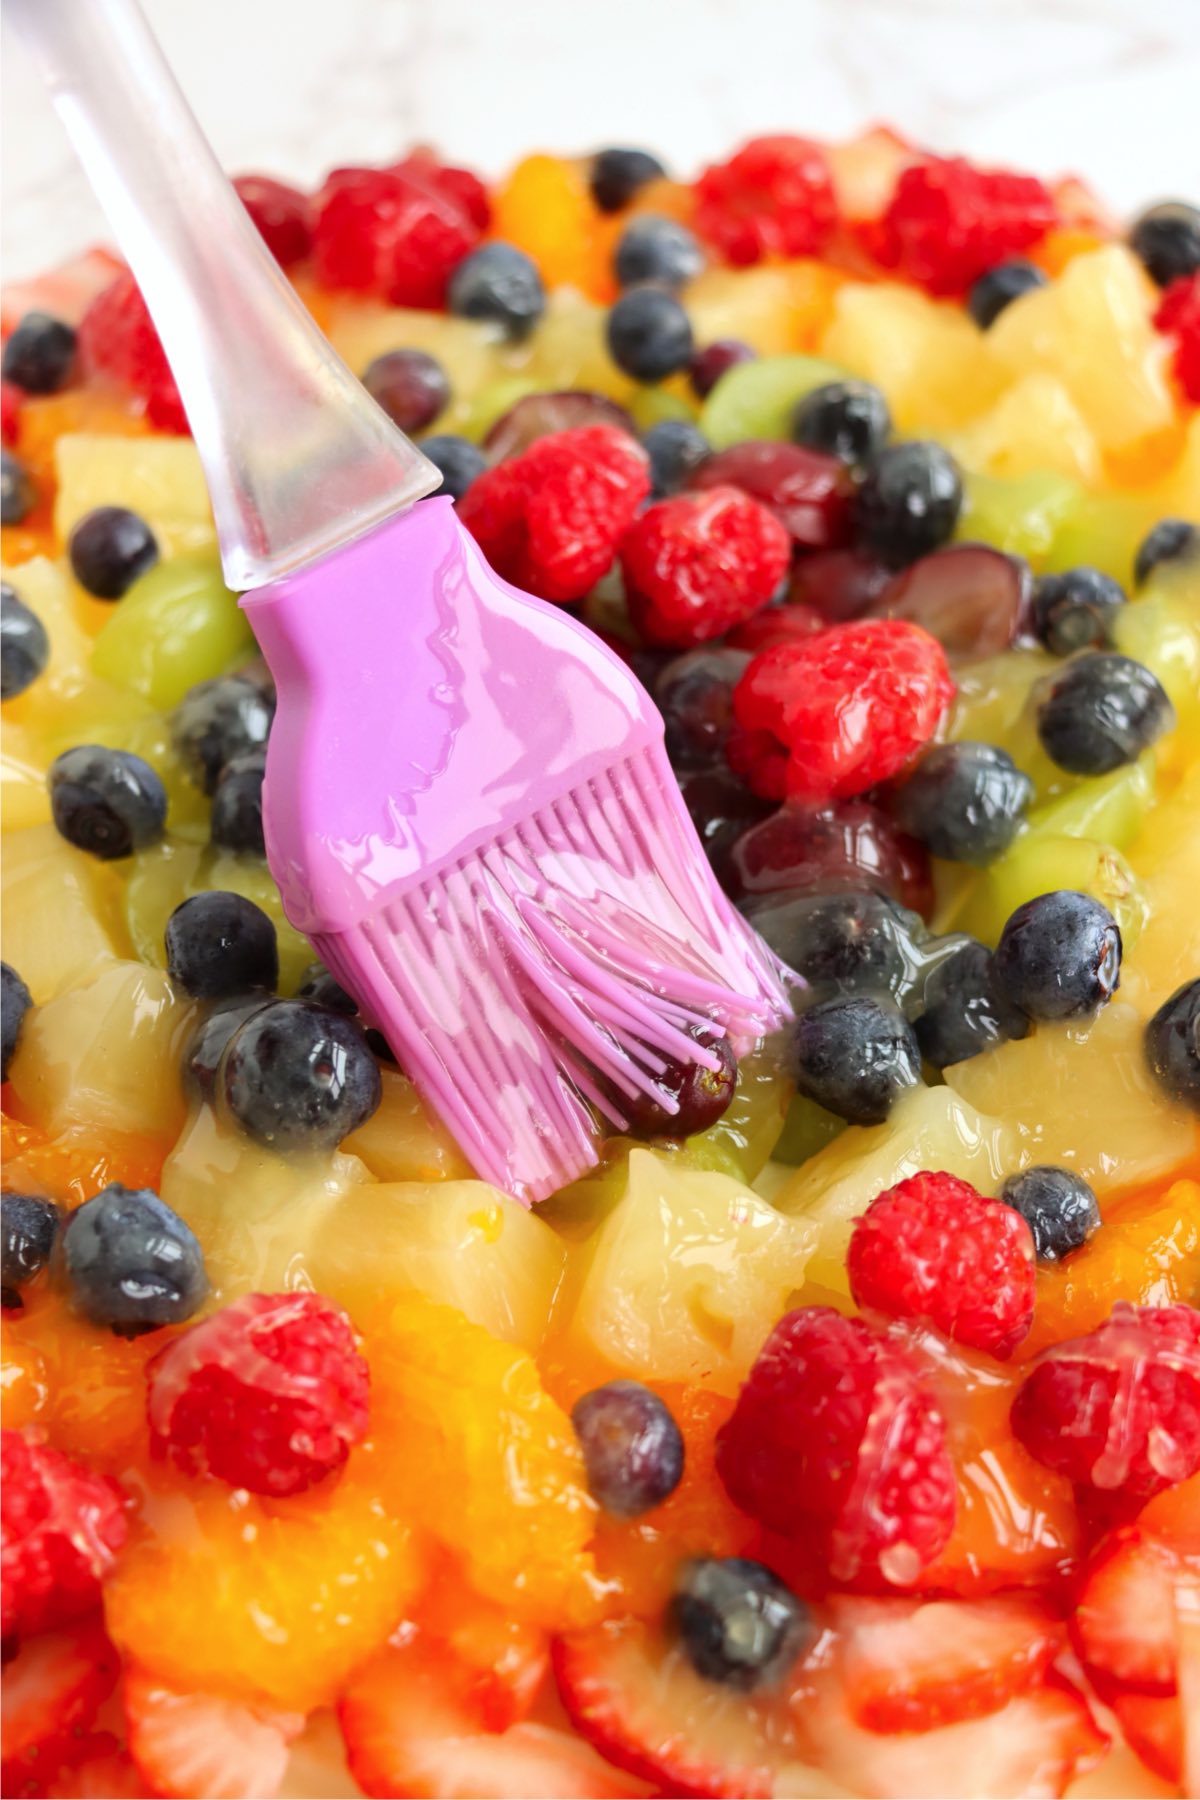
- Step 8: Brush the pineapple mixture over the fruit, then refrigerate for 1 hour before serving.
Helpful Tips
- Design and decorate - Get creative when arranging your fruit and use a variety of colors, shapes, and patterns to make a tart that's as beautiful as it is delicious. The more vibrant, the better!
- Use your favorite assortment of fruit - Choose any fruit you love to make this tart your own. For the best presentation, just remember that fruits like apples or bananas will start to brown once cut and should be added just before serving.
- Pat dry berries - If using berries, gently pat them dry before adding them to the tart. This prevents excess moisture and keeps the colors from bleeding into the filling.
- Always use fresh fruit - The most colorful and tasty results come from fresh, ripe fruit. Frozen fruit tends to get mushy when it thaws, which can make the tart soggy.
- Chill before serving - Refrigerating the tart for at least an hour helps the filling set and makes it much easier to slice cleanly.
- Cool the crust completely - Make sure the crust is fully cooled before adding the filling to prevent it from melting and becoming runny.
- Slice with a sharp knife - Use a sharp knife and wipe it clean between cuts for neat, bakery-style slices.
Recipe FAQs
For the most colorful, pleasing fruit tart, try to use a wide variety of fruits of different colors and shapes such as blueberries, kiwis, pineapples, raspberries, etc. You'll want to avoid fruits that brown quickly after being cut such as apples or bananas, but if you really want to use them, you can squeeze some lemon juice on them to slow down browning.
Fresh fruit is best for a fruit tart. Frozen fruit releases excess moisture when thawed, which can make the tart soggy and affect the texture.
Yes, store-bought sugar cookie dough or pre-made crust can be used as a shortcut without sacrificing much flavor.
If you prefer to skip the pineapple glaze, you absolutely can. Keep in mind that while the glaze is partly for adding that extra shiny sweetness, it also preserves the moisture and color of the fruit. Without the glaze, the dessert may dry out or dull quicker, but should still taste delicious!
Yes! You can prepare the crust up to a day in advance and store it covered in the refrigerator. The filling can also be made ahead and refrigerated. Then, all you have to do on the day of is add the fruit, glaze, and serve!
Storage & Freezing Instructions
Storage Instructions
To store leftover fruit tart, cover it tightly and refrigerate for up to 3 days.
Freezing Instructions
You can freeze dough for 2-3 months wrapped tightly in the freezer. All other ingredients are recommended to be made only a day in advance or added the day of serving for the most freshness.
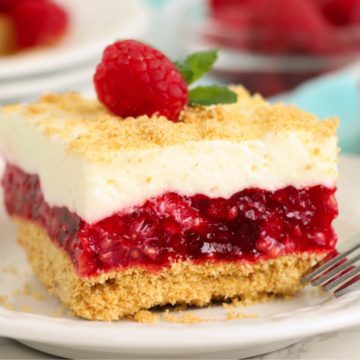
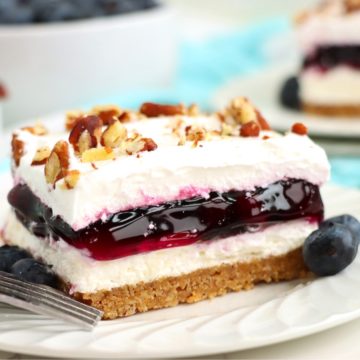
More Fruit Recipes You'll Love
Looking for other recipes like this? Try these:

Did you try this recipe?
If you decide to try this Basic Fruit Tart recipe or any other recipe on my website, please leave a ⭐️ star rating and let me know how it went in the 💬 comments below! I'd love to hear from you!
Basic Fruit Tart Recipe
Ingredients
- ¾ cup butter (softened)
- ½ cup powdered sugar
- 1 ½ cups all-purpose flour
- 12 ounces white chocolate chips
- ¼ cup heavy whipping cream
- 8 ounces cream cheese (softened)
- ½ cup pineapple juice
- ¼ cup sugar
- 1 tablespoon cornstarch
- ½ teaspoon lemon juice
- 4 cups assorted fresh fruit
Instructions
- Preheat oven to 300ºF.
- Prepare a 12-inch pizza pan by spraying it with nonstick cooking spray.
- In a large mixing bowl, cream butter and powdered sugar together for about 3-4 minutes until fluffy.
- Add flour and beat again.
- Evenly press this mixture onto your prepared pizza pan.
- Bake 25-28 minutes or until crust is lightly browned.
- Set aside to cool completely.
- In a medium mixing bowl, heat white chocolate chips in 30-second intervals, stirring often, until they are melted. Allow to cool.
- Add heavy whipping cream and beat until smooth.
- Add cream cheese. Beat again until smooth.
- Spread this mixture over cooled crust.
- In a small sauce, add pineapple juice, sugar, cornstarch, and lemon juice.
- Whisk together and bring to a boil over medium heat.
- Cook and stir for about 2 minutes until mixture thickens. Allow to cool.
- Carefully arrange your fresh fruit over the cream cheese layer.
- Brush the pineapple mixture over top of the fruit.
- Refrigerate for 1 hour before serving.
Notes
- Design and decorate - Get creative when arranging your fruit and use a variety of colors, shapes, and patterns to make a tart that's as beautiful as it is delicious. The more vibrant, the better!
- Use your favorite assortment of fruit - Choose any fruit you love to make this tart your own. For the best presentation, just remember that fruits like apples or bananas will start to brown once cut and should be added just before serving.
- Pat dry berries - If using berries, gently pat them dry before adding them to the tart. This prevents excess moisture and keeps the colors from bleeding into the filling.
- Always use fresh fruit - The most colorful and tasty results come from fresh, ripe fruit. Frozen fruit tends to get mushy when it thaws, which can make the tart soggy.
- Chill before serving - Refrigerating the tart for at least an hour helps the filling set and makes it much easier to slice cleanly.
- Cool the crust completely - Make sure the crust is fully cooled before adding the filling to prevent it from melting and becoming runny.
- Slice with a sharp knife - Use a sharp knife and wipe it clean between cuts for neat, bakery-style slices.
Leave a Reply