
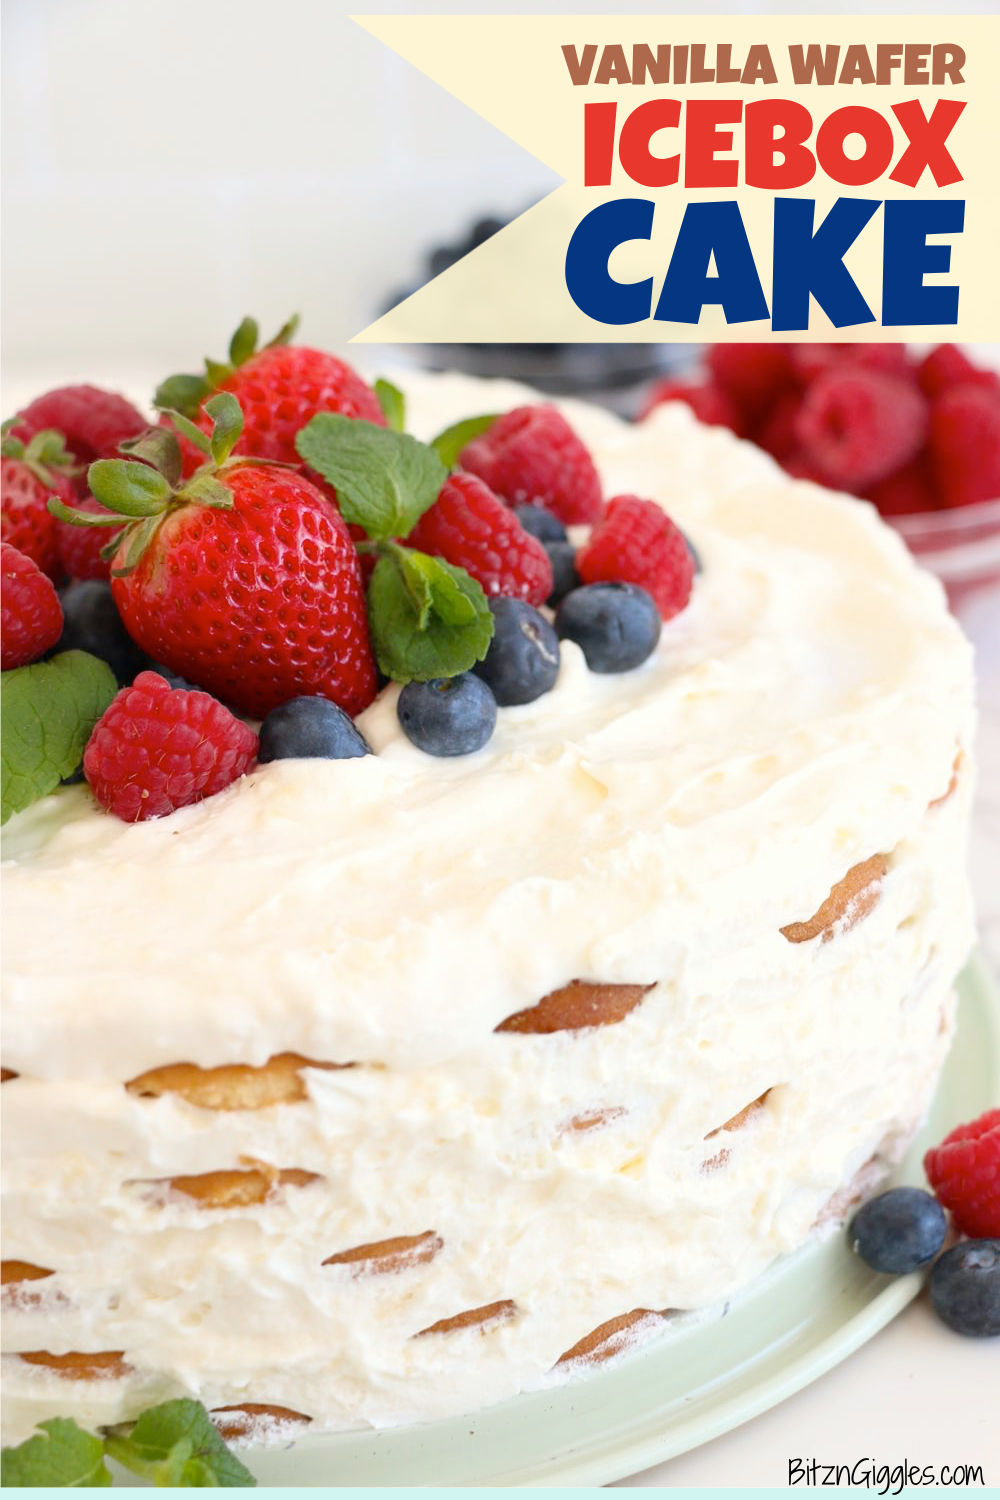
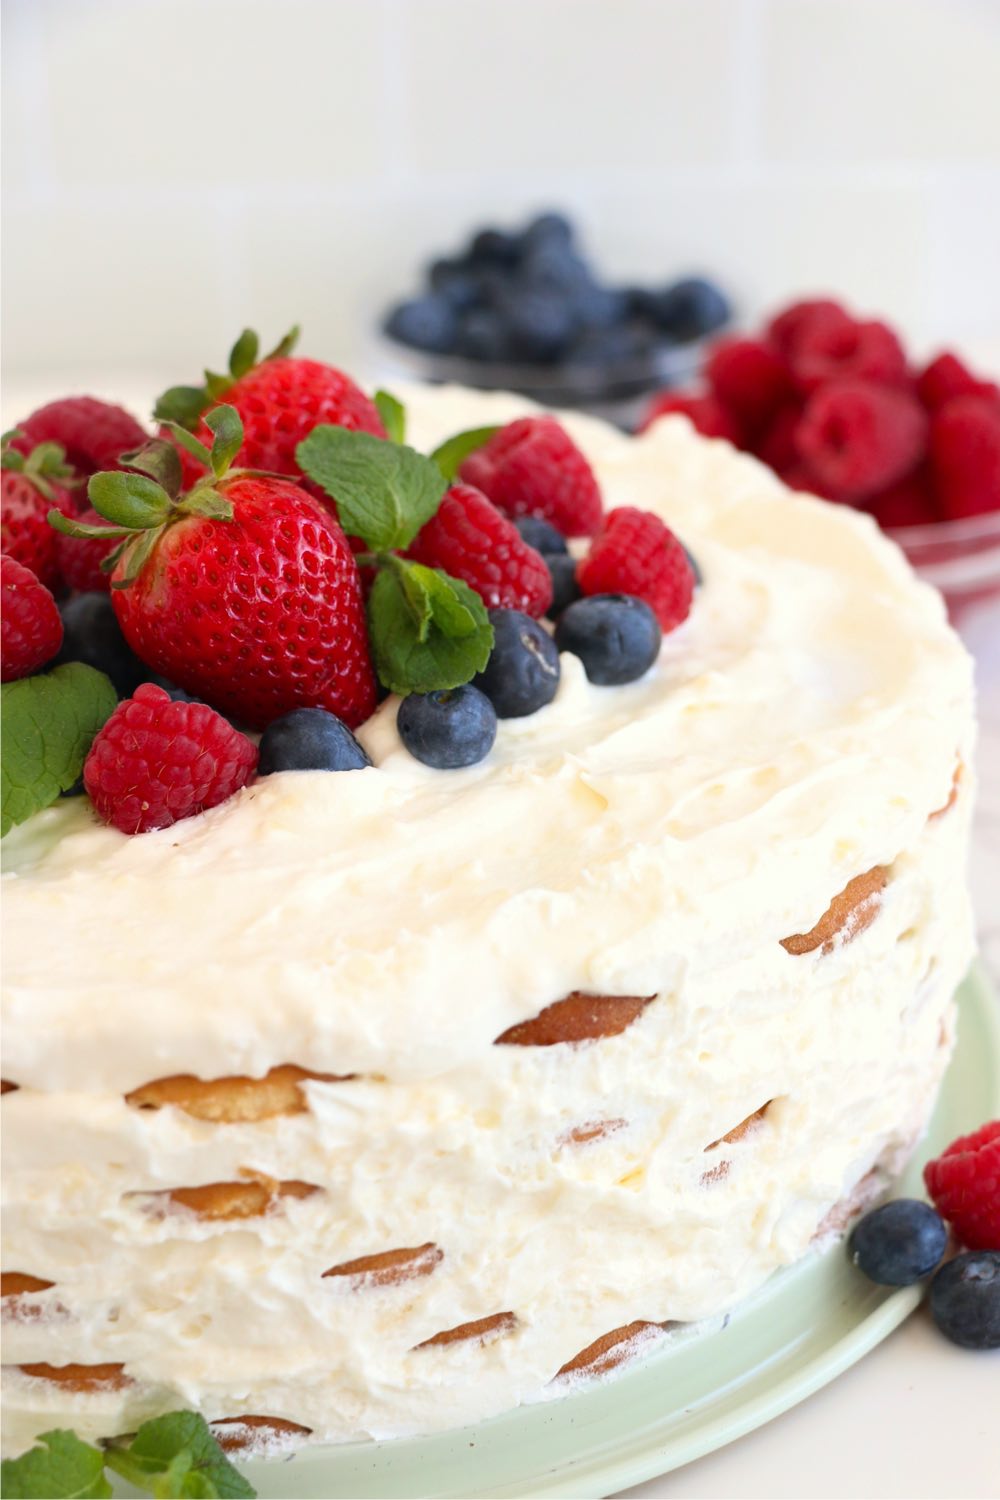
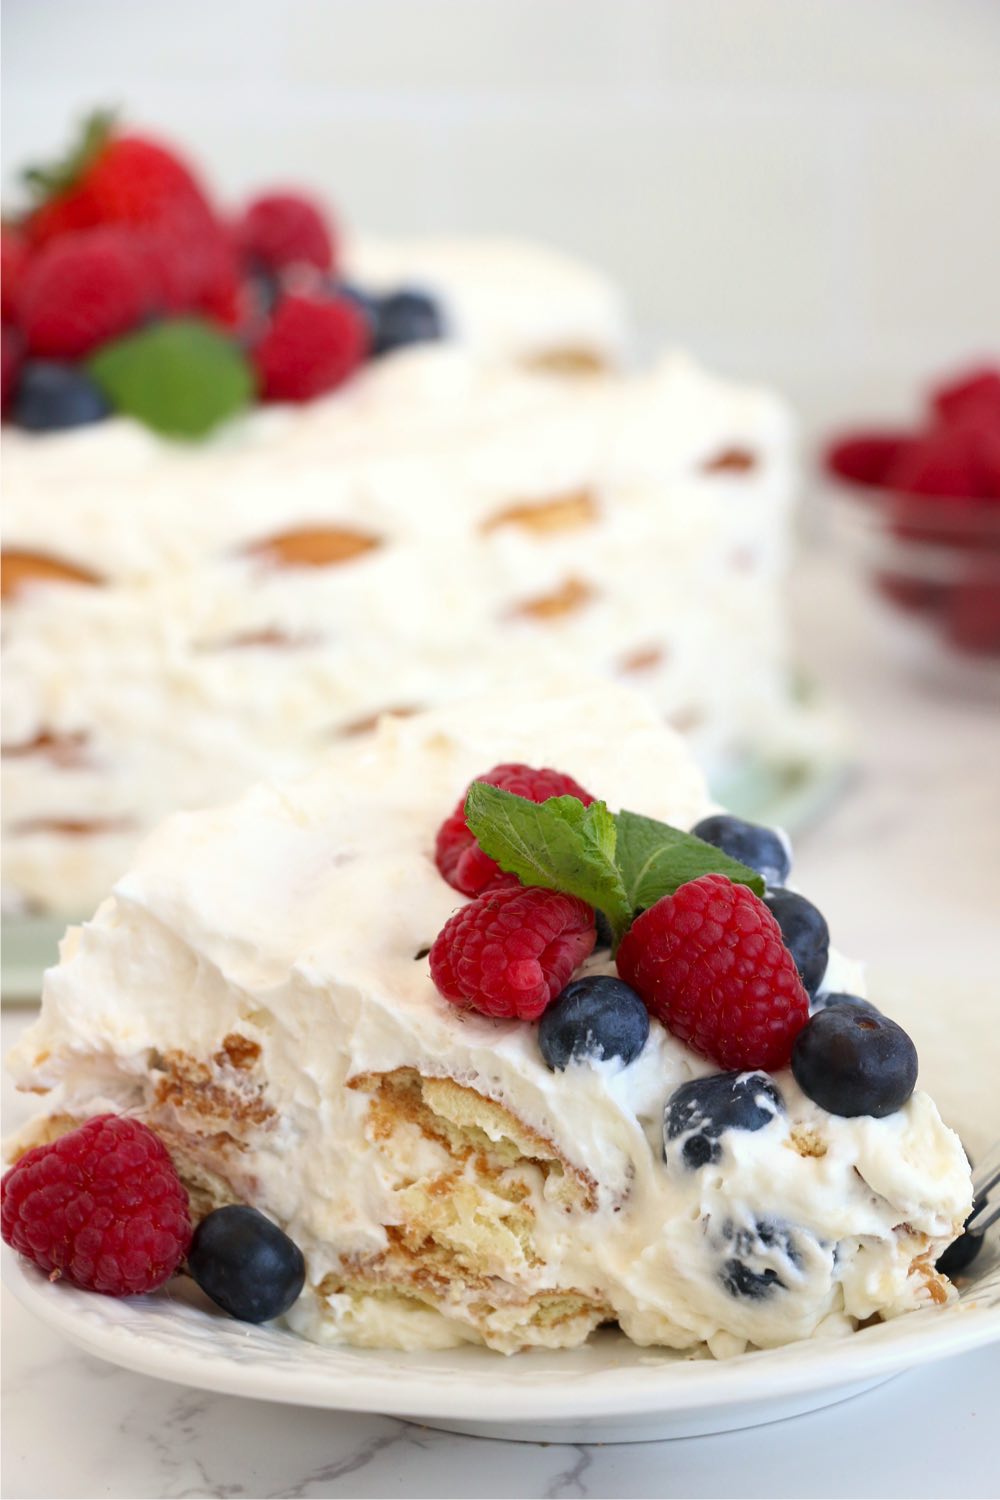
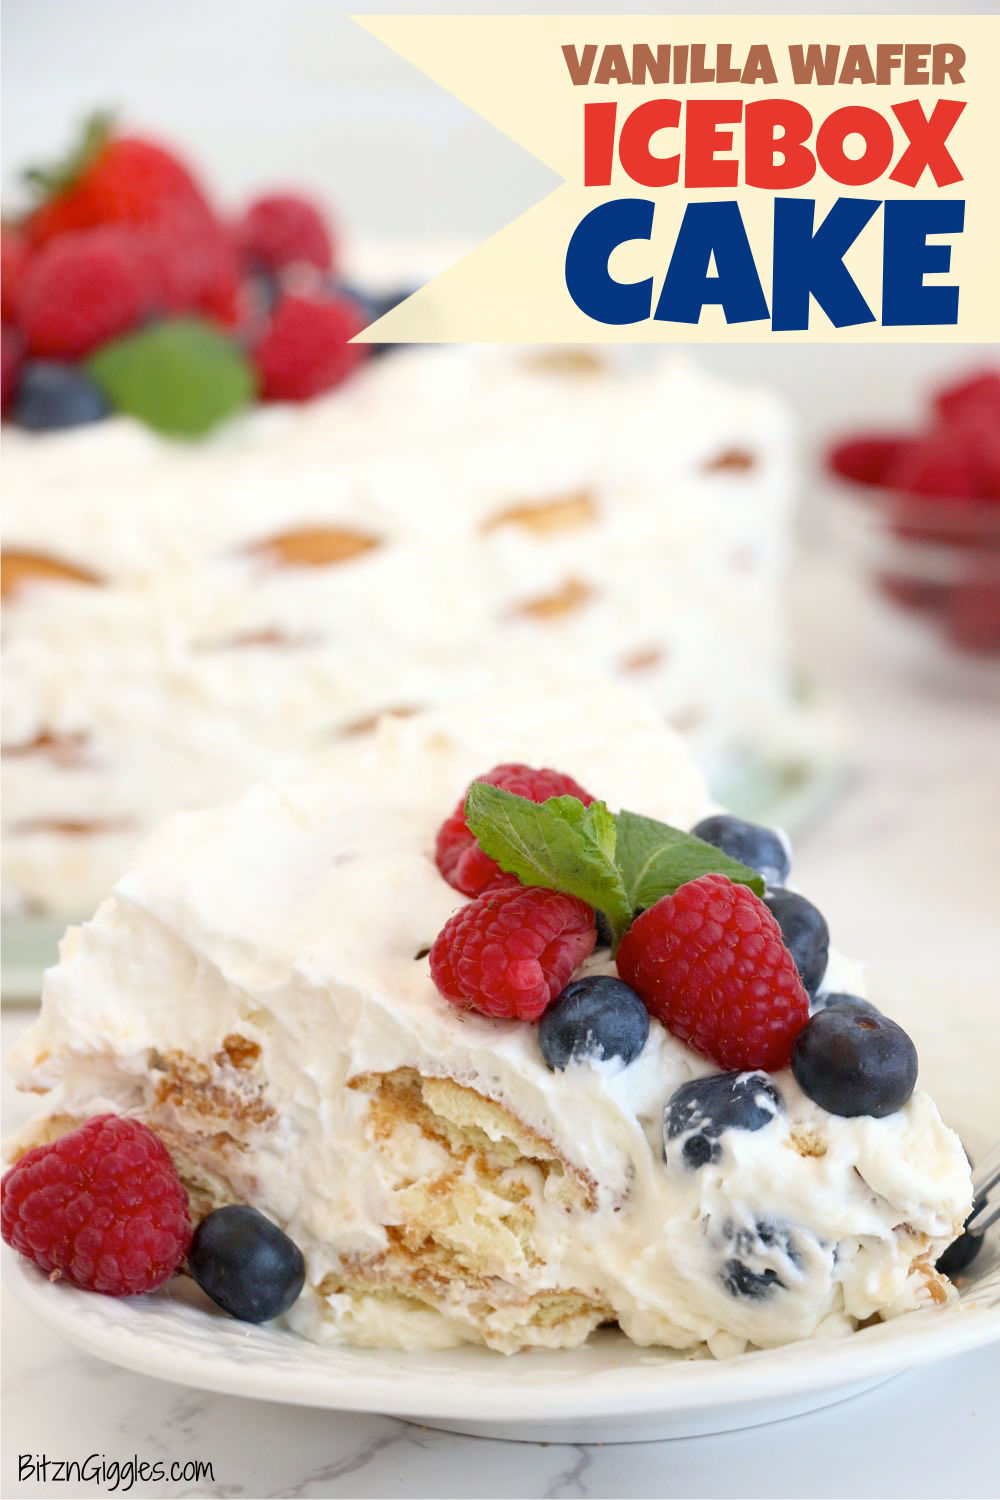
Vanilla Wafer Icebox Cake - A 5-ingredient no-bake layer cake with fluffy white chocolate cream and a vanilla wafer-crust, gorgeously garnished with fresh berries and mint leaves.
Want to Save This Recipe?
This post may include affiliate links. Please see my disclosure.
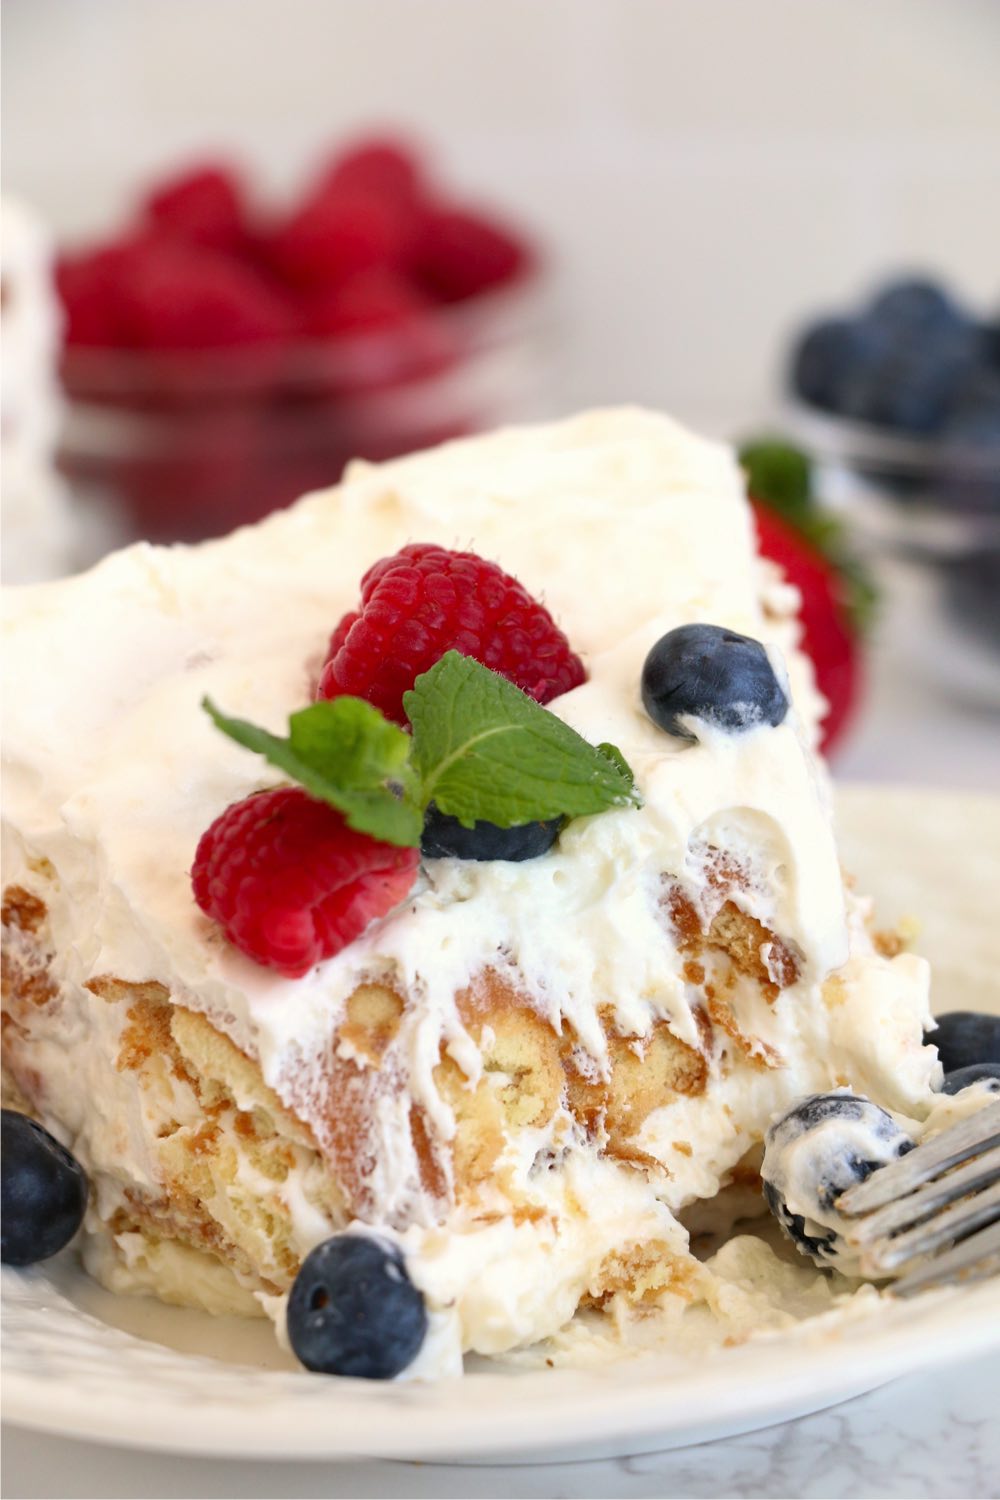
This cake is so delicious and indulgent, with its fluffy white chocolate cream and fresh berries sitting on top. Whether you are celebrating one of our American holidays, a birthday, anniversary, or just looking for something to treat yourself to, this vanilla wafer cake is sure to hit the spot!!
HOW TO MAKE A VANILLA WAFER ICEBOX CAKE
To make this gorgeous icebox cake, you'll need:
- Cream cheese
- White chocolate instant pudding
- Milk
- Whipped topping
- Vanilla wafers
- Strawberries, blueberries, raspberries and mint leaves for garnish (optional)
This easy no-bake recipe takes no time at all to prepare, but it will require a few hours of refrigeration. Follow the steps below for a delicious treat!
PREPARING THE PUDDING LAYER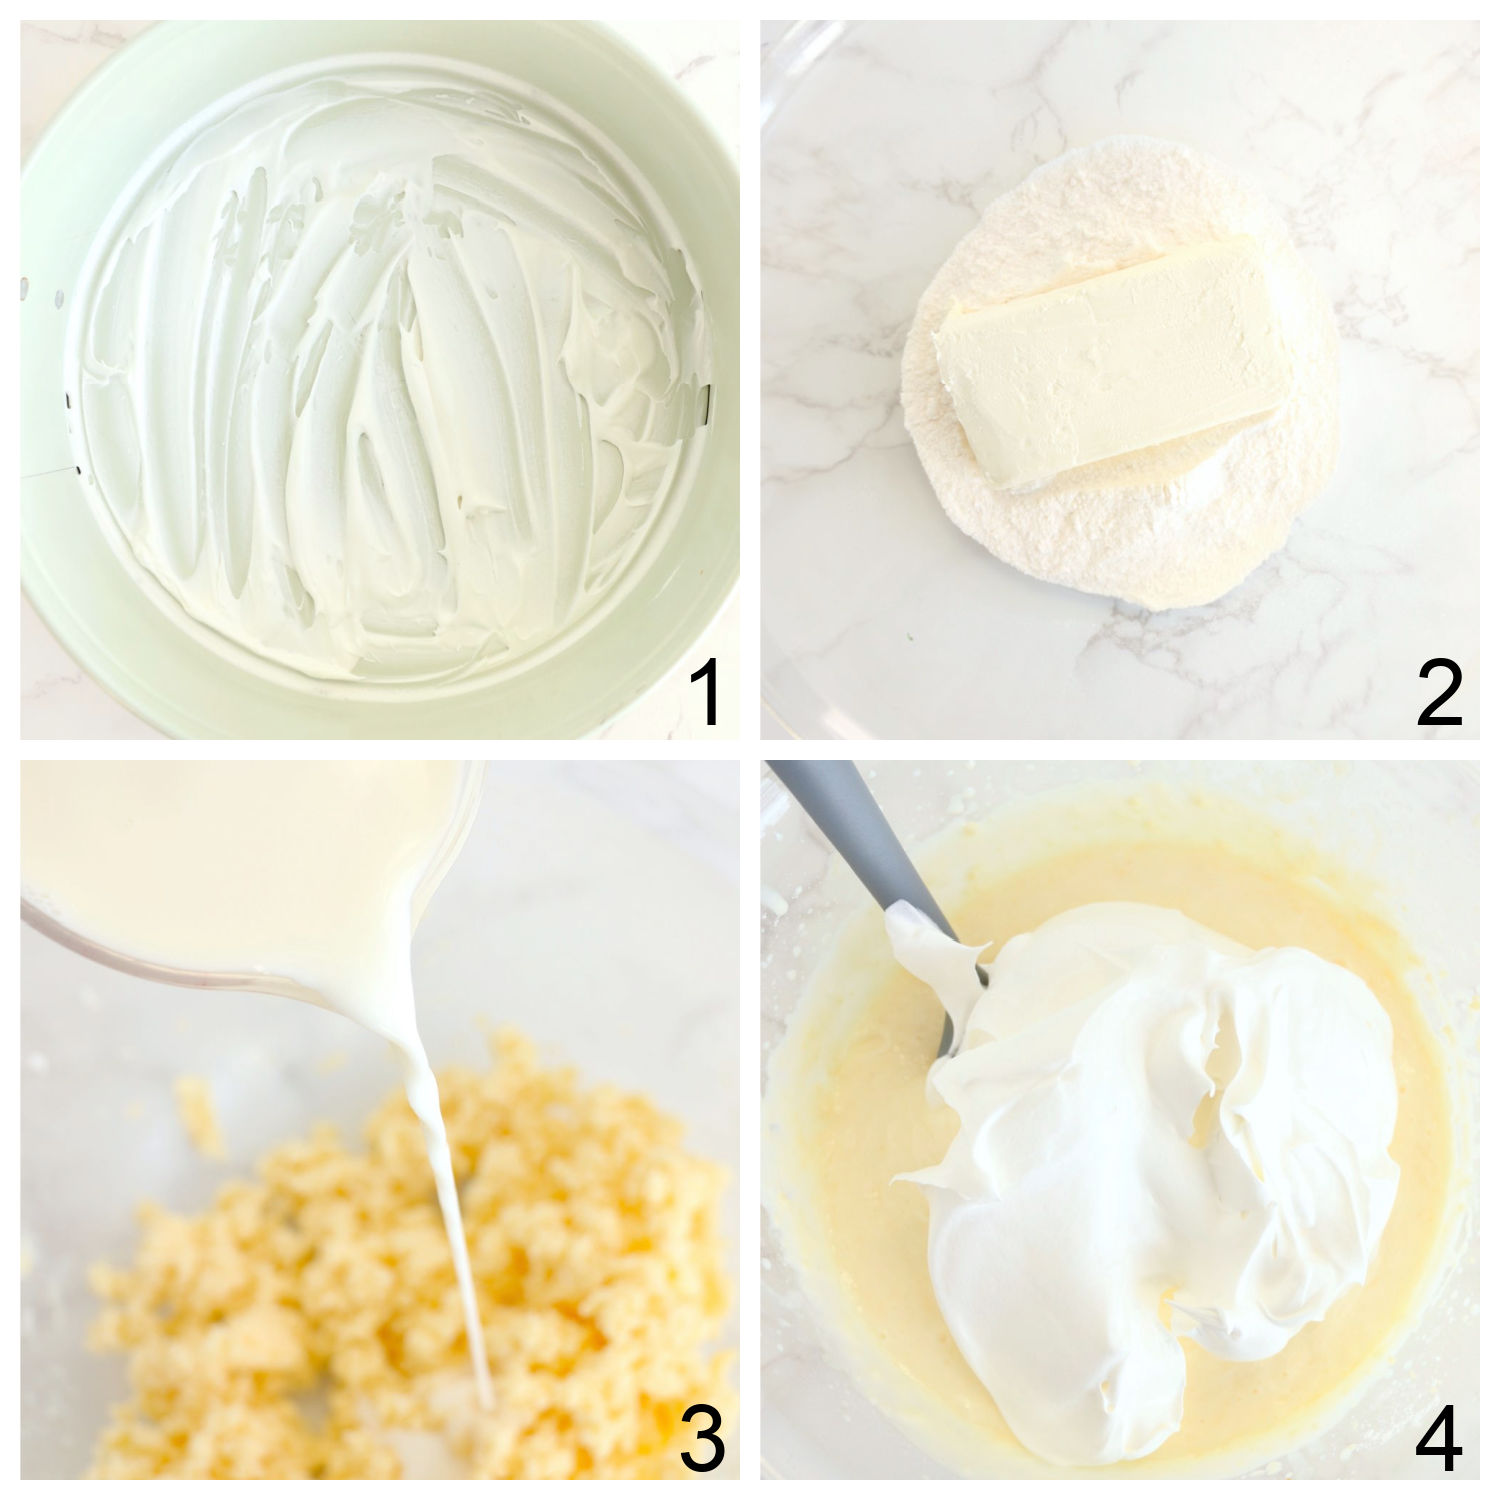
- Place ½ a cup of whipped topping into a round springform pan. Spread it evenly on the bottom of the pan.
- Next, add the pudding mix, and softened cream cheese to a large mixing bowl. Mix together as best you can.
- Pour in the milk and beat the mixture for about 2-minutes or until the pudding mixture thickens.
- Fold in the remaining whipped topping into the pudding mixture.
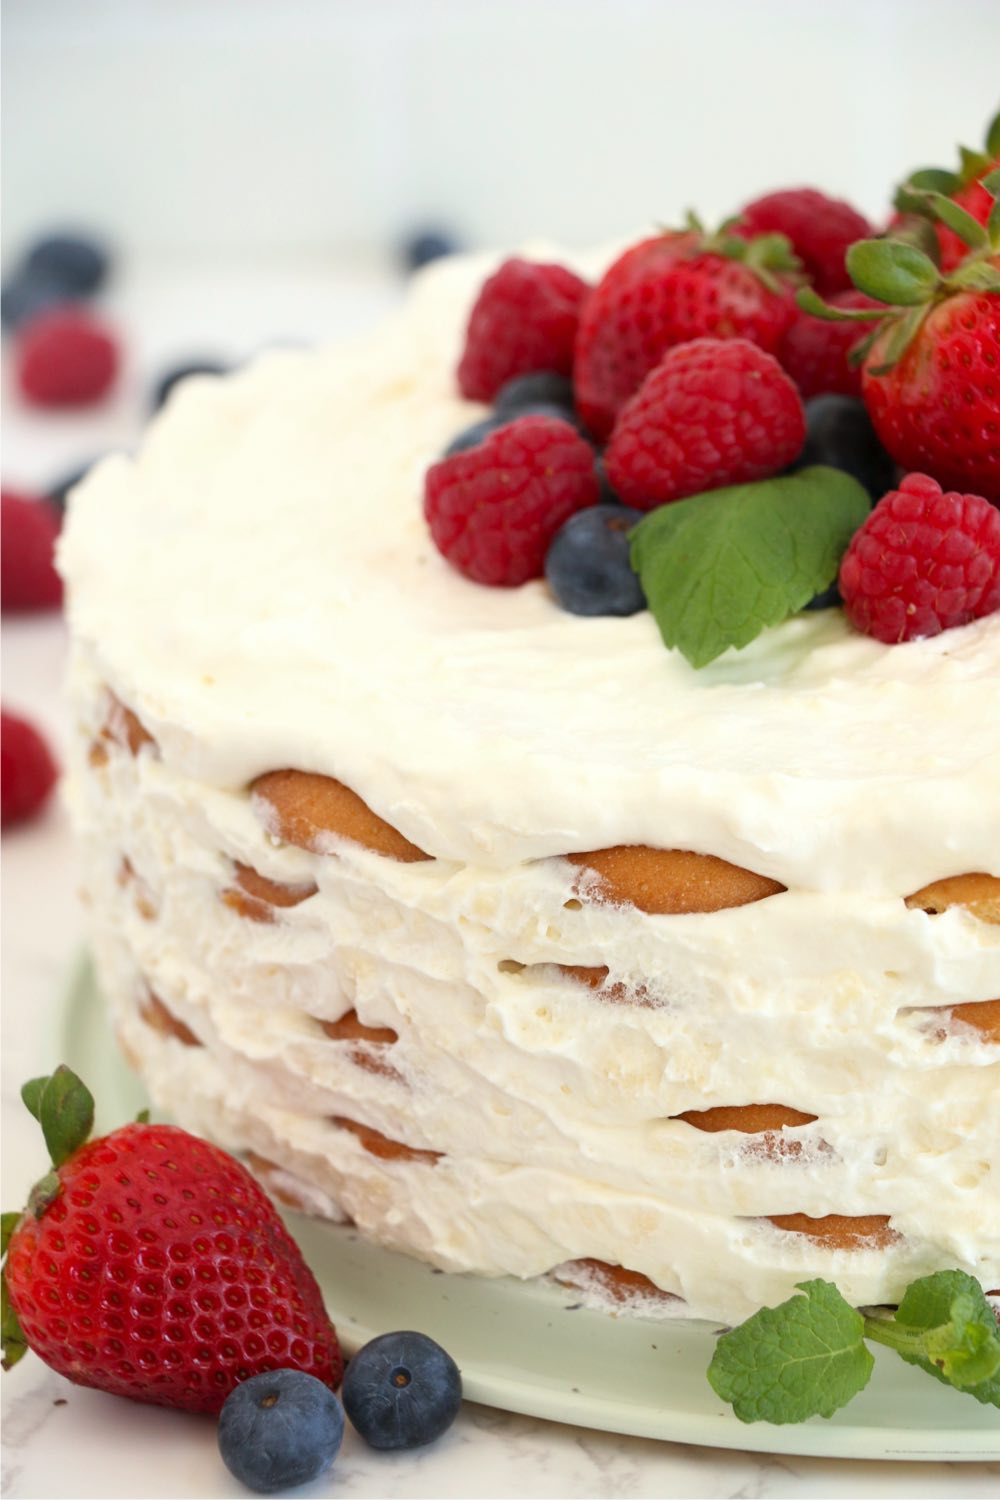
LAYERING THE CAKE
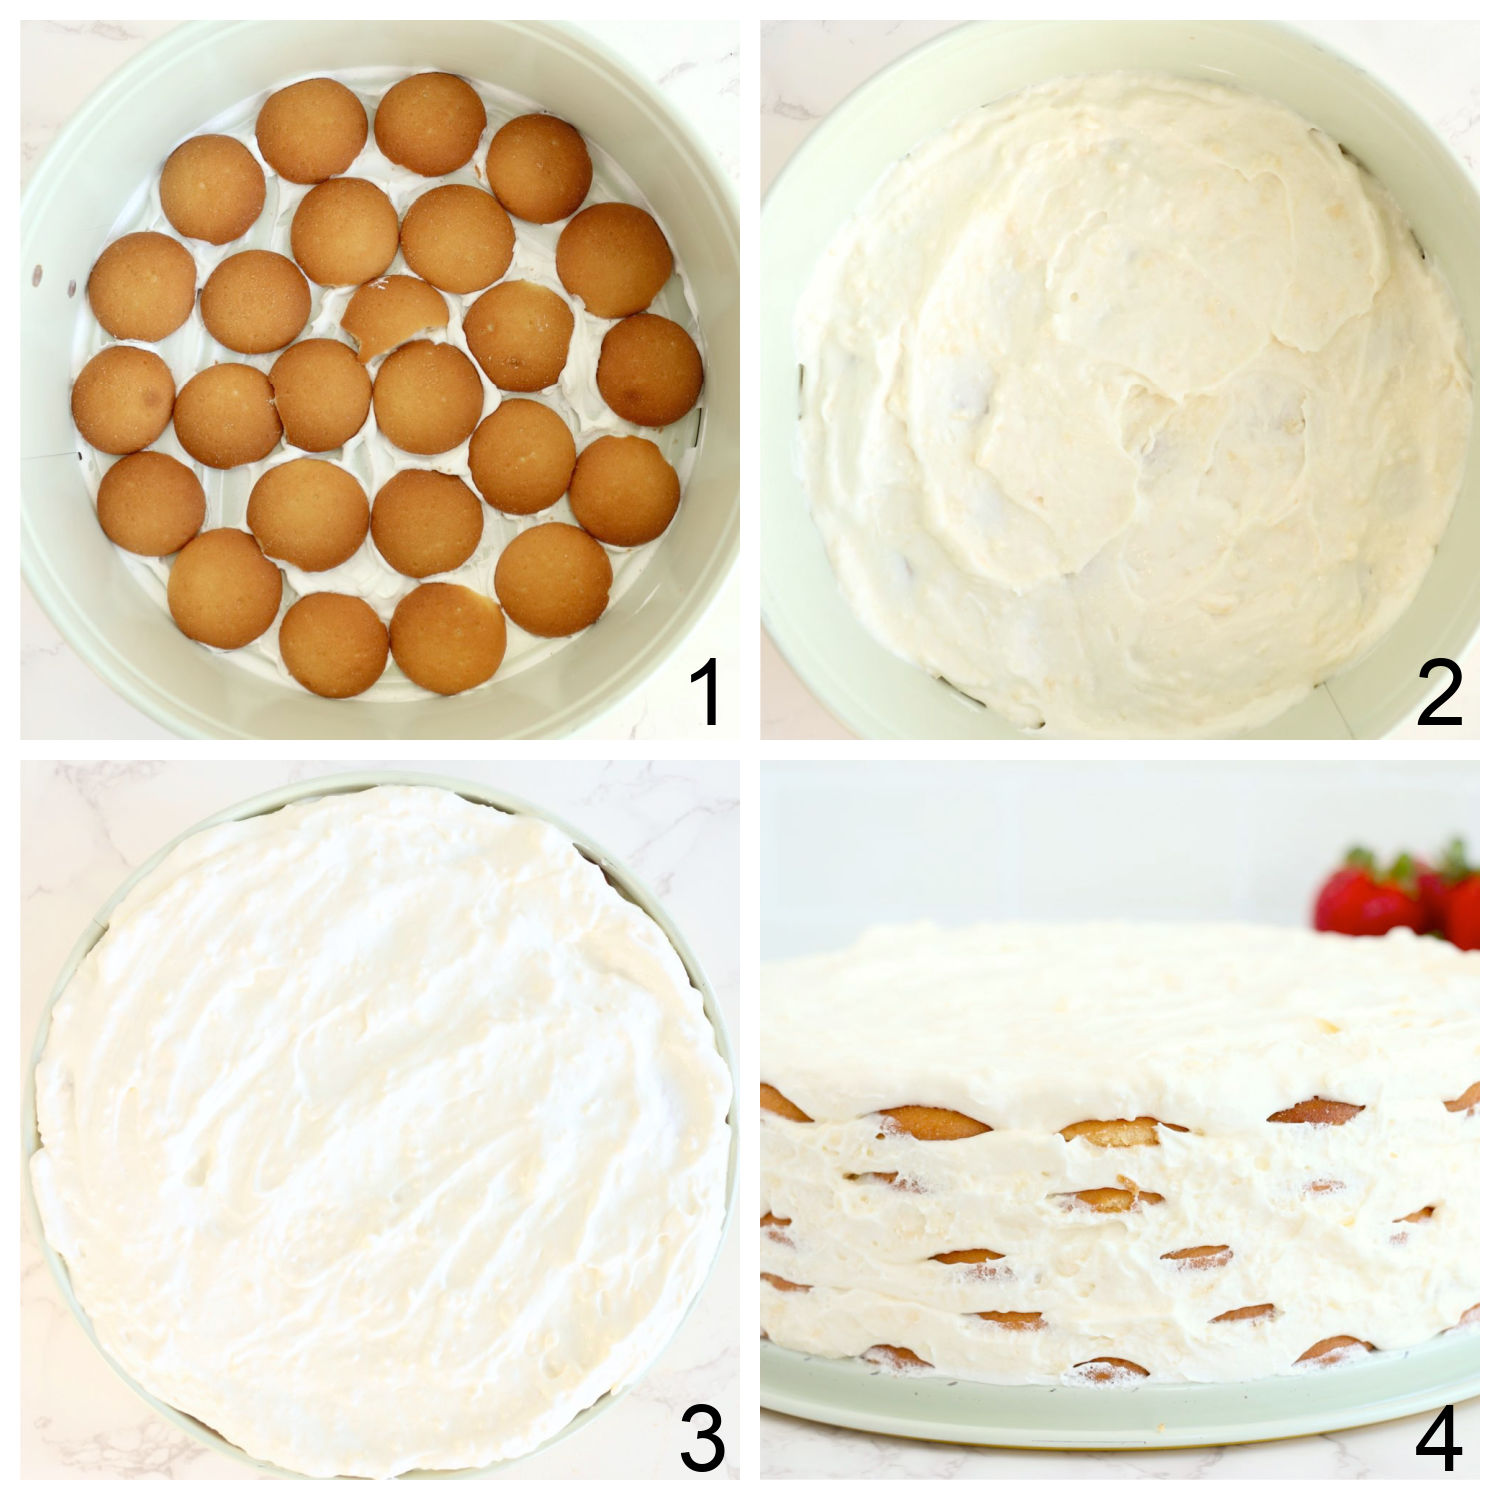
- Place 1 layer of wafers on top of the whipped topping in your springform pan.
- Spread ¾ of a cup of the pudding mixture on top of the wafers.
- Repeat layers of wafers and pudding until the filling is gone. Be sure to end with a layer of filling.
- Place the cake in the refrigerator for 4 hours.
When you're ready to serve the cake, top it with fresh strawberries, blueberries, or raspberries to add a beautiful pop of color!
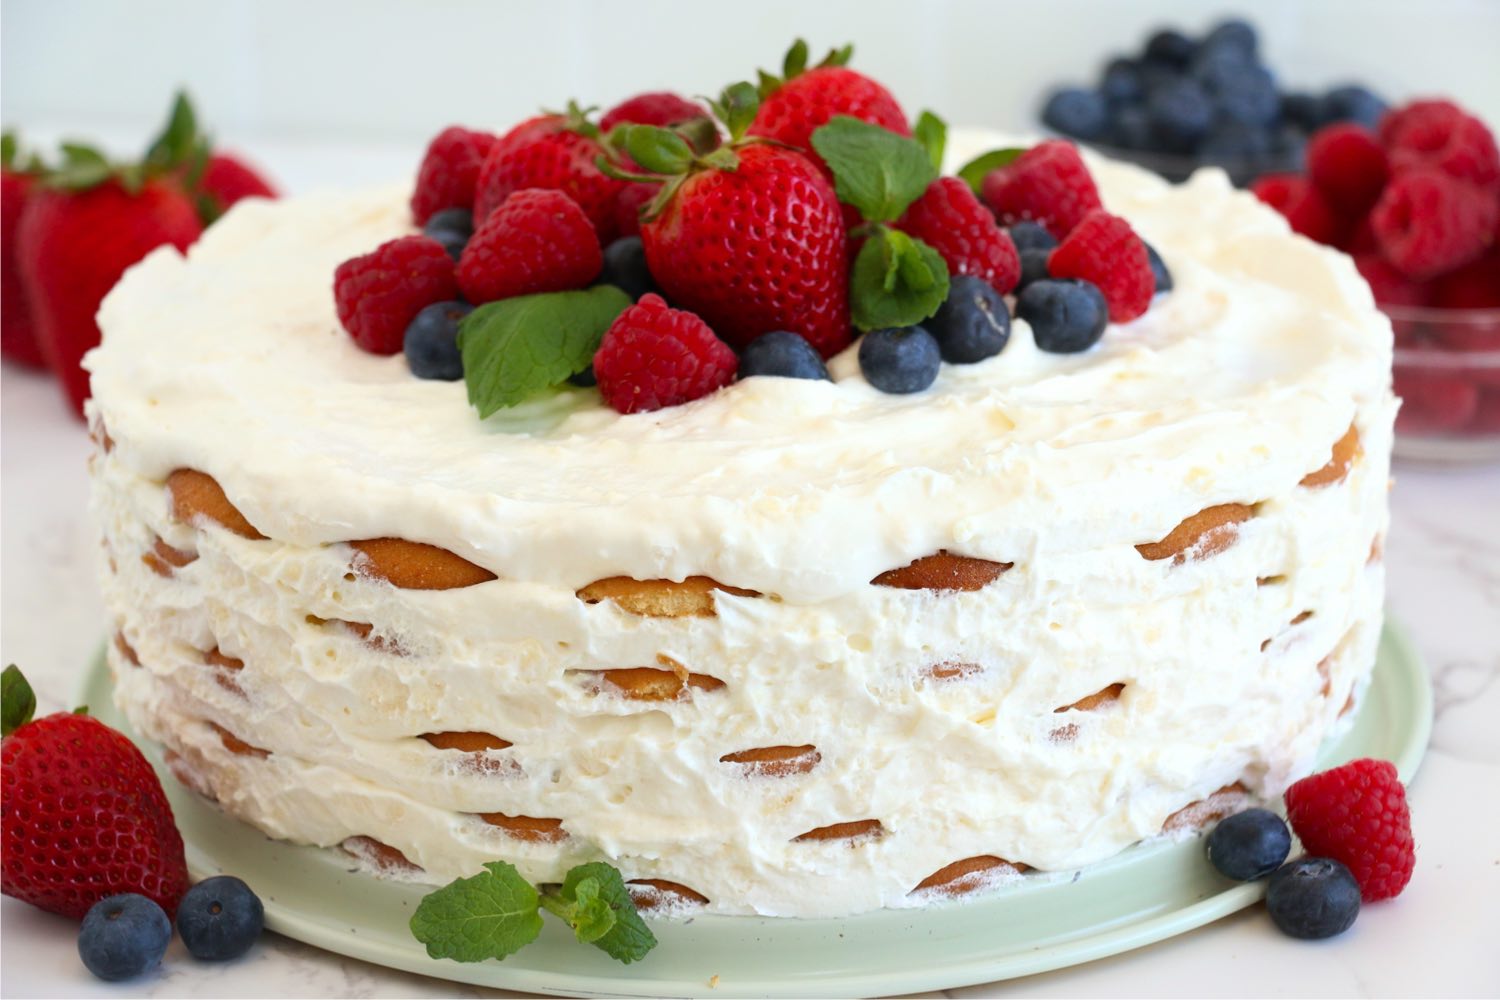
How pretty is that?!
WHY YOU'LL LOVE THIS VANILLA WAFER CAKE
- No-bake: Unlike most cakes, this cake doesn't require any baking! The layers of cream cheese and chocolate pudding make it rich and creamy without the need for heat.
- Easy to prepare: This cake is incredibly easy to throw together, with just a few simple ingredients needed. Whether you are using store-bought ingredients or making them from scratch, preparing this cake is a breeze.
- Great for any occasion: This cake is perfect for any special occasion, from birthdays to anniversaries. It's also great for those who just want a delicious and indulgent dessert!
WHAT IS AN ICEBOX CAKE?
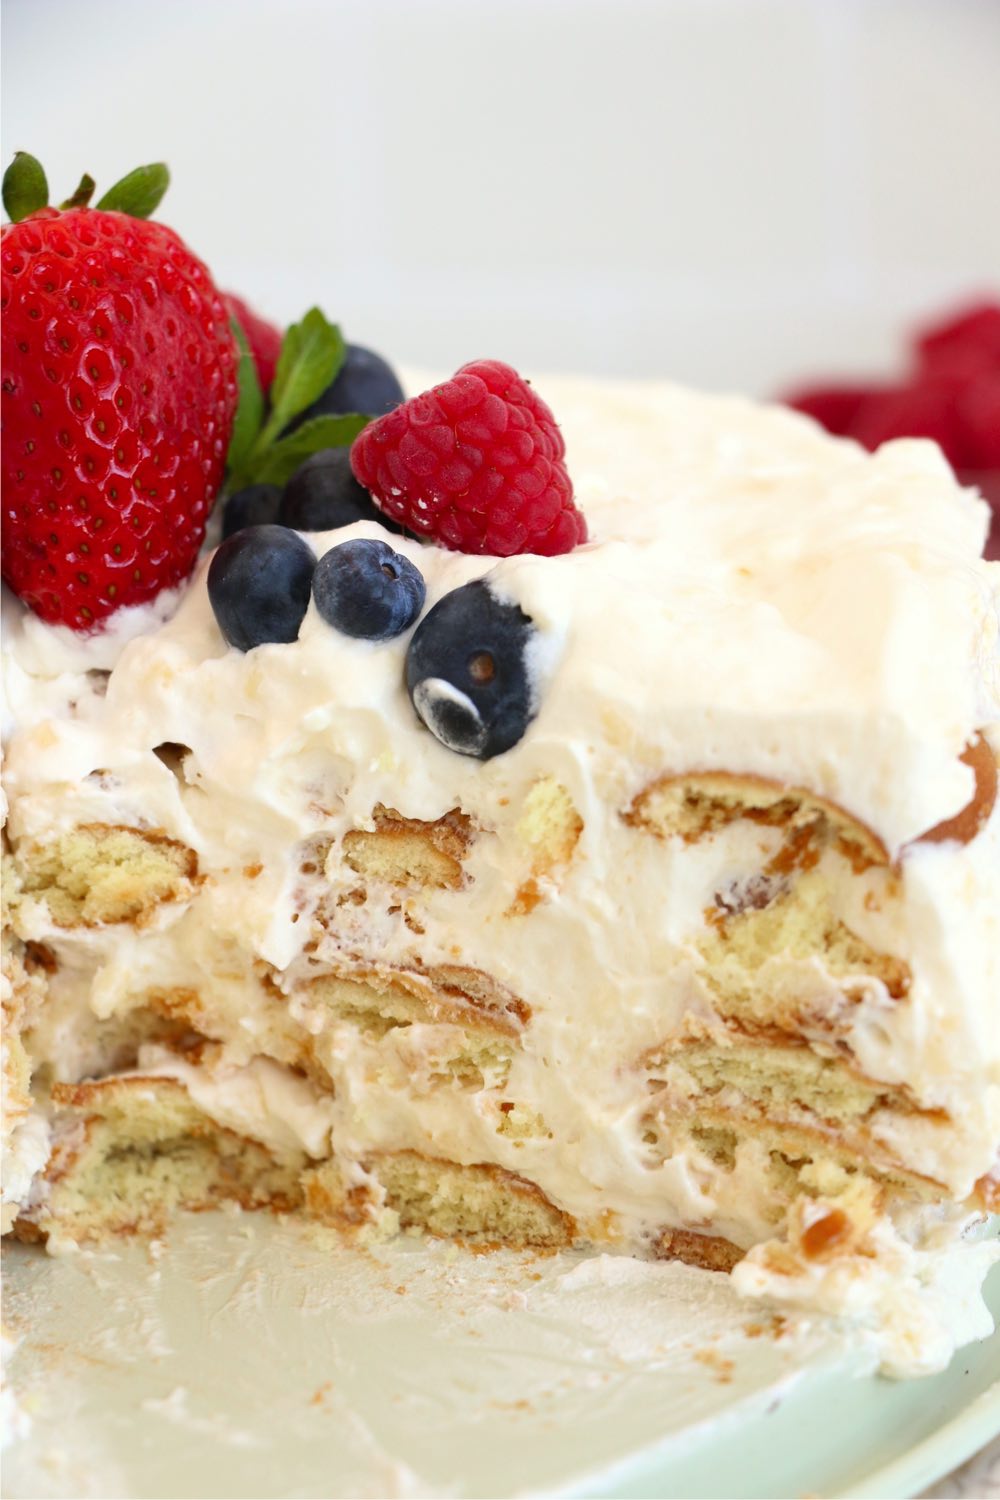
An icebox cake is a classic dessert that became popular in the 1930's. It was a cake that was originally stored in the icebox before we had modern electric refrigerators.
The cake is typically made by layering cream and wafers (sometimes adding in fruit and nuts as well), then put in the refrigerator to set. There's no baking required for an icebox cake!
DO I HAVE TO USE A SPRINGFORM PAN TO MAKE THIS CAKE?
No, you don't have to. You could easily layer the ingredients in a 9x13-inch pan. To ensure you still see some of the pretty layering effect, make sure to use a glass pan!
WHAT ARE SOME OTHER TOPPING IDEAS FOR AN ICEBOX CAKE?
If you're not a huge fruit fan, there are tons of other options for topping your cake. Feel free to try any of the suggestions below or dream up your own concoction:
- Candy bar pieces
- Crushed nuts
- Sprinkles
- Caramel
- Chocolate ganache
HOW LONG DOES VANILLA WAFER CAKE KEEP?
Because vanilla wafers are airy and porous cookies, this cake can last for several days in the refrigerator. However, the quality of the cake will start to deteriorate after a few days, so it's best to eat it within a week of making it.
Additionally, icebox cake should be kept cold at all times during storage to prevent the whipped cream from melting or going flat.
MORE NO-BAKE DESSERTS YOU'LL LOVE
- No-Bake Cherry Torte
- Copy Cat Dairy Queen Ice Cream Cake
- Delicious No-Bake S'mores Tarts
- No-Bake Lemon Pie
- Easy No-Bake Peanut Butter Clusters
- Strawberry Crumble Ice Cream Cake
- Easy Berry Sorbetto
Vanilla Wafer Icebox Cake
Ingredients
- 8 ounces cream cheese (softened)
- 2 3.4 oz packages white chocolate instant pudding
- 21/2 cups cold milk
- 12 ounces whipped topping (divided)
- Vanilla wafers
- Strawberries (blueberries, raspberries and mint leaves for garnish)
Instructions
- Prepare your springform pan by spreading ½ cup whipped topping on the bottom of the pan.
- In a large mixing bowl, beat cream cheese and dry pudding mix together.
- Slowly add milk while continuing to mix. Beat for about 2 minutes or until it starts to thicken.
- Fold in remaining whipped topping.
- Place one layer of wafers in the bottom of the pan on top of the whipped topping.
- Spread about ¾ cup of filling on top of wafers.
- Repeat alternating layers until filling is gone.
- Be sure to end with a layer of filling on the top.
- Refrigerate 4 hours before serving.
- Top with fresh strawberries, blueberries raspberries and mint leaves for garnish.
Notes
- Add a bit of color with fresh berries like strawberries, blueberries and raspberries.
- You can also add crushed nuts, sprinkles, caramel or candy bar pieces.
- This cake is great for any occasion!
- You can substitute a springform pan for a 9x13 inch pan.
Linda J French
Can this be frozen?
Sara
Yes, you can freeze this Vanilla Wafer Icebox Cake! Assemble it without the berry garnish, wrap it tightly, and freeze for up to 1 month—just thaw in the fridge before serving and add fresh toppings.
Lesie
When you say whipped topping, do you mean the store bought kind in the tub like Cool Whip or fresh whipped cream topping?
Sara
I usually just use Cool Whip!