Want to Save This Recipe?

I pinned a Cake Batter Chocolate Chip Cookie recipe from Sally's Baking Addiction the other day and knew I needed to make these gorgeous treats, however, I wanted to change them up just a little bit. I wanted them BIGGER and I wanted M&Ms in them instead of the white chocolate chips. For the kids, of course. Of course. Sally's method for making thicker cookies intrigued me and I wanted to test it out to see if it really worked.
Here's what I used to make these awesome treats:
Ingredients:
-
1 ¼ cups all-purpose flour
-
1 ½ sticks unsalted butter
-
1 ¼ cup vanilla boxed cake mix
-
½ cup granulated sugar
-
½ cup brown sugar
-
½ teaspoon baking soda
-
1 egg
-
1 ½ teaspoons vanilla extract
-
½ cup chocolate chips
-
½ cup M&Ms
-
½ cup sprinkles
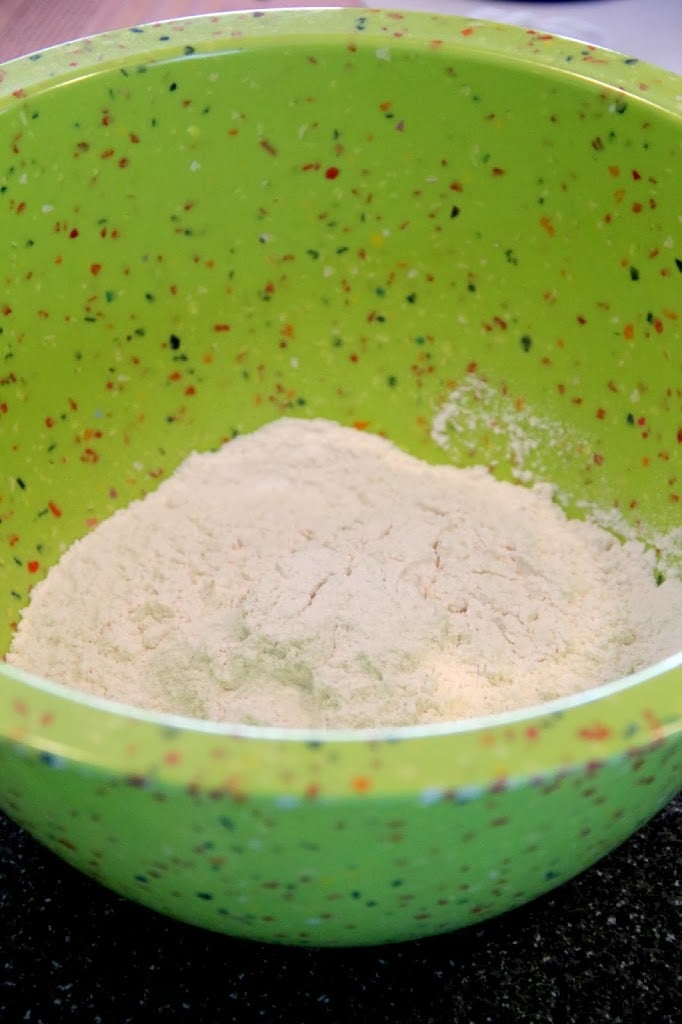
In a large bowl, combine the flour, cake mix and baking soda.
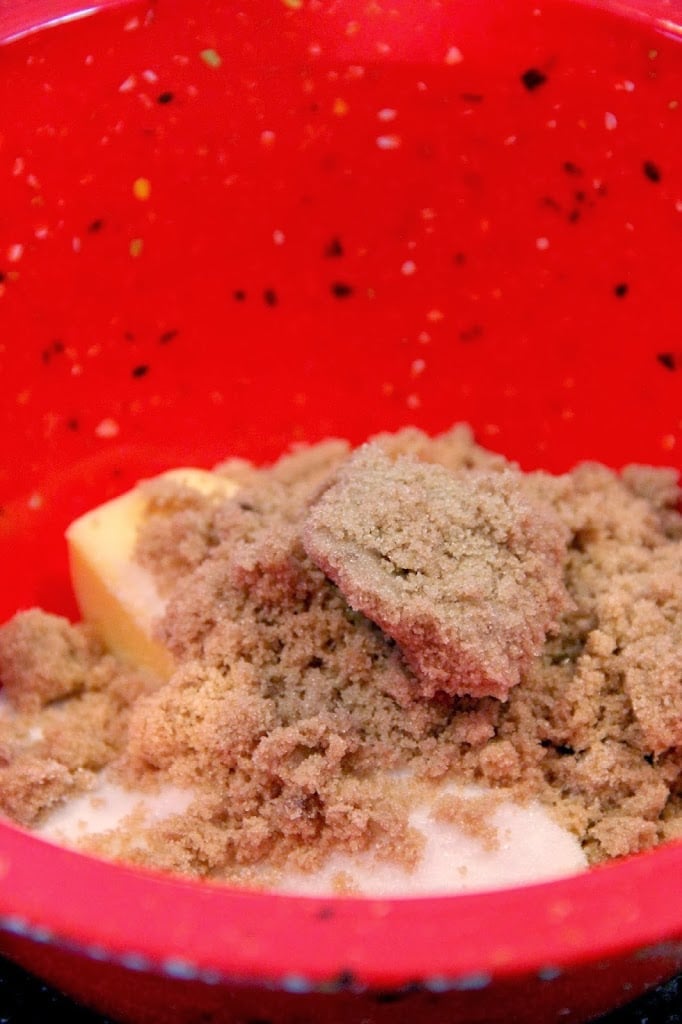
In another bowl, cream together the sugars and butter.
Mix in the egg and vanilla until it's smooth and creamy.
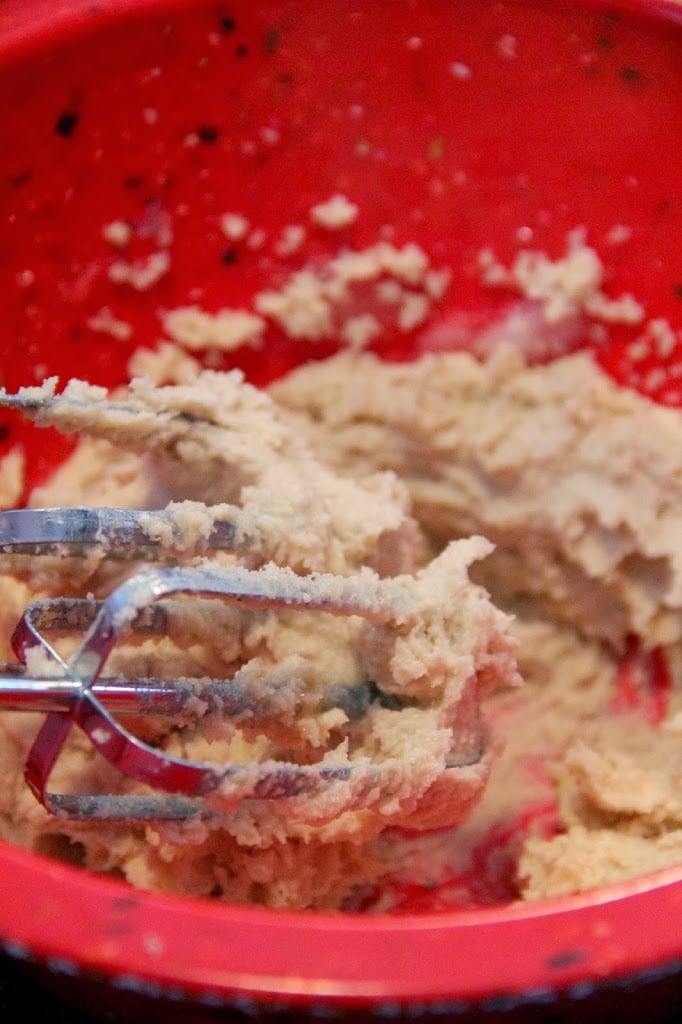
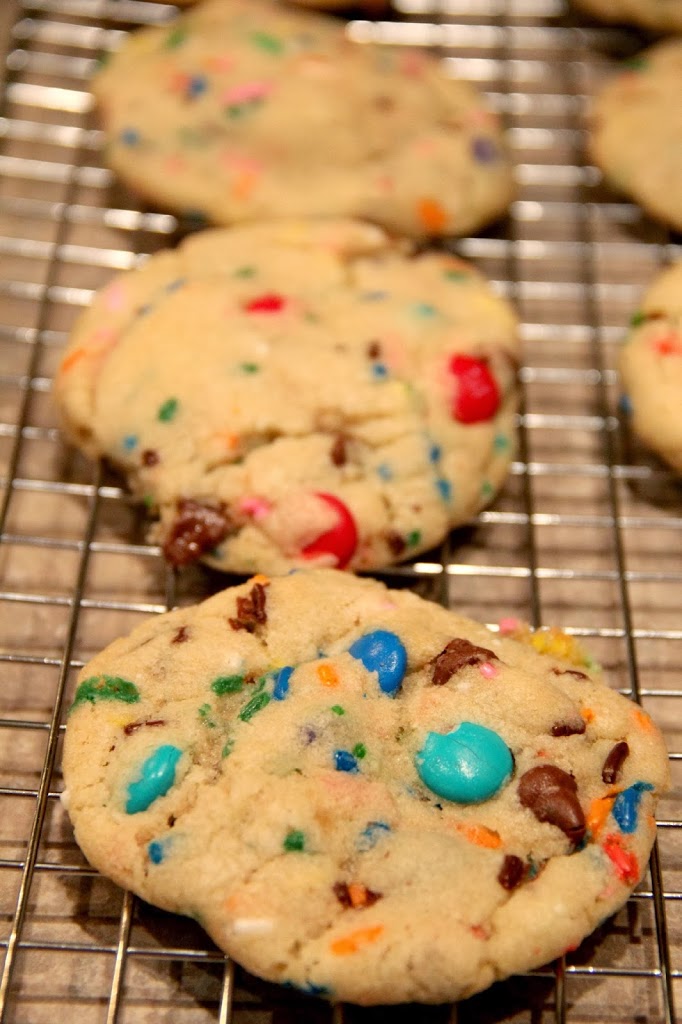
Add the creamed mixture to the dry mixture and pour in the chocolate chips, M&Ms and sprinkles.
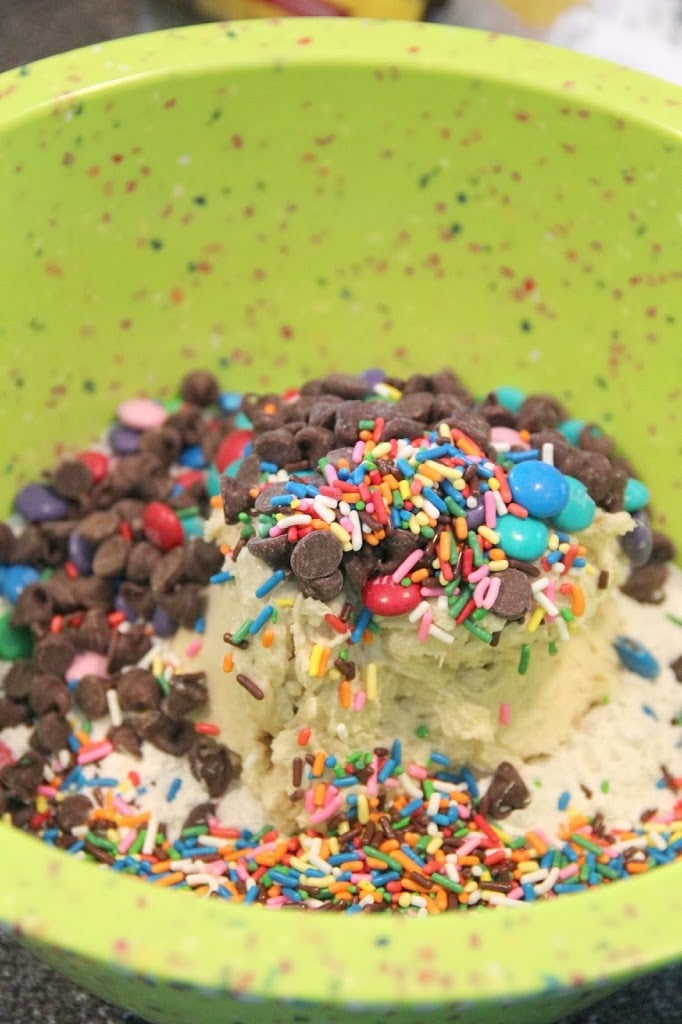
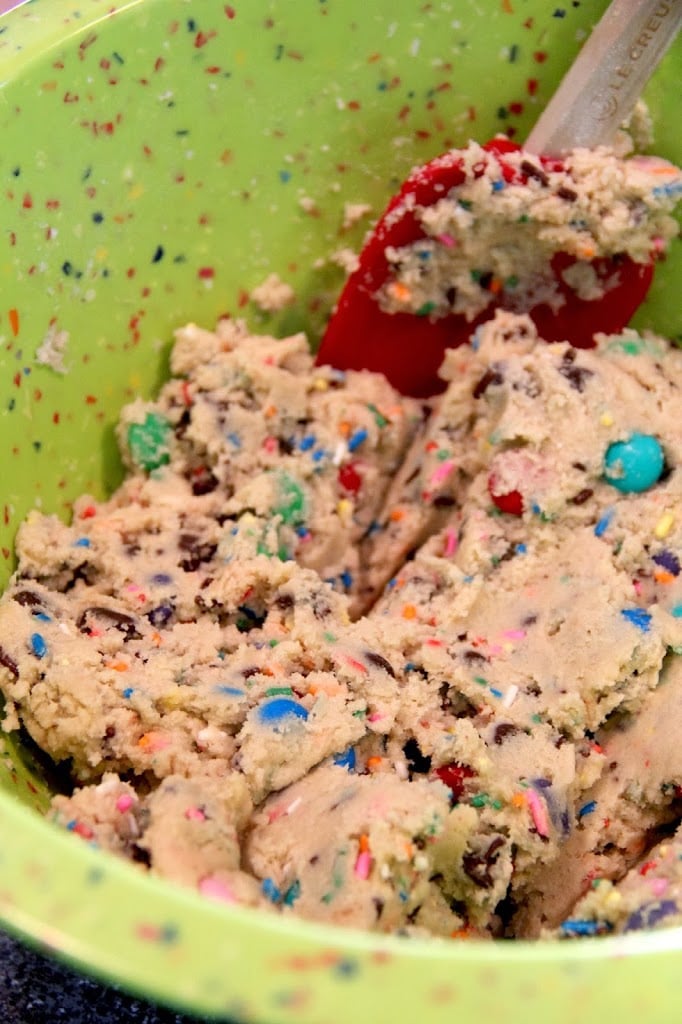
Now mix everything together. I used a hand mixer because I don't have a full-size mixer. Who has room on their countertops for one of those? For those of you who have them, where in the world do you put them?
Make sure you don't overdo it on the mixing. Just beat the dough until everything is folded together. Now chill the dough for at least one hour. This will also help create a thicker cookie.
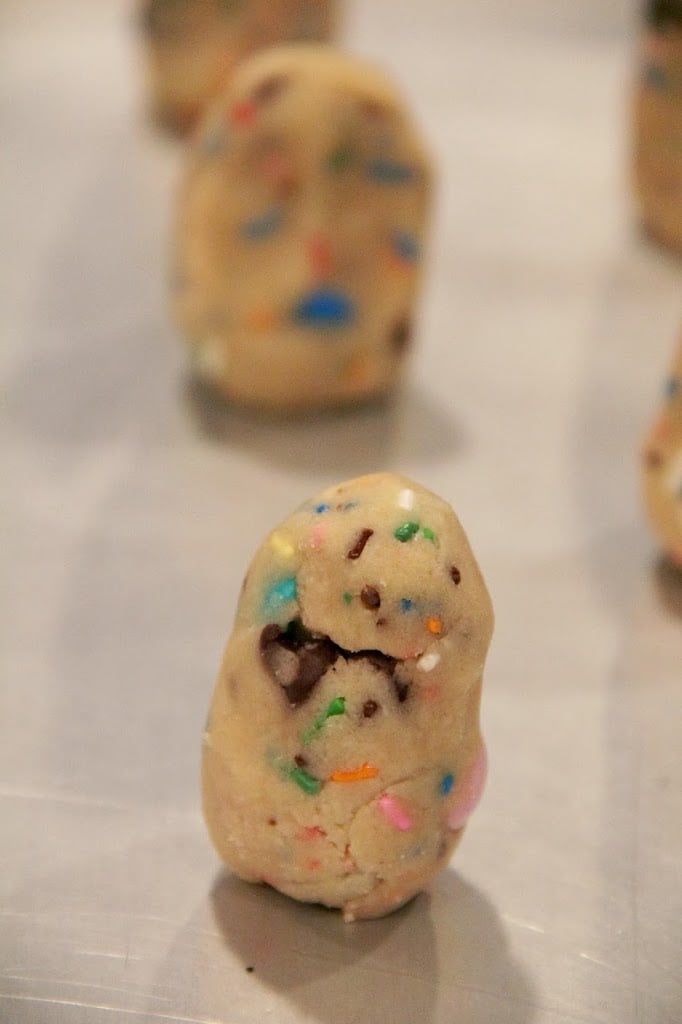
After the dough is chilled, get out your baking pans and spray them with non-stick cooking spray. This is the part of Sally's recipe that intrigued me. She calls it the "tall" cookie dough trick. You can ready more about it here. She says that if you make basically a tower rather than a ball you're going to reduce the cookie's spreading, resulting in a thicker cookie. I believe she used about a tablespoon of dough for each cookie. I did two tablespoons because I wanted a larger cookie.
This is how the cookies looked after 12 minutes of baking at 350 degrees when I pulled them out of the oven.
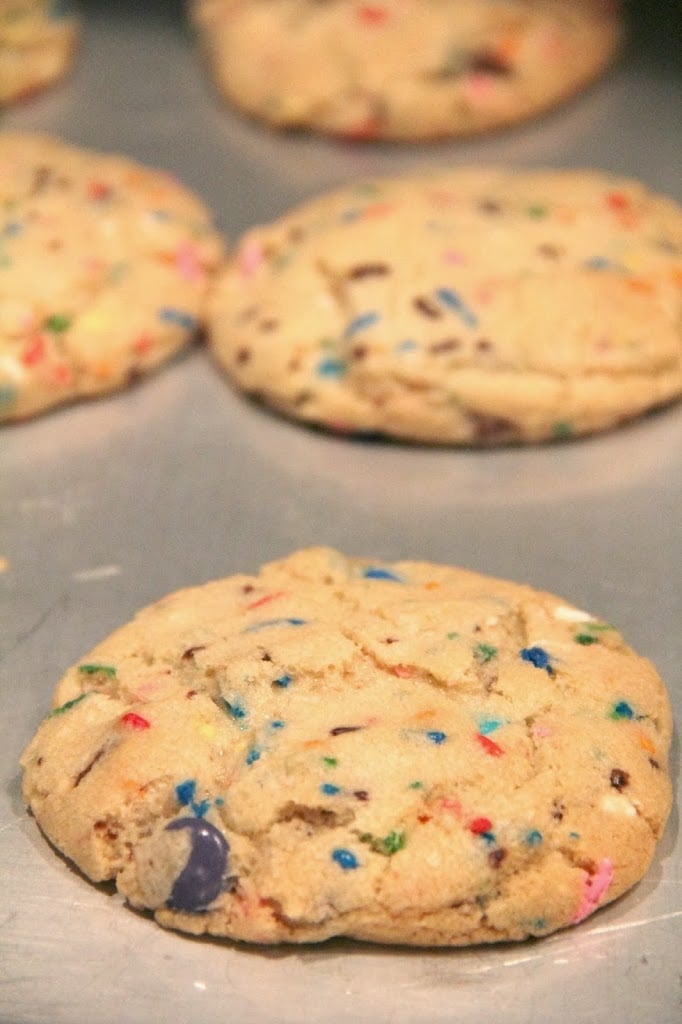
After four minutes, remove them from the pan onto a cooling rack. This is where my photo shoot ended for the night. I waited until morning to take photos of the finished cookies because natural light is your friend when it comes to food photography.
So, between the evening and the morning, we enjoyed a few cookies and I ended up getting the camera back out again to take a few more shots in the natural light. I asked my hubby if he thought the cookies looked too pale now that I took them out of the artificial light. He just rolled his eyes at me. So I decided to just go with it. Not many of us here in the Midwest have tans in the dead of winter anyway, so why should a cookie?
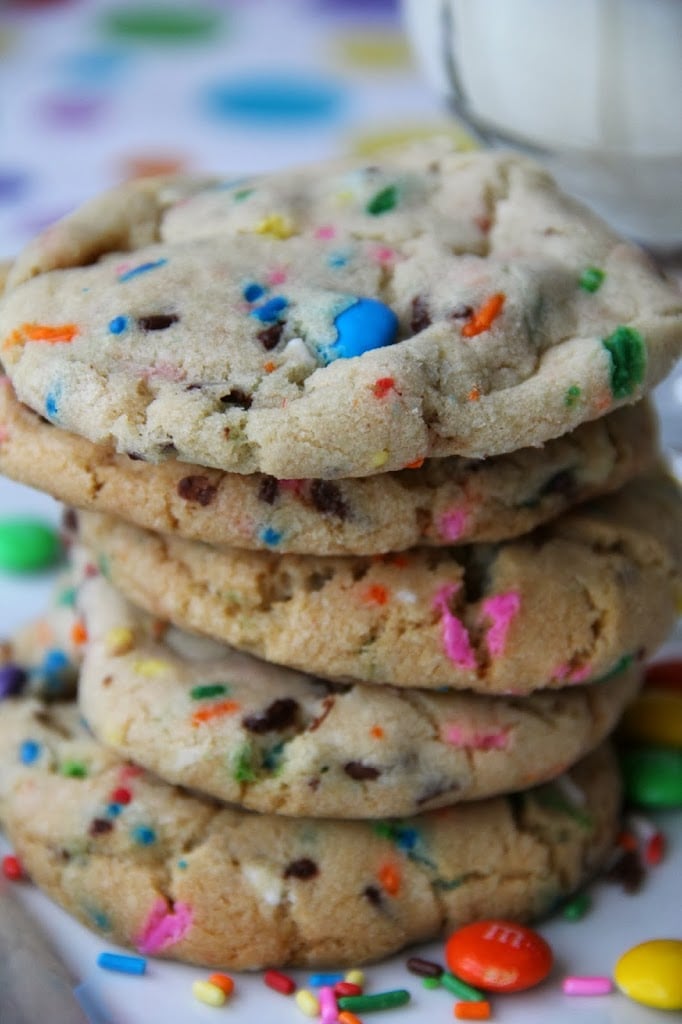
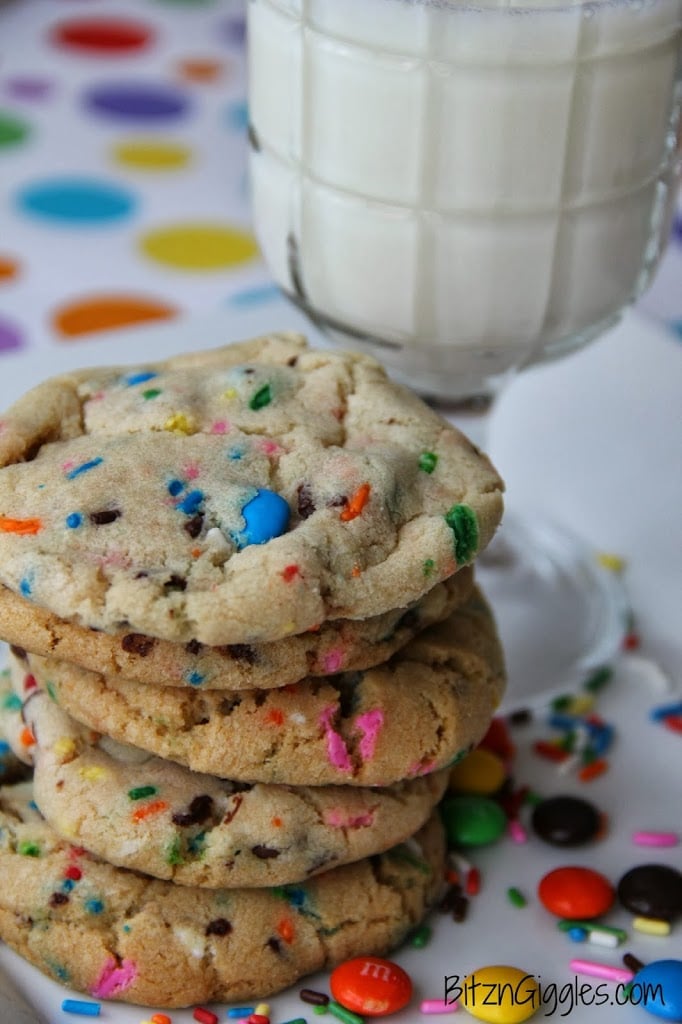
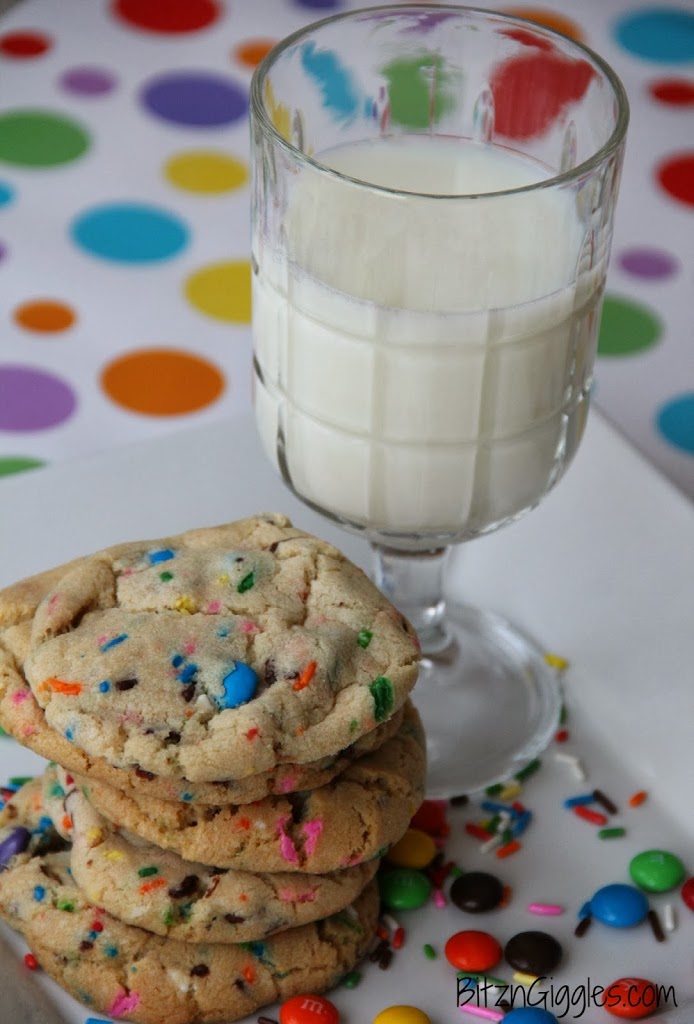
Don't forget to pour yourself a nice glass of milk to go with this scrumptious treat.

And for goodness sakes, don't eat just one. Eat two or three. Just ask your kids if they think I'm right. I'm right. These are so colorful and so much fun. They're the perfect cookie for birthdays and holidays. Hold that thought. They're the perfect cookie any ole' time. Thank you to Sally for her "tall" dough baking tip. We will be enjoying these all week!
Candy & Cake Batter Sprinkle Cookies
Sweet fun in a cookie! These candy cake batter sprinkle cookies are so easy to make!
Print
Pin
Rate
Calories: 693kcal
adjust servings: pieces
Ingredients
- 1 ¼ cups all-purpose flour
- 1 ½ sticks unsalted butter
- 1 ¼ cup vanilla boxed cake mix
- ½ cup granulated sugar
- ½ cup brown sugar
- ½ teaspoon baking soda
- 1 egg
- 1 ½ teaspoons vanilla extract
- ½ cup chocolate chips
- ½ cup M&Ms
- ½ cup sprinkles
Instructions
- In a large bowl, combine the flour, cake mix and baking soda.
- In another bowl, cream together the sugars and butter.
- Mix in the egg and vanilla until it's smooth and creamy.
- Add the creamed mixture to the dry mixture and pour in the chocolate chips, M&Ms and sprinkles.
- Now mix everything together.
- Chill the dough for at least one hour.
- Prepare baking pans.
- Tower the cookies and bake for 12 minutes at 350 degrees.
Notes
- Chilling the Dough: Chilling the cookie dough for at least an hour is essential for preventing the cookies from spreading too much during baking. This helps solidify the butter in the dough, resulting in thicker and chewier cookies. For even better results, consider chilling the dough overnight for enhanced flavor development.
- Mix-ins Distribution: Ensure even distribution of chocolate chips, M&Ms, and sprinkles throughout the dough to guarantee every cookie has a balanced combination of flavors and textures. Fold the mix-ins into the dough gently but thoroughly to avoid overmixing, which can lead to tough cookies.
- Baking Time and Temperature: Monitor the baking time closely to prevent overbaking. Bake the cookies at 350 degrees Fahrenheit for around 12 minutes, or until the edges are lightly golden brown. Remember that the cookies will continue to set as they cool on the baking sheet, so it's okay if they appear slightly underdone when removed from the oven. Allow them to cool for a few minutes on the baking sheet before transferring them to a wire rack to cool completely.
Nutrition
Calories: 693kcal | Carbohydrates: 133g | Protein: 7g | Fat: 15g | Saturated Fat: 9g | Polyunsaturated Fat: 0.4g | Monounsaturated Fat: 1g | Trans Fat: 0.1g | Cholesterol: 46mg | Sodium: 181mg | Potassium: 161mg | Fiber: 2g | Sugar: 99g | Vitamin A: 127IU | Vitamin C: 0.2mg | Calcium: 82mg | Iron: 3mg
Tried this Recipe? Pin it for Later!Mention @BitzNGiggles or tag #bitzngiggles!
Sara
Melissa, the cookies were eaten up in no time! Thanks so much for stopping by - I'm sure we'll be partying together all year!
Melissa @ My Recent Favorite Books
These sound delicious! =)
Im a new Facebook follower from "Freedom Fridays"!
Sara
Evelyn, you and Jamie are sweethearts. Thanks so much for the feature. Following you on Facebook now too!
Evelyn @ My Turn for us
This are just super cool little cookies!!! So much fun!! And of course we just had to feature them at Freedom Fridays this week!!!
Hugs
PS Totally pinning!!
Evelyn @ My Turn for us
PS Now following via Facebook:))
Sara
Jamie, what fabulous news! You just made my day. Thank you so very much! I'm planning to stop by the party tonight for sure. I so appreciate you stopping by to let me know. I'm definitely grabbing a button. Thank you!!!
Jamie @ Love Bakes Good Cakes
Hi Sara! Just stopping by to let you know you are one of he features at tonight's Freedom Fridays! 🙂 Be sure to grab a featured button if you would like one! We can't wait to see what you share this week!
Claire LiveLoveCreate
Great project !!
I would love you to come and share @ Craft, Create & Inspire linky party !!!
Look forward to seeing you there 🙂
http://livel0vecreate.blogspot.co.uk/2014/01/craft-create-inspire-linky-party_11.html
Claire x
Sara
Thanks for the invite, Claire! I stopped by tonight. I'm always looking to broaden my network and am excited about meeting some new blogging friends in 2014. Thanks again! Following you on Pinterest!
Krystle Smith
These look to die for! I love that you used m and ms and cake mix. Such gorgeous colors
Sara
The colors are what make them really stand out! Thanks for stopping by, Krystle!
Sara
Laura, thanks so much for stopping by! These cookies are certainly a hit with the kiddos. I appreciate you taking the time to comment. Have a wonderful Friday!
Laura@bakinginpyjamas
They look so colourful and cute. Visiting from Marvellous Monday's. Laura@baking in pyjamas