
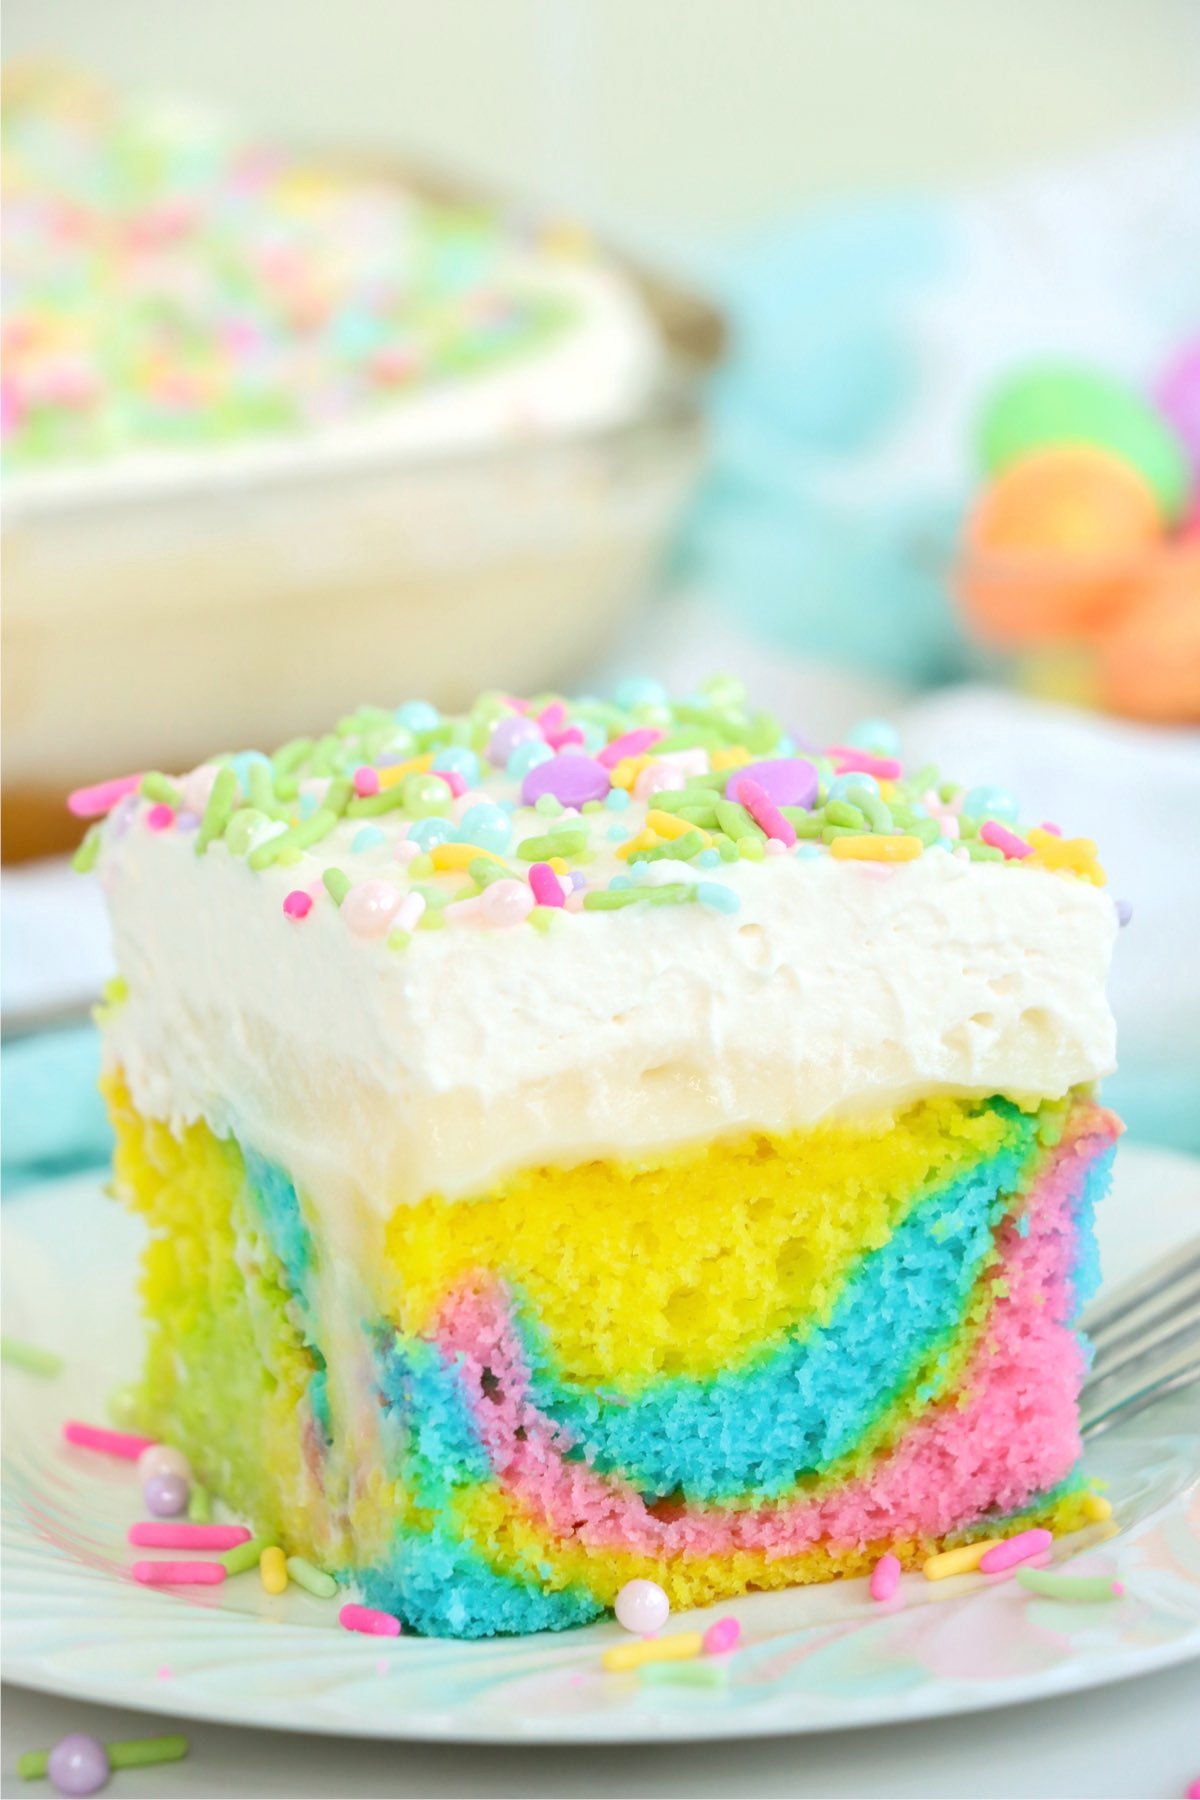
Easter desserts should be just as fun and colorful as the holiday, and this Easter Poke Cake is the perfect treat! With a pastel-swirled cake, creamy white chocolate pudding filling, and fluffy whipped topping, it's as festive as it is delicious.
Want to Save This Recipe?
Best of all, it's easy to make with simple ingredients. The "poke" technique keeps it extra moist, while the homemade whipped topping adds the perfect finishing touch. Perfect for Easter brunch, spring gatherings, or just because!
Complete your Easter feast with these easy and delicious dishes! Start with the fun and festive Bunny Butt Funfetti Easter Cheese Ball, then serve the tender Ninja Foodi Fall Apart Ham as the star of the meal. Pair it with flavorful Air Fryer Balsamic Carrots and creamy Loaded Baked Potato Casserole for a well-rounded, crowd-pleasing spread!
Jump to:
Why You'll Love This Recipe
- Simple Ingredients: This recipe uses simple ingredients such as boxed cake mix and instant pudding without compromising on taste. It's a convenient treat to make when you're short on time but still want something sweet and delicious!
- Fun and Colorful: With the bright pastel colors of the cake and the festive decorations, this cake is almost too cute to eat! You can get the kids involved in the decorating and coloring process for a fun day of baking.
Another treat that's just as adorable is my Bunny Butt Funfetti Easter Cheese Ball-perfect for adding some whimsy to your holiday spread! - Easy to Customize: Although the bright pastel colors are perfect for Easter, this poke cake would be also great to make for birthdays or any other holiday! You can easily switch up the food coloring and decorations to fit any occasion. If you're looking for another festive Easter dessert, check out my Easter Cake Roll-it's just as colorful and fun!
- Make-Ahead Friendly: This cake actually gets better as it chills, making it a great option to prep the day before your gathering.
- Crowd-Pleaser: It's light, creamy, and not overly rich-perfect for serving a crowd after a big holiday meal.
Ingredients
Gather the ingredients below to make this colorful Easter cake!

- White cake mix (plus ingredients on package - eggs, oil, water) is the perfect base to add bright pastel colors to! You can use yellow cake mix, but the yellow tint may not give you as bright of colors.
- Instant white chocolate pudding mix is a super quick and easy way to prepare pudding for this recipe. You can use a homemade pudding if preferred.
- Milk is used to make the pudding
- Heavy cream is used to make the smooth, fluffy whipped topping
- Powdered sugar adds sweetness to the whipped topping
- Vanilla extract gives the whipped topping a sweet vanilla flavor
- Pink, blue, green and yellow food coloring are the perfect spring colors, but you can use any food coloring you'd like!
- Easter sprinkles make for a fun, festive topping
See recipe card for full information on ingredients and quantities.
Substitutions & Variations
- Simple Whipped Topping Swap: You can use Cool Whip in place of the homemade whipped cream for even less hassle!
- Other Pudding Flavors: Feel free to replace the white chocolate pudding with vanilla, lemon, milk chocolate, or any other pudding you love!
- Make for Any Occasion: This recipe is super great for any occasion! Use red, white, and blue for July 4th or pink and red for Valentine's Day. You can easily switch up the food coloring and sprinkles and have a cake fit for any event!
- Cake Mix Swaps: In place of the standard white cake mix, you can use vanilla, carrot cake, yellow, or lemon depending on the flavor you want!
- Topping Substitutions: You can use a buttercream or cream cheese frosting in place of the whipped topping for a richer flavor and texture.
How to Make Easter Poke Cake
Once you've gathered all your ingredients, preheat your oven to the temperature indicated in cake mix directions and follow the steps below for a sweet and colorful Easter treat!

- Step 1: Separate cake batter into four smaller bowls. Add one color of food coloring bowl of batter.

- Step 2: Spoon each colored batter into the baking dish quickly, keeping them separate for a vibrant marbled effect.

- Step 3: Bake the cake as directed on the package, then let it cool for 10 minutes before using the end of a wooden spoon to poke holes throughout.

- Step 4: Use the end of a wooden spoon to poke holes throughout.

- Step 5: While cake is cooling, you can prepare pudding mixture. Add pudding mix and milk in a large bowl. Whisk until all pudding mix is dissolved.

- Step 6: Pour the pudding mixture over the cake, filling the holes as much as possible, then spread the remaining pudding evenly on top. Refrigerate for 30 minutes or until set.

- Step 7: While the cake chills, beat heavy whipping cream and vanilla in a large bowl until stiff peaks form (5-6 minutes), then add powdered sugar and beat until smooth.

- Step 8: Spread frosting over chilled cake and finish it off with Easter sprinkles.

Helpful Tips
- Tips for Poking: Poke holes in the cake about an inch apart so that the pudding is dispersed evenly throughout. You can use the end of a wooden spoon, a large straw, or a skewer. Just be careful not to poke all the way through to the bottom of the cake, as it can make the cake a little too soggy.
- Swirl Batter Gently: You can use a toothpick to lightly swirl together the different colored batters. Just be careful not to over mix so that your colors don't get too muddy! I use a similar swirl effect in my Easter Peanut Butter Eggs-it's such a fun way to add a pop of color and a festive touch to your treats!
- Spread Pudding Evenly: Be sure to pour your pudding slowly and evenly over the cake for the best results.
- Make It Ahead: This cake actually tastes better after sitting in the fridge for a few hours-or even overnight-as the flavors meld.
- Add Sprinkles Just Before Serving: To keep the colors from bleeding into the frosting, wait to sprinkle until just before serving.

Recipe FAQs
Poke the holes about halfway down into the cake, being careful not to accidentally poke all the way to the bottom. This allows the pudding to seep into the cake properly without leaking or making the cake too soggy. If you mess up, don't worry! You'll still have a delicious cake on your hands!
You can easily swap in vanilla or cheesecake-flavored pudding if you prefer, or if white chocolate isn't available.
Yes, absolutely! Poke cakes are great to make in advance because they get even better as they sit! Just prepare your cake as directed and store in the refrigerator 2-3 days ahead of serving.
You can swap the whipped topping with Cool Whip for convenience, or try cream cheese frosting or white chocolate buttercream for a richer flavor. Just be sure the frosting is soft enough to spread over the pudding layer.

Storage & Freezing Instructions
Storage Instructions
Store the cake covered in the refrigerator for up to 3-4 days. Use plastic wrap or an airtight container to keep it fresh and prevent the whipped topping from absorbing any fridge odors.
Freezing Instructions
To freeze, wrap the cake (without the whipped topping) tightly in plastic wrap and foil, then freeze for up to 2 months. Thaw in the fridge overnight, then add fresh whipped topping and decorations before serving.

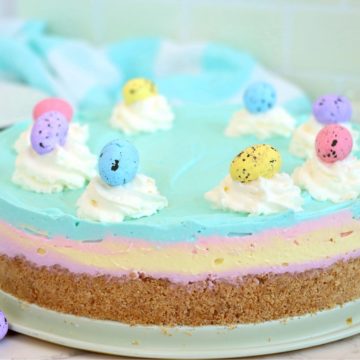
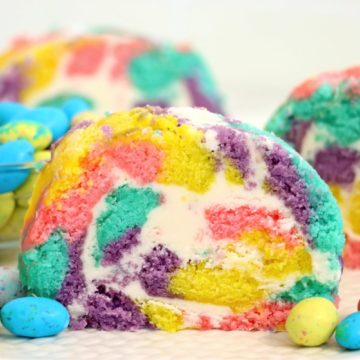
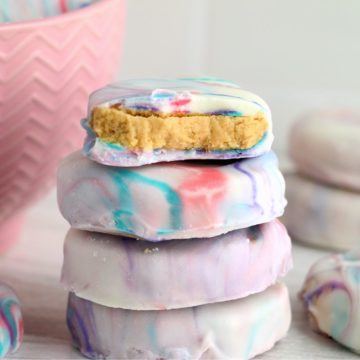
More Sweet Easter Recipes You'll Love
Looking for other Easter dessert recipes like this? Try these:

Did you try this recipe?
If you decide to try this Easter Poke Cake recipe or any other recipe on my website, please leave a ⭐️ star rating and let me know how it went in the 💬 comments below! I'd love to hear from you!
Easter Poke Cake Recipe
Ingredients
- 15.25 ounce white cake mix plus ingredients on package
- {2} 3.3 ounce instant white chocolate pudding boxes
- 3 ½ cups milk
- 2 cups heavy cream
- ¼ cup powdered sugar
- 1 teaspoon vanilla extract
- Pink, blue, green and yellow food coloring
- Easter sprinkles
Instructions
- Preheat oven to temperature indicated in cake mix directions.
- Prepare a 9x13-inch baking dish by spraying it with nonstick cooking spray.
- Prepare cake mix according to package directions.
- Separate cake batter into four smaller bowls. Add one color of food coloring bowl of batter. The amount of food coloring needed will depend on the kind you are using.
- Place spoonfuls of each color batter into your prepared baking dish. Be sure to work quickly because the batter will spread. Also be sure to keep the same colors separated as much as you can. This will create a prettier finished product.
- Bake cake according to cake mix package directions.
- When cake is finished baking, allow it to cool for 10 minutes. Then, use the end of a wooden spoon to poke holes in the cake.
- While cake is cooling, you can prepare pudding mixture. Add pudding mix and milk in a large bowl. Whisk until all pudding mix is dissolved.
- Pour pudding mixture over cake, trying to get as much as you can into the holes. Spread the remaining mixture evenly over top of the cake.
- Place cake in the refrigerator for 30 minutes or until pudding is set.
- While cake is chilling, you can prepare your whipped cream frosting. Beat heavy whipping cream and vanilla in a large bowl until stiff peaks form. This will take 5-6 minutes.
- Add powdered sugar and beat again until frosting is uniform.
- Spread frosting over chilled cake and finish it off with Easter sprinkles.
Notes
- Tips for Poking: Poke holes in the cake about an inch apart so that the pudding is dispersed evenly throughout. You can use the end of a wooden spoon, a large straw, or a skewer. Just be careful not to poke all the way through to the bottom of the cake, as it can make the cake a little too soggy.
- Swirl Batter Gently: You can use a toothpick to lightly swirl together the different colored batters. Just be careful not to overmix so that your colors don't get too muddy!
- Spread Pudding Evenly: Be sure to pour your pudding slowly and evenly over the cake for the best results.
- Make It Ahead: This cake actually tastes better after sitting in the fridge for a few hours-or even overnight-as the flavors meld.
- Add Sprinkles Just Before Serving: To keep the colors from bleeding into the frosting, wait to sprinkle until just before serving.
Leave a Reply