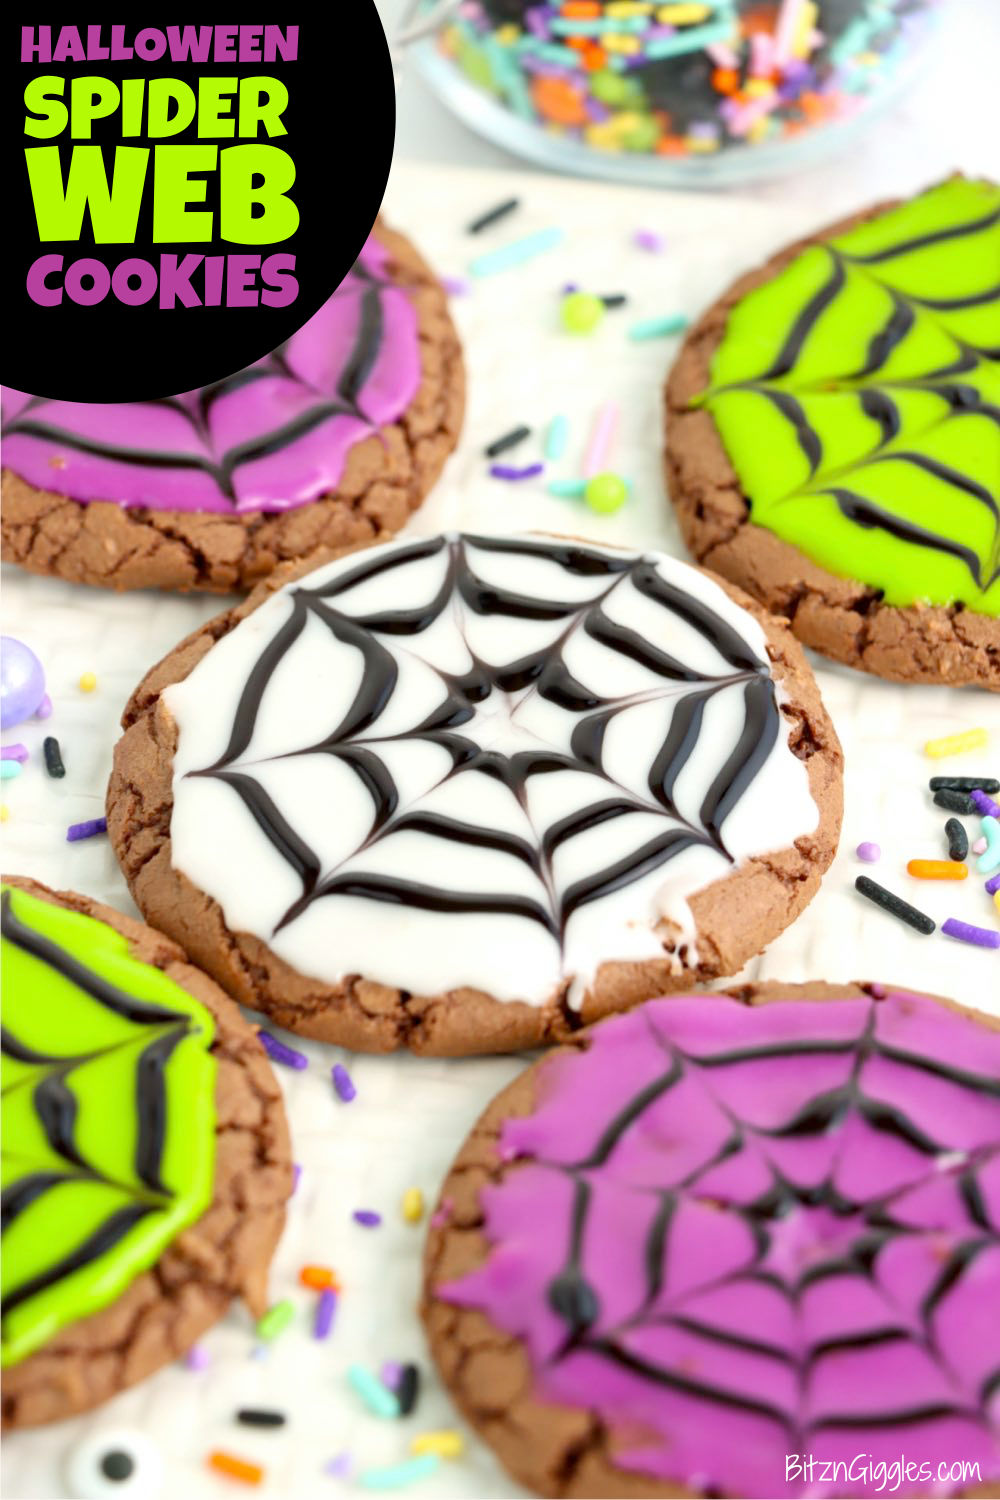
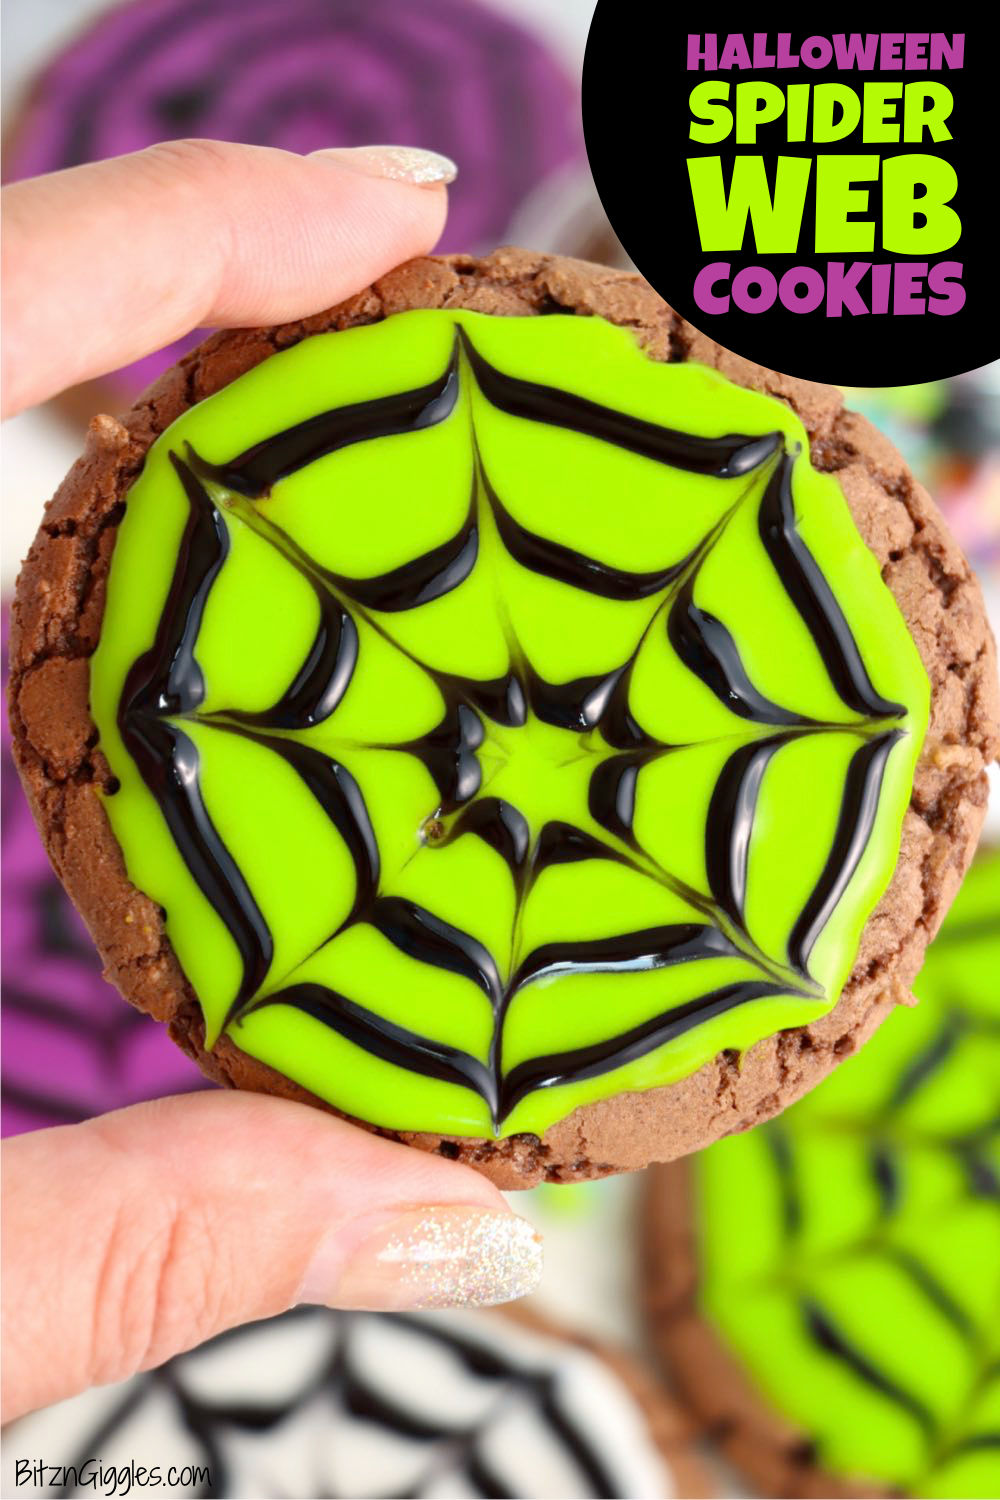
Halloween Spider Web Cookies - Rich, homemade chocolate cookies decorated with a spooky spider web - perfect for Halloween!
Want to Save This Recipe?
This post may include affiliate links. Please see my disclosure.
These Halloween Spider Web Cookies are the perfect way to get into the Halloween spirit! They're easy to make and they look great! Plus, they're a delicious treat everyone will love. The spider webs are simple to create, I promise - and I'll show you how in a couple easy steps!
HOW TO MAKE HALLOWEEN SPIDER WEB COOKIES
To make these spooky cookies, you'll need:
- Semi-sweet chocolate chips
- Large eggs
- Vanilla extract
- Butter
- Brown sugar
- Granulated sugar
- All-purpose flour
- Cocoa powder
- Baking powder
- Salt
- Powdered sugar
- Light corn syrup
- Milk
- Neon green and purple gel food color
- Black piping frosting
MAKING THE COOKIES
Go ahead and preheat the oven to 350ºF, then follow the steps below:
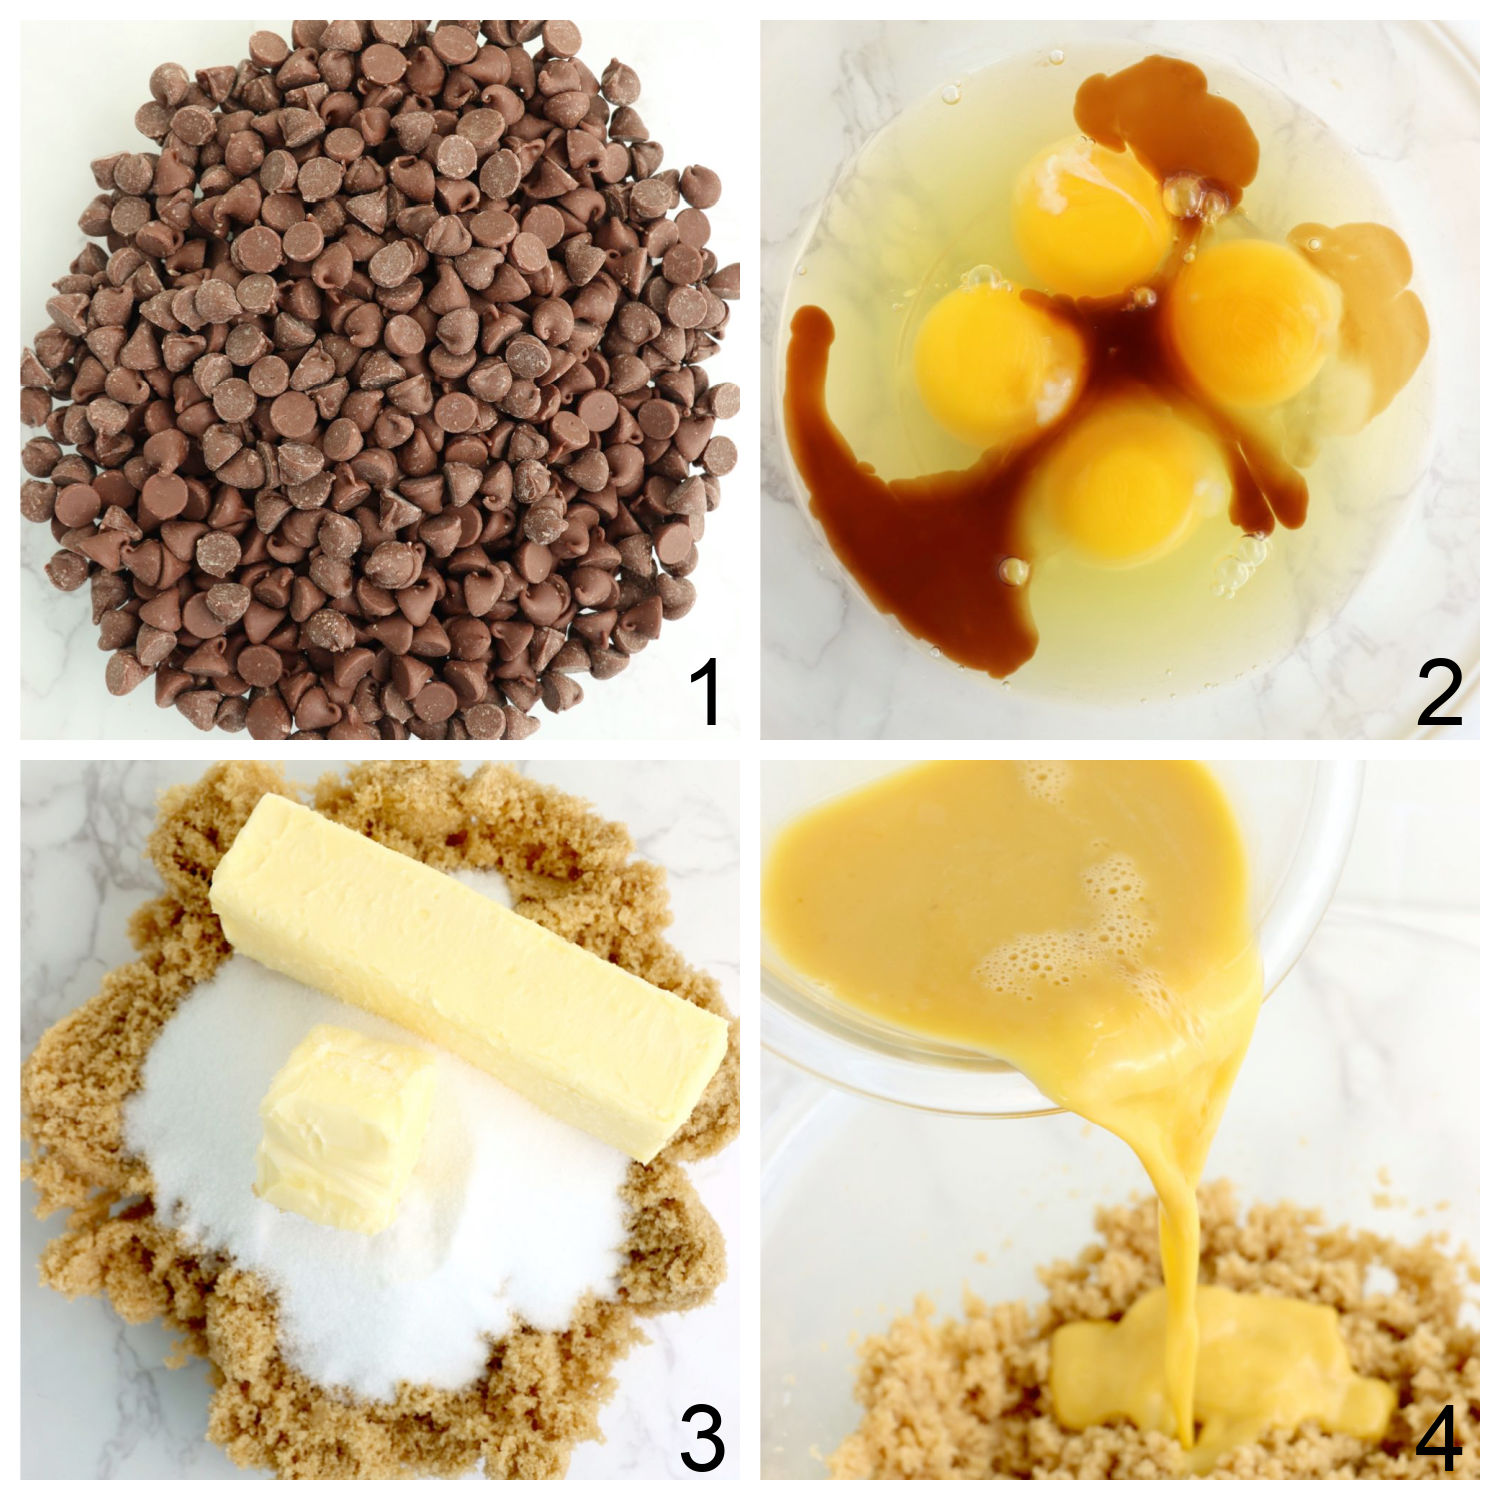
- Place the chocolate chips in a medium mixing bowl. Microwave in 30-second intervals, stirring often, until chips are completely melted and smooth. Set aside.
- In another medium bowl, whisk eggs and vanilla together. Set aside.
- In a separate large mixing bowl, cream butter and sugars together with a hand mixer.
- While continuing to mix, slowly add egg mixture. Beat until smooth.
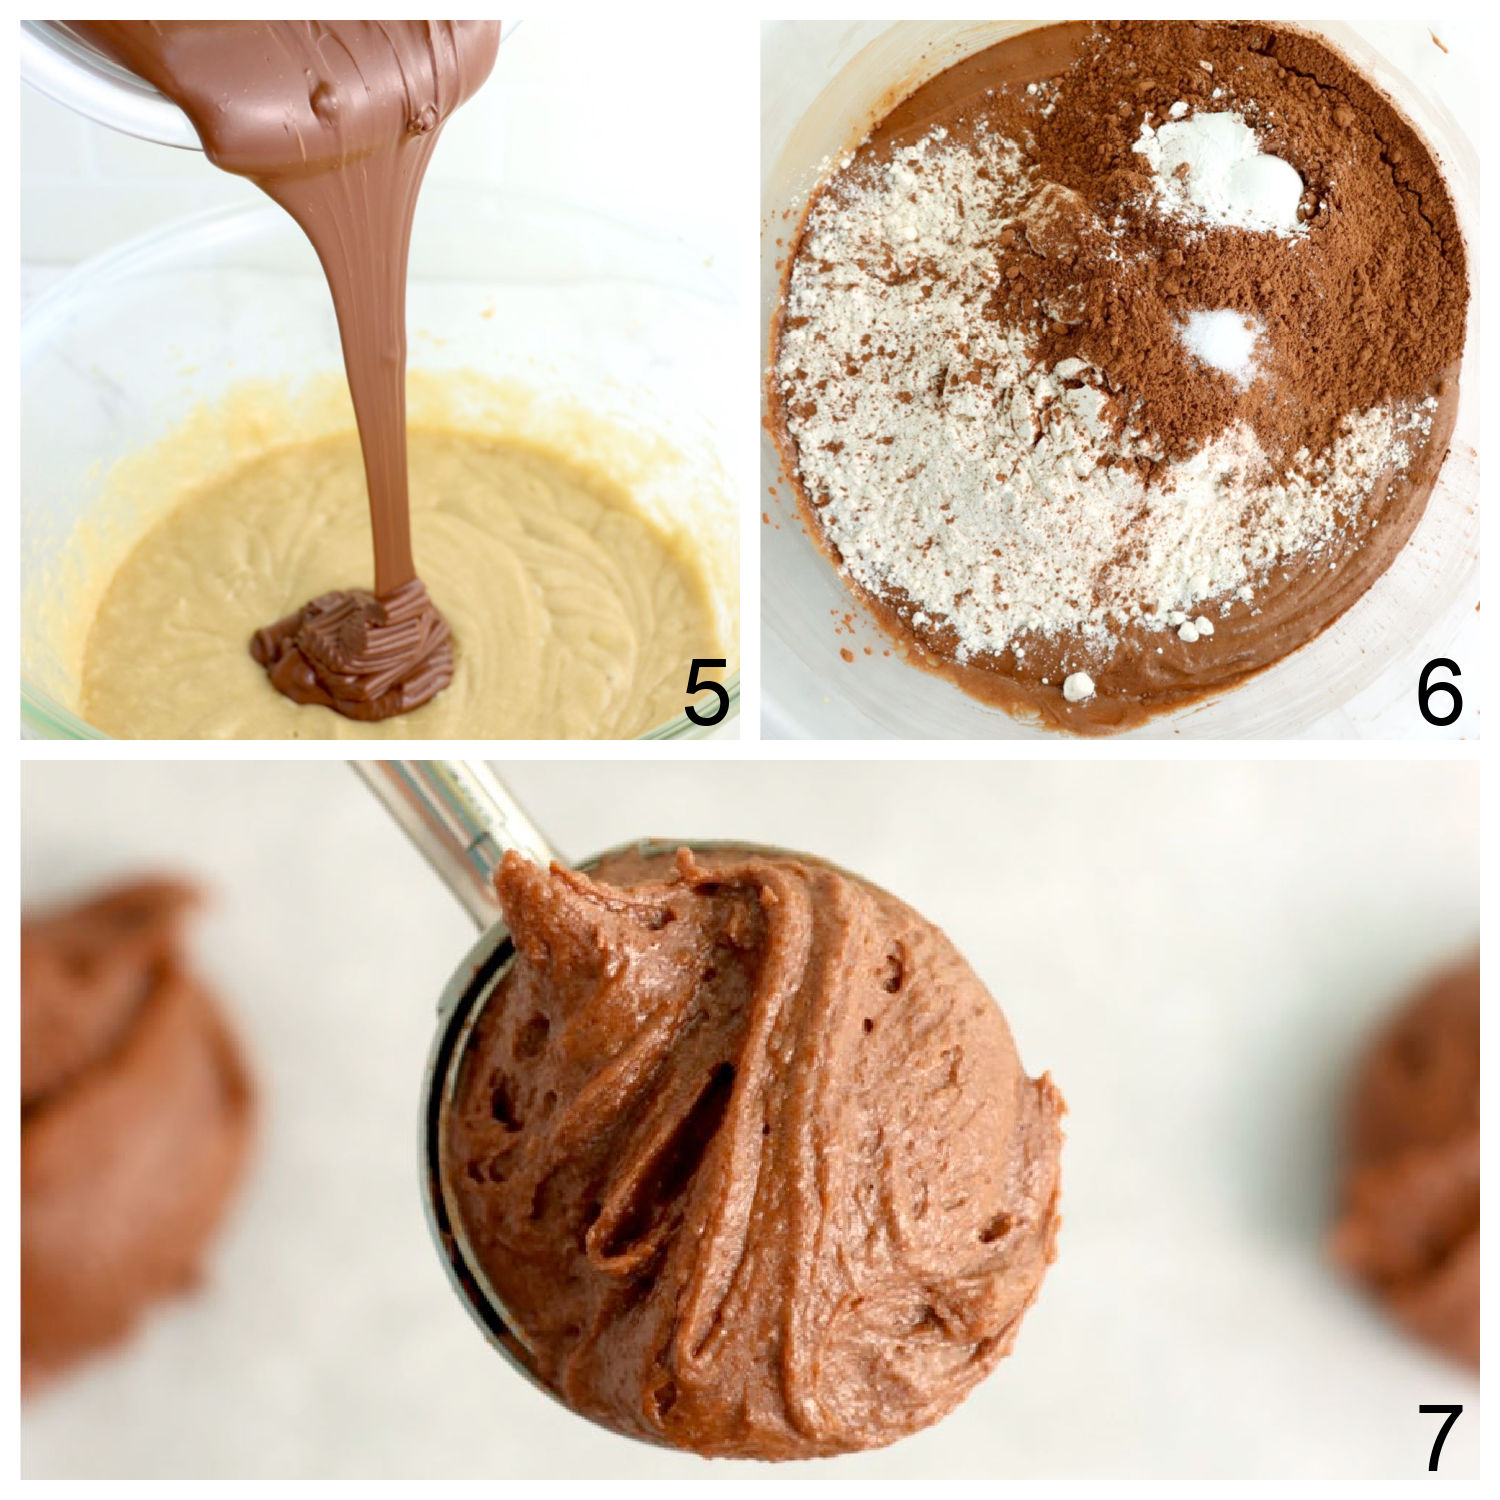
- Slowly pour in melted chocolate chips while continuing to beat.
- Add flour, cocoa powder, baking powder, and salt. Beat again until uniform dough forms.
- Using a cookie dough scoop, place scoops of dough on a baking sheet lined with parchment paper.
Bake the cookies for 12 minutes or until edges begin to set. Allow the cookies to cool completely before adding the icing.
PREPARING THE ICING
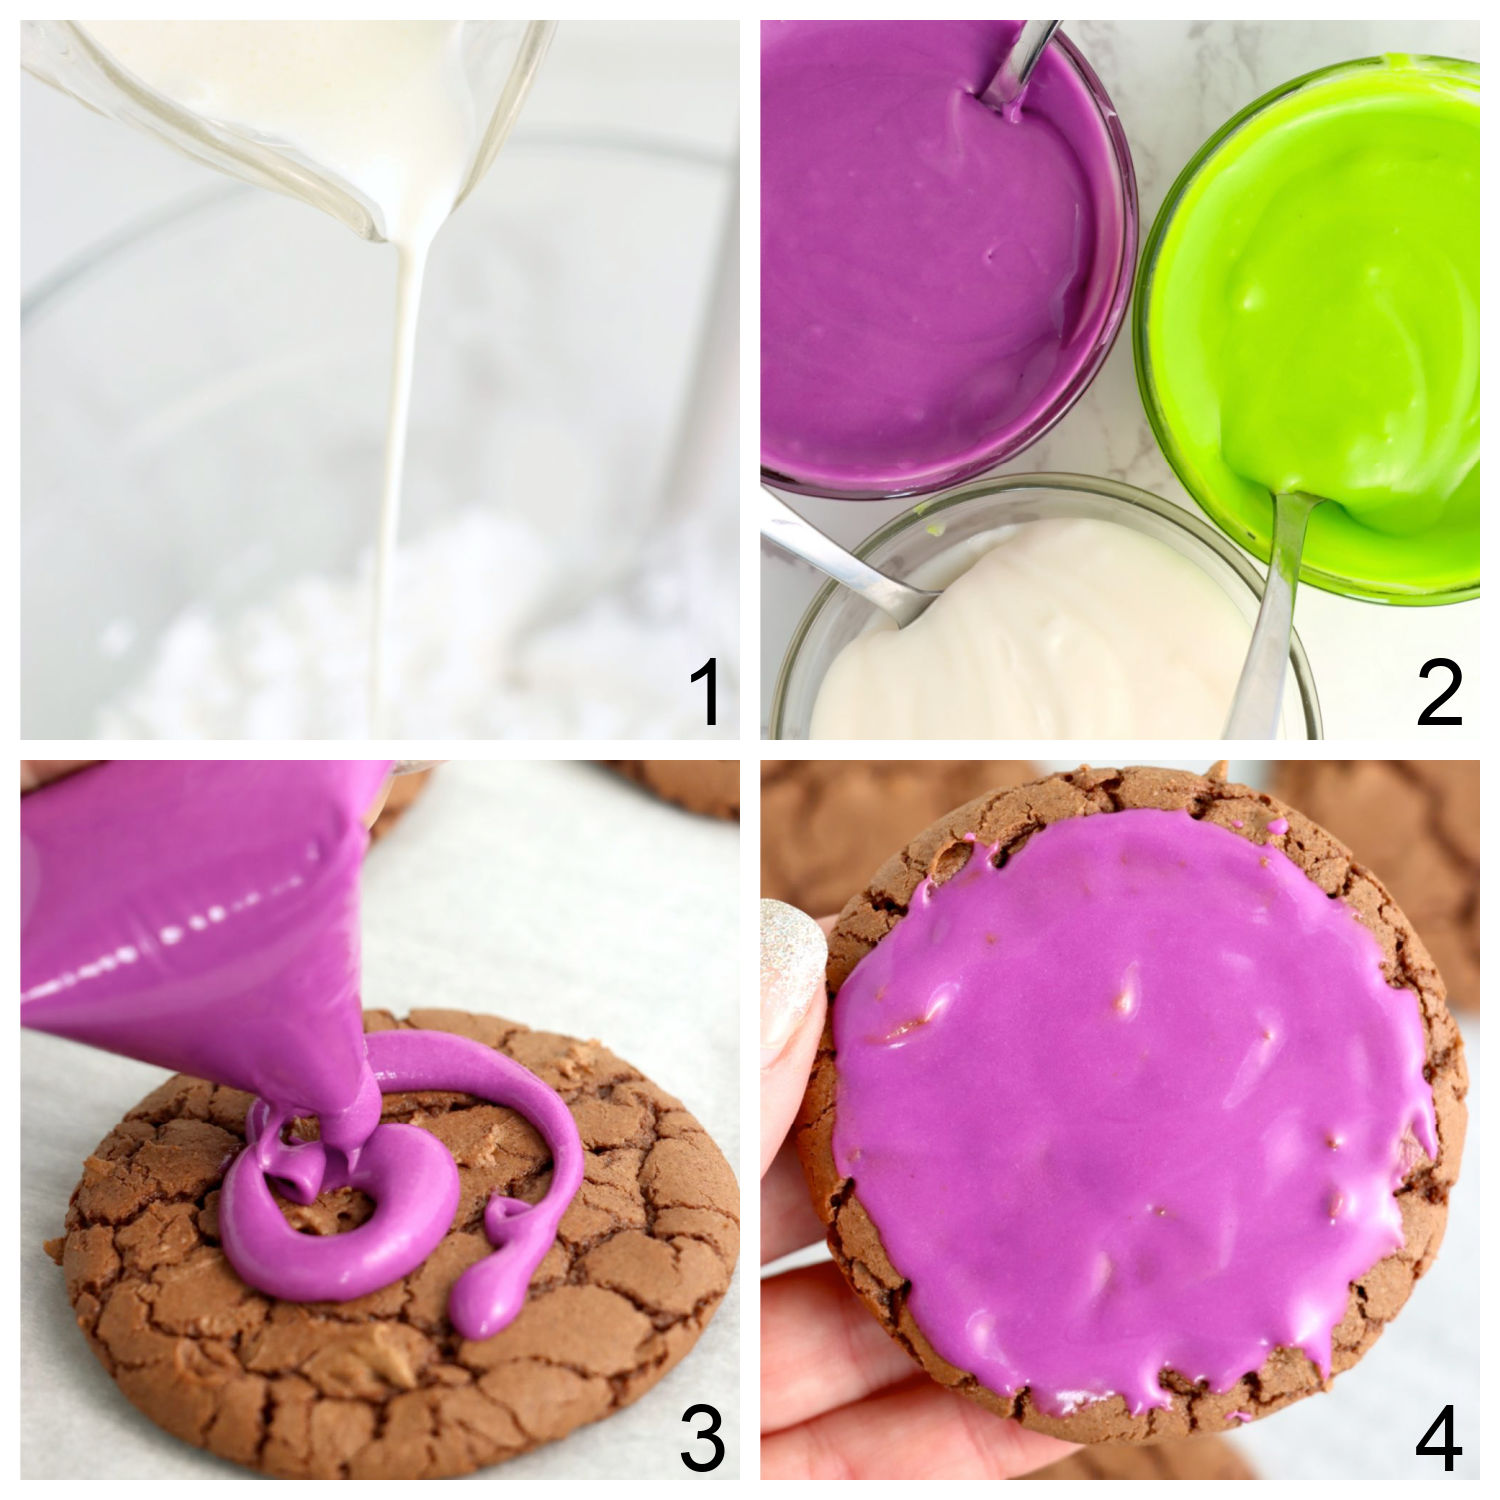
- In a medium mixing bowl, beat powdered sugar, corn syrup, vanilla, and milk together.
- Divide icing equally into three bowls. Add green food coloring to one bowl and add purple to another. Leave one bowl white.
- Transfer the three colors to three small ziplock bags. Cut a small corner off of each bag.
Squeeze frosting onto cooled cookies. - Depending on the consistency, you may have to spread it a bit with a knife.
DECORATING THE COOKIES
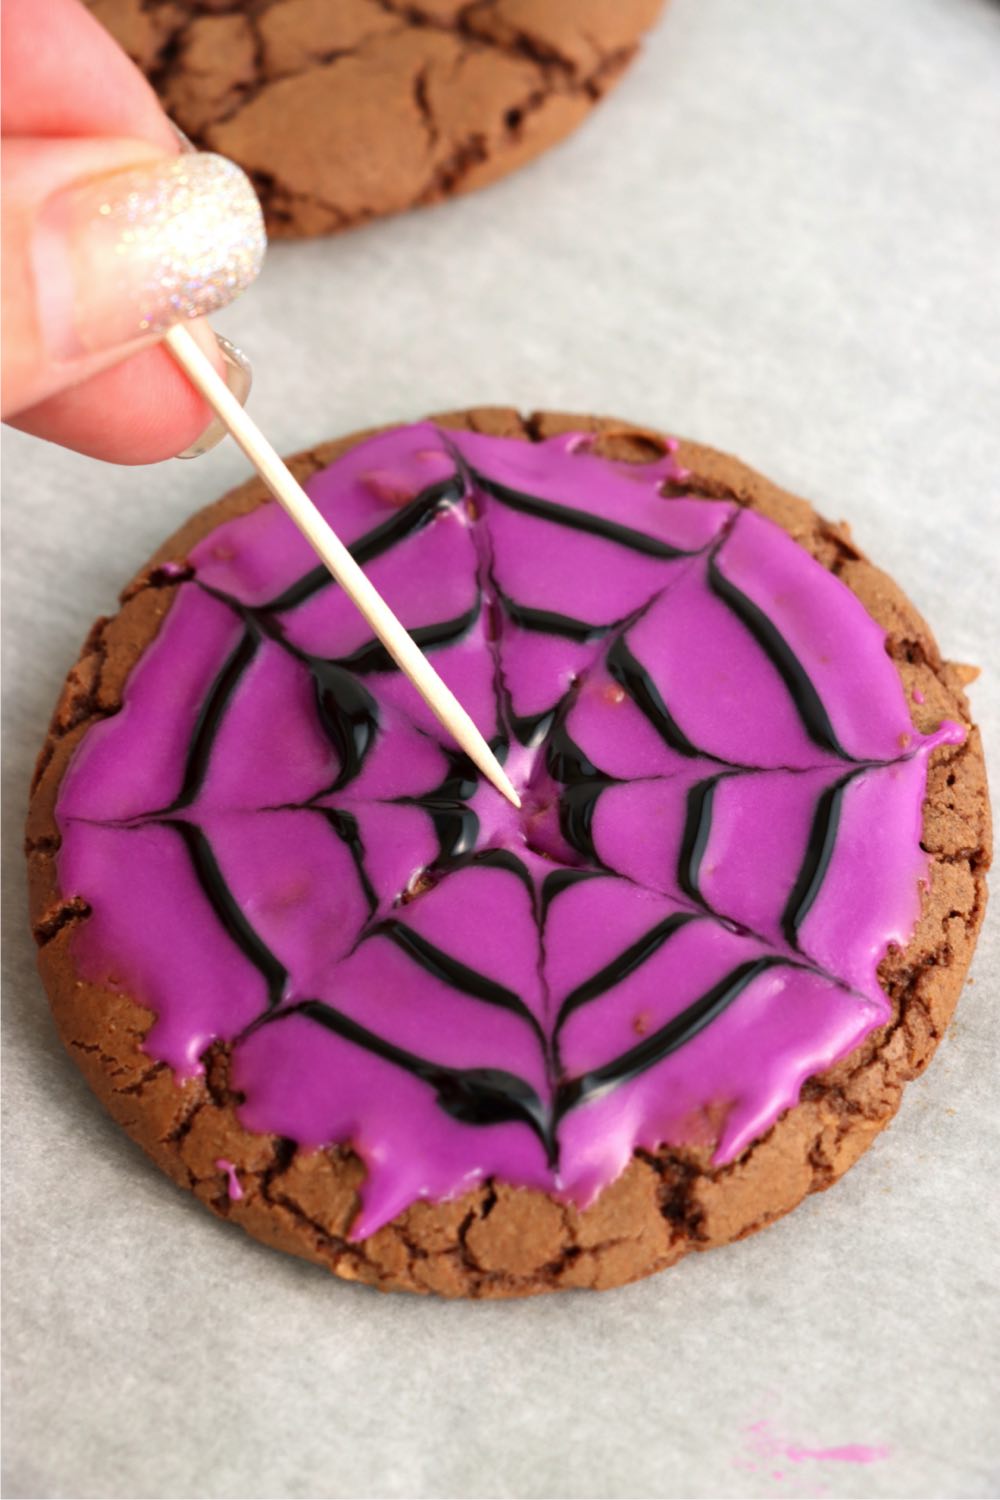
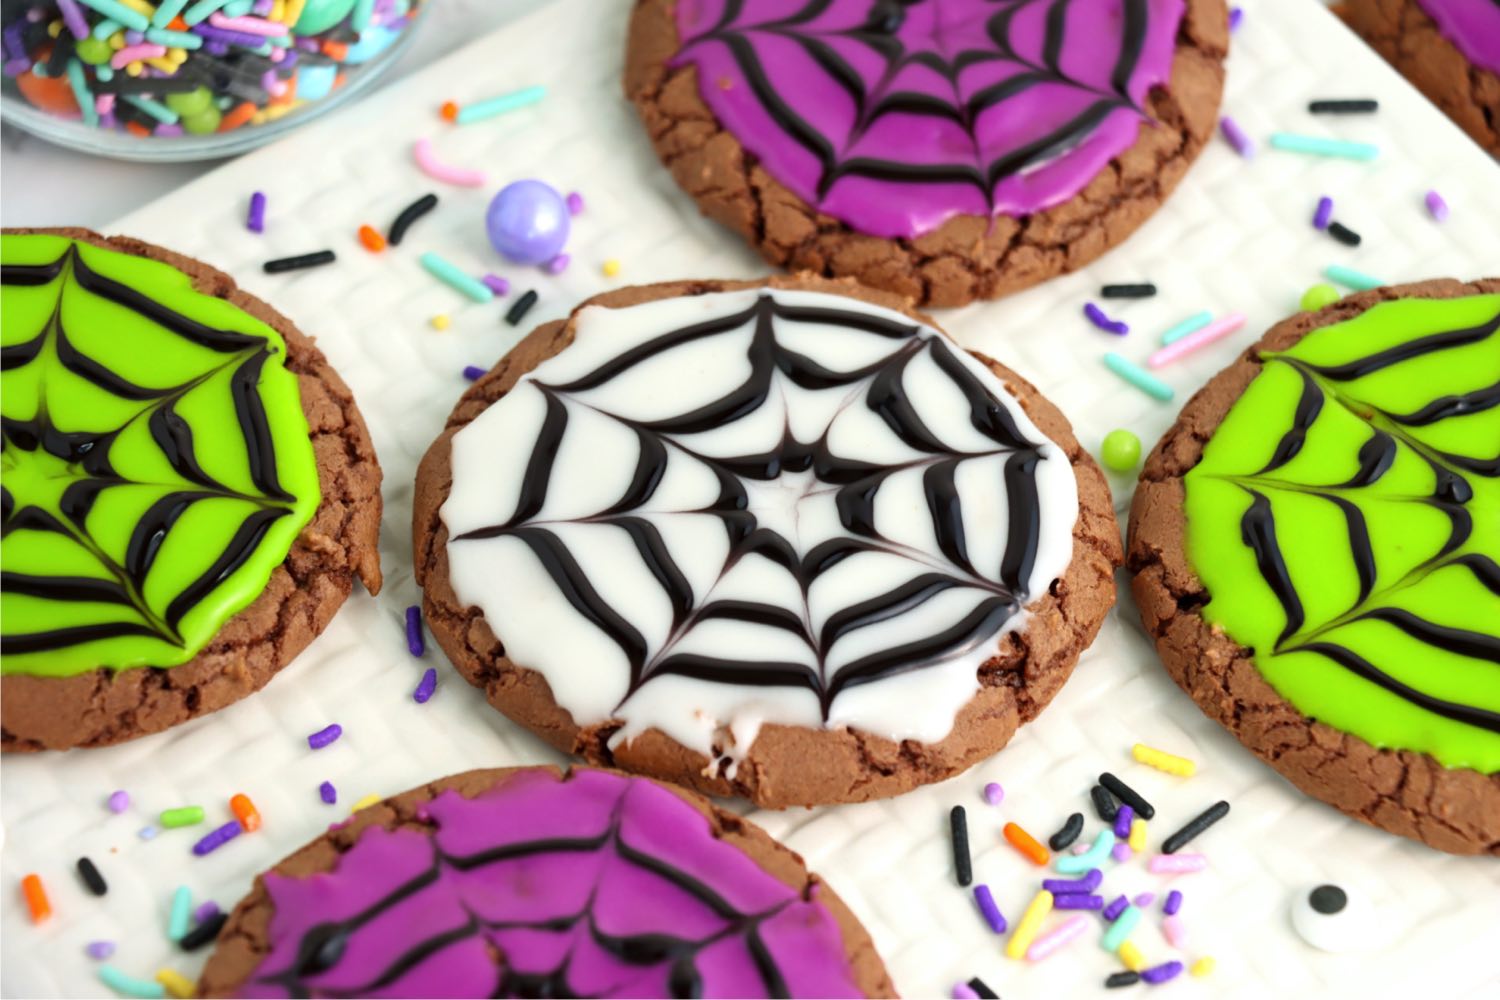
Before frosting hardens, pipe three black circles on each cookie.

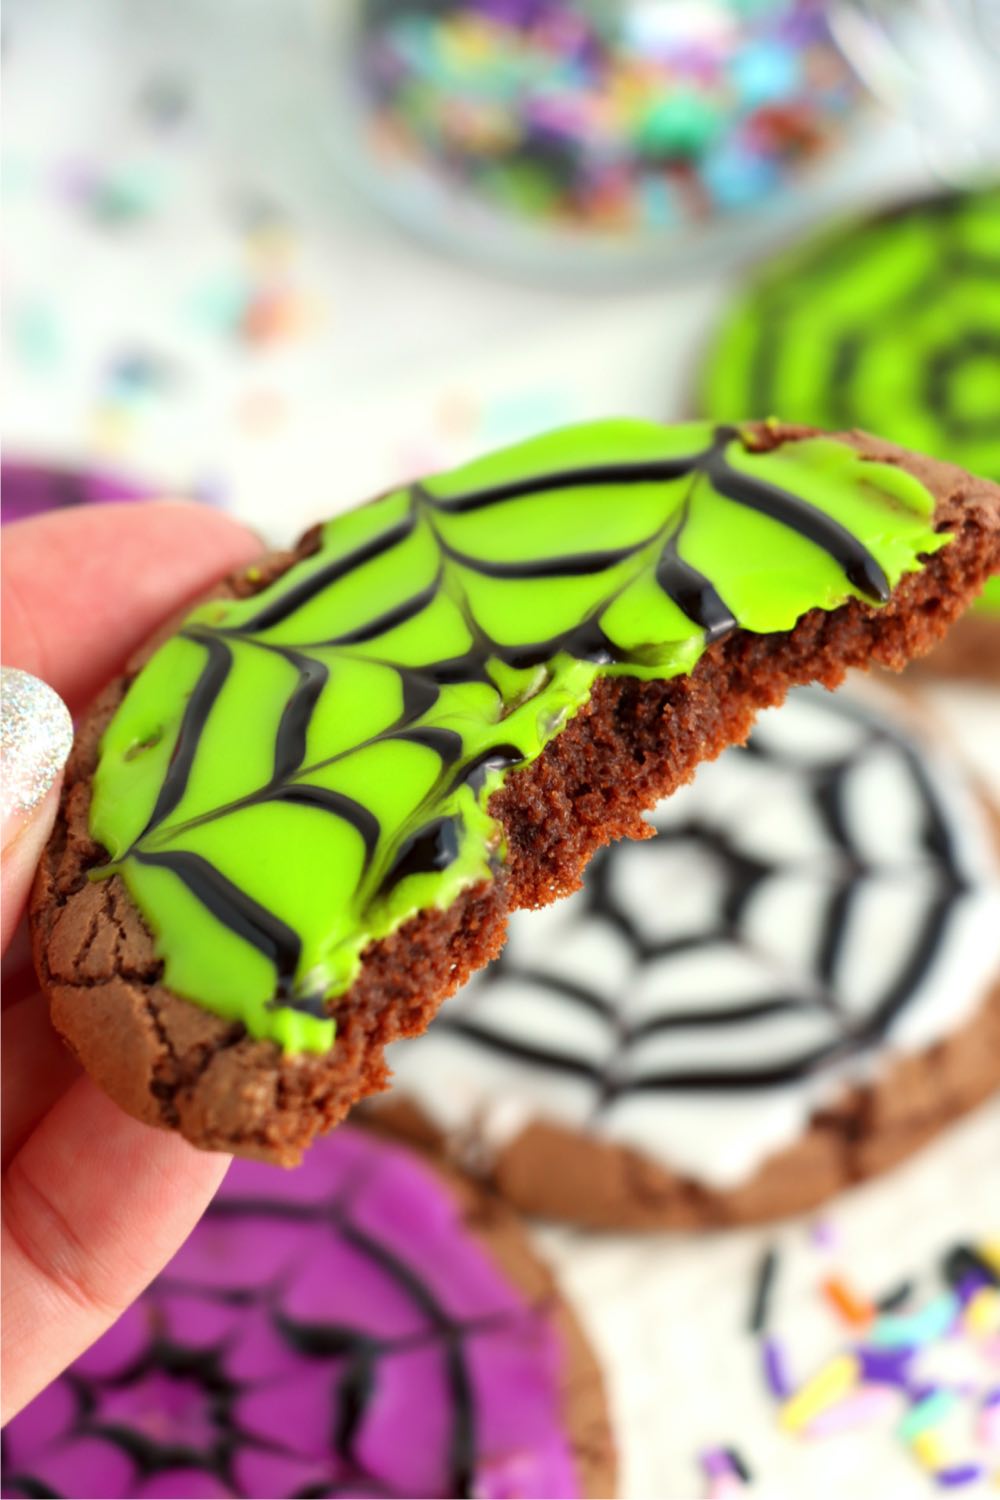
Using a toothpick, draw from the center of the cookie to the edge, creating a spider web design. Then, allow the frosting to harden.
DO I NEED TO COLOR THE ICING?
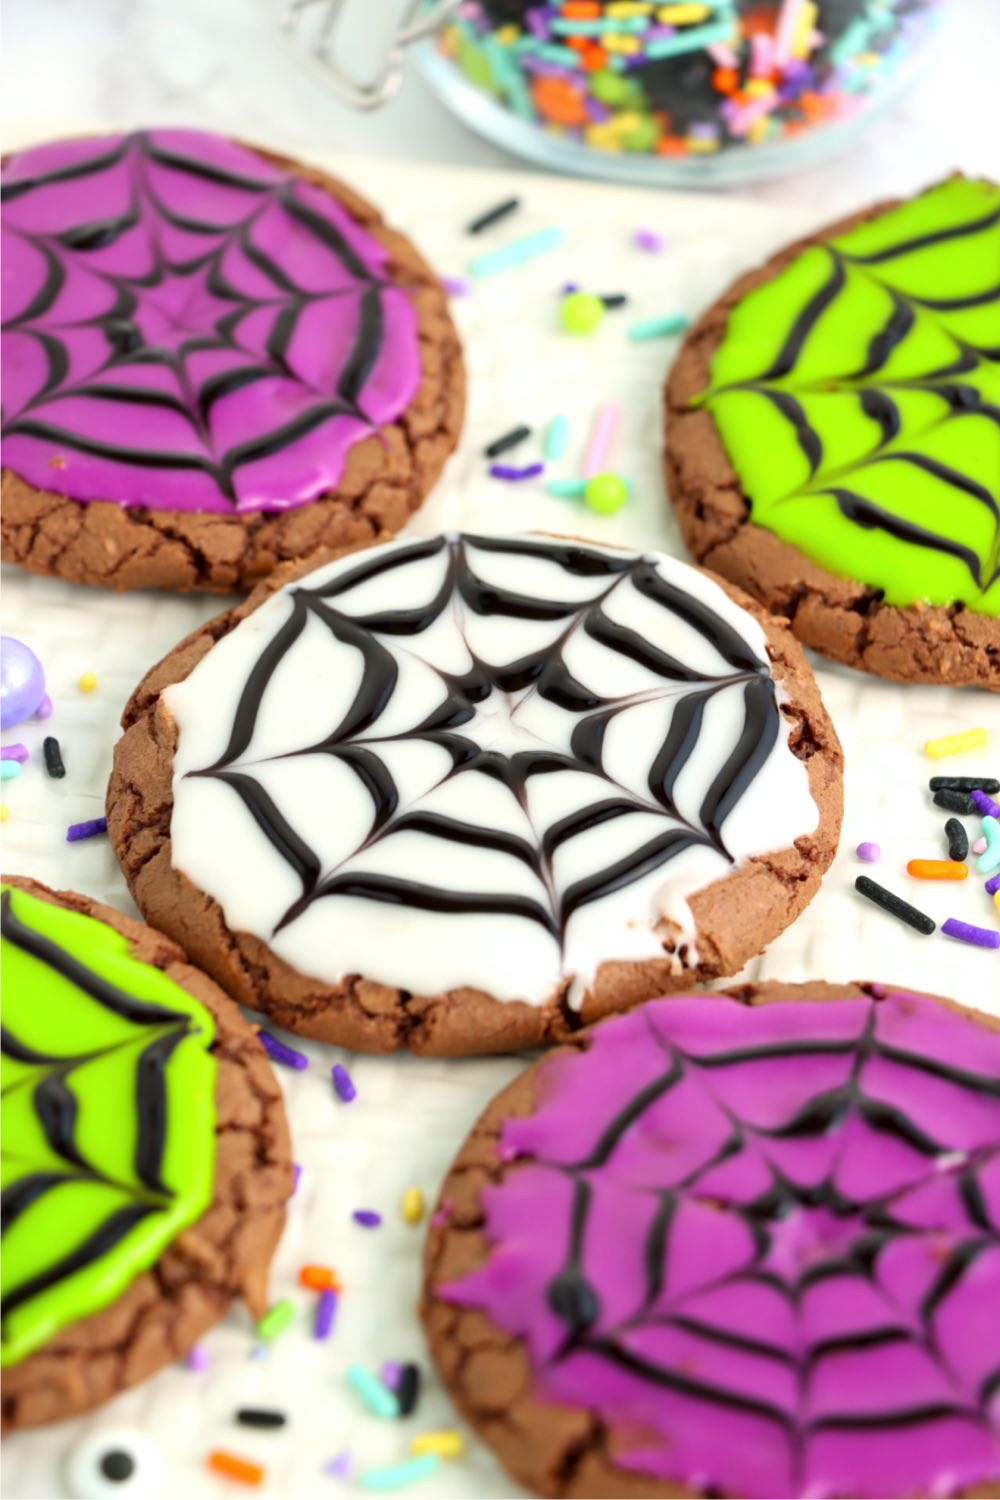
No, you don't have to use food coloring if you don't want to. However, it does help to add a bit of vibrancy to the spider webs.
If you're short on time, go ahead and just frost with the white icing and create the webs as instructed above.
WHAT IF I'M NOT A CHOCOLATE FAN?
Well, first of all, we can't be friends. Just kidding. If you really don't like chocolate, then make a vanilla sugar cookie instead! This would be a perfect recipe to try!
HOW DO I MAKE THE SPIDER WEB DESIGN?
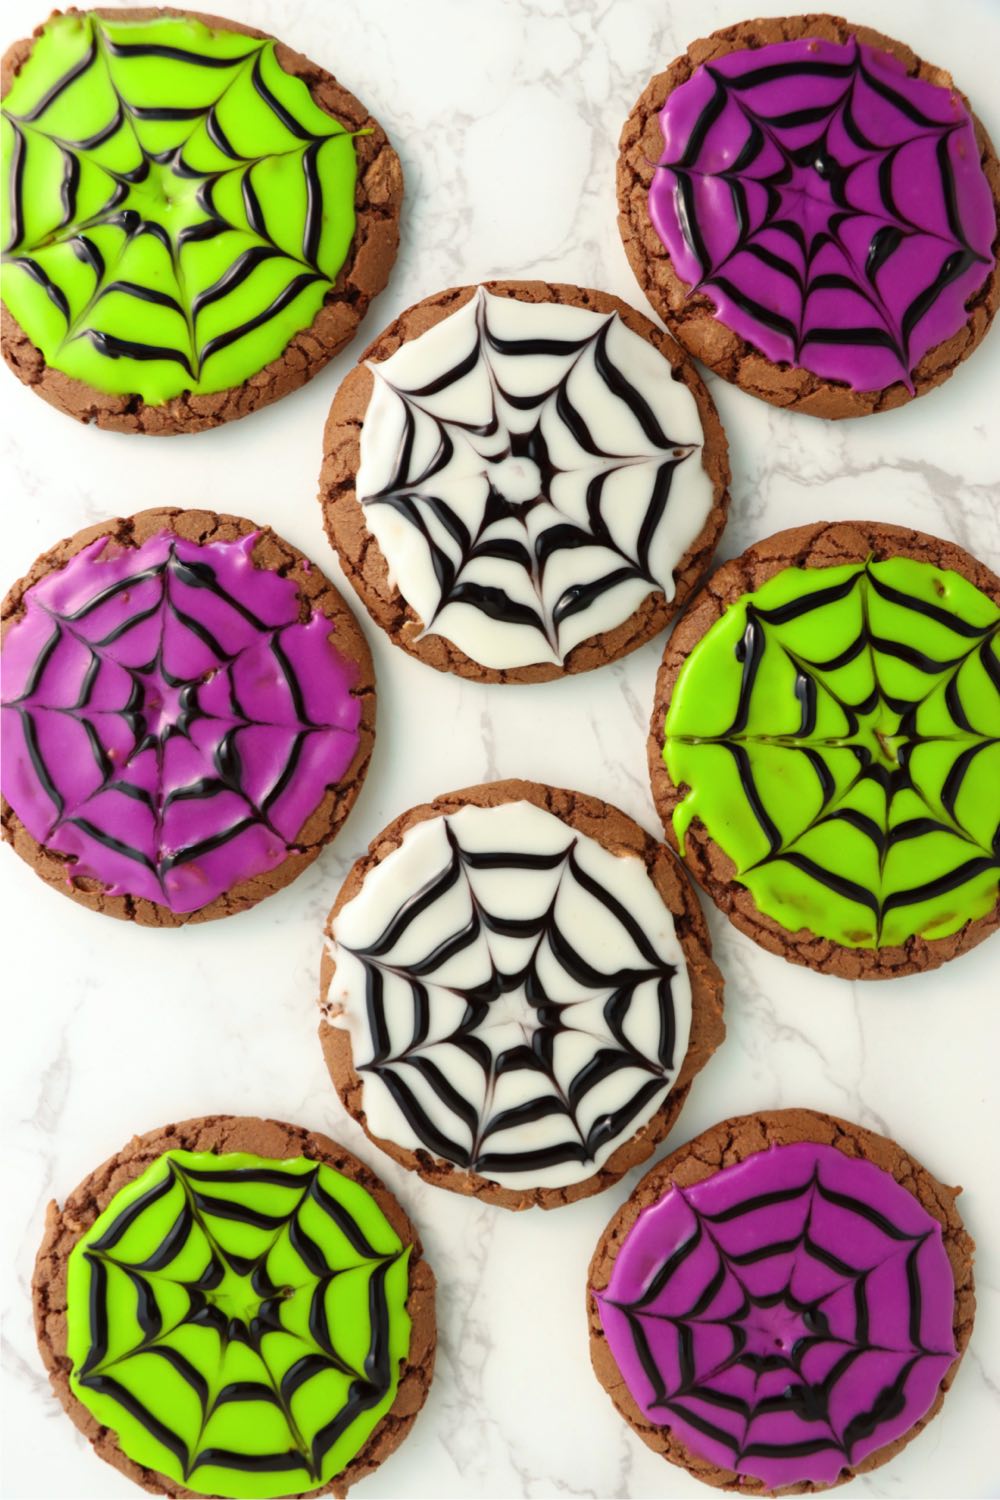
The key is to pipe the icing in a spiral pattern, starting from the center and working your way out.
Then, use a toothpick or skewer to drag the icing outward from the center, forming the characteristic spider web shape.
WHAT OTHER DECORATIONS COULD I USE ON THE COOKIES?
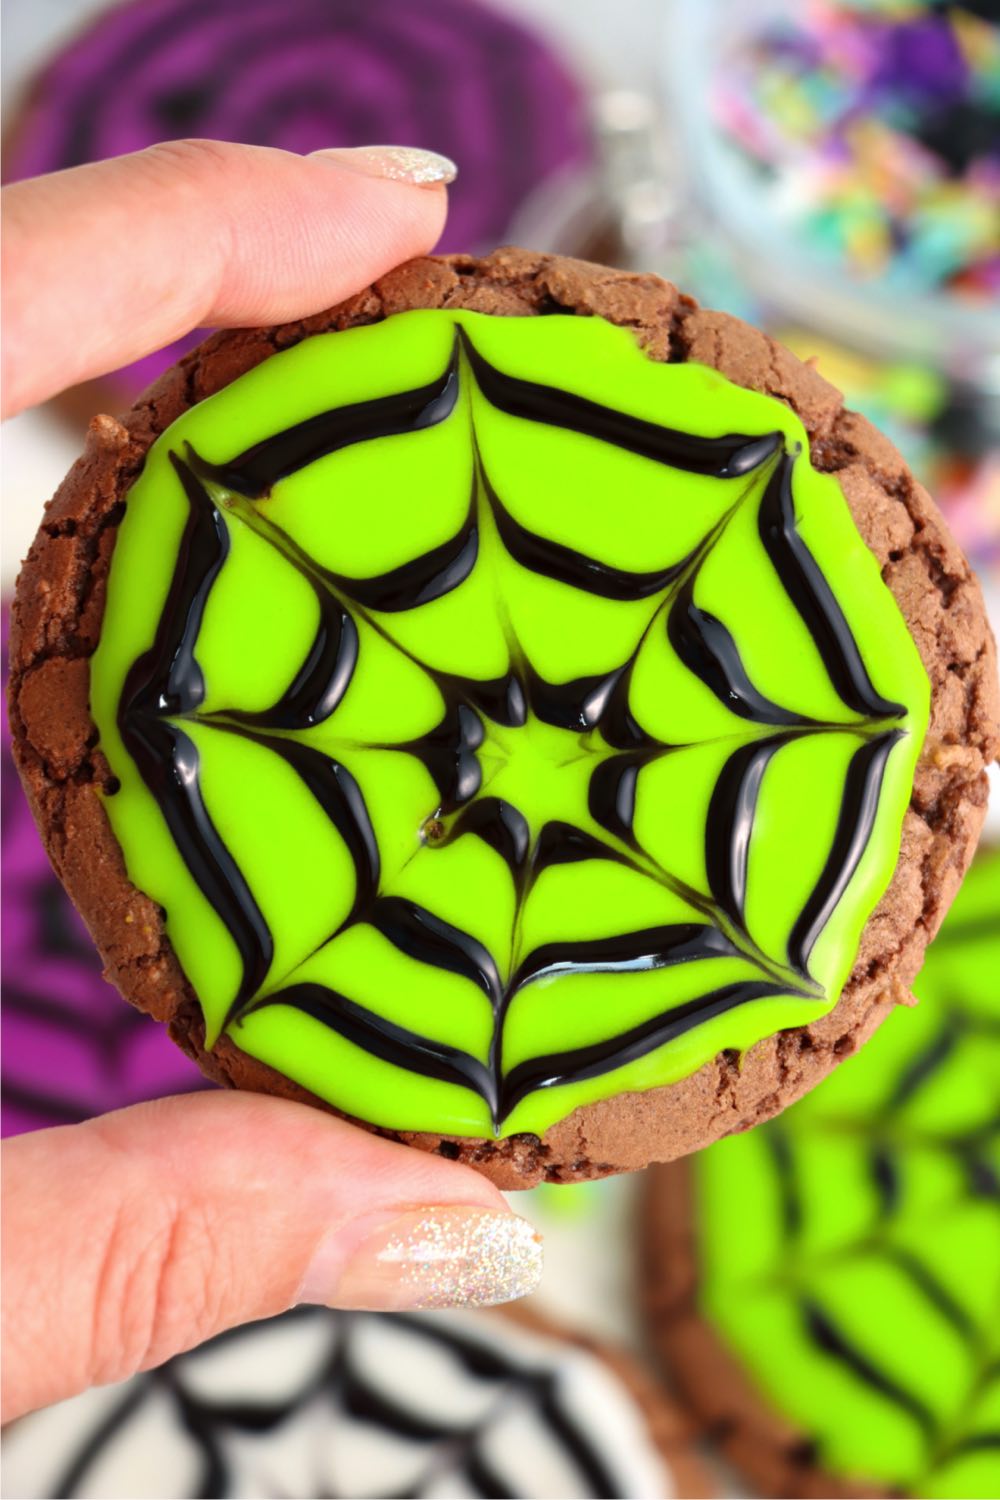
If you want to get really creative, you can even add some edible spiders to your cookies for an extra-spooky touch.
CAN I MAKE THESE COOKIES AHEAD OF TIME?
Yes, you can make the cookies ahead of time and store them in an airtight container. However, until the spider webs "dry" you'll want to be careful not to stack the cookies and ruin the design.
MORE FUN HALLOWEEN TREATS
- Halloween Swirl Brownies
- Peanut Butter Spider Cookies
- Witch Cauldron Mug Cake
- Candy Halloween Popcorn
- Spooky Halloween Punch
- Candy Corn Cupcakes
- Easy Wicked Witch Cupcakes
- Witchy Caramel Apples

Halloween Spider Web Cookies
Ingredients
For the Cookies
- 3 cups semisweet chocolate chips
- 4 large eggs
- 2 teaspoons vanilla extract
- 10 tablespoons butter (softened)
- 1 ½ cups brown sugar
- ½ cup granulated sugar
- 2 cups all-purpose flour
- ½ cup cocoa powder
- 2 teaspoons baking powder
- ½ teaspoon salt
For the Icing:
- 2¼ cups powdered sugar
- 2 tablespoons light corn syrup
- ½ teaspoon vanilla
- 2-3 tablespoons milk
- Neon green and purple gel food color
- Black piping frosting
Instructions
- Preheat oven to 350ºF.
- Place chocolate chips in a medium mixing bowl. Microwave in 30-second intervals, stirring often, until chips are completely melted and smooth. Set aside.
- In another medium bowl, whisk eggs and vanilla together. Set aside.
- In a separate large mixing bowl, cream butter and sugars together with a hand mixer.
- While continuing to mix, slowly add egg mixture. Beat until smooth.
- Next, slowly pour in melted chocolate chips while continuing to beat.
- Add flour, cocoa powder, baking powder, and salt. Beat again until uniform dough forms.
- Using a cookie dough scoop, place scoops of dough on a baking sheet lined with parchment paper.
- Bake for 12 minutes or until edges begin to set. Allow cookies to cool completely before adding icing.
- To prepare icing, in a medium mixing bowl, beat powdered sugar, corn syrup, vanilla, and milk together.
- Divide icing equally into three bowls.
- Add green food coloring to one bowl and add purple to another. Leave one bowl white.
- Transfer the three colors to three small ziplock bags. Cut a small corner off of each bag.
- Squeeze frosting onto cooled cookies. Depending on the consistency, you may have to spread it a bit with a knife.
- Before frosting hardens, pipe three black circles on each cookie.
- Using a toothpick, draw from the center of the cookie to the edge, creating a spider web design.
- Allow frosting to harden.
Notes
- Using a toothpick is the easiest way to create the spider web design.
- You can keep the icing white or add in a few drops of food coloring for vibrant colored cookies.
- Add on edible spiders for a fun and spooky touch!


Leave a Reply