Kids squeeze ball, stress ball, squishy ball. . .whatever you'd like to call it. This toy keeps kids busy for hours and they are so simple to make! Here's how to make a kids squeeze ball!
This post includes affiliate links. Please see my disclosure.
What's a Kids Squeeze Ball you ask? Apparently it's the coolest thing ever, according to my 7 year-old, Dane. You may have also heard them called exercise balls, squishy toys, relaxable balls, stress balls, isoflex balls, stress relievers. . .you get the picture. It all started when Dane came running to me just yesterday morning with his iPad. "Watch this, Mom!" We headed to the living room, snuggled up on the couch, and this, is what we watched. . .
Want to Save This Recipe?
We weren't even 5 seconds in and he was begging me to make one with him. Dane and I have done so many projects through the years. . .we've made magic crystals, we've watched electric eels dance, we've seen ghosts expand before our very eyes, we've done amazing color experiments. I mean. . .why stop there?
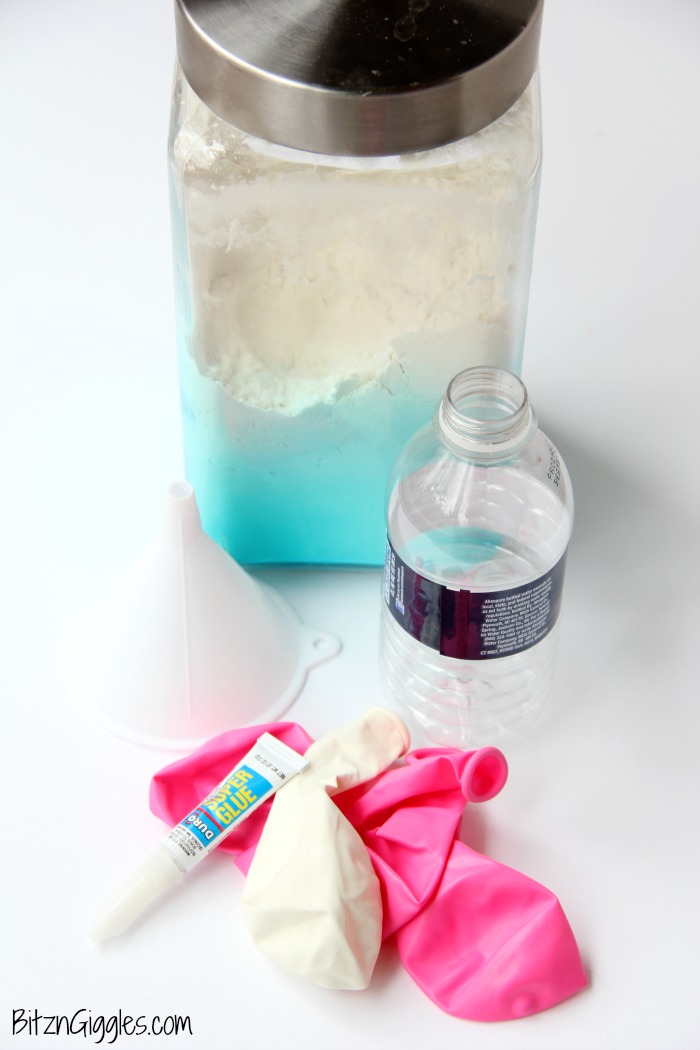
These stress ball things looked pretty simple. I had all of the materials.
Materials:
- ¾ cup flour
- Wide neck funnel (choose a wider neck funnel than what's pictured - we upgraded 😉 )
- Empty, dry water bottle
- 3 balloons (same color)
- 1 balloon (different color) - optional
- Super glue (for stronger adhesion) - optional
Instructions:
- Pour the flour into the water bottle using a funnel.
- Blow up one of the balloons and twist it a bit to ensure the air doesn't escape (do not tie).
- Carefully fit the end of the balloon over the mouth of the water bottle.
- Now turn the bottle upside down and empty the flour into the balloon.

For the next part, you may want to be outside or standing over the sink.
5. Slowly let the air out of the balloon.
Towards the end we found that the flour likes to start erupting out of the end of the balloon.
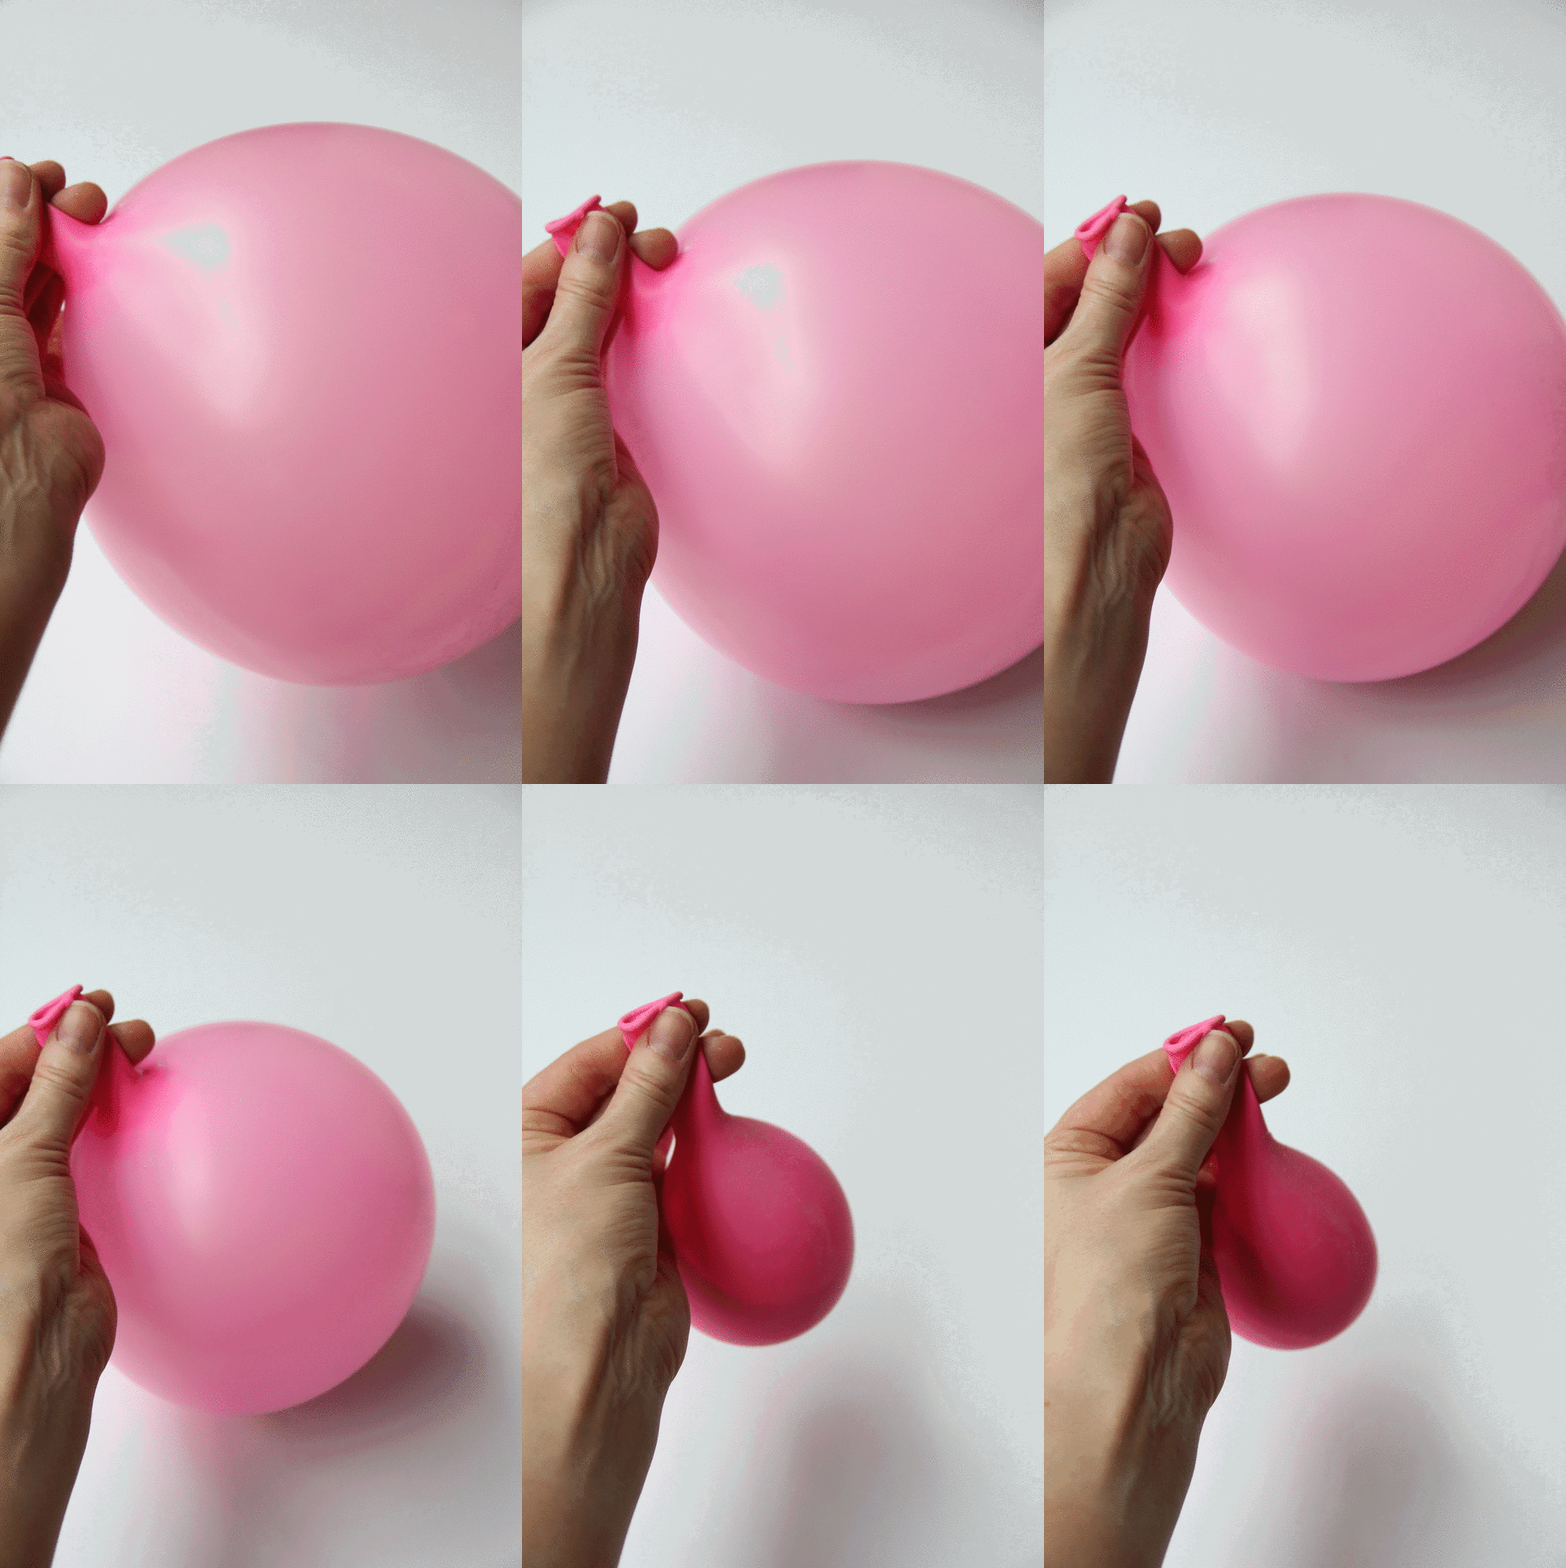
You may even need to shake some of the extra flour out of the balloon if it seems as if there's too much in there for the next step.
6. Get a scissors and cut off the top end of the balloon.
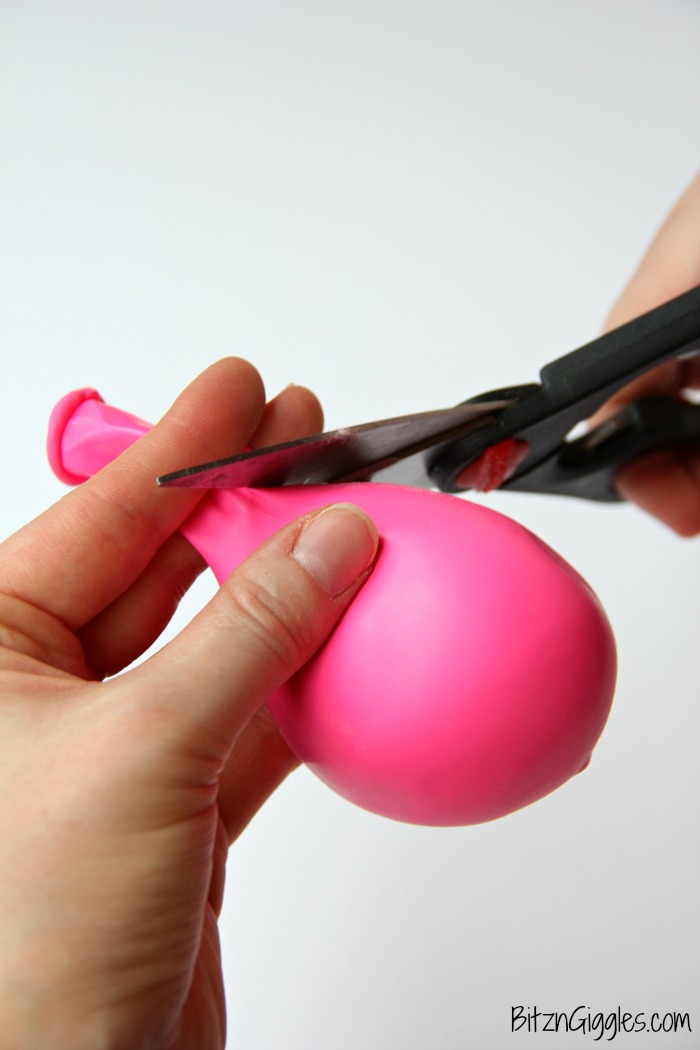
You may want to trim the top a bit more. The flatter it sits against the flour the better. You'll see why in the next steps, but here's what the balloon should look like at this point.
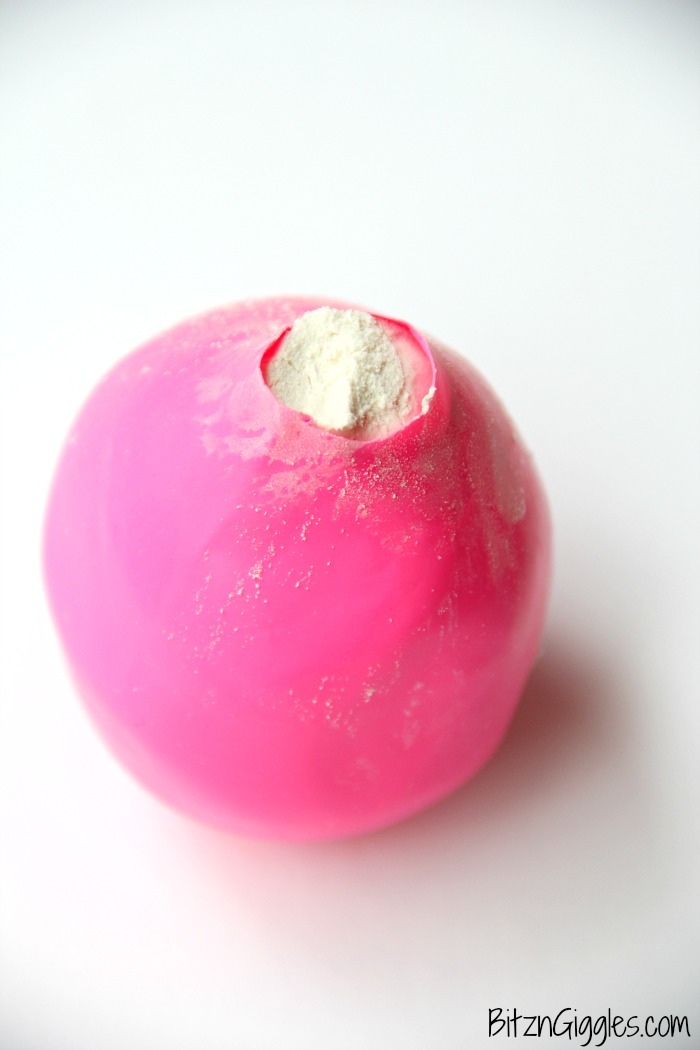
7. Get the second balloon (the same color as the first) and cut the end off of that one, too.
8. Discard the skinny end and fit the more circular top of the balloon over the flour-filled balloon.
9. Repeat steps 7 & 8 with the third balloon of the same color.

I'm so glad Dane helped me through this whole thing. Until you get used to making them it really helps to have two people. His hands are in the shots above. 😉 At this point, your ball is starting to take shape. At this point, it should look like the photo below.
Here's where you could take a little super glue and glue down the last layer right at the opening. We found that we really didn't need the super glue so we didn't end up using any.
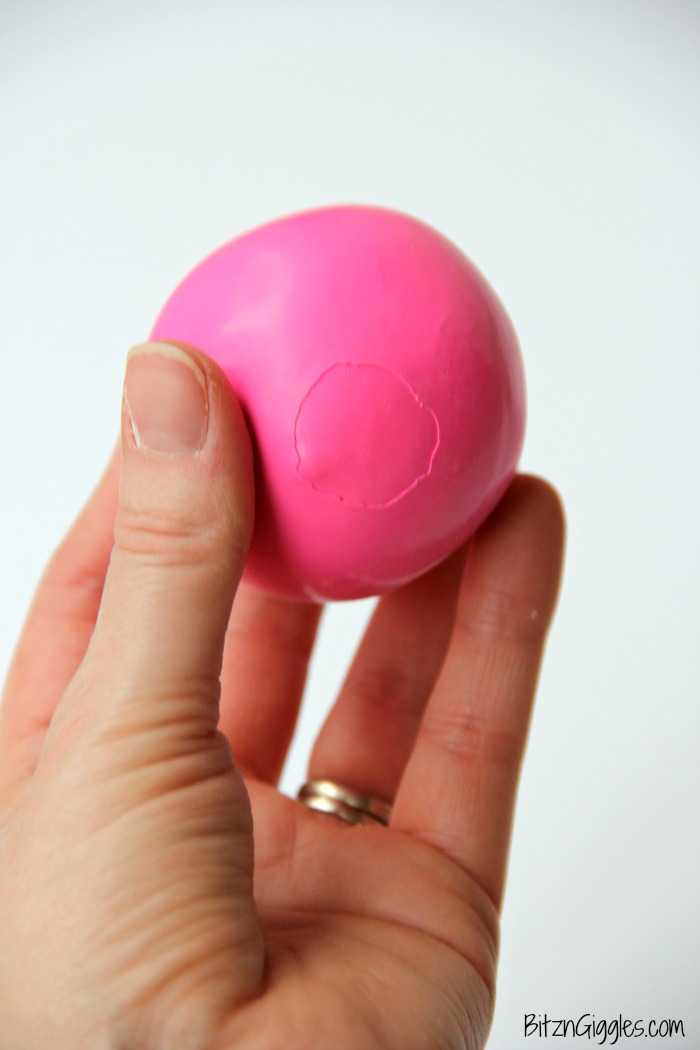
So, you're basically done and you could stop here, however, in the video, because Grant Thompson ("The King of Random") was making ninja squishy balls, he made what he called a "mask." To make the mask:
- Take the 4th balloon (the one that's a different color) and cut the top off like you did with the other ones.
- Fold the balloon in half (the long way).
- Then make half circle cuts in each of the sides.
- This piece fits over the finished ball and can help hide the seam that's visible.
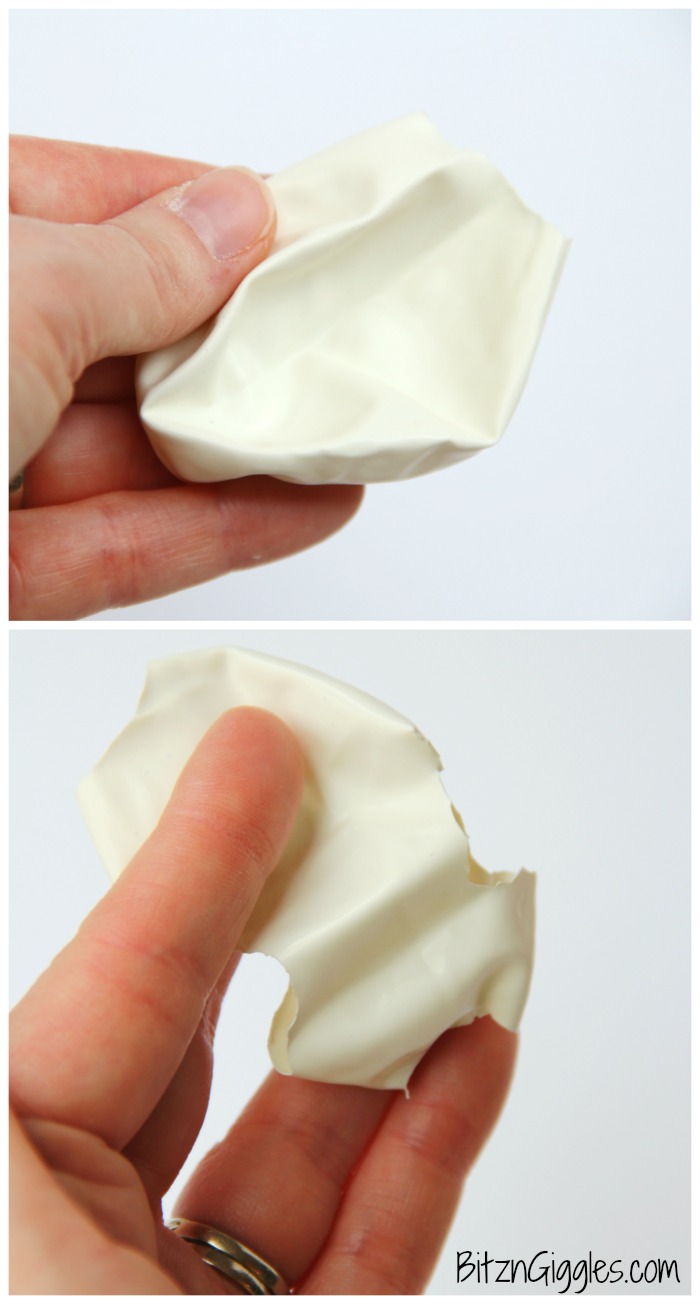
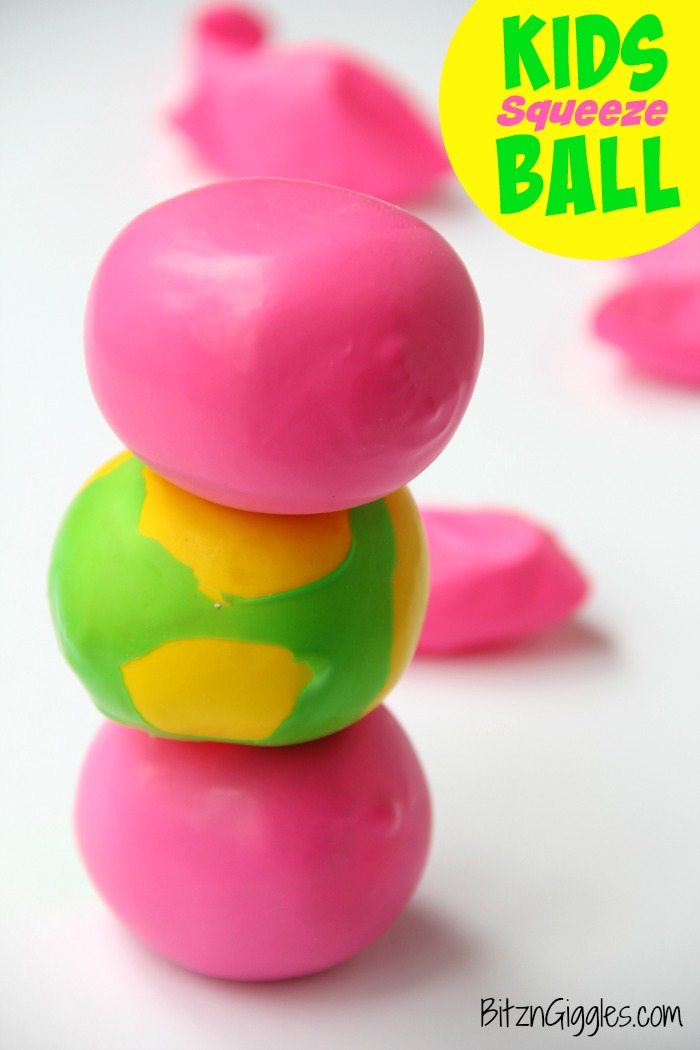
To see what one of our squeeze balls looked like with the "mask," take a look at the yellow and green ball Dane made.
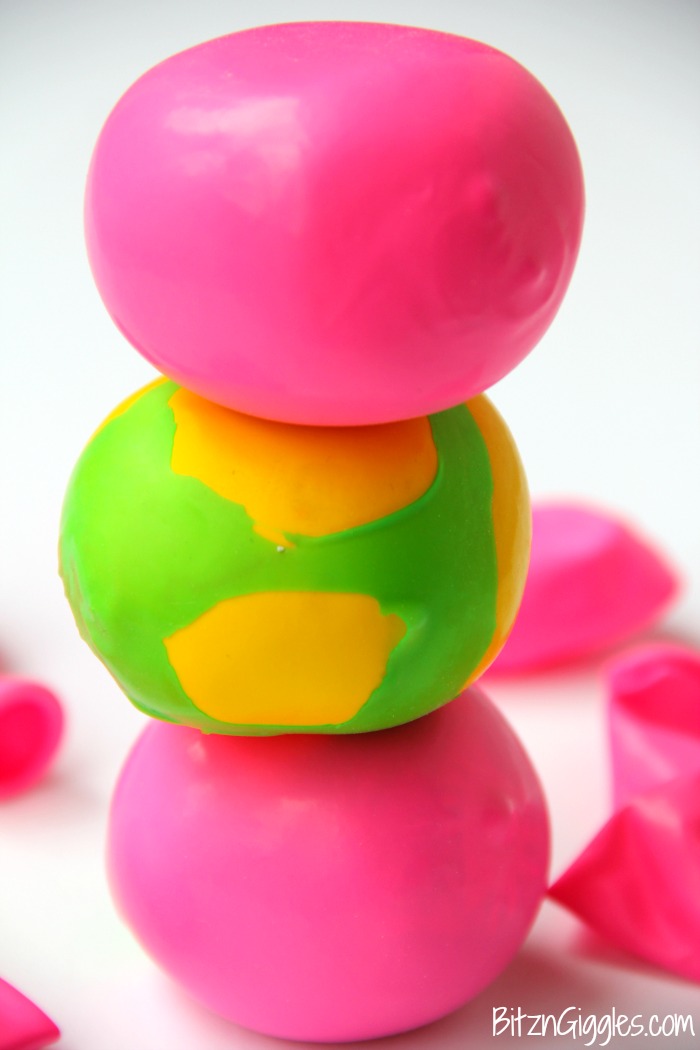
So here's the thing. . .you need a very sharp scissors to be able to make the crisp, clean lines in the mask. If you want to see the mask being cut, refer back to 2:20 in the video where he shows how it's done. You won't want to see how we looked cutting ours. 😉
While we were finishing up our photos for the post and cleaning up the kitchen. Cough, cough. You need to check out the video outtake below, because these are the things that happen behind the scenes. . . and why we stopped the production of our own video (just getting the photos was challenging enough):
Dane and I laugh and laugh about this every time we watch it now. I'm betting you're laughing at my over-dramatic gasp. That gasp happens a lot in our home, by the way. It's a complete reaction and it just comes out. #sorrynotsorry
So, if you thought the outtake was something, you should have seen the kitchen. . .
So, back to the story. . .while we're cleaning up our "creation area," the little neighbor friends stop by. All it took was one look at what we were doing, and all of a sudden, I was making squishy, squeeze, stress, whatever-the-heck-you-want-to-call-them balls for pretty much all of the kids in the entire neighborhood. And after I had everything cleaned up, the twins next door stopped by looking for theirs. I promised I would make them later this week. . .and I will. But yesterday, I was squishy-balled out.
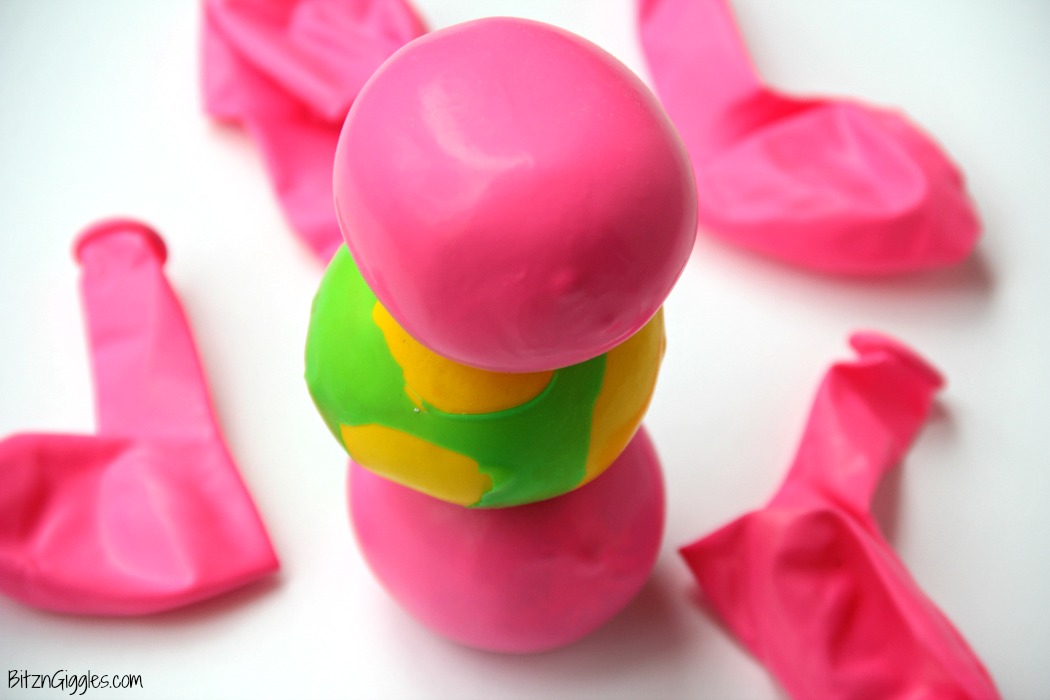
So, one more thing before I send you off to make your very own kids squeeze ball. The masks. . .I didn't think they were necessary. In fact, we made masks for all of the balls we made for the neighbor kids and all of them preferred their stress balls, squeeze balls, squishy balls sans the mask. Good. Because the masks were a pain to make. #justbeingrealherepeople
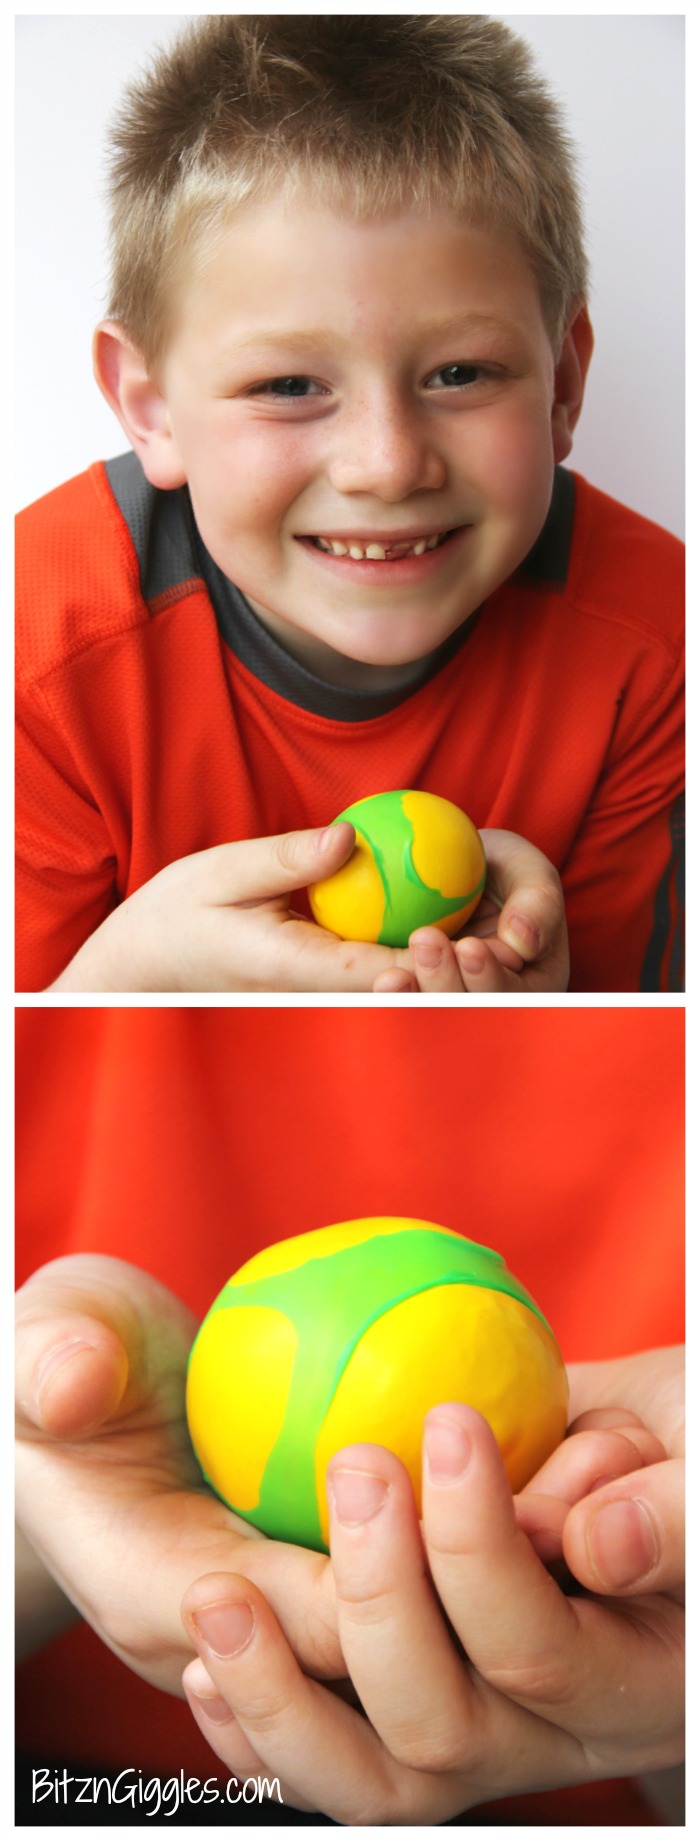
Alright, I think that's all you'll need. You got this, right?! After the first ball we were cranking these babies out left and right. It gets quicker and easier after each one. So, go and grab the kids, gather your supplies and have fun making this fun, squishy toy. I will guarantee you one thing. . .you won't stop at one. We didn't. Better stock up on that flour. 🙂


Kids Squeeze Ball
Materials
- ¾ cup Flour
- Wide neck funnel
- Water bottle
- 3 Balloons (same color)
- 1 Balloon (different color)
- Super glue
Instructions
- Pour the flour into the water bottle using a funnel.
- Blow up one of the balloons and twist it a bit to ensure the air doesn't escape (do not tie).
- Carefully fit the end of the balloon over the mouth of the water bottle.
- Now turn the bottle upside down and empty the flour into the balloon.
- Slowly let the air out of the balloon.
- Get a scissors and cut off the top end of the balloon.
- Get the second balloon (the same color as the first) and cut the end off of that one, too.
- Discard the skinny end and fit the more circular top of the balloon over the flour-filled balloon.
- Repeat steps 7 & 8 with the third balloon of the same color.
Notes
- Ensure Secure Sealing: When attaching the balloons to the water bottle and to each other, ensure a secure seal to prevent any flour from leaking out. Take your time to fit the balloons tightly over the bottle's mouth and each other's ends, and consider using a small amount of super glue if needed to reinforce the seal.
- Proper Balloon Handling: Be gentle when handling the balloons to avoid tearing or puncturing them. Balloons can be delicate, especially when stretched over the mouth of the bottle or when cutting them. Use sharp scissors to make clean cuts, and handle the balloons with care to prevent any accidents.
- Supervise Kids: While making and playing with the squeeze ball can be a fun activity for kids, adult supervision is important, especially when handling small materials like balloons and scissors. Ensure that kids understand the instructions and safety precautions, and provide assistance as needed to avoid any injuries or messes.

Elda Pérez
I liked your video of the squeeze balls .
Sara
Thank you!
Ashleigh
Is there a reason you can't funnel it directly into the balloon? I'm lazy lol
Sara
Trust me, the water bottle idea is the easiest way. We've tried some other ways and it always ended badly. lol Lots of flour all over.
Micah
worked rly well
Lauretta smith
My grandkids will love the ninja balls
Krista
can i use corn starch instead of flour
Sara
I don't see why not!
Aubrey Elizabeth Shepherd
What are the stuff you use for the squeeze ball?
Sara
Hi Aubrey- All of the materials and instructions for making the squeeze ball are located right in the post. Thanks!
Kimberly Woods
How is the superglue used?
Sara
The glue is optional and can be used to adhere the balloon layer onto the rest of the ball. We never used the glue and ours stayed together just fine.