Want to Save This Recipe?
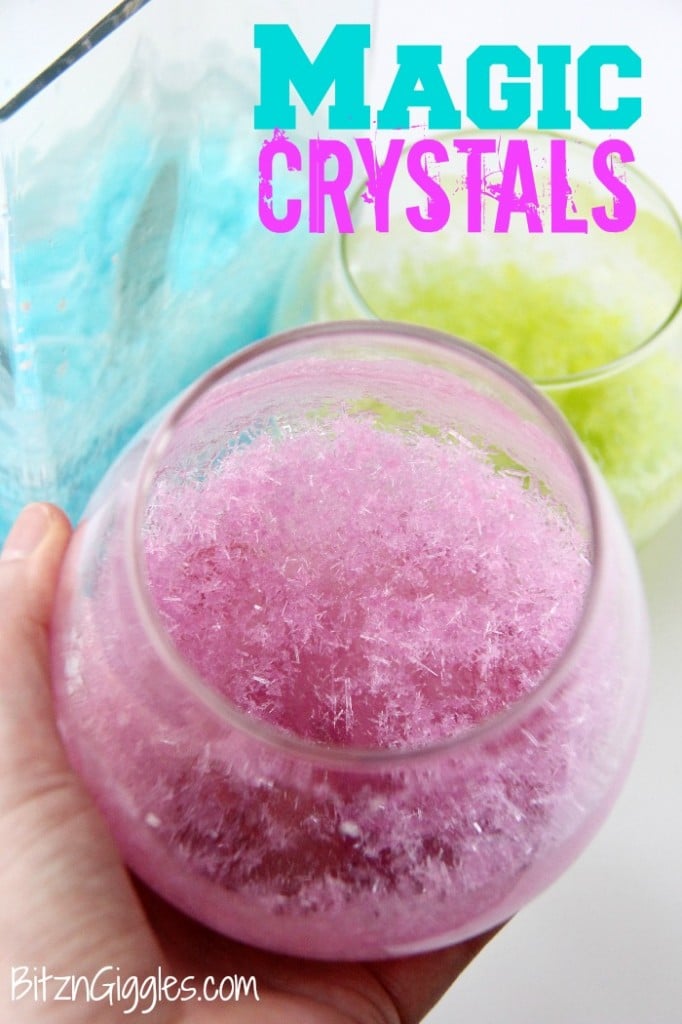
Today we're making something very special. Something near and dear to my heart. . .Magic Crystals. Why are they near and dear to my heart? The last time I made these crystals I was in 4th grade, I believe. I made them for my school's science fair.
The other day I was outside playing with the kids in the snow. It was a nice sunny day here in Wisconsin, so we all got our boots, coats, hats and mittens on and headed out the door.

I caught, Dane, my six-year-old, closely studying the snow on his glove. He said, "Mom, the snow looks like it has little crystals in it." We talked about snowflakes and how they're made. I explained to him how each and every snowflake is unique. Next words out of his mouth, "Can we make our own crystals?" I looked at him and with a smile I said, "Why, yes we can!"
So. . .we did. And I'm assuming you want in on how to make your own, too? Great! Because that's what I'm here for. Let's get started on this awesome winter or any time of the year experiment!
Materials
- Small glass container or bowl
- Mixing bowl
- Fork
- 1 cup Epsom Salts
- 1 cup hot water
- Food coloring
One of the things I love about these crystals is that they're made with only three ingredients. Whenever I see a project that has a long running list of materials and instructions, I tend to avoid it. Are you the same way, or am I just lazy?
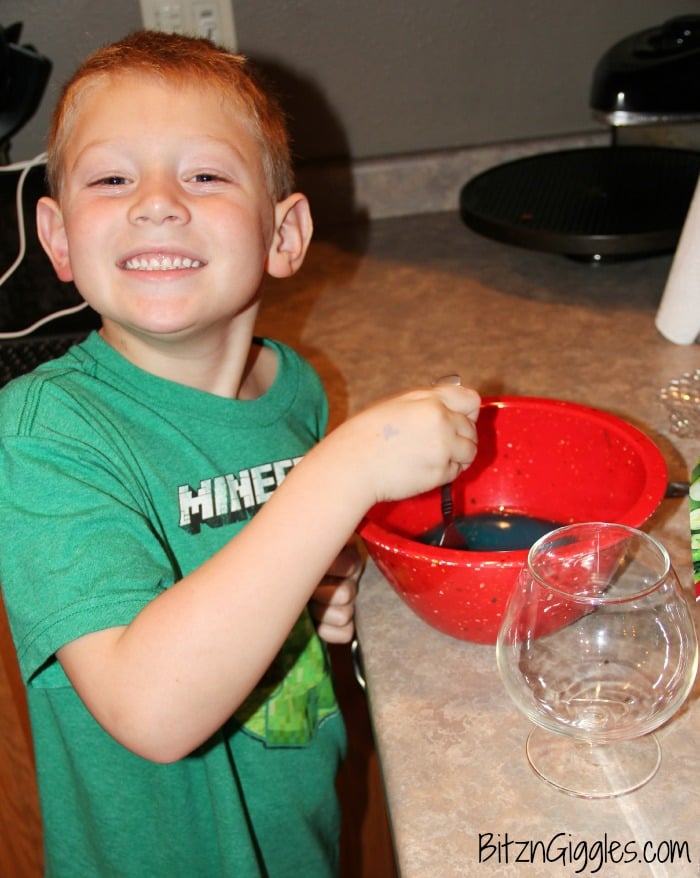
So you start out by pouring the Epsom Salts in the mixing bowl, then add the hot water (make sure it's steaming hot right out of the tap) and a drop or two of food coloring (optional) to the bowl. Now stir the mixture with your fork. Keep stirring for 1-2 minutes. Stir. Stir. Stir. Are you stirring? Continue to stir until most of the salt granules have dissolved.
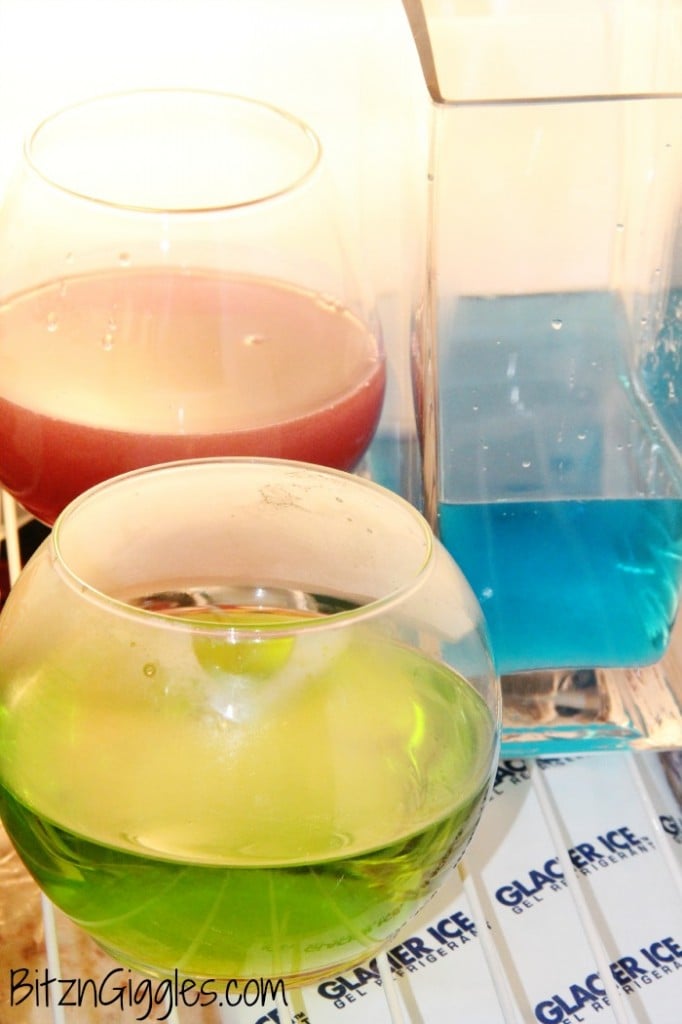
Pour the salt and water mixture into your glass container and place the container in the freezer for about 10-15 minutes. Don't worry, the water mixture isn't hot enough to cause the glass to break when you place it in the freezer.
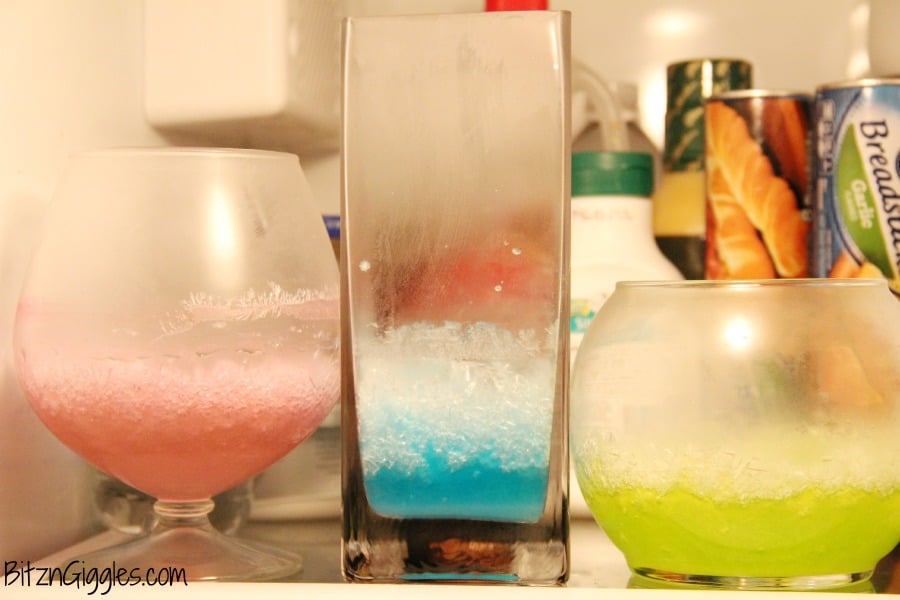
Then move the container to the fridge (top shelf preferred) and let it sit overnight. I know, I know. It's so difficult to wait, isn't it? You'll begin to see the crystals start to grow hours after you place them into the fridge, however, to get the full effect, they should be left in the fridge overnight, or even longer if possible!
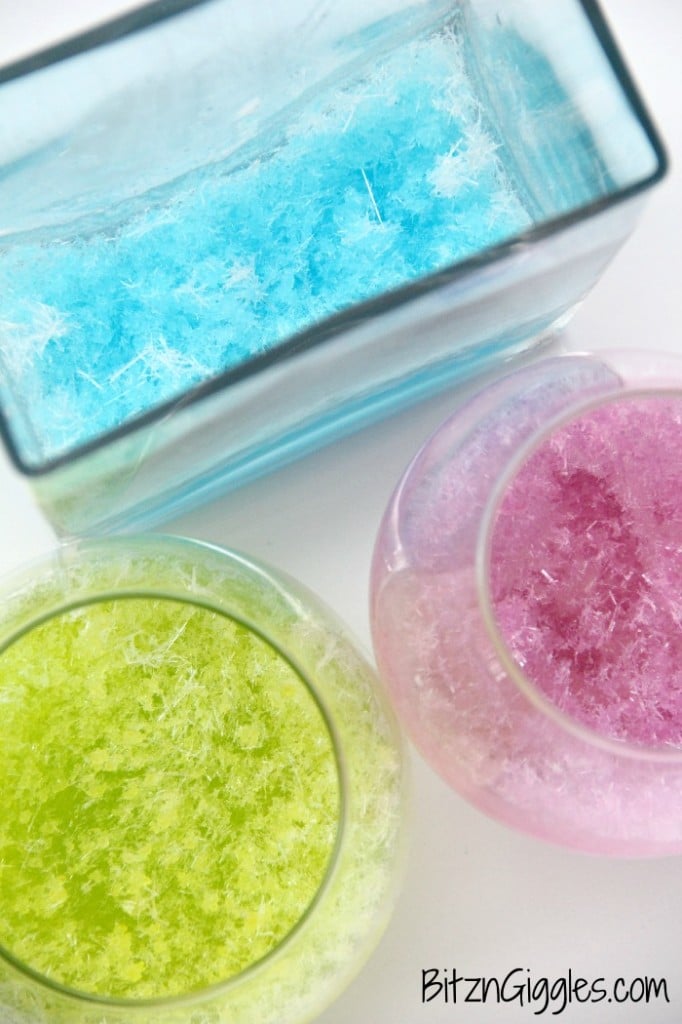
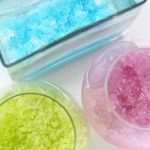
This is what our crystals looked like the day after making them. Remember that crystals are VERY fragile. If you touch them, they will most likely break or disintegrate right before your very eyes. Maybe that's part of what makes them "magic." One of the most exciting parts of this project for children is checking on the crystals after they wake up the next morning. I promise you they will be running right to the fridge after rolling out of bed. Correction. Jumping out of bed. I'm the one who rolls. 😉
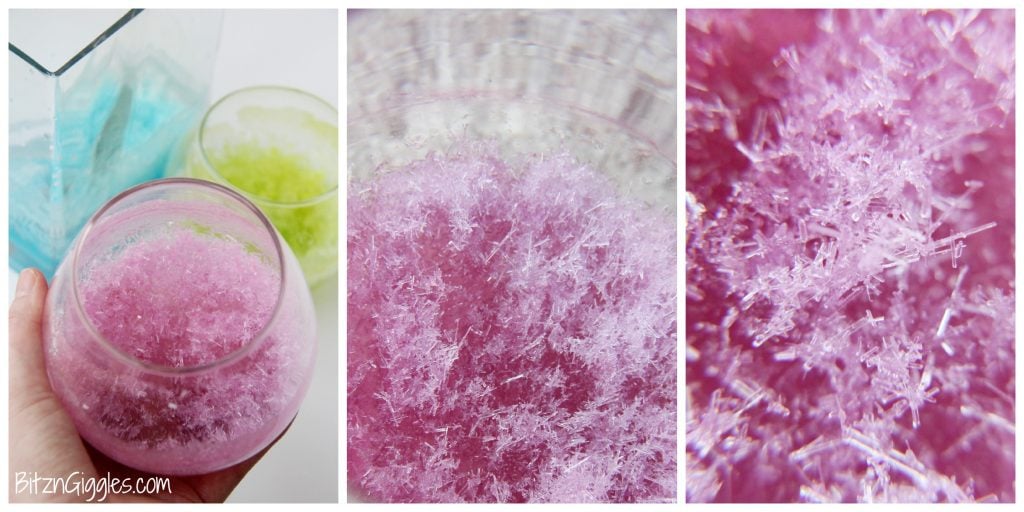
Here are three other interesting views of the crystals. I tried to zoom in and give you a look at how beautiful the crystals really were. Just look at that intricate detail! How amazing is that? If you dump out the water at the bottom of the bowl and place the crystals back into the fridge, they may continue to grow and change! Try it!

These crystals would be a fantastic project for a kids sleepover party. Better yet, how about a Disney FROZEN sleepover? Little girls would love this!
Okay, so here's the only kinda' disappointing thing about these crystals. . .if these crystals are left out in humid conditions, they will dissolve. To keep their shape and beauty they should be stored in a dry, airtight container. We didn't ever remove our crystals from the bowls because we weren't quite sure how we would store them for fear they would dissolve. What color will you make your Magic Crystals? I can't wait to hear how yours turn out!
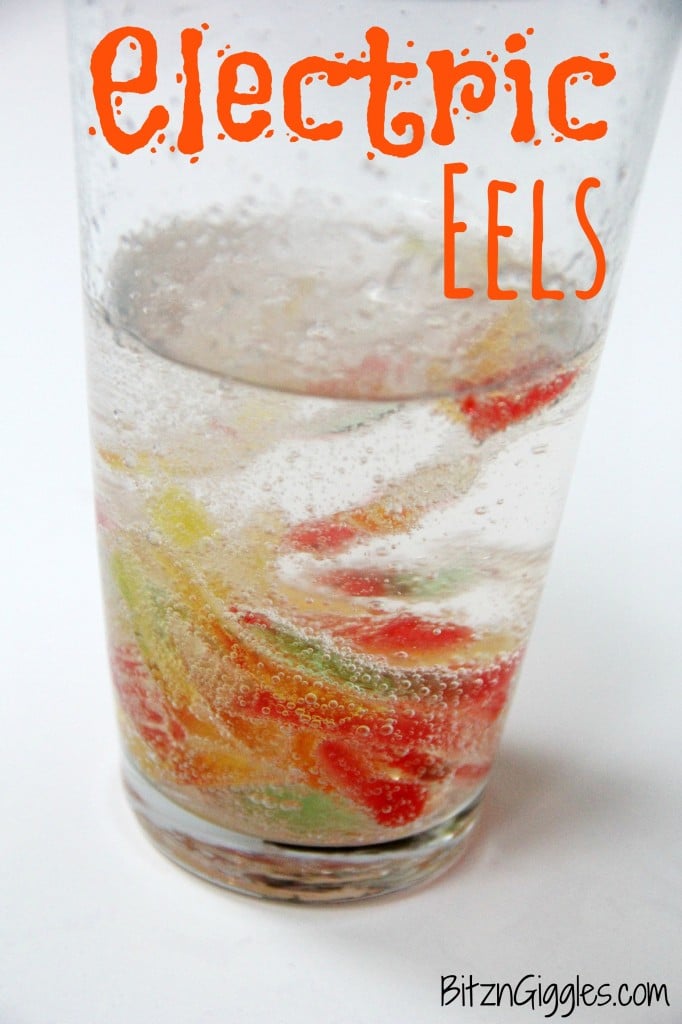
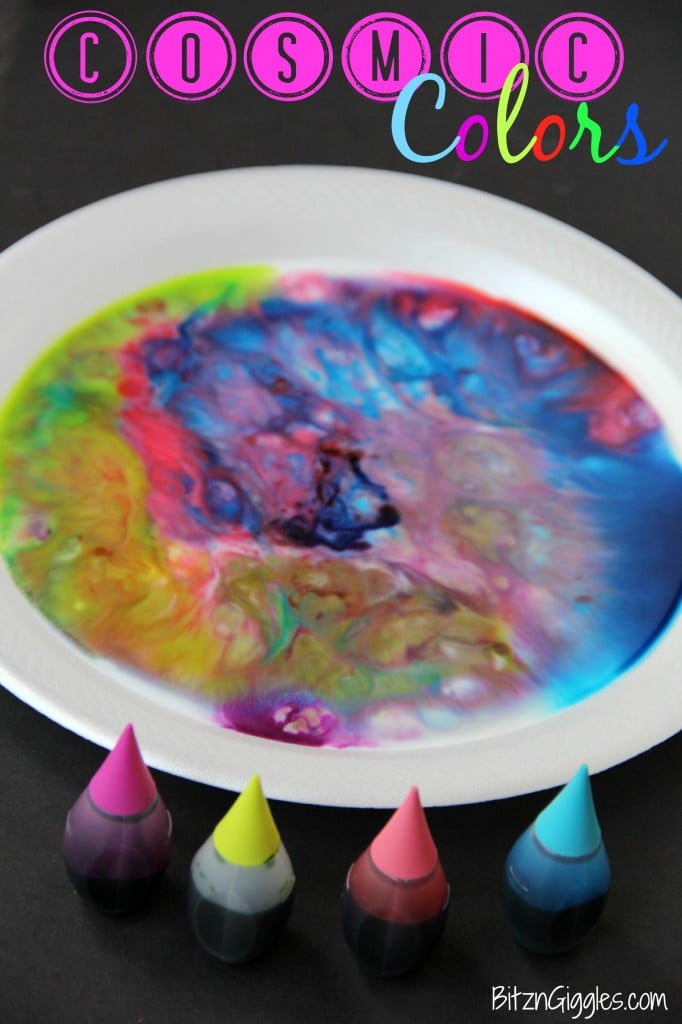
IN SEARCH OF MORE COOL, MAGICAL EXPERIMENTS?
CONNECT WITH ME HERE:
Twitter | Instagram | Pinterest | Google+ | Facebook | Bloglovin'
Magic Crystals
Materials
- Small glass container or bowl
- Mixing bowl
- Fork
- 1 cup Epsom Salts
- 1 cup Hot water
- Food coloring
Instructions
- Start out by pouring the Epsom Salts in the mixing bowl, then add the hot water (make sure it's steaming hot right out of the tap) and a drop or two of food coloring (optional) to the bowl.
- Now stir the mixture with your fork. Keep stirring for 1-2 minutes. Stir. Stir. Stir. Are you stirring? Continue to stir until most of the salt granules have dissolved.
- Pour the salt and water mixture into your glass container and place the container in the freezer for about 10-15 minutes. Don't worry, the water mixture isn't hot enough to cause the glass to break when you place it in the freezer.
- Then move the container to the fridge (top shelf preferred) and let it sit overnight.
Notes
- Dissolving Epsom Salts: Ensure the Epsom salts are fully dissolved in the hot water before transferring the mixture to the glass container. This ensures the crystals form evenly and prevents any gritty texture in the final product. Stirring vigorously for a few minutes helps dissolve the salts effectively.
- Food Coloring: While optional, food coloring adds visual appeal to the magic crystals. Use a drop or two of food coloring to tint the crystals to your desired hue. Start with a small amount and adjust as needed to achieve the desired color intensity. Be cautious not to add too much food coloring, as it may oversaturate the solution and affect the crystal formation.
- Patience with Crystallization: After transferring the salt and water mixture to the glass container, patience is key. Allow the container to sit undisturbed in the freezer for 10-15 minutes to kick-start the crystallization process. Then, refrigerate the container overnight to allow the crystals to grow and develop fully. Avoid moving or disturbing the container during this time to ensure well-formed crystals.
Linda
Can I eat this crystal ?
Sara
Is this a trick question?🤷♀️ No, I wouldn't recommend it.
Jas
What do I do if the water get cold while I’m mixing the salt can i microwave it to make the water Hotter or??
Sara
You just need to make sure that the salt dissolves. If you start with warm enough water you shouldn't have a problem.
Rayne
Hi thank you so much for this wonderful idea it is perfect for my mom for mother’s day thank you!
Sara
I hope they turn out well for you, Rayne! P.S. I love your name. 😉
Ella Jammell
Hi! I really want to try it, but I'm unsure about the container. If I use a glass container, will I be able to take them out and put them in a plastic container?
Sara
We never transferred our crystals from the glass bowl where they grew to anything else. They're pretty fragile so I'm not sure the transfer would be easy to do.
Lisa D Wiseman
Never mind, I checked the post several times and thought I saw you used both Epsom Salts and Borax.
I see now you only used Epsoms Salts. I must have confused it with growing your own Geodes.
http://www.danslelakehouse.com/2015/01/diy-borax-crystals.html
I am nearly 60 years old and still love to play and learn new things every day. Great post, can't wait to try
I even have Epsom Salts on hand.
Thanks,
Lisa D
Christian Hale
Hello everyone, I would like to learn more about this project. I am in Early Childhood Education and I will be interning soon. Also, this would be a wonderful project for my students too do. I like to know to know if dinking glasses would work for this project? If anyone has tips on this project, I would appreciate it.
Sara
Christian, since you're going to have a classroom of students I'm wondering if something like petri dishes would be more appropriate?
Jamie
Sorry one last question; do you know how long in the fridge until some signs start appearing?
Sara
I saw results after a few hours, but your best bet is to do it again and then leave it overnight. The longer you leave the bowl in the fridge, the more crystals that will grow. It's also important to keep the bowl still. So, once you get this next batch done, put them in the freezer for about 10-15 minutes, stick them in the fridge and GO TO BED!! I hope you and the kiddos wake up to some crystals!! Fingers crossed!
Jamie
We tried this today and the mix has been in the fridge for about 8 hours and no change. I did use a plastic container instead of glass. I am wondering if I didn't get the water hot enough. How long should I wait before I start over??
Jamie
Sara
Jamie, hmmm. Allow them to sit overnight and check them in the morning. If no change, I would start over. 🙁 Try glass next time, too!
Jamie
Thank you for the reply! I am going to leave the original one alone and see what happens, but the kids are way to excited and I am way to impatient so I am doing another one now with a glass bowl and hotter water. Lets see if either will do something!! THANK YOU!
Jacqui Odell
How fun! My daughter would love this! Thank you for linking up to Party Time and we hope to see you again next week!