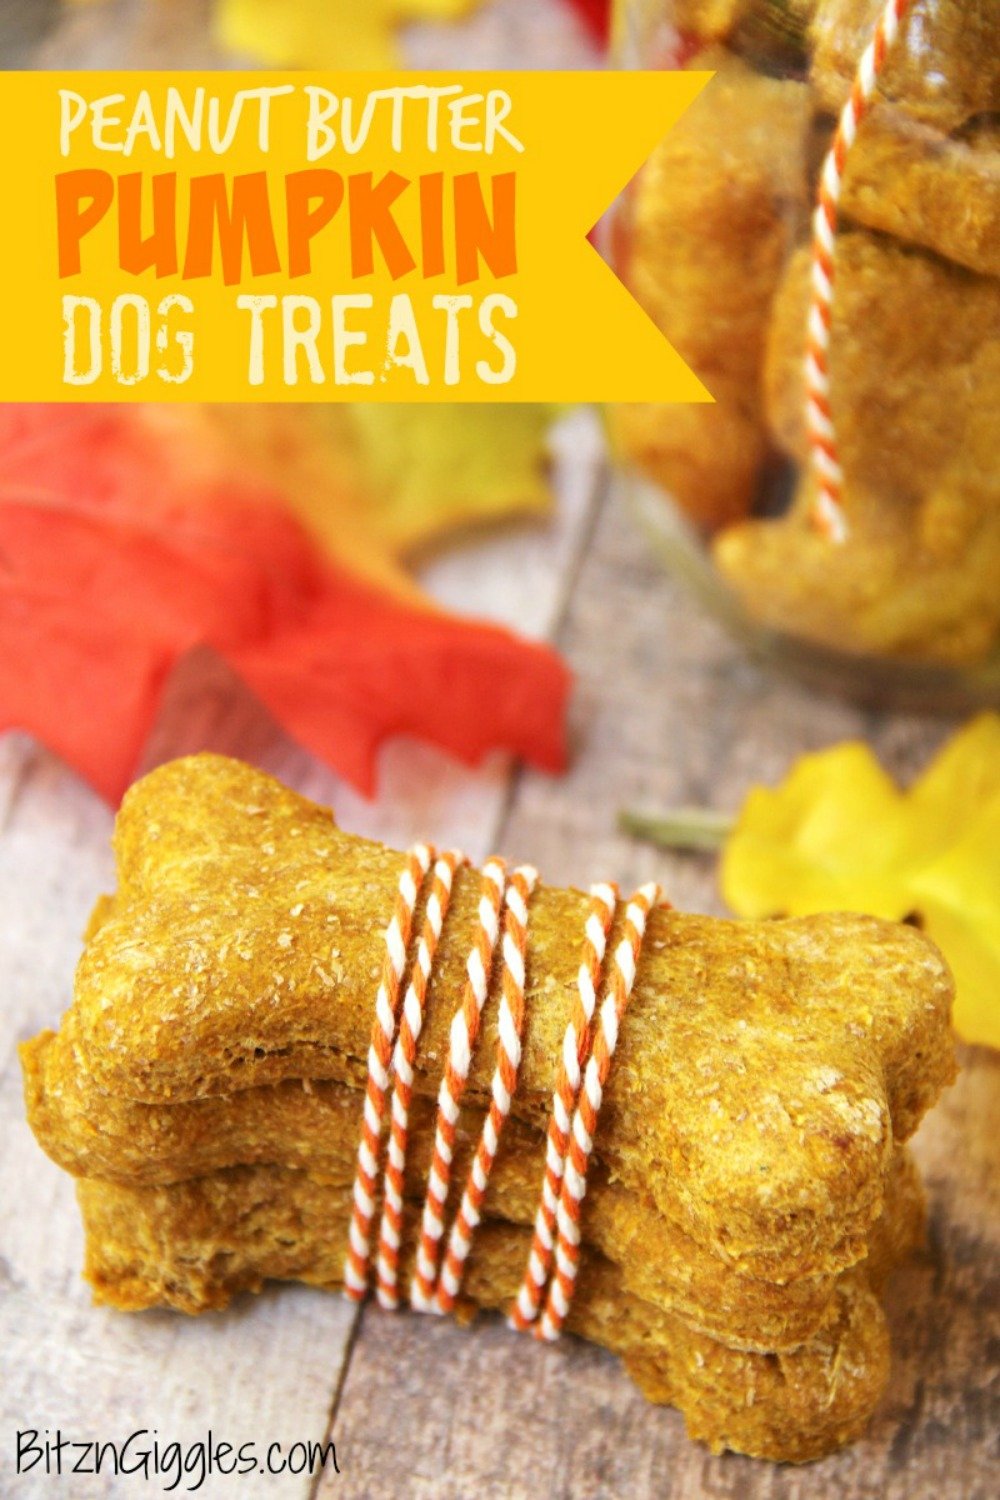
Peanut Butter Pumpkin Dog Treats - A crunchy treat made of pumpkin and peanut butter, perfect for your loving fur babies!
Want to Save This Recipe?
You guys!! I'm in Vegas this week for a conference, so my blogland presence has been a bit sketchy. My apologies. I had fun this morning attending a session with Barbara Corcoran and Robert Jerjavec from ABC's Shark Tank.
I was always taught to take at least one "golden nugget" back from each session at a conference. This morning Barbara was talking about running a successful business, and she said the key to great success is "having fun."

I absolutely believe that to be true. Her statement made me think a lot about the name of this blog - because I know if I'm not giggling and having fun, I'm not going to be able to create little "bitz" of ANYTHING. High stress and burn out = zero creativity.
So, anyway, once and awhile it's good to get out, listen to others for inspiration and then get back to work doing what you do best! And that's what I plan to do!
Blah, blah, blah. Will she ever get to talking about the Peanut Butter Pumpkin Dog Treats?! Ha, ha. I know that's what you're thinking!
So, before I left for Vegas I made these delicious treats for our golden retriever, Belle. She turned one-year-old at the beginning of the month so we've been showing her the royal treatment as of late. In our family, it's almost as if we have birthday "months." 😉 That's a good thing.
You may have already seen the Banana Pup Pops or the Chewy Cheddar Puppy Puffs she loves. Let me tell you what. . .she would do flips for these treats, too! And so will YOUR pup!
How to Make Peanut Butter Pumpkin Dog Treats
Ingredients
- 1 cup canned pumpkin
- 2 ½ cups whole wheat flour
- 2 eggs
- 2 tablespoons peanut butter
- ½ teaspoon salt
- ½ teaspoon ground cinnamon
- 1 tablespoon water
- Extra flour to reduce stickiness of dough
Instructions
- Preheat oven to 350 degrees Fahrenheit.
- Mix all of the ingredients together with a spoon or spatula until well combined.
- If the dough seems real dry yet, add a little water at a time until you achieve a dough-like consistency - remember this should be a dryer dough.
- Sprinkle some of the extra flour onto a flat surface and use a rolling pin to spread the dough out.
- Bake for 35-40 minutes.
If the dough seems a bit sticky use small amounts of flour when working with your cutters.
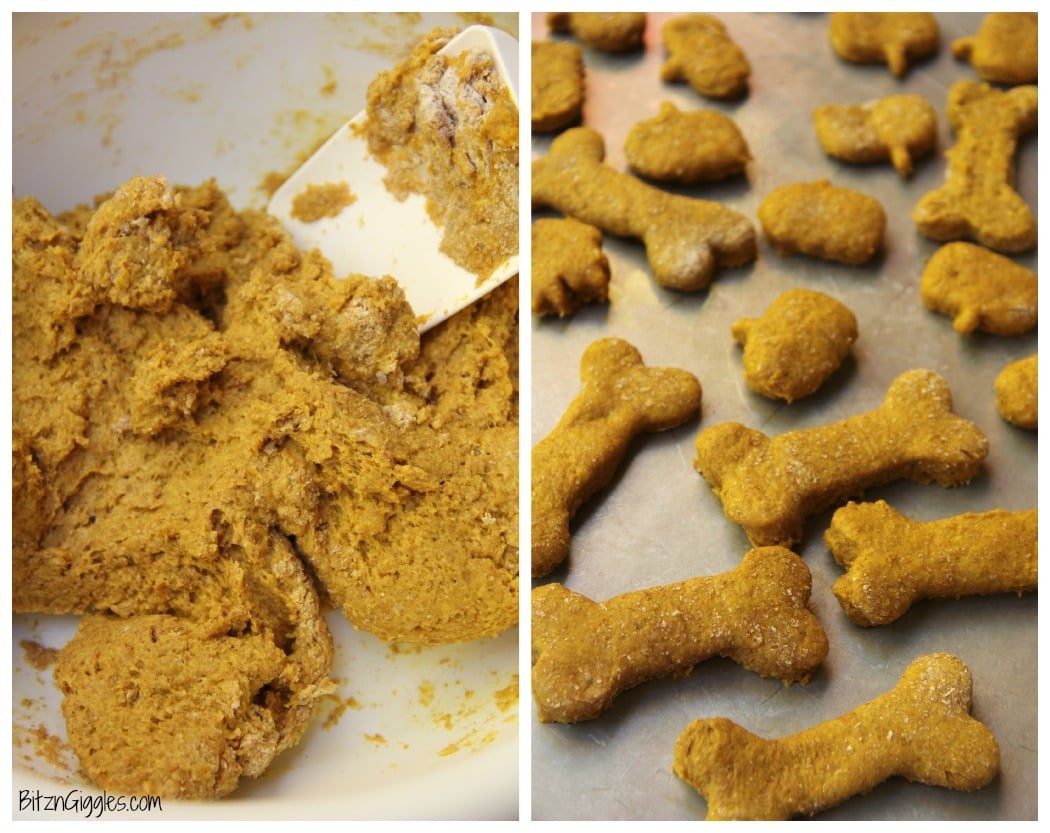
I love this recipe because it involves dumping a few ingredients into a bowl and stirring. I can handle that. The most time consuming part is rolling out the dough and cutting out the shapes.
Allow me to let you in on a little secret. . .if you don't have time for the pretty shapes and cutters, you can always just roll small pieces of the dough into little balls and make them into training treats.
To celebrate the beautiful fall weather we've been having, I cut out some pumpkins and leaves, and then, of course, made some of her favorite shape - the doggy bone.
You'll find that the dough can at times be a bit sticky, but adding a little flour to the dough when kneading it and rolling it out helps tons!
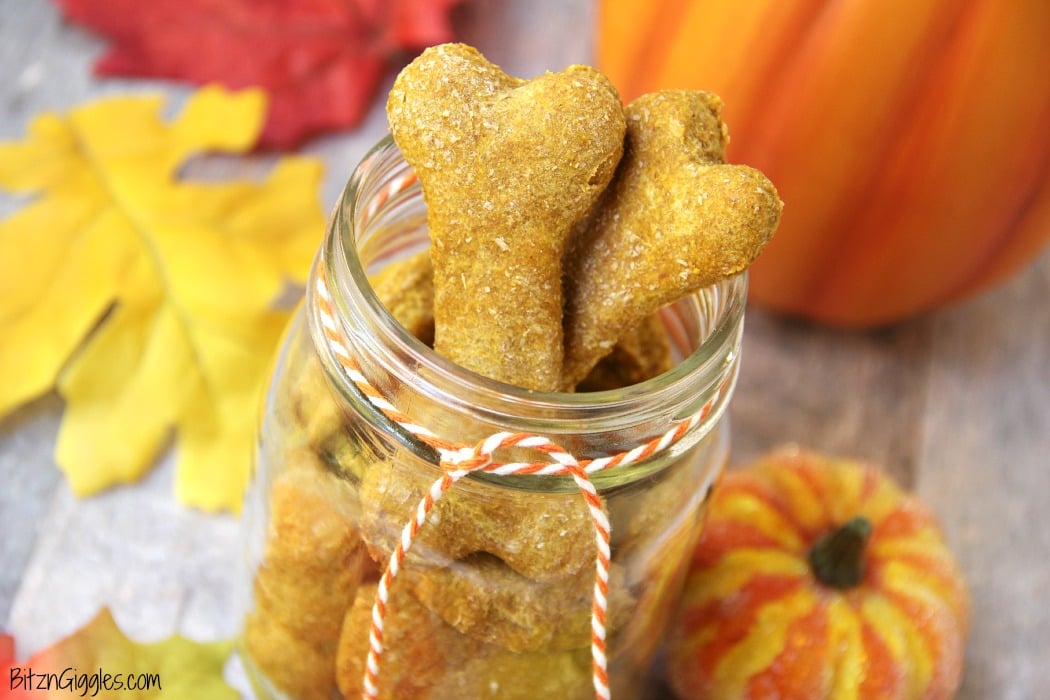
I normally always use whole wheat flour when I make dog treats. It's just a better choice for your fur baby and, believe me, most everything tastes good to a pup. Psst. . .she ate her own poop once when she was really little (TMI, I know). ANYWAY. . .
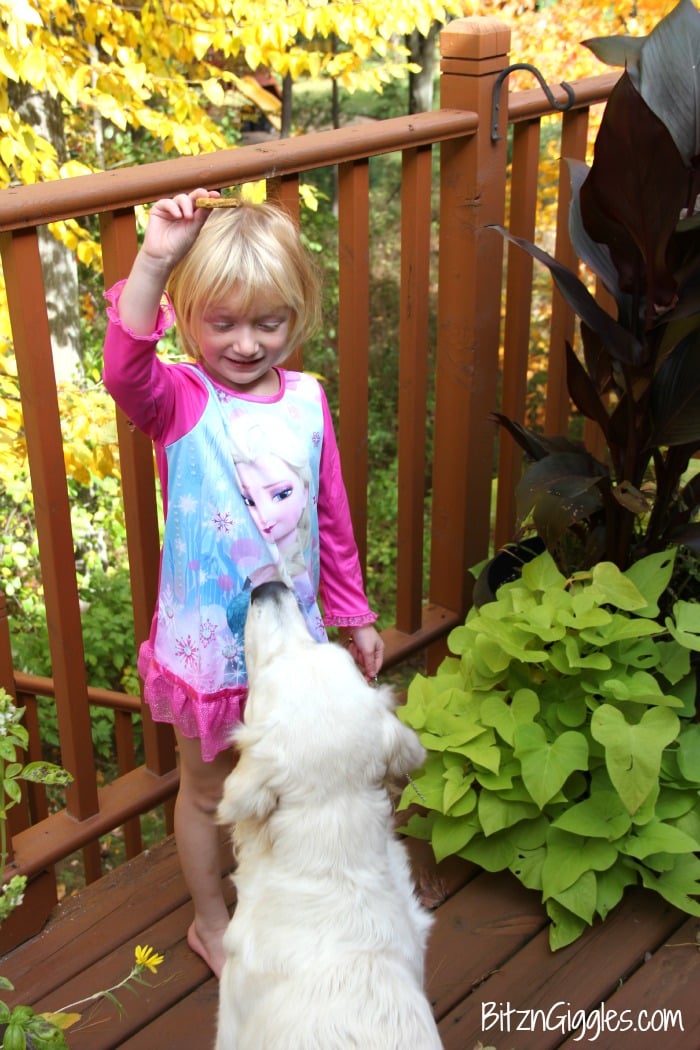
She nearly knocked Cora over waiting for her treat. It wasn't helping that Cora decided to try and make her wait for a REALLY LONG time. Poor thing. LOL
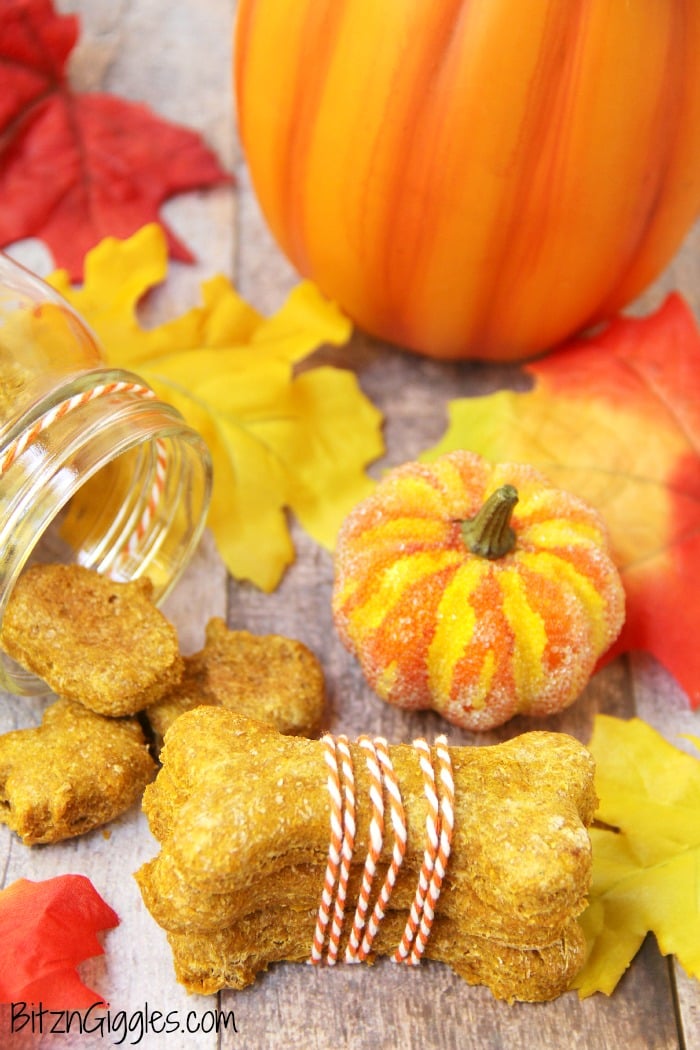
The recipe makes about 24 treats if I were to have made all of the medium-sized dog bone treats. I got more than that in this batch using some of the smaller cookie cutters and at the end I even rolled a few pieces of the remaining dough into balls for some smaller training treats like I mentioned earlier.
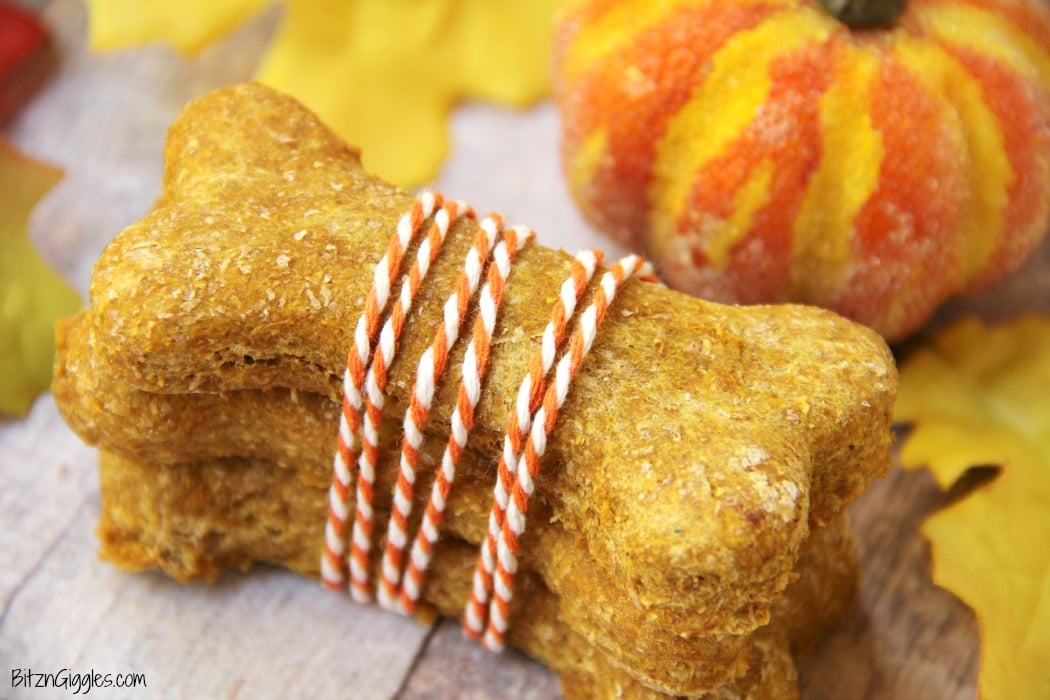
So, this year when you're buying canned pumpkin for all of your fall treats, don't forget about your furry family member. Make a batch for Thanksgiving so they can join in on the family celebration, too! Bake some for family and friends who are animal lovers.
They'll think it's such a kind gesture - and so will their pups! I can't wait to hear about all of your puppies doing flips for these treats, too! Make sure to let me know if they liked them!!

Peanut Butter Pumpkin Dog Treats
Ingredients
- 1 cup canned pumpkin
- 2 ½ cups whole wheat flour
- 2 eggs
- 2 tablespoons peanut butter
- ½ teaspoon salt
- ½ teaspoon ground cinnamon
- 1 tablespoons water
Instructions
- Preheat oven to 350 degrees Fahrenheit.
- Mix all of the ingredients together with a spoon or spatula until well combined.
- If the dough seems real dry yet, add a little water at a time until you achieve a dough-like consistency - remember this should be a dryer dough.
- Sprinkle some of the extra flour onto a flat surface and use a rolling pin to spread the dough out.
- Bake for 35-40 minutes.
Notes
- Use Natural Peanut Butter: When selecting peanut butter for your dog treats, opt for natural varieties without added sugars, salt, or xylitol, which can be toxic to dogs. Natural peanut butter contains only peanuts and possibly a small amount of salt, making it a healthier choice for your furry friend. Be sure to check the ingredient list to ensure it's safe for your dog to consume.
- Adjust Dough Consistency: Achieving the right dough consistency is crucial for making dog treats that hold their shape and bake evenly. If the dough feels too dry and crumbly, gradually add a small amount of water, about a tablespoon at a time, until you achieve a dough-like consistency. Remember that the dough should be on the dryer side to prevent it from becoming too sticky or soft during baking. Conversely, if the dough is too wet, you can incorporate a bit more flour to balance the moisture.
- Monitor Baking Time: Keep a close eye on the treats while they're in the oven to prevent them from over-browning or burning. Baking times can vary depending on factors such as oven temperature and the thickness of the treats. Start checking for doneness around the 30-minute mark, and continue baking until the treats are firm and golden brown. Be mindful that the treats will continue to firm up as they cool, so it's okay if they're slightly soft when you remove them from the oven. Allow the treats to cool completely before serving them to your pup.

MH South
Do you grease the pan? and if so, is Pam cooking spray ok?
Sara
Yes, that would be fine!
Lydia
I have made these treats several times. I do remember that they started getting moldy, but I can't remember how long after I made them that was. How long do you think they are usually good for? In the fridge and out??
Sara
I always store these treats in the fridge. We usually go through ours in about a week or so?
Kathy
Love this recipe, and so does our grand-pup. I made this recipe twice. Doubled the recipe and shared it with coworkers that have dogs. Every single dog loved it.
Since our pup has a gluten free dog food I wanted to use gluten free flour. The first time I made it I used brown rice flour and loved how easy it was to roll out. I will be using that flour each time I make it.
Sara
Thanks so much for sharing your gluten free tips, Kathy!
Melissa
Can i use all purpose flour?
Sara
Yes, you can. Whole wheat flour just is a bit better for your pup!
Wendy
In case anyone would like to know, never use low sugar peanut butter for dog treats with Zytol in it per my Vet. It is toxin to animals...!!
Monica
I made as followed and yielded 30 treats cut into a medium size bone cookie cutter. i didn't have any issues with 'sticky' dough if i added flour. I think this is a great recipe for left over pumpkin for our furkids. Since we only have 2 pups and we plan to give them one a day, we will keep them in the fridge and still give some to friends so they do not go to waste.
Thanks for the recipe!! Look forward to checking out further stuff!!
Sara
Excellent, Monica. I'm so glad your pups enjoyed them - and you're right, they're great to give as gifts. I have another pumpkin pup treat coming soon - and I would love to have you back for a visit! 🙂
Patty
Making these right now! I think my pooches will LOVE them! Thanks for sharing!
Sara
So, Patty? Did the pups like them?!
Sandra Bell
I prefer using oat flour rather than wheat flour. They turn out just as good and are more healthy
Sara
Great idea, Sandra!
Callie
Do these treats have to be refrigerated?
Sara
Hi Callie! The treats will keep longer when refrigerated although if you know they will be eaten in a couple days you wouldn't have to.
Mary
I just made a batch of these. They look and smell really good, but I just realized I forgot the eggs....oops. Is that a problem?
Sara
Hmmm. . .well, I've never made them without the eggs. If they turned out without the eggs, they should be okay. Let your pup be the judge!! Let me know how it goes!
Kristin
I have tried this recipe with well over 3 cups of flour, yet it remains the stickiest dough I have ever worked with. No amount of flour can reduce the stickiness enough to cut out shapes - even after I refrigerated it. I tried another recipe using less pumpkin and less flour, and it worked much better.
Sara
I've never found the dough to be unworkable after refrigerating. I'm sorry this particular recipe didn't work for you but I'm glad to hear you found a recipe that did.
Julie
Thanks for sharing! I will have to give these a try! That's funny about your daughter making her wait for her treat! We just adopted our first puppy and my son does the same thing!!
Sara
Julie, let me know what you think! One of Cora's teachers just made the treats for her dog and said she couldn't believe how crazy he was over them. I hope your new puppy feels the same way! Congrats on your new furry family member!