Want to Save This Recipe?

I am completely and totally focused on Easter. It's now less than two weeks away! I've been thinking about Mass on Easter Sunday, the wonderful meals we'll be sitting down to eat and the laughter we'll hear from the children as they run through the house searching for their Easter baskets. What a wonderful time of year. I CAN'T WAIT!
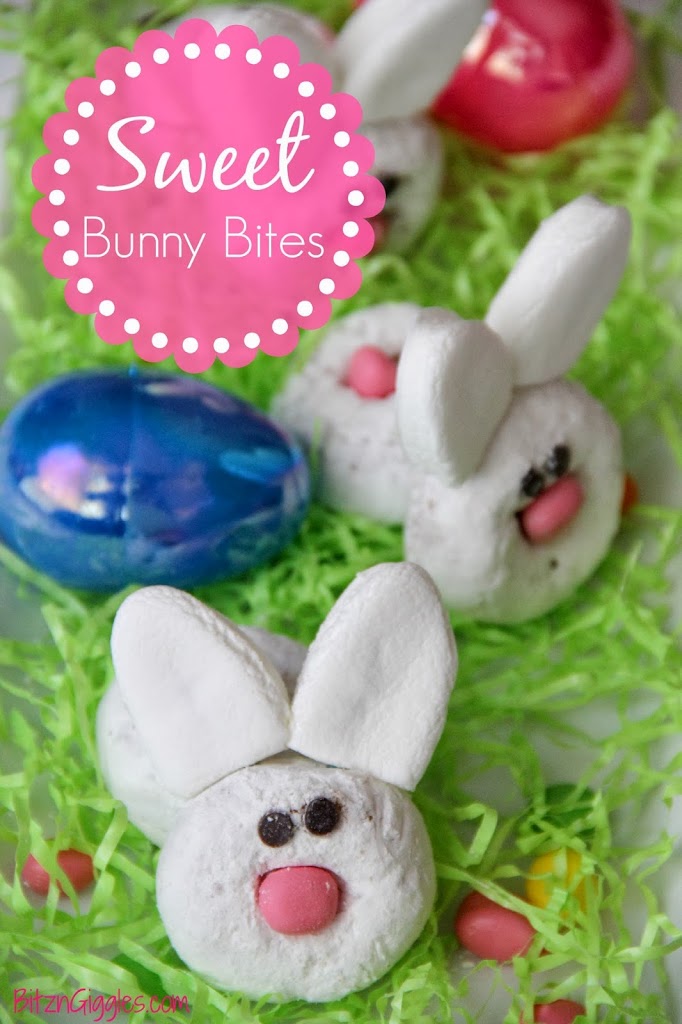
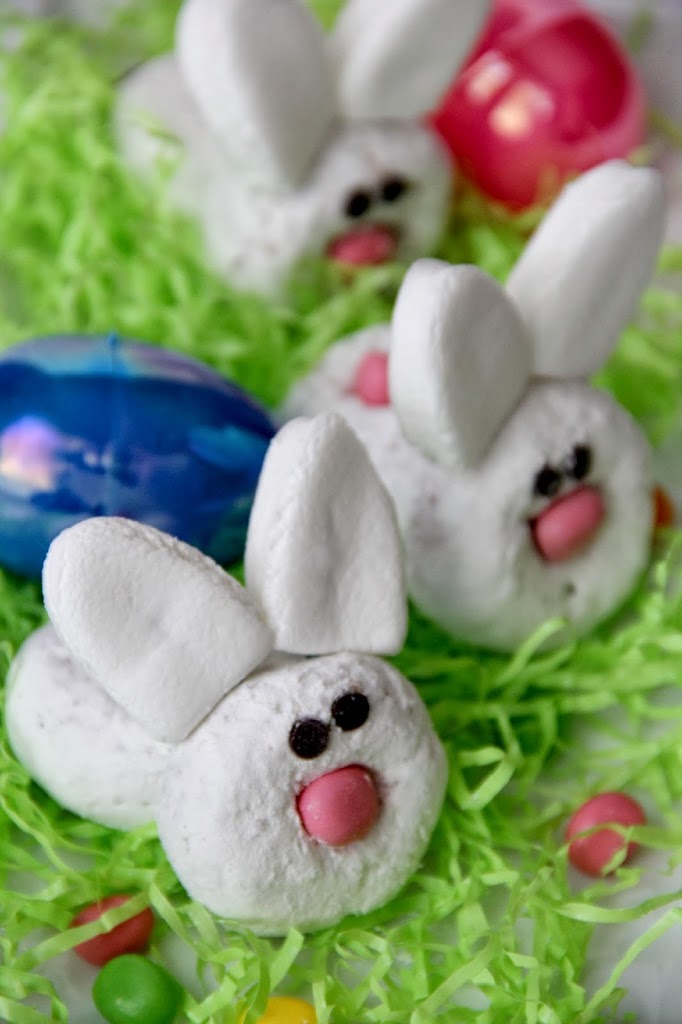
Today I'm introducing you to a precious little treat that the kids are sure to enjoy. These little doughnut bunnies are super easy to make and turn out to be, well, maybe some of the cutest things ever. Who can resist the little jellybean nose and tail? Not me. I ate them both - and so did my kids. . .only after they carefully looked the entire rabbit over to see exactly how they were made.
Get ready because here's where you're going to gasp. I actually fed these to my children for breakfast. I know, I know. It's horrible. But, they obviously don't eat breakfasts like this every day and once and awhile, it's okay. At least in my book. My kids were super excited to see these little guys on their plates and they gobbled them right up. Of course they did. . .along with a big glass of milk.
Here's what you'll need to make the Sweet Bunny Bites:
Materials
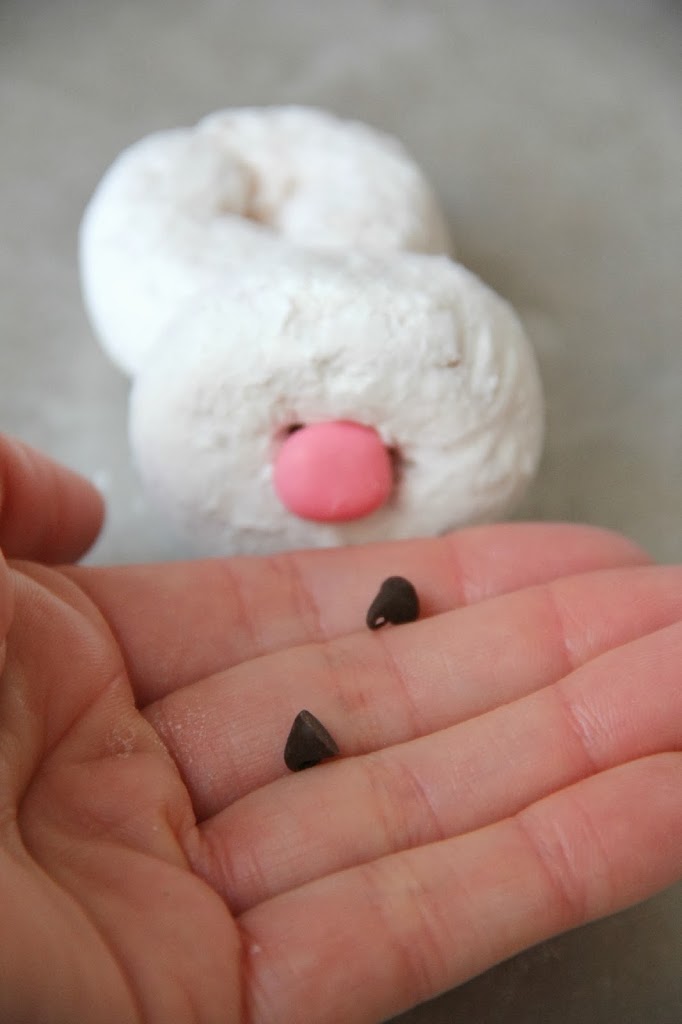
- 2 powdered doughnuts
- 2 mini chocolate chips
- 2 pink jellybeans
- 2 Stackers Marshmallows
- 3 toothpicks
- Bunny-shaped cookie cutter
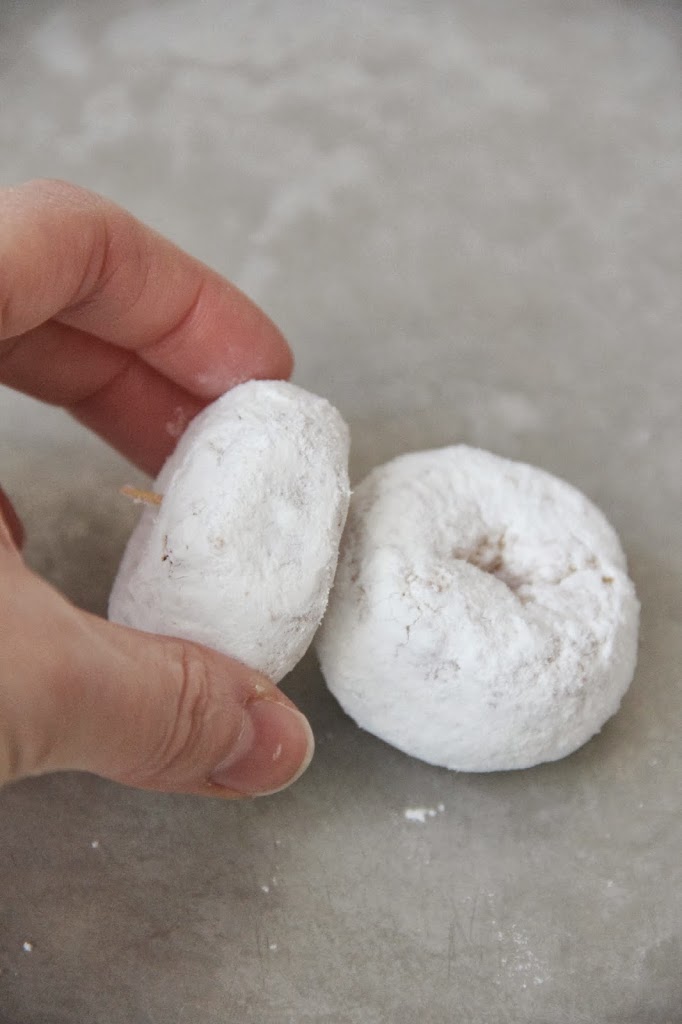
Start by placing one of the toothpicks into the side of one of the doughnuts.


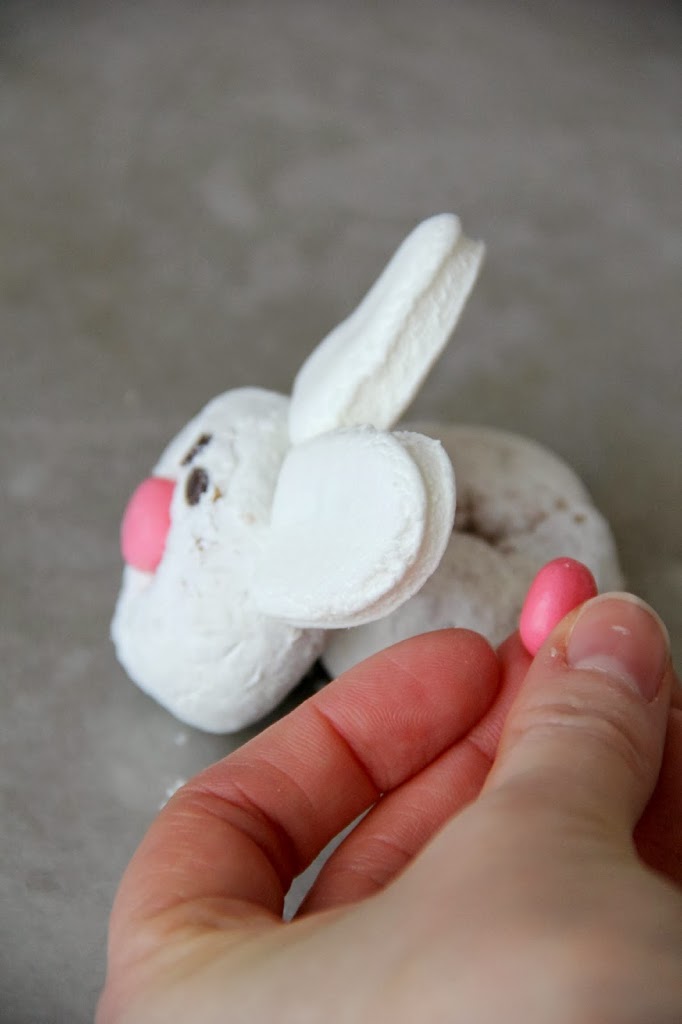
Now that's a cute little Peter Cottontail, even if his "cotton" is pink. If you want, you could color the inside of his ears with some sprinkles or paint it on with a combination of milk and red food coloring. I chose not to because I liked the look of just the white ears.
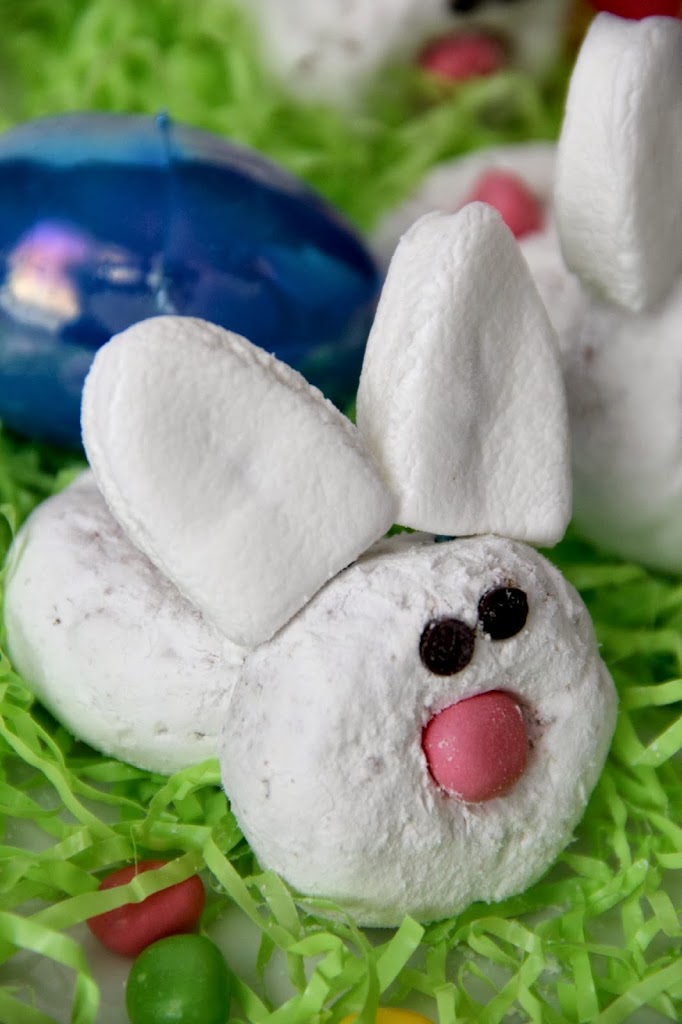
And don't worry about making sure their eyes align perfectly. I think they're actually cuter when they're not so perfect. That's me also just covering my bases in case you're thinking, "She didn't even line up the eyes."
Just like my bunnies, I'm not perfect. And you know what, that's okay. At least that's what my therapist tells me. Just kidding. Although I don't need a therapist quite yet, at some point in my life, I may. For now, chocolate seems to suffice when I'm having a troublesome day.
SHARE IT
Sweet Bunny Bites
Ingredients
- 2 Powdered doughnuts
- 2 Mini chocolate chips
- 2 Pink jellybeans
- 2 Stackers marshmallows
- 3 Toothpicks
- Bunny-shaped cookie cutter
Instructions
- Start by placing one of the toothpicks into the side of one of the doughnuts.
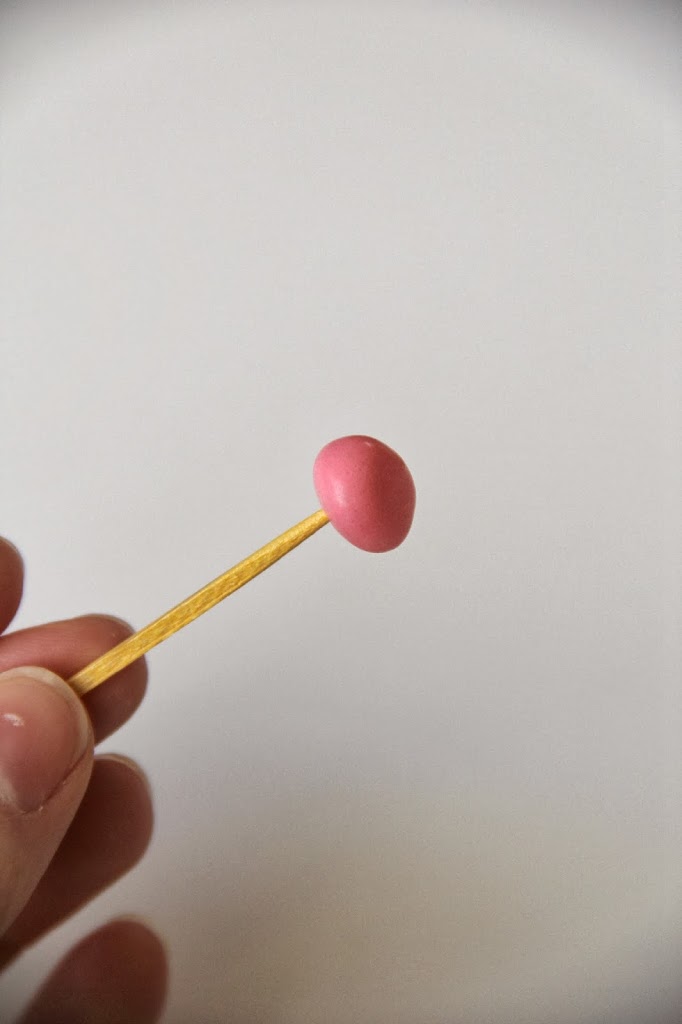
- Then, take your second doughnut and slide it over the toothpick, kind of propping it up on its side. Grab another toothpick and stick one of the jellybeans onto the end of it.
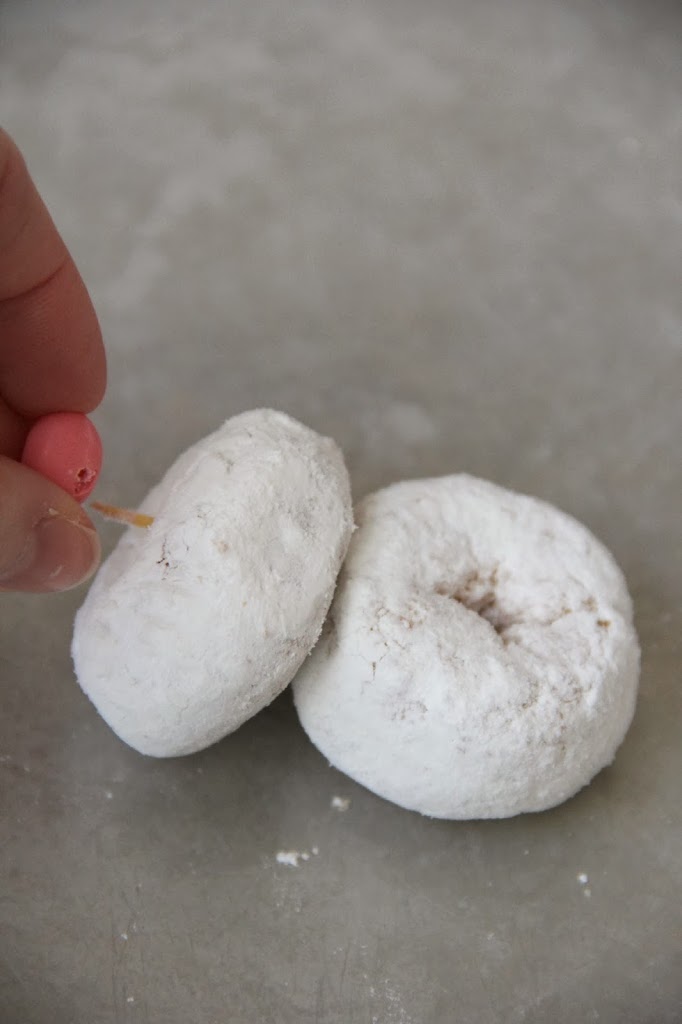
- Remove the jellybean from the toothpick and slide it onto the toothpick holding the two doughnuts together. Making the hole in the jellybean first makes it much easier to slide onto the next toothpick.
- Grab the mini chocolate chips. Careful! Make sure they don't start melting in your hands. This is very serious work. These will be the bunny's eyes.
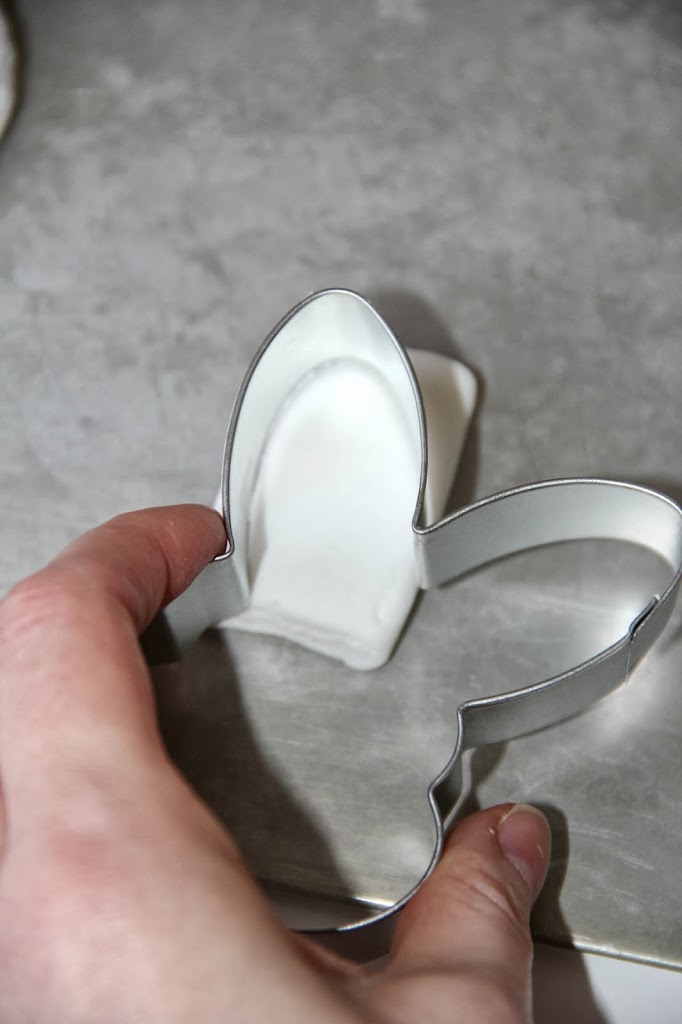
- To make the ears, grab your cookie cutter and the marshmallows. Cut out each ear as shown below.
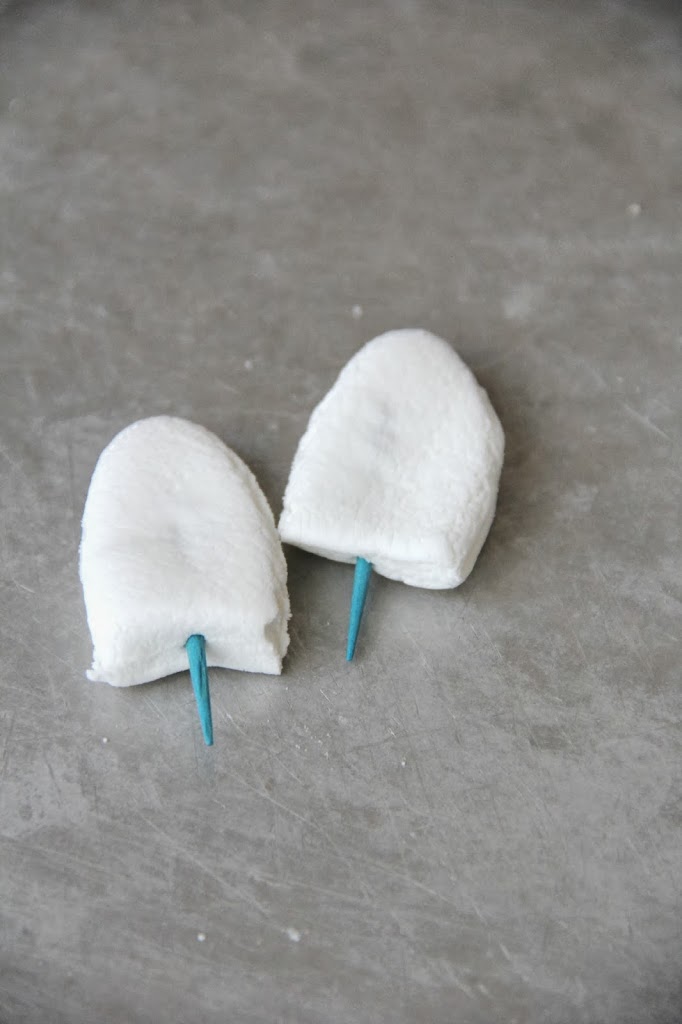
- You may have some little ends you'll want to trim off to make the ears smooth all the way around. Take your final toothpick and break it in half.
- Put the toothpick halves through the ears so they look like little popsicles and place them on top of the bunny's head.
- You're almost finished! Take the final jellybean and place it vertically into the doughnut hole in the back of the bunny.
Notes
- Stabilize the Structure: To ensure your Sweet Bunny Bites hold together well, consider using longer toothpicks or skewers. Insert them deeply into the doughnuts to provide more stability, especially if you're transporting or displaying them.
- Prevent Melting: Keep your chocolate chips chilled until the last moment before assembling the bunny bites. If they start melting, it could make assembly trickier. You can also use candy-coated chocolates or small fondant pieces as alternatives.
- Customize and Experiment: While the recipe specifies certain ingredients, feel free to customize based on your preferences or what's available. You can use different colored jellybeans for variety or swap out the marshmallows for other small, soft candies. Let your creativity hop around!
Nick Campbell
These sweet delights are very cute! Easter is one of my favourite holidays as well! Thank you for bringing them to the Show-licious Craft and Recipe Party!
Cathy@LemonTreeDwelling
These are SO SO cute, Sara! What a fun idea....thanks for sharing it with us at Saturday Night Fever! Pinning!!
Sara
Thanks so much, Cathy!
Marti
These little treats are adorable! I love Easter, too! Thanks so much for sharing them with us at Show-licious Craft and Recipe party! 🙂 I pinned this to the party board.