• Skip to main content
  • Skip to primary sidebar
Bitz & Giggles
menu icon
go to homepage
  • Recipe Index
  • Holidays
  • DIY & Cleaning
  • Shop
  • About
    • Bloglovin
    • Facebook
    • Instagram
    • Pinterest
  • subscribe
    search icon
    Homepage link
    • Recipe Index
    • Holidays
    • DIY & Cleaning
    • Shop
    • About
    • Bloglovin
    • Facebook
    • Instagram
    • Pinterest
  • ×
    Home » Recipes » Ninja Foodi

    Ninja Foodi Burgers

    Posted: Sep 3, 2021 · Updated: May 24, 2024 by Sara · This post may contain affiliate links. · As an Amazon Associate I earn from qualifying purchases.

    Jump to Recipe Print Recipe

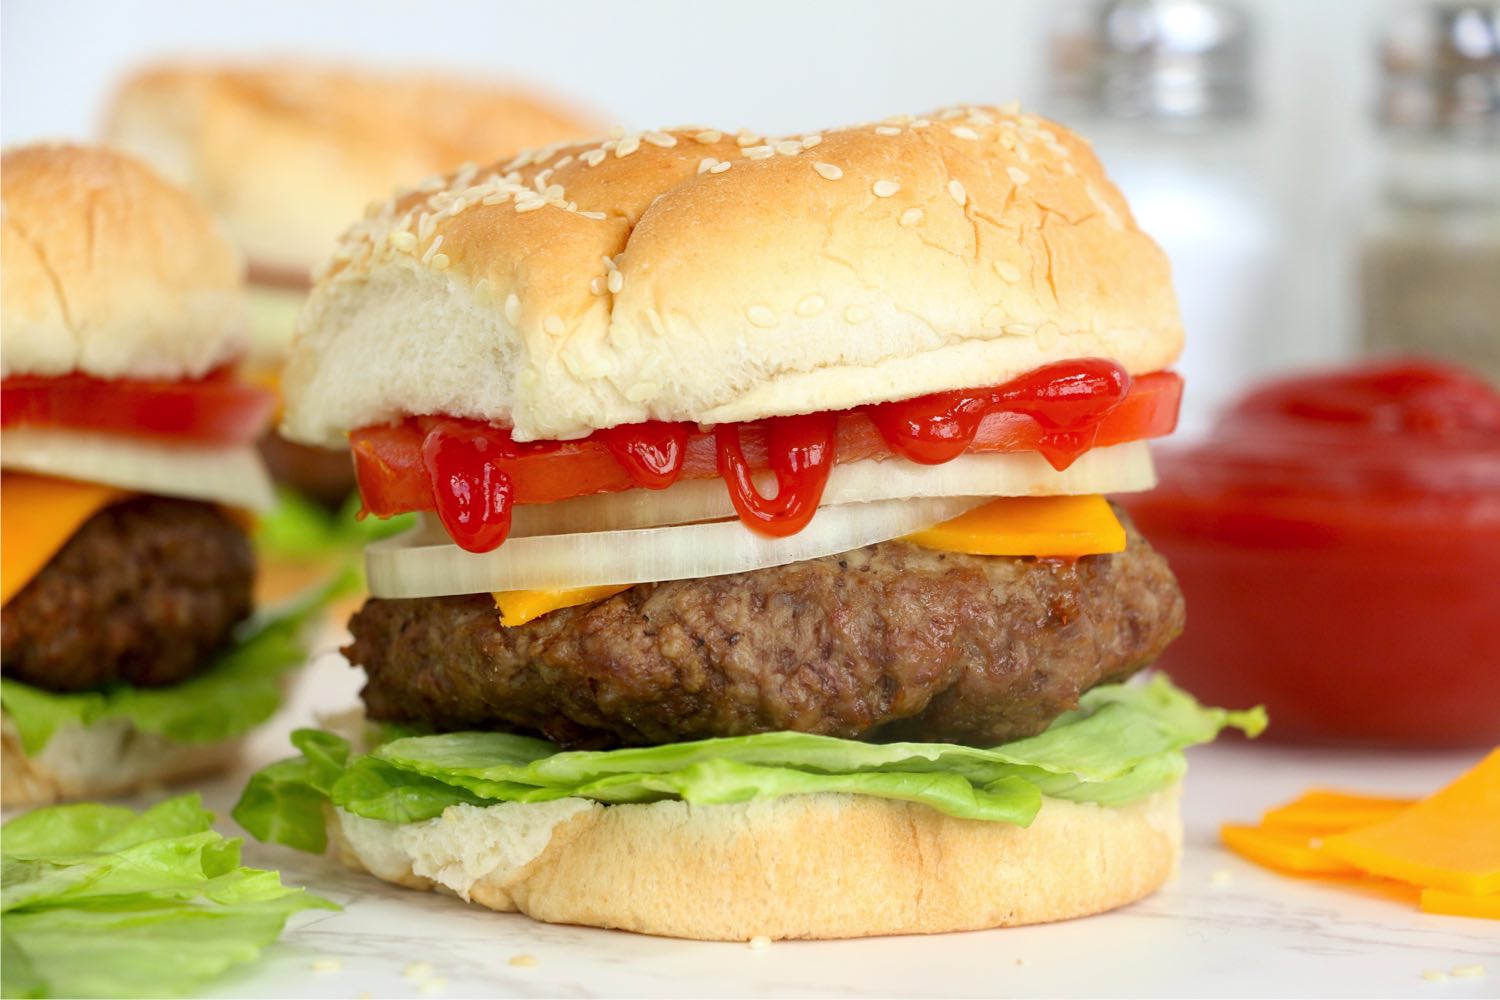
    Ninja Foodi Burgers - Juicy and flavorful burgers cooked perfectly in the Ninja Foodi!

    Want to Save This Recipe?

    Enter your email below & we'll send it to your inbox. Plus get great new recipes from us every week!


    This post may include affiliate links. Please see my disclosure.

    There are so many reasons why I love my Ninja Foodi. It’s easy to use, it does the job of multiple kitchen appliances in one and the food comes out perfect every time.

    I love that I can use it for breakfast, lunch, dinner and everything in between. In fact, some of our favorite family recipes are made in the Foodi!

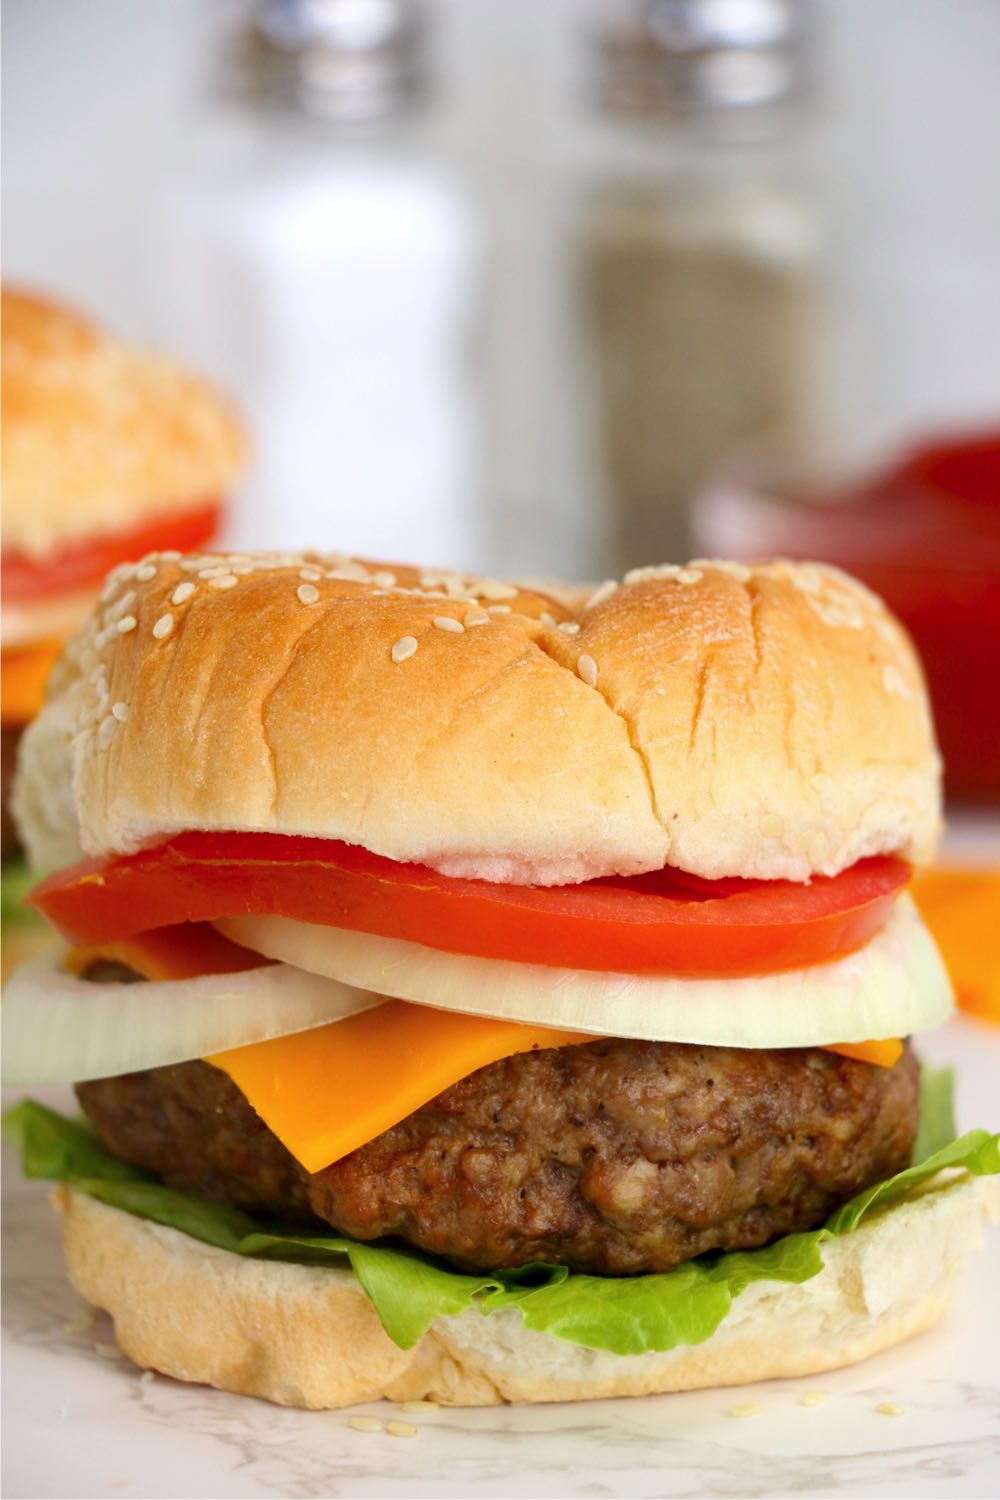
    These burgers are one of those favorite meals that we all love. They come together quick and cook up tender and juicy.

    After the burgers are cooked, everyone grabs their favorite toppings and adds them on top. All we have to do is add some homemade French fries and potato salad and dinner is served.

    HOW TO MAKE EASY NINJA FOODI BURGERS

    To a make hamburgers in the Ninja Foodi, you'll need the following:

    • Ground chuck or ground beef
    • Paprika
    • Salt and pepper
    • Brown sugar
    • Onion powder
    • Garlic powder
    • Cayenne pepper

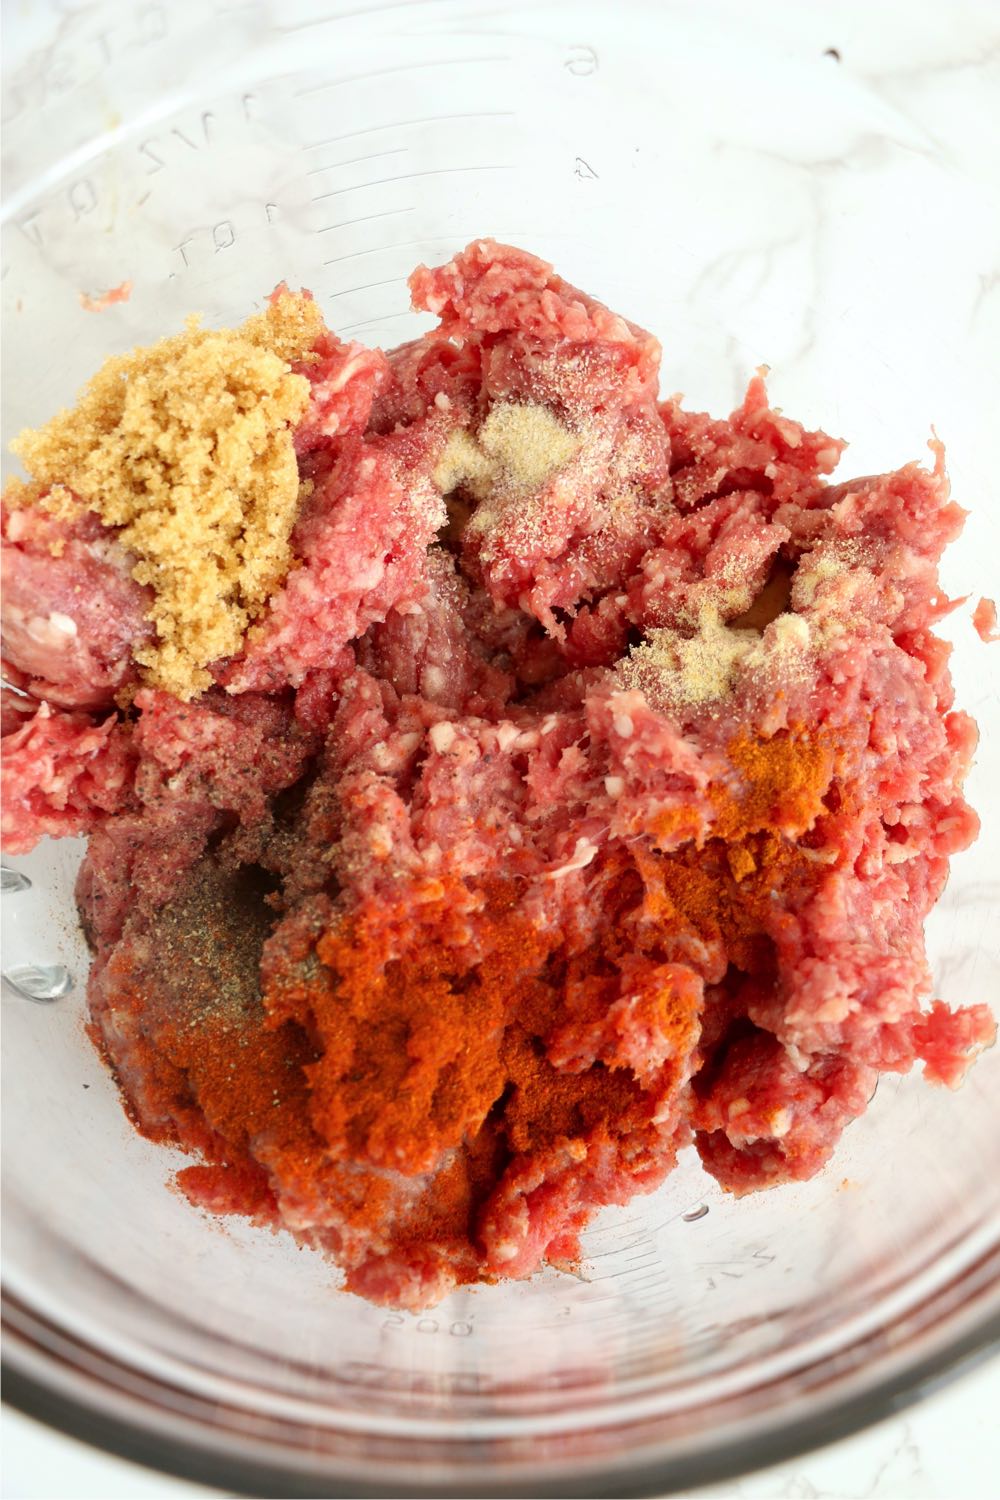
    In a medium-sized bowl mix the ground beef and the seasonings.

    mix of seasonings and ground beef

    Take your seasoned ground beef mixture and begin forming it into patties. You can do this with your hands or you use a burger press.

    ground beef formed into a hamburger patty

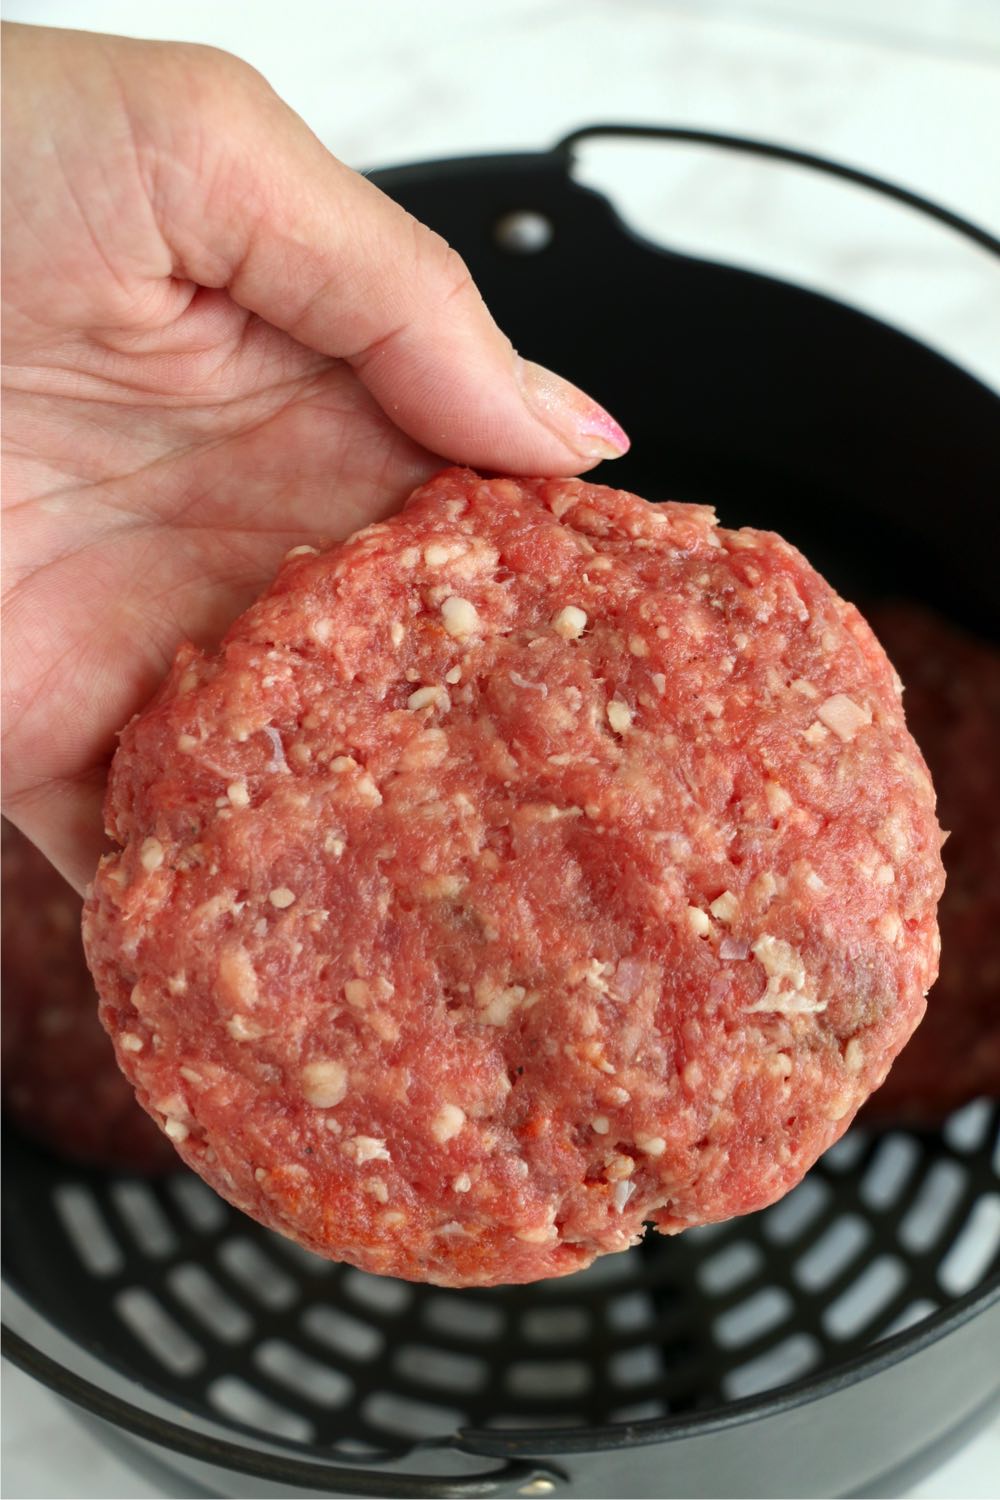
    Depending on the size you make your patties, you should be able to make 3-4 of them out of the burger. 

    three burgers placed into Ninja Foodi air crisp basket

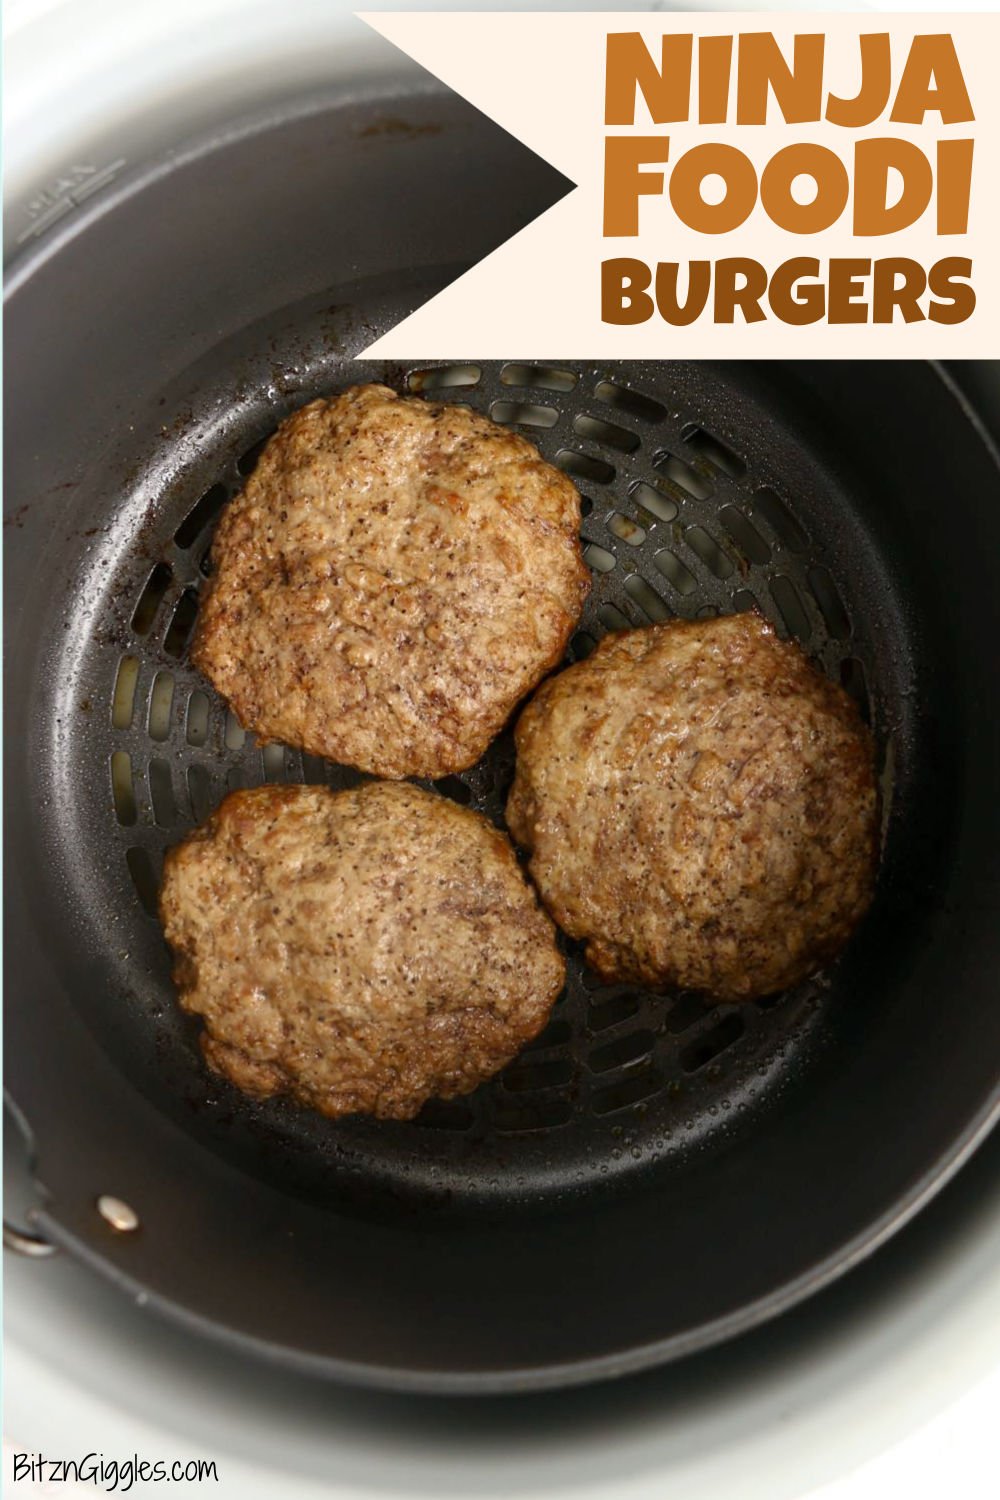
    Place the patties in the greased basket of your Ninja Foodi. Flatten them out a bit or press your thumb into the center to ensure that they cook evenly. 

    Cook the burgers for 5 minutes using the air crisp function. Flip the burgers and then cook again for another 5 minutes. 

    Cooked burgers in Ninja Foodi air crisp basket

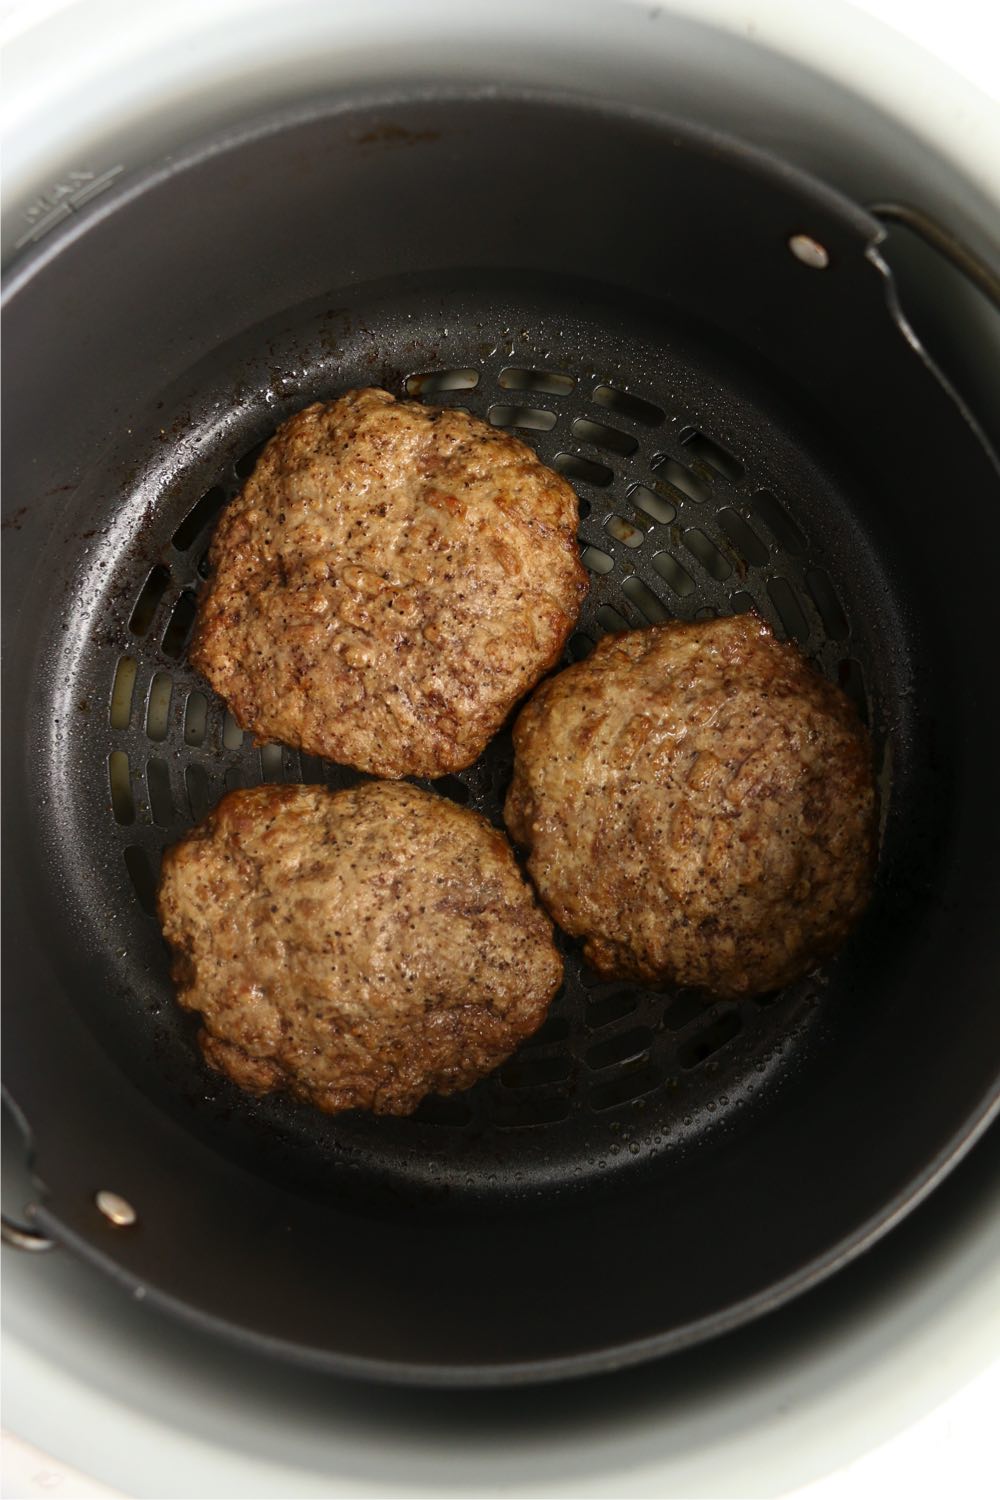
    You can check the internal temperature of your patties for your preferred doneness level before removing them from the basket.

    For a burger cooked to medium temp, it should be 140° to 145° Fahrenheit.

    Buns and condiments for burgers

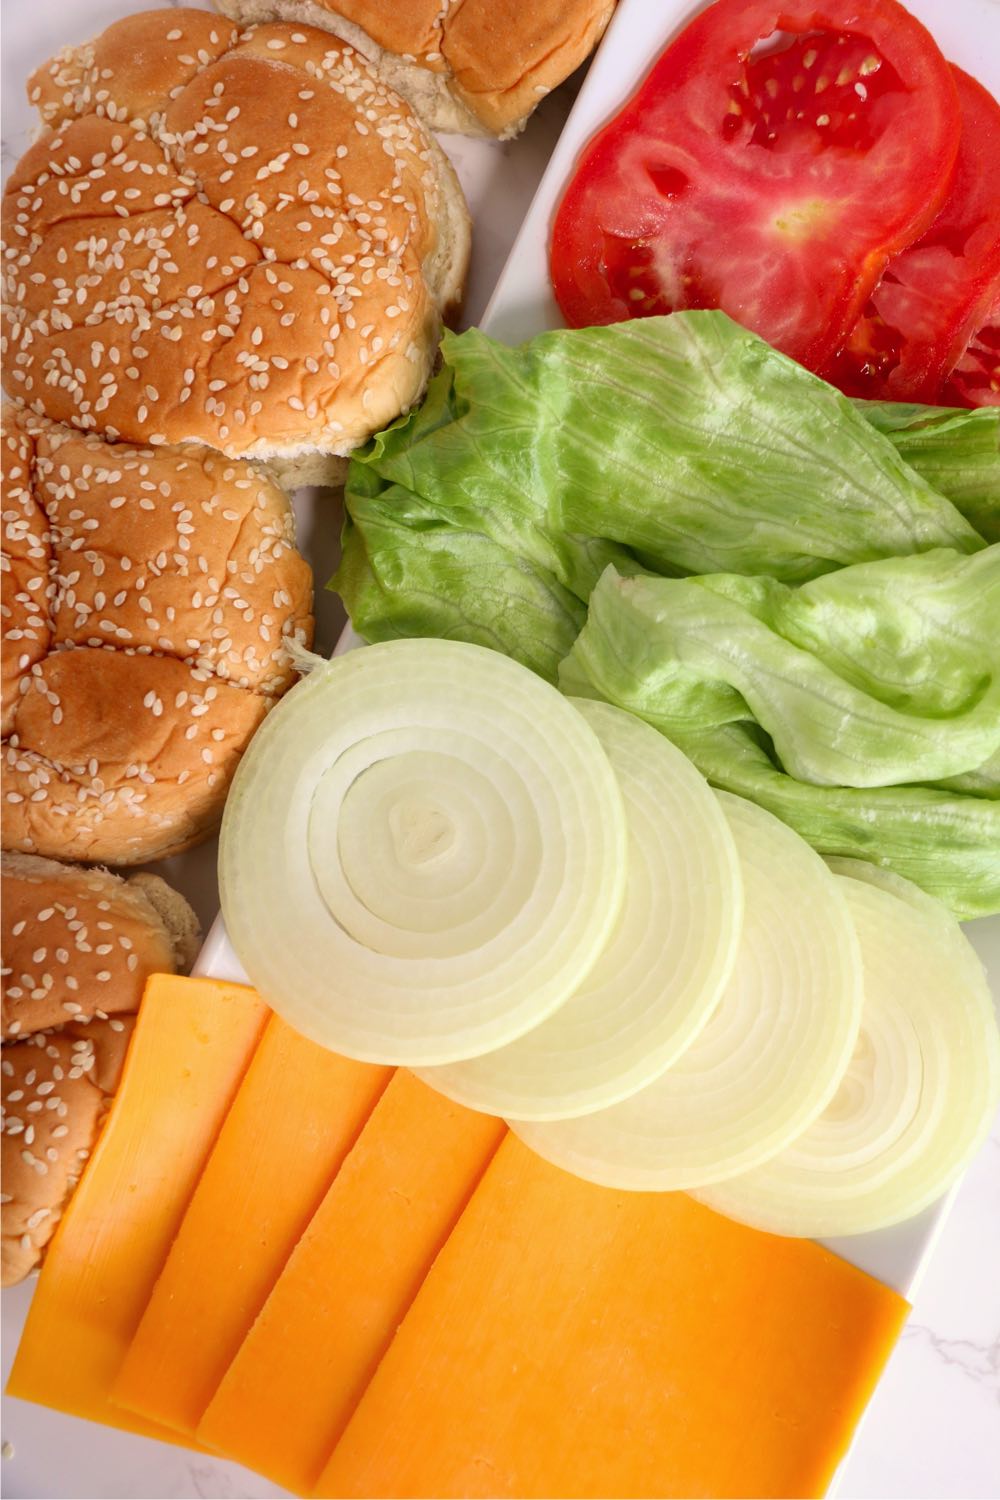
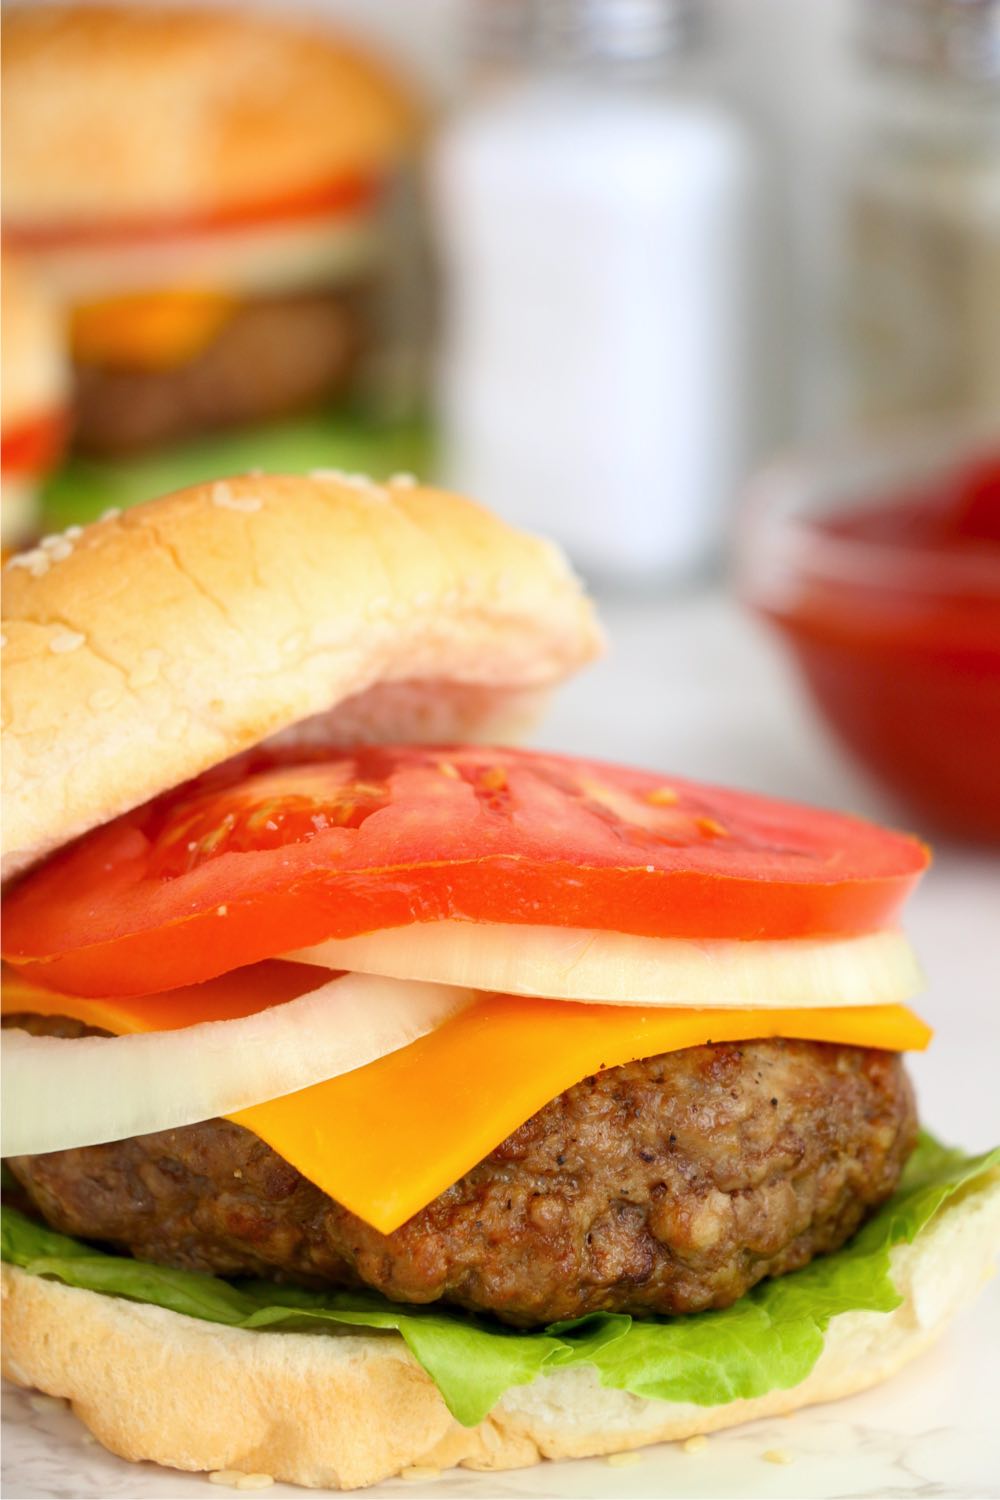
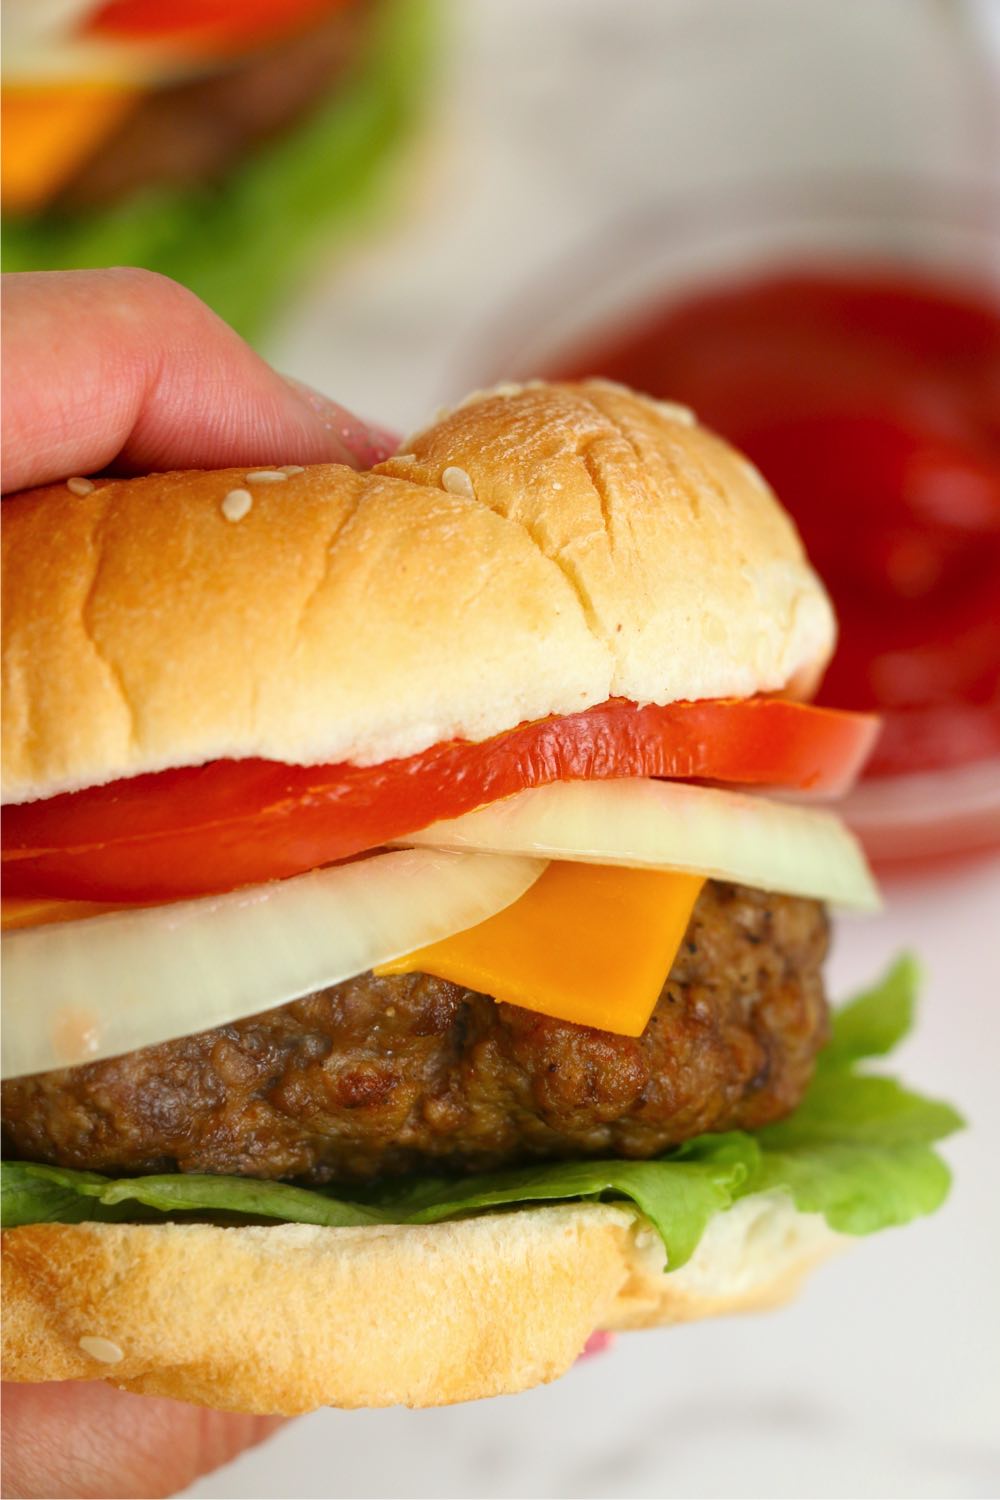
    Place a slice of cheese on your burgers and add your desired toppings. I love the classic combination of cheese, lettuce, pickles and tomatoes.

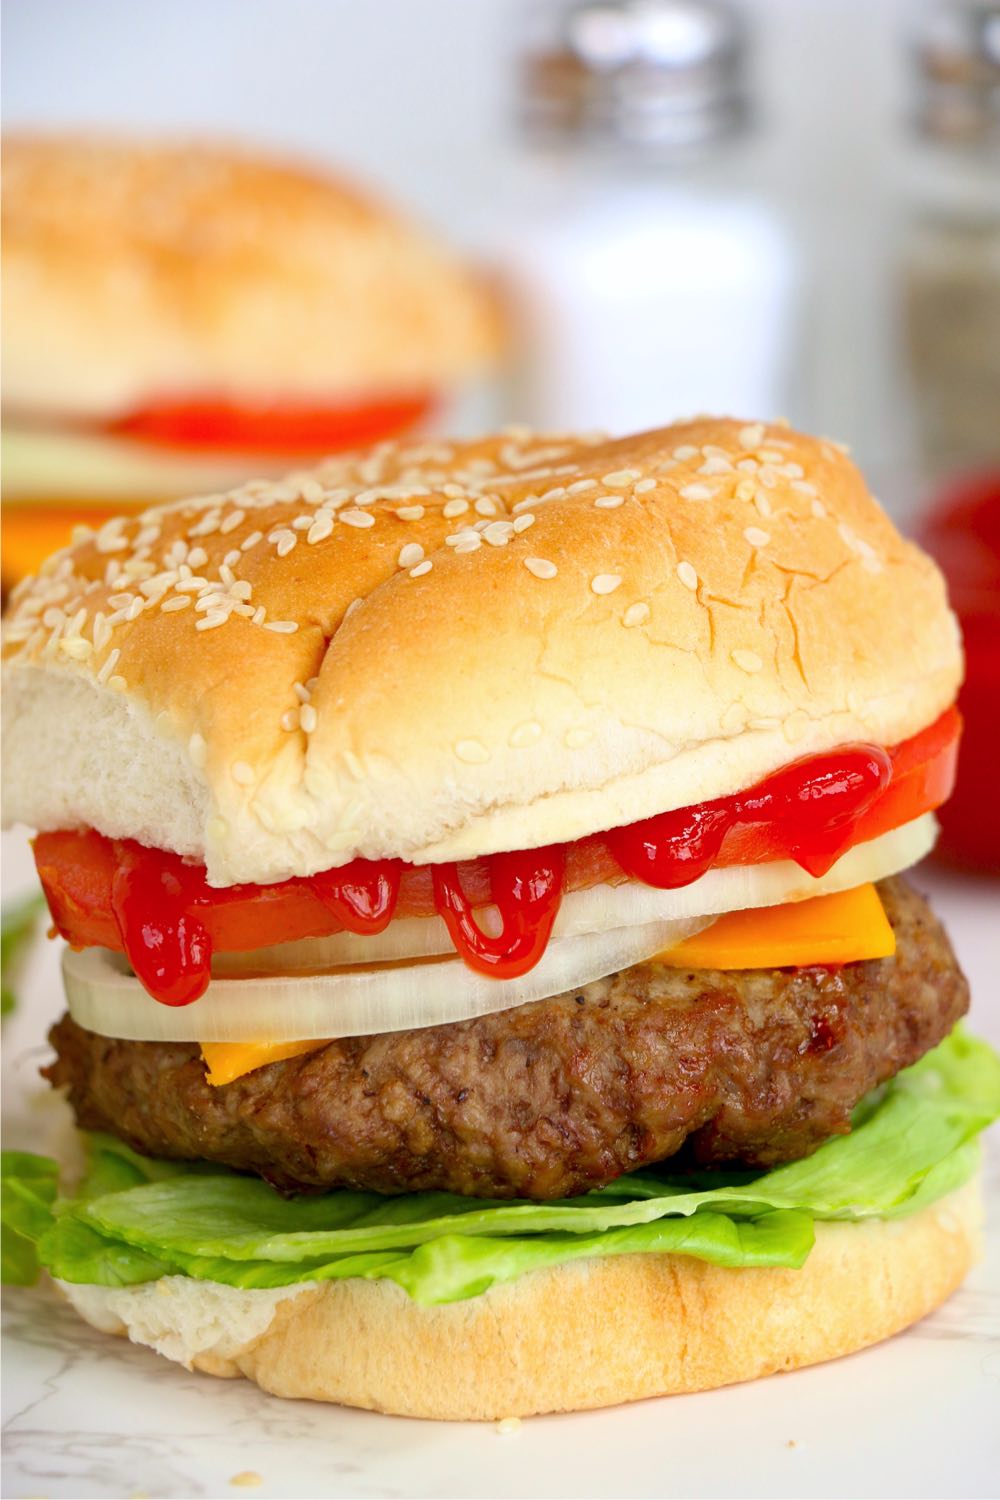
    Serve with your favorite side dishes and enjoy!

    Burger with cheese, onions and tomato on top

    WHAT KIND OF GROUND BEEF SHOULD I USE?

    I've found that 80/20 (80 percent lean beef to 20 percent fat) ground chuck works the best for making these Ninja Foodi burgers.

    The fat in the meat helps to keep the patties together and you end up with a nice juciy burger that is full of flavor. You can also use ground turkey or chicken for this recipe.

    delicious burger made in the Ninja Foodi

    HOW LONG SHOULD YOU COOK BURGERS IN THE NINJA FOODI?

    I usually cook the burgers for a total of 10 minutes using the air crisp setting. Cook each side for 5 minutes, or until the internal temperature reaches 140° to 145° Fahrenheit (for Medium).

    If you like your burgers more well done than that, add an extra minute or two.

    burger with toppings and ketchup

    AT WHAT POINT SHOULD I ADD CHEESE TO THE BURGERS?

    The best time to add the cheese is after the burgers are done cooking, before you take them out of the Ninja Foodi basket. This will give the cheese enough time to melt without having cheese get all over the basket.

    Burgers topped with ketchup

    HOW TO STORE LEFTOVERS

    If you have a leftover patty or two, the best way to store them is in a ziplock bag or storage container with an airtight lid. 

    hands holding a burger in a bun

    LOOKING FOR MORE NINJA FOODI RECIPES?

    • Corn on the Cob
    • Baked Potatoes
    • Confetti Cake
    • Homemade Meatballs
    • Mac & Cheese
    Burgers topped with ketchup

    Ninja Foodi Burgers

    Juicy and flavorful burgers cooked perfectly in the Ninja Foodi!
    No ratings yet
    Print Pin Rate
    Prep Time: 15 minutes mins
    Cook Time: 15 minutes mins
    Servings: 6
    Calories: 5kcal
    Author: Sara
    adjust servings: 6

    Ingredients

    • 1 pound ground chuck or ground beef
    • 1 ½ teaspoons paprika
    • ½ teaspoon salt
    • ½ teaspoon ground pepper
    • ¼ teaspoon brown sugar
    • ¼ teaspoon onion powder
    • ¼ teaspoon garlic powder
    • ⅛ teaspoon ground cayenne pepper (or less if you don't want much of a kick)

    Instructions

    • In a medium bowl, mix all ingredients together.
    • Form 3-4 patties and place them in your greased air fryer basket (patties will shrink in size but get thicker. Be sure to flatten them before cooking to achieve the perfectly shaped burger).
    • Preheat Foodi for 5 minutes at 325º Fahrenheit on Air Crisp.
    • Air Crisp for 5 minutes on each side at 325º Fahrenheit or until internal temp reaches preferred temperature.

    Notes

    • Grease your Ninja Foodi before putting your hamburger patties in to cook. 
    • 80/20 ground chuck is best for these burgers. 
    • Add on your cheese right before you take them out of the Ninja Foodi to serve. 

    Nutrition

    Calories: 5kcal | Carbohydrates: 1g | Protein: 0.2g | Fat: 0.1g | Saturated Fat: 0.02g | Polyunsaturated Fat: 0.1g | Monounsaturated Fat: 0.02g | Sodium: 292mg | Potassium: 26mg | Fiber: 0.4g | Sugar: 0.3g | Vitamin A: 397IU | Vitamin C: 0.1mg | Calcium: 4mg | Iron: 0.2mg
    Tried this Recipe? Pin it for Later!Mention @BitzNGiggles or tag #bitzngiggles!
    225 shares

    Reader Interactions

    Leave a Reply Cancel reply

    Your email address will not be published. Required fields are marked *

    Recipe Rating


    This site uses Akismet to reduce spam. Learn how your comment data is processed.

    Primary Sidebar

    Sara Zenner, blogger at Bitz N Giggles

    welcome!

    Hey, I’m Sara!

     Born and raised in Wisconsin, where family and fun are at the heart of it all - I inherited a deep appreciation for home cooking and family traditions. I’m all about quick and easy recipes, tidying up, and laid back “up north” living.

    Read more!

    Popular Recipes

    • A piece of Poor Man’s Lobster showcasing the flaky, buttery cod fillet served with broccoli and lemon.
      Poor Man's Lobster
    • A green cocktail garnished with pineapple and a cherry.
      Green Hawaiian Cocktail
    • California Blend Vegetable Casserole
    • Air fryer corn on the cob on serving dish with butter.
      Air Fryer Corn on the Cob
    • No Bake Cherry Dump Cake - An easy, no-bake cherry trifle dessert with layers of angel food cake, sour cream, pudding, cherry pie filling and whipped topping.
      No Bake Cherry Dump Cake
    • Pouring caramel sauce over salted caramel kentucky butter cake.
      Salted Caramel Kentucky Butter Cake Recipe

    Thanksgiving Recipes

    • A heaping plate filled with colorful veggie casserole.
      Veggie Casserole Recipe
    • Piece of apple pie with ice cream on a white plate.
      Sheet Pan Apple Pie
    • A bowl of soup filled with carrots, potatoes and turkey
      Turkey Noodle Soup Recipe
    • side view of a piece of pumpkin pie
      Praline Pumpkin Pie
    • piece of pumpkin poke cake garnished with cinnamon
      Pumpkin Poke Cake
    • stack of stuffing balls on a white platter
      Thanksgiving Stuffing Balls

    Footer

    Featured on:

    • Contact
    • Privacy Policy
    • Disclaimer
    • Terms & Conditions
    • Accessibility Policy
    • ↑ back to top
    • Instagram
    • Facebook
    • Pinterest

    Copyright © 2025 - As an Amazon Associate I earn from qualifying purchases.

    Rate This Recipe

    Your vote:


    A rating is required
    A name is required
    An email is required