
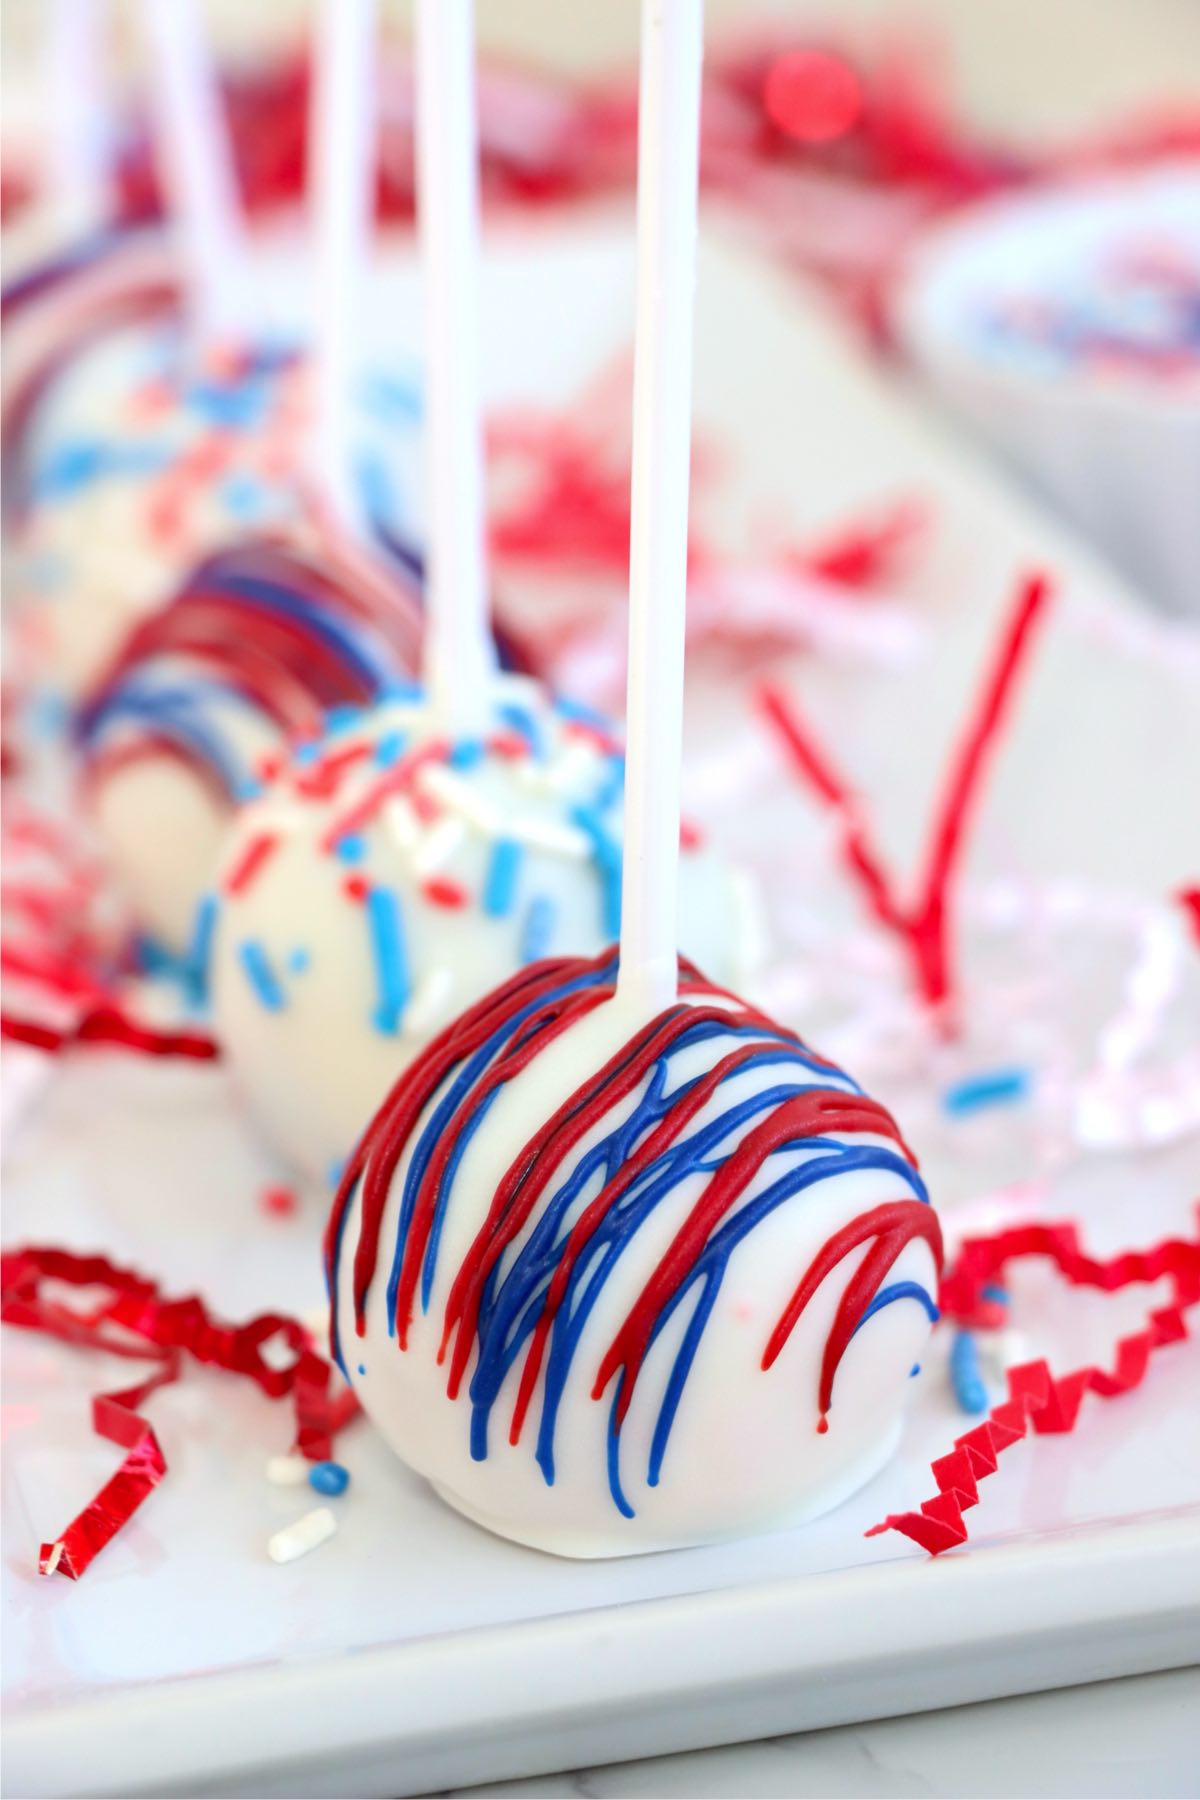
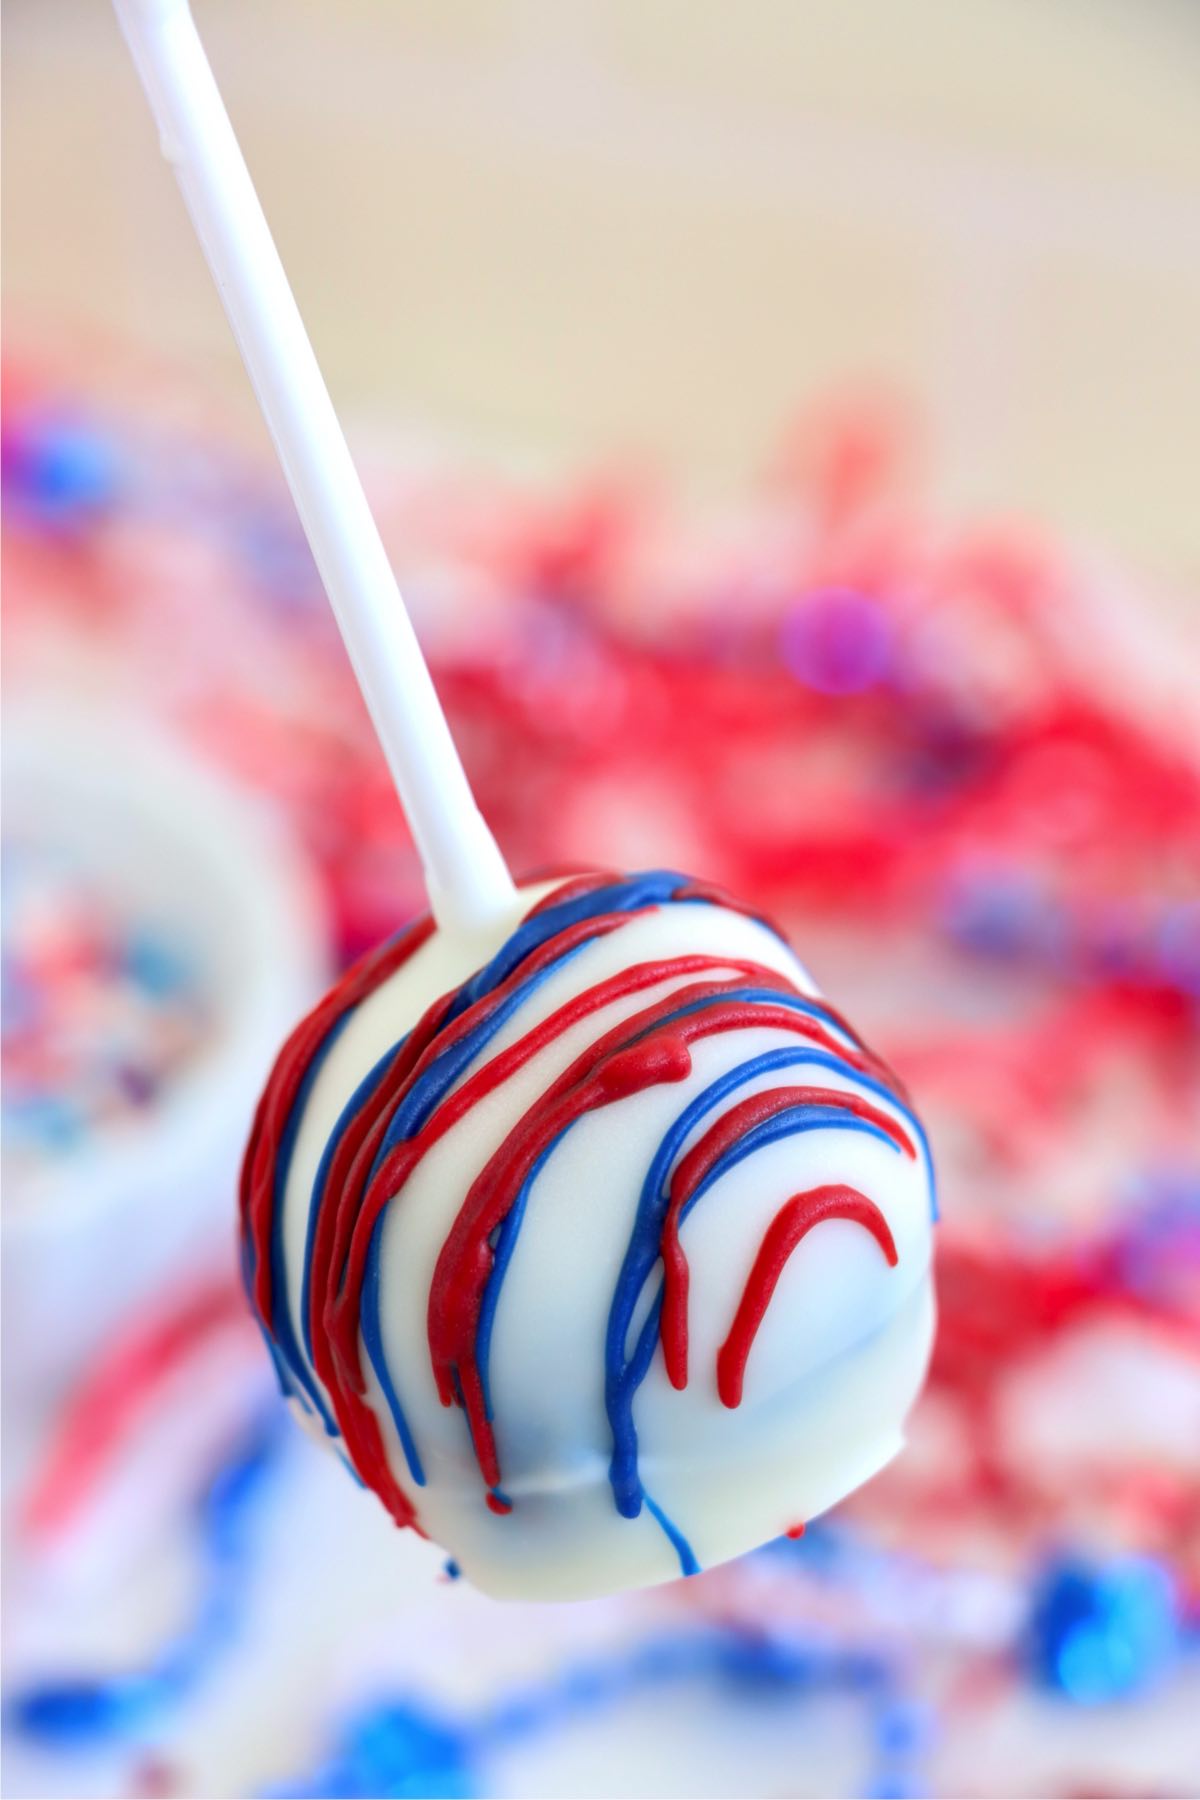
This Red White and Blue Cake Pops recipe is perfect for celebrating the Fourth of July, Memorial Day, or any patriotic holiday! Made with colorful cake crumbles, vanilla frosting, and a sweet white chocolate coating, these bite-sized treats are as fun to make as they are to eat.
Want to Save This Recipe?
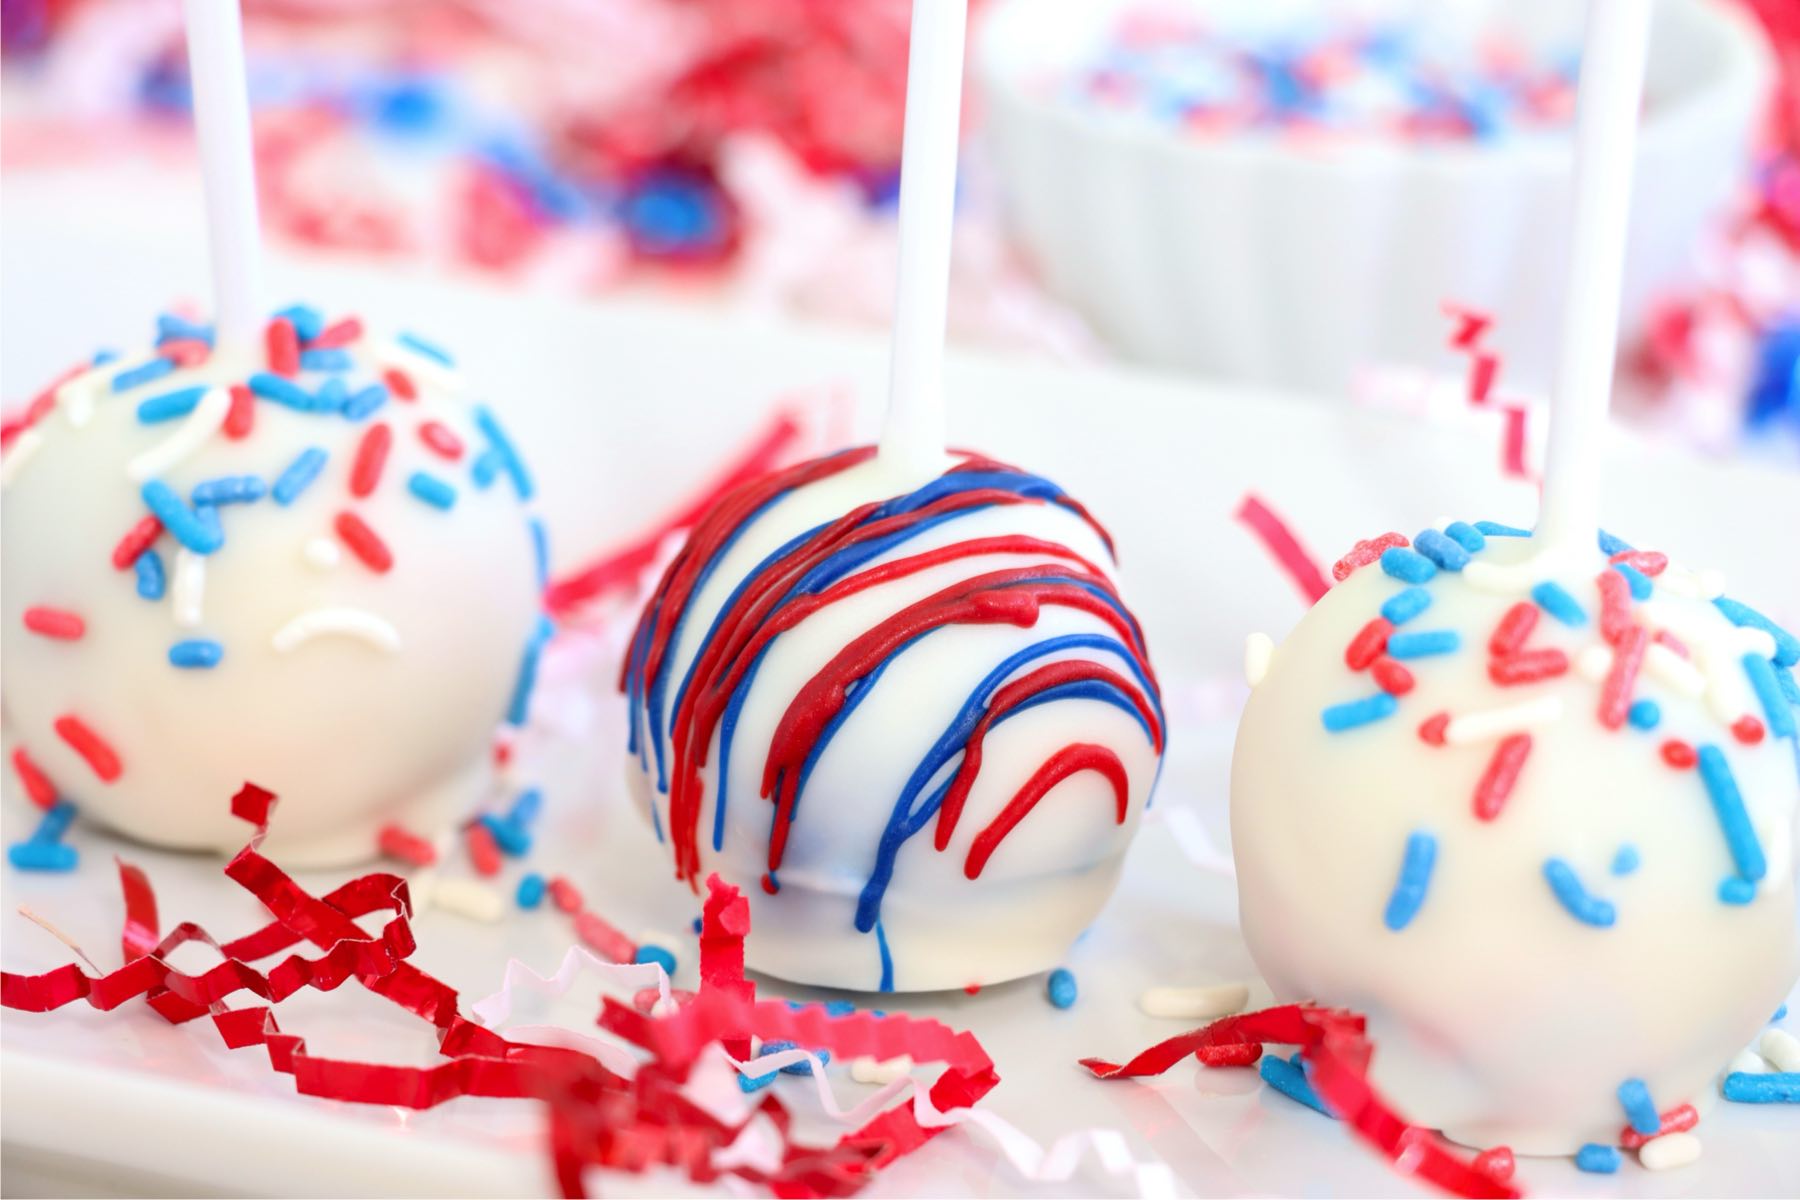
These patriotic cake pops make for a fun and festive addition to your dessert table, whether you display them as a colorful centerpiece or as a simple, grab-and-go treat. Serve them up at your next backyard barbecue or patriotic celebration for a cheerful treat that everyone will love!
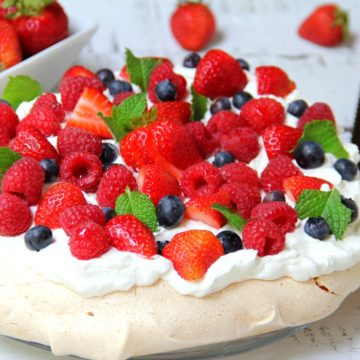
Round out your holiday menu with a few more festive favorites like this Red White and Blue Jello Poke Cake, a colorful classic that's always a hit, or the no-bake Patriotic Icebox Cake layered with pudding, berries, and graham crackers. For something light and sweet, the Triple Berry Shortcake Salad is a must-try!
Jump to:
Why You'll Love This Recipe
- Endless ways to decorate: Get creative and decorate these festive cake pops in any way you'd like! There are endless sprinkle varieties, patriotic designs, and flavors to experiment with.
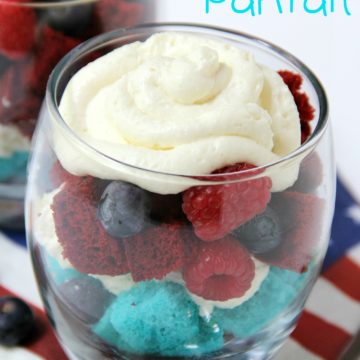
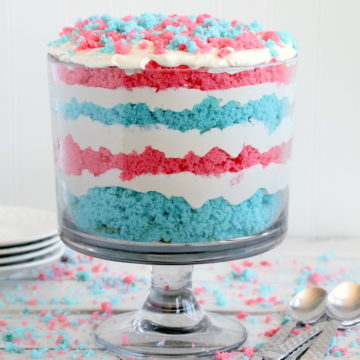
- Fun and festive: These bright, colorful treats are the perfect way to celebrate Memorial Day-just like this layered Red, White, and Blue Trifle that's bursting with patriotic flair!
- Great to make ahead: If you're short on time, these cake pops are perfect to make ahead of time and store until you're ready to serve!
- Crowd pleaser: Both adults and kids alike won't be able to get enough of these snackable treats! They're simple, but sweet, and who doesn't love cake pops?
Ingredients
Gather the ingredients below to make this easy cake pops recipe!
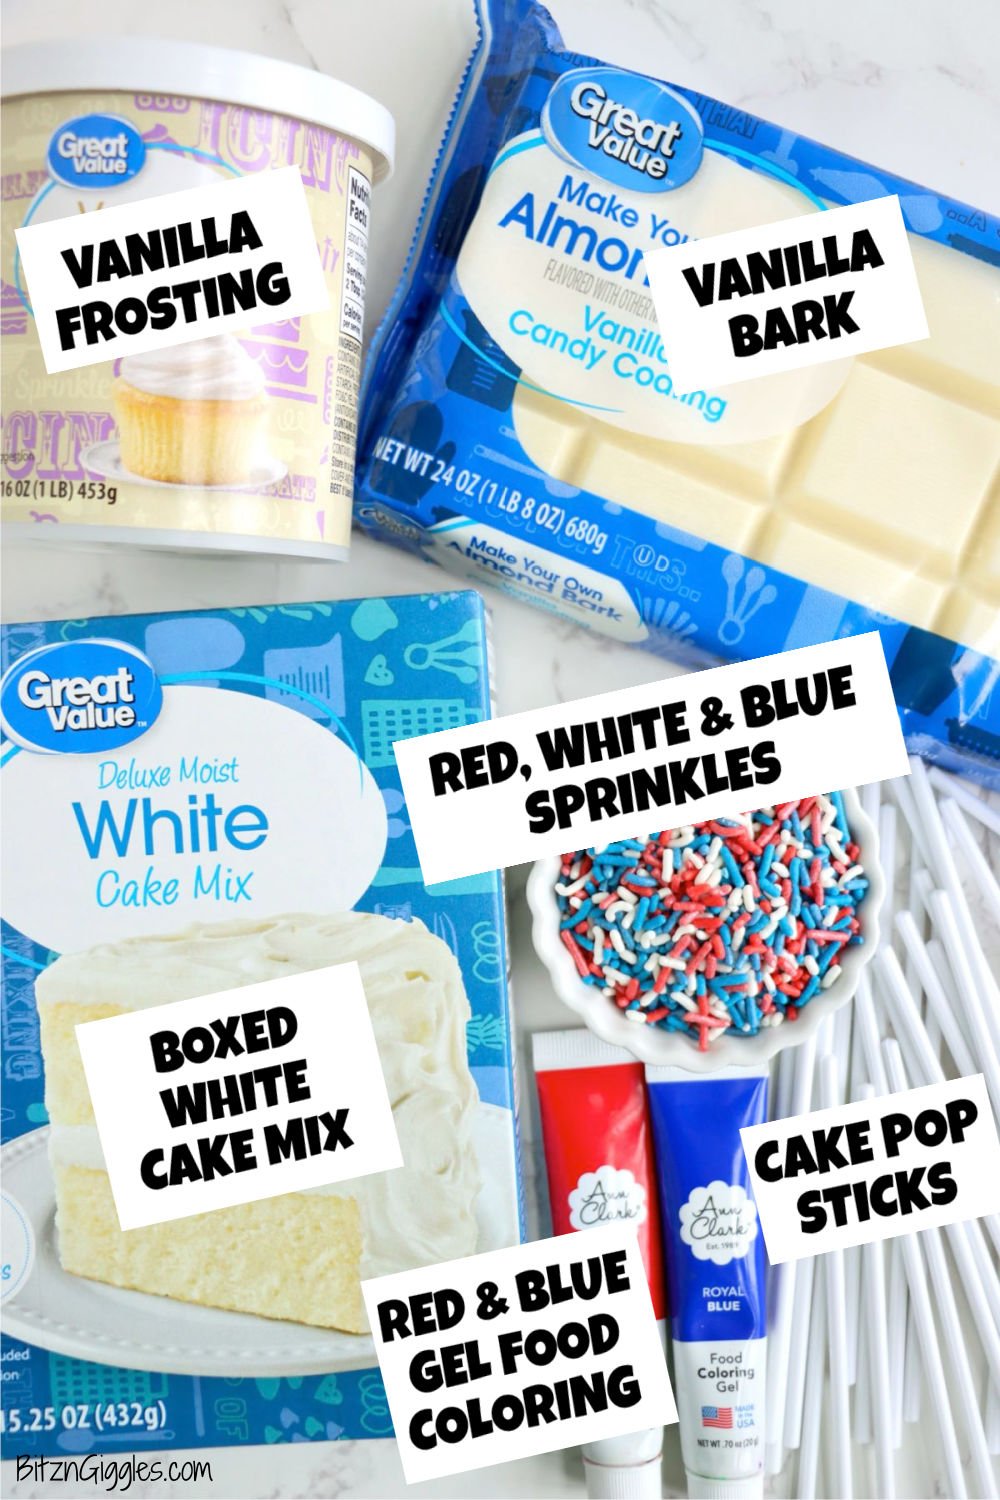
- Boxed white cake mix is convenient and reliable, guaranteeing sweet, moist cake every time! Feel free to use a homemade cake if that's your preference.
- Vanilla frosting is used to bind the cake crumbs together into a rich dough while also bringing some more sweetness to the cake.
- Vanilla bark coats the cake pops in a sweet, crunchy shell. Melt it in 30-second intervals, stirring in between to ensure it doesn't overheat or burn!
- Red and blue gel food coloring give the cake pops a bright, vibrant color without changing the taste or texture of the cake.
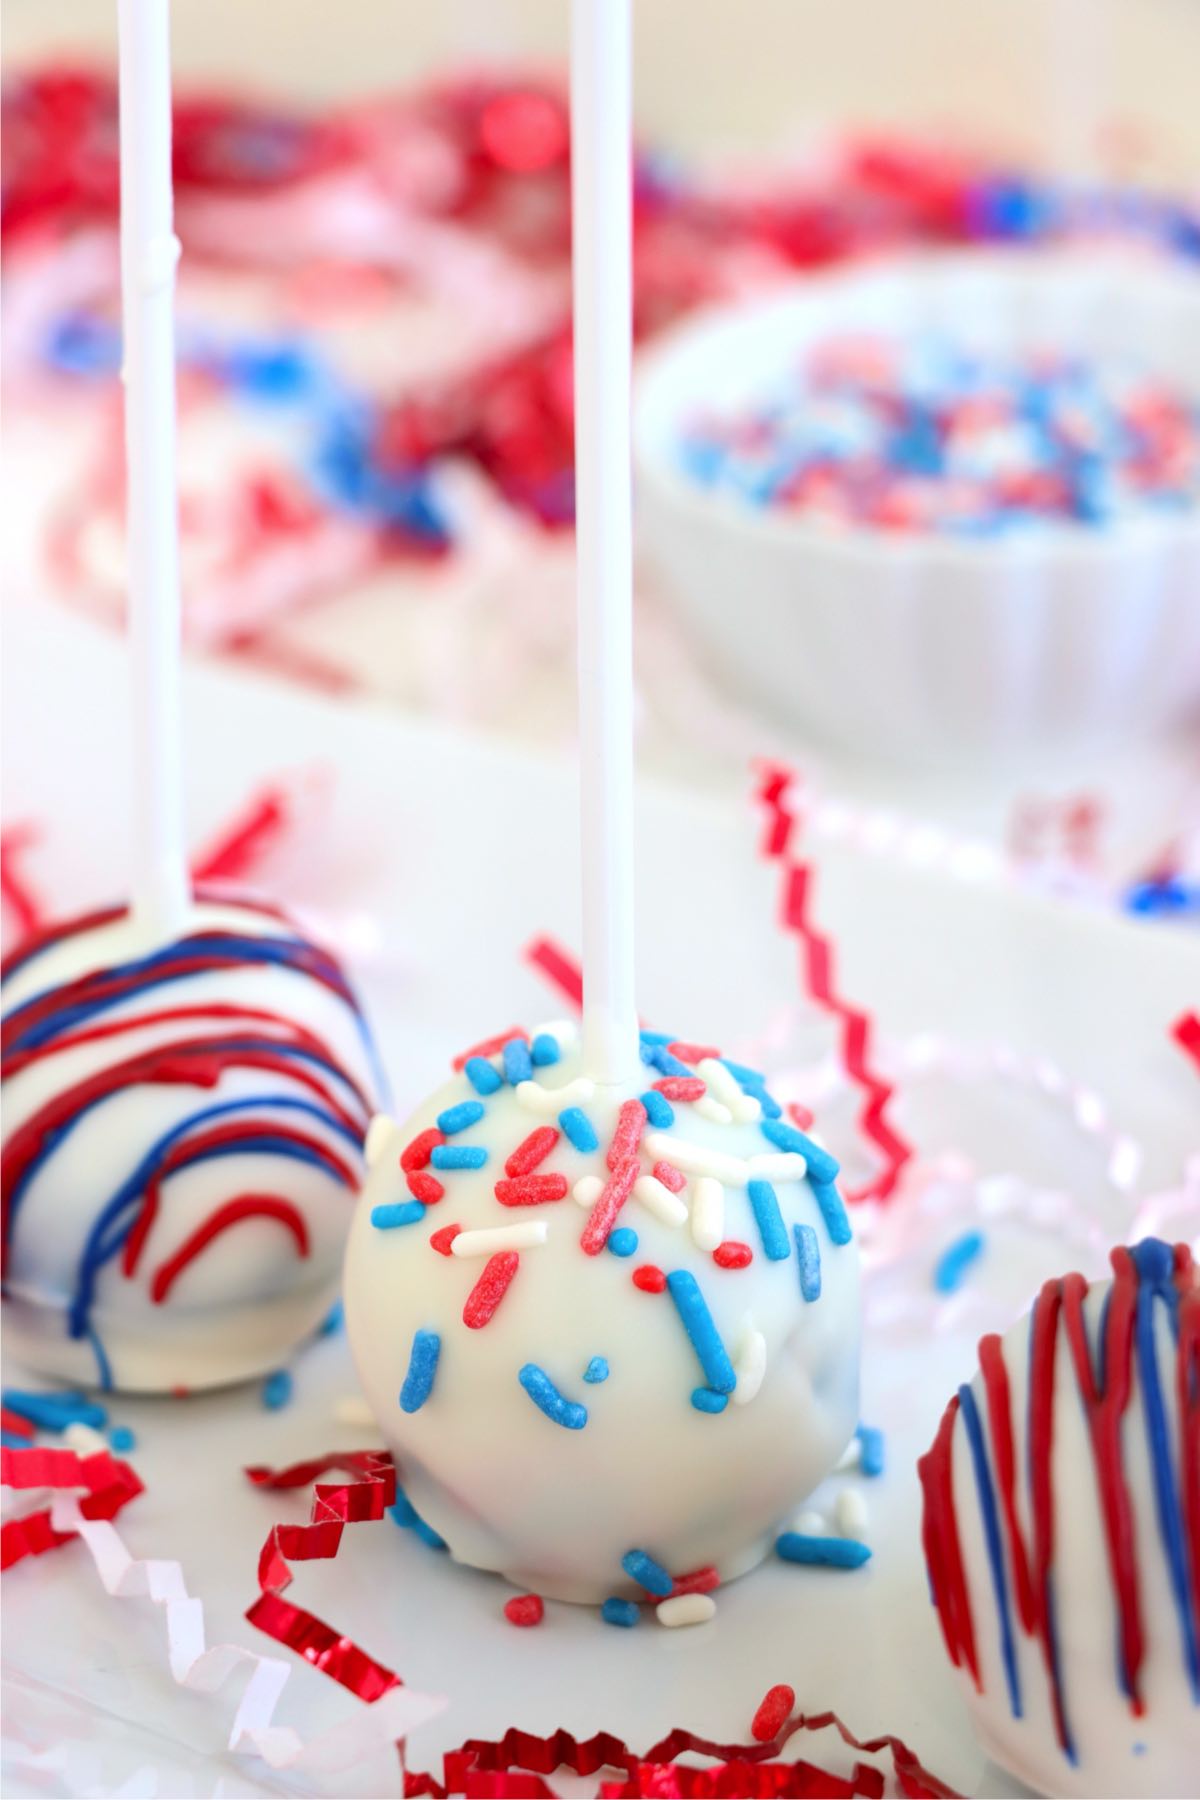
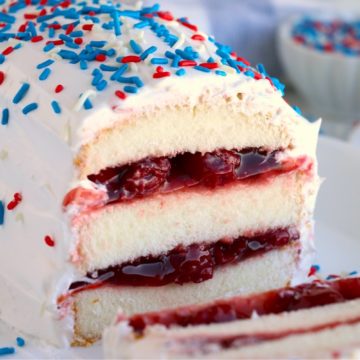
- Red, white, and blue sprinkles are used to add a fun and festive finishing touch! Make sure to sprinkle them on while the coating is still wet so that they stick-just like in this No Bake Cherry Torte that's topped with the same patriotic flair!
- Cake pop sticks are essential to making cake into cake pops! You can find them at most craft or baking stores.
See recipe card for full information on ingredients and quantities.
Substitutions & Variations
- Decoration Variations: Get festive with patriotic star sprinkles, pop rocks for a fizzy surprise, drizzled red or blue chocolate, or a dusting of edible glitter for sparkle.
- Cake Balls: Ditch the sticks and serve as bite-sized cake balls-just as fun and easier to make! For a step-by-step recipe, check out these Red, White, and Blue Truffles-they're made similarly, just rolled and dipped without the stick.
- Frosting Swap: Use cream cheese instead of frosting for a richer flavor. Beat until smooth and mix into the cake crumbs before shaping.
- Homemade Version: Prefer from-scratch baking? Homemade vanilla, strawberry, or even lemon cake works perfectly for this recipe.
- Flavor Twists: Add extracts like almond, lemon, or coconut to the cake mix or frosting for a fun flavor boost.
How to Make Red White and Blue Cake Pops
Once you've gathered all your ingredients, follow the steps below to make these patriotic cake pops.
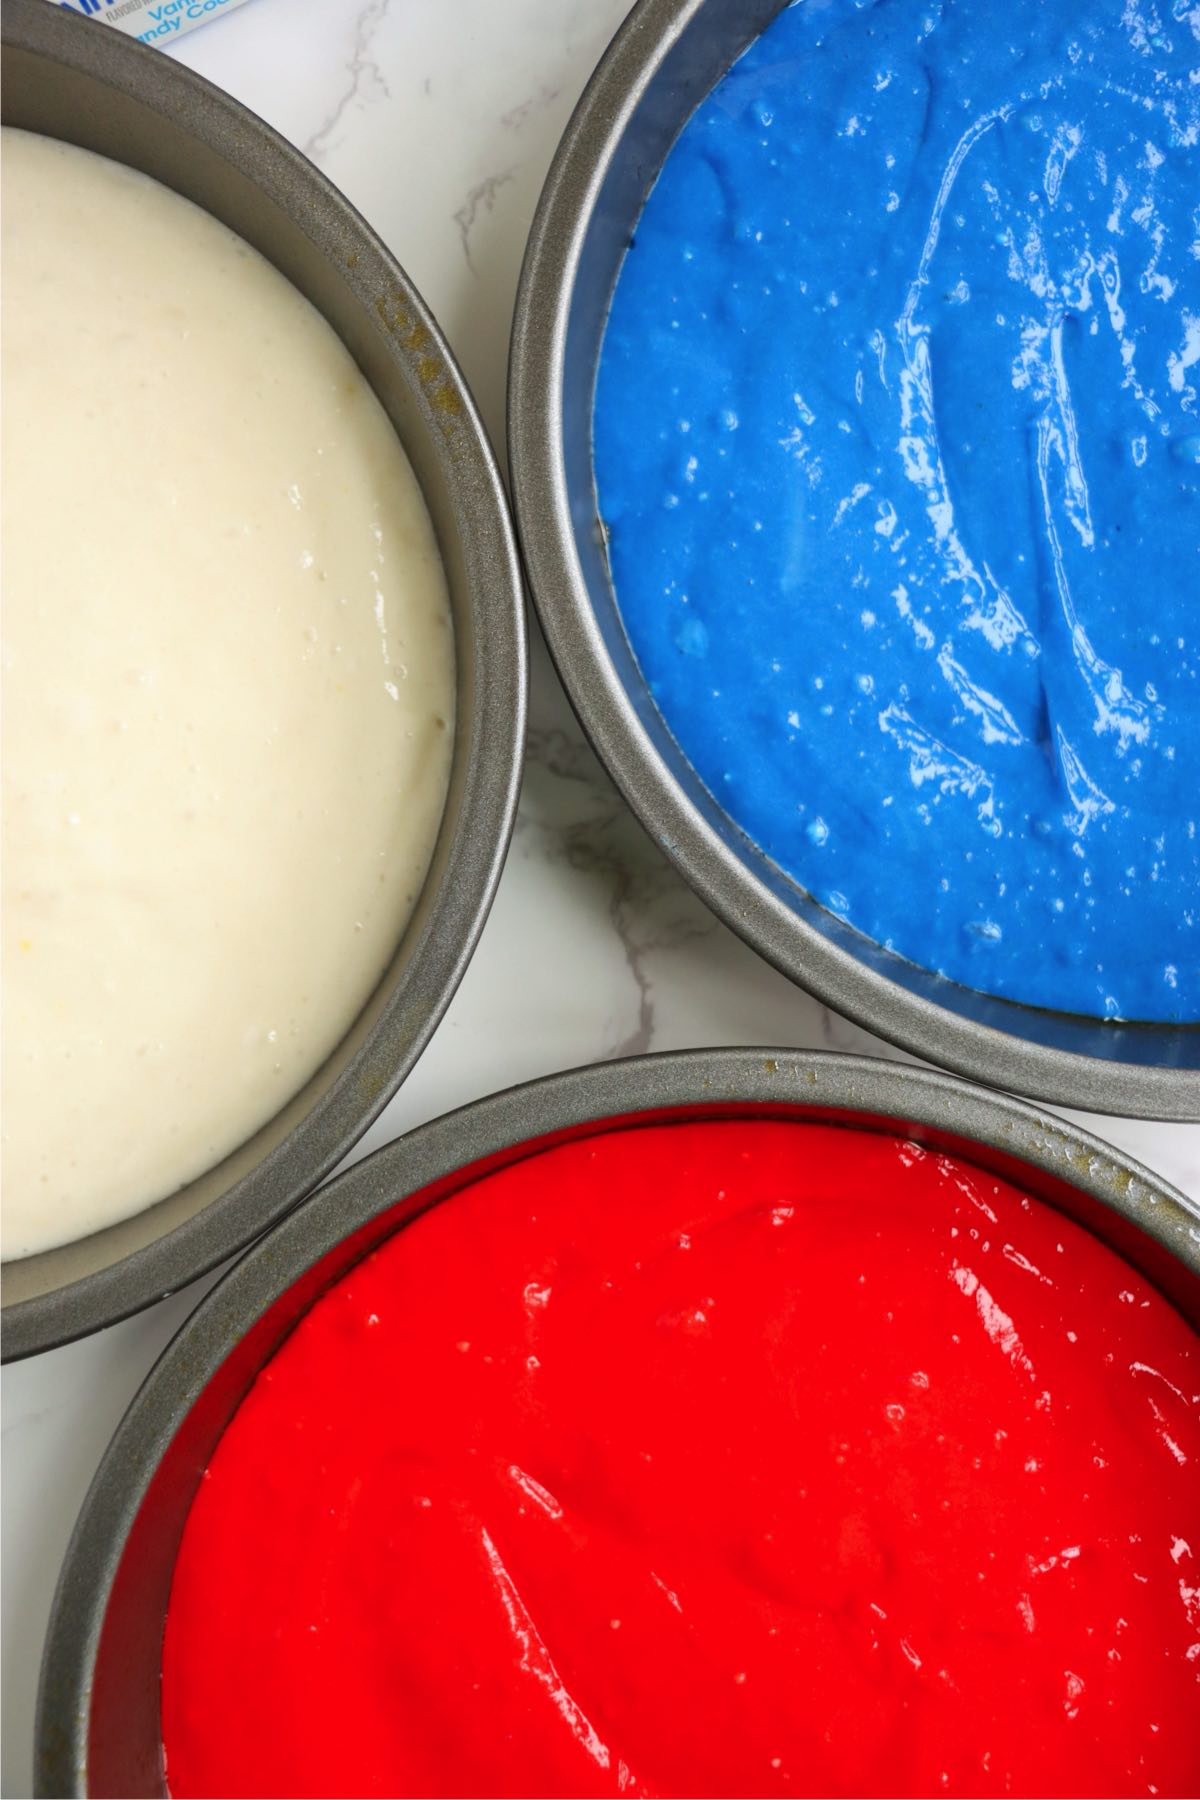
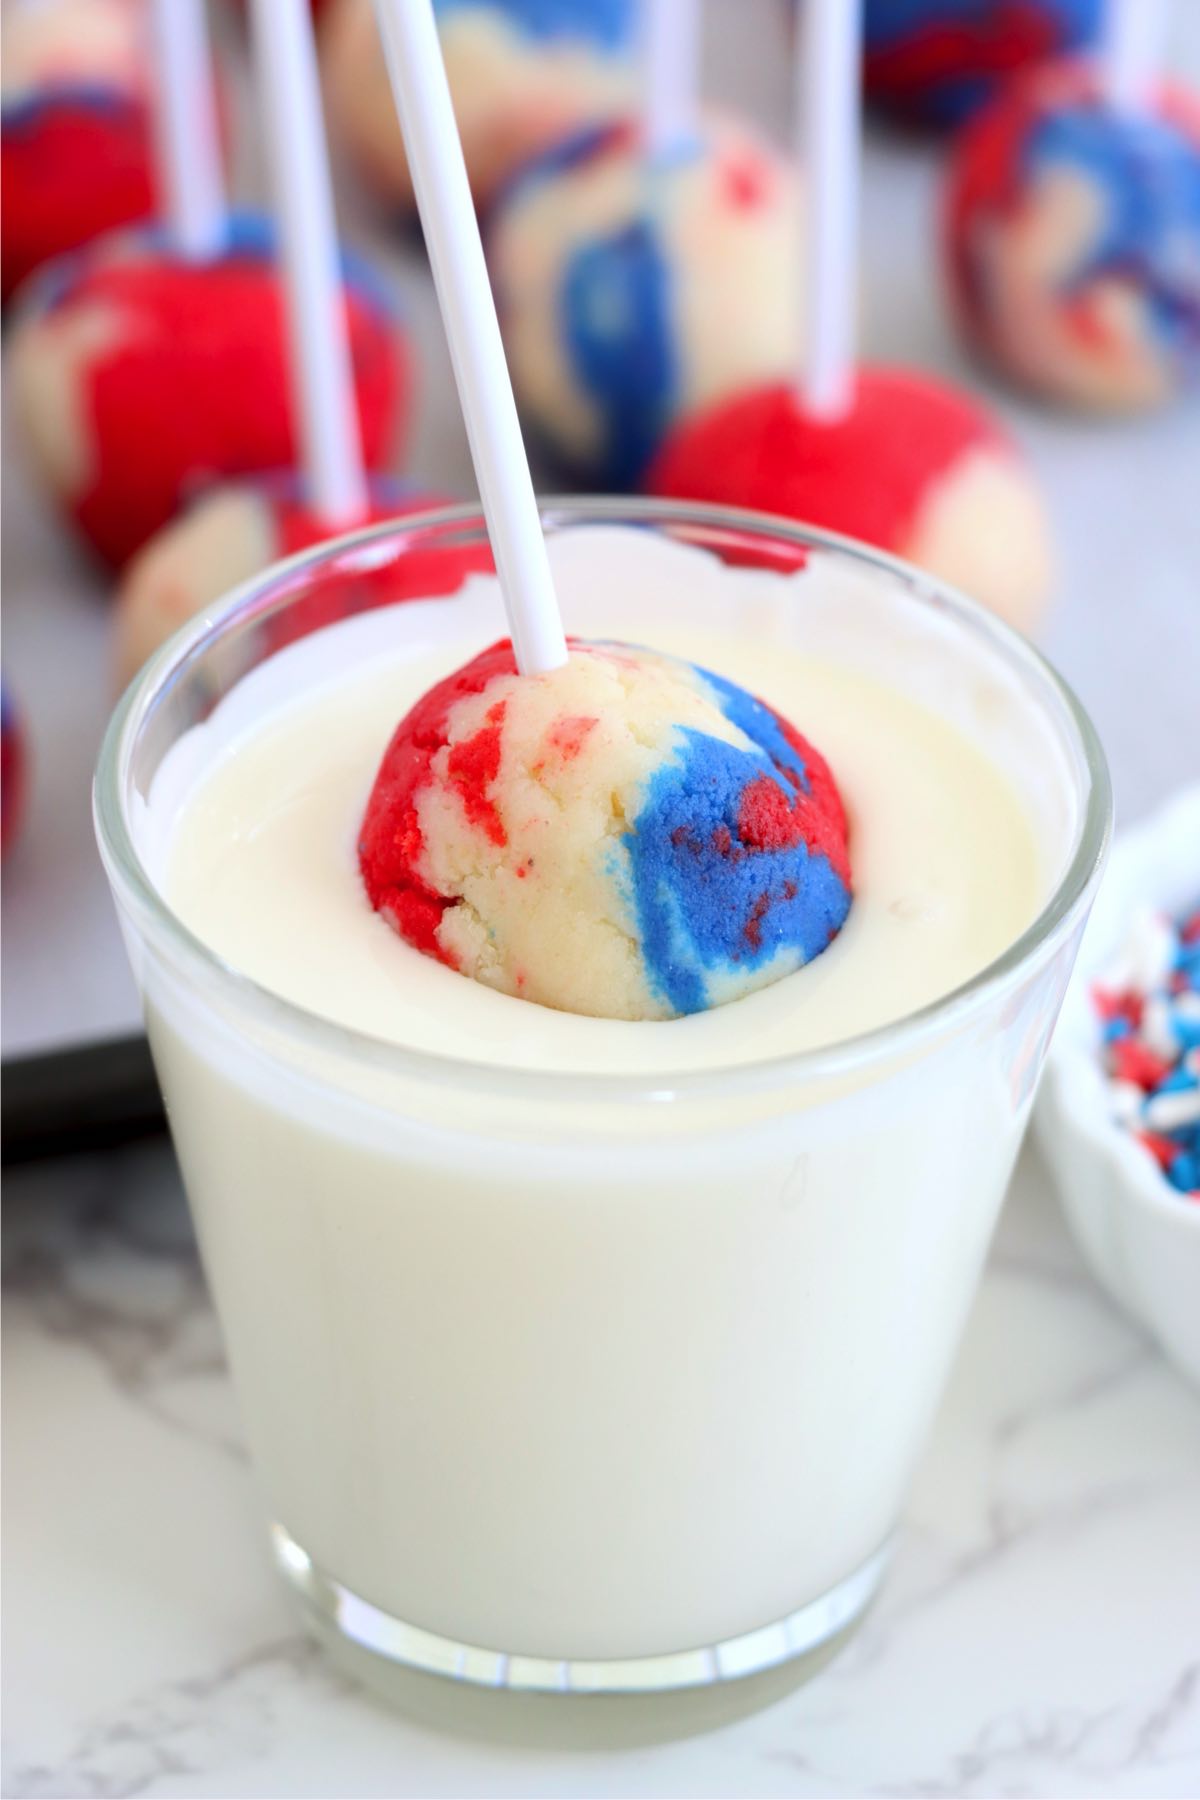
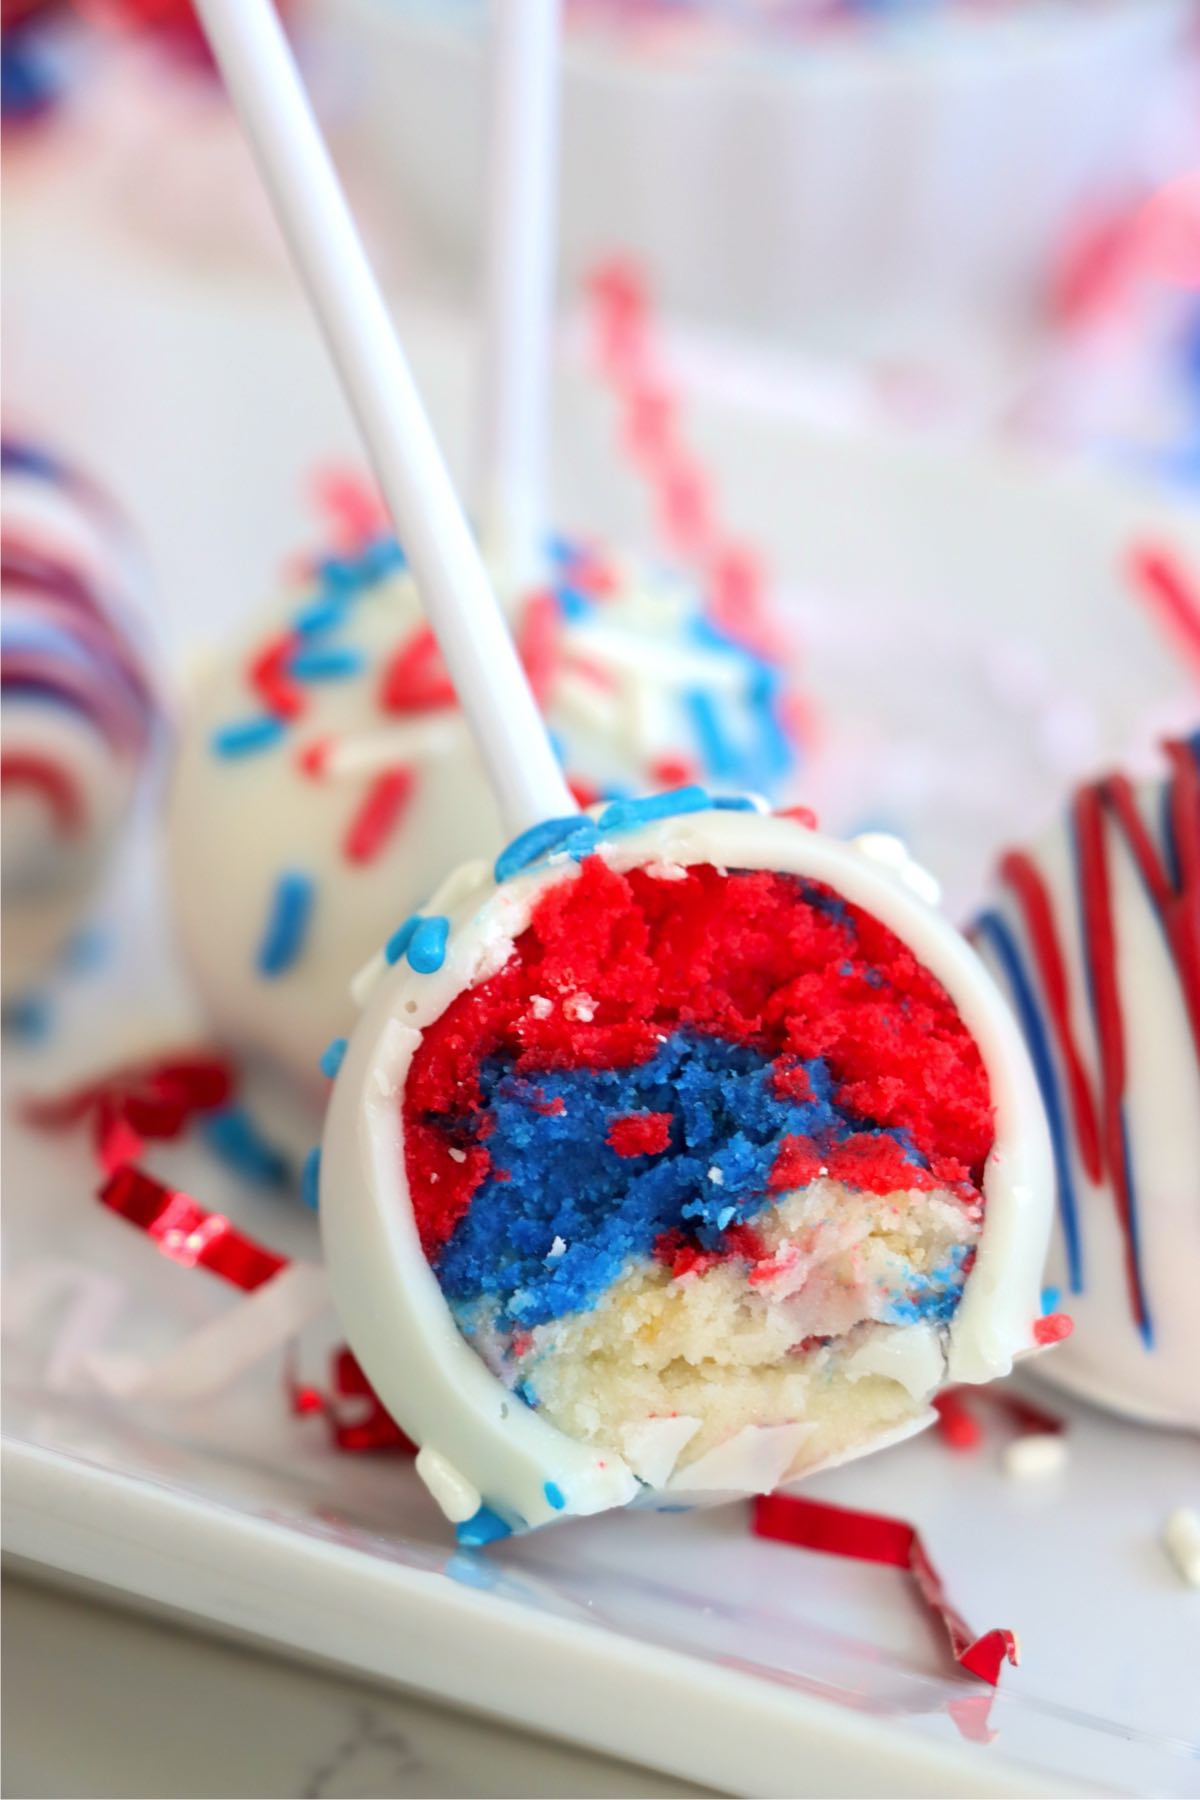
- Step 1: Mix the cake batter, divide it into three bowls, color one red, one blue, and leave one white, then bake each in its own greased round pan until cooked through.
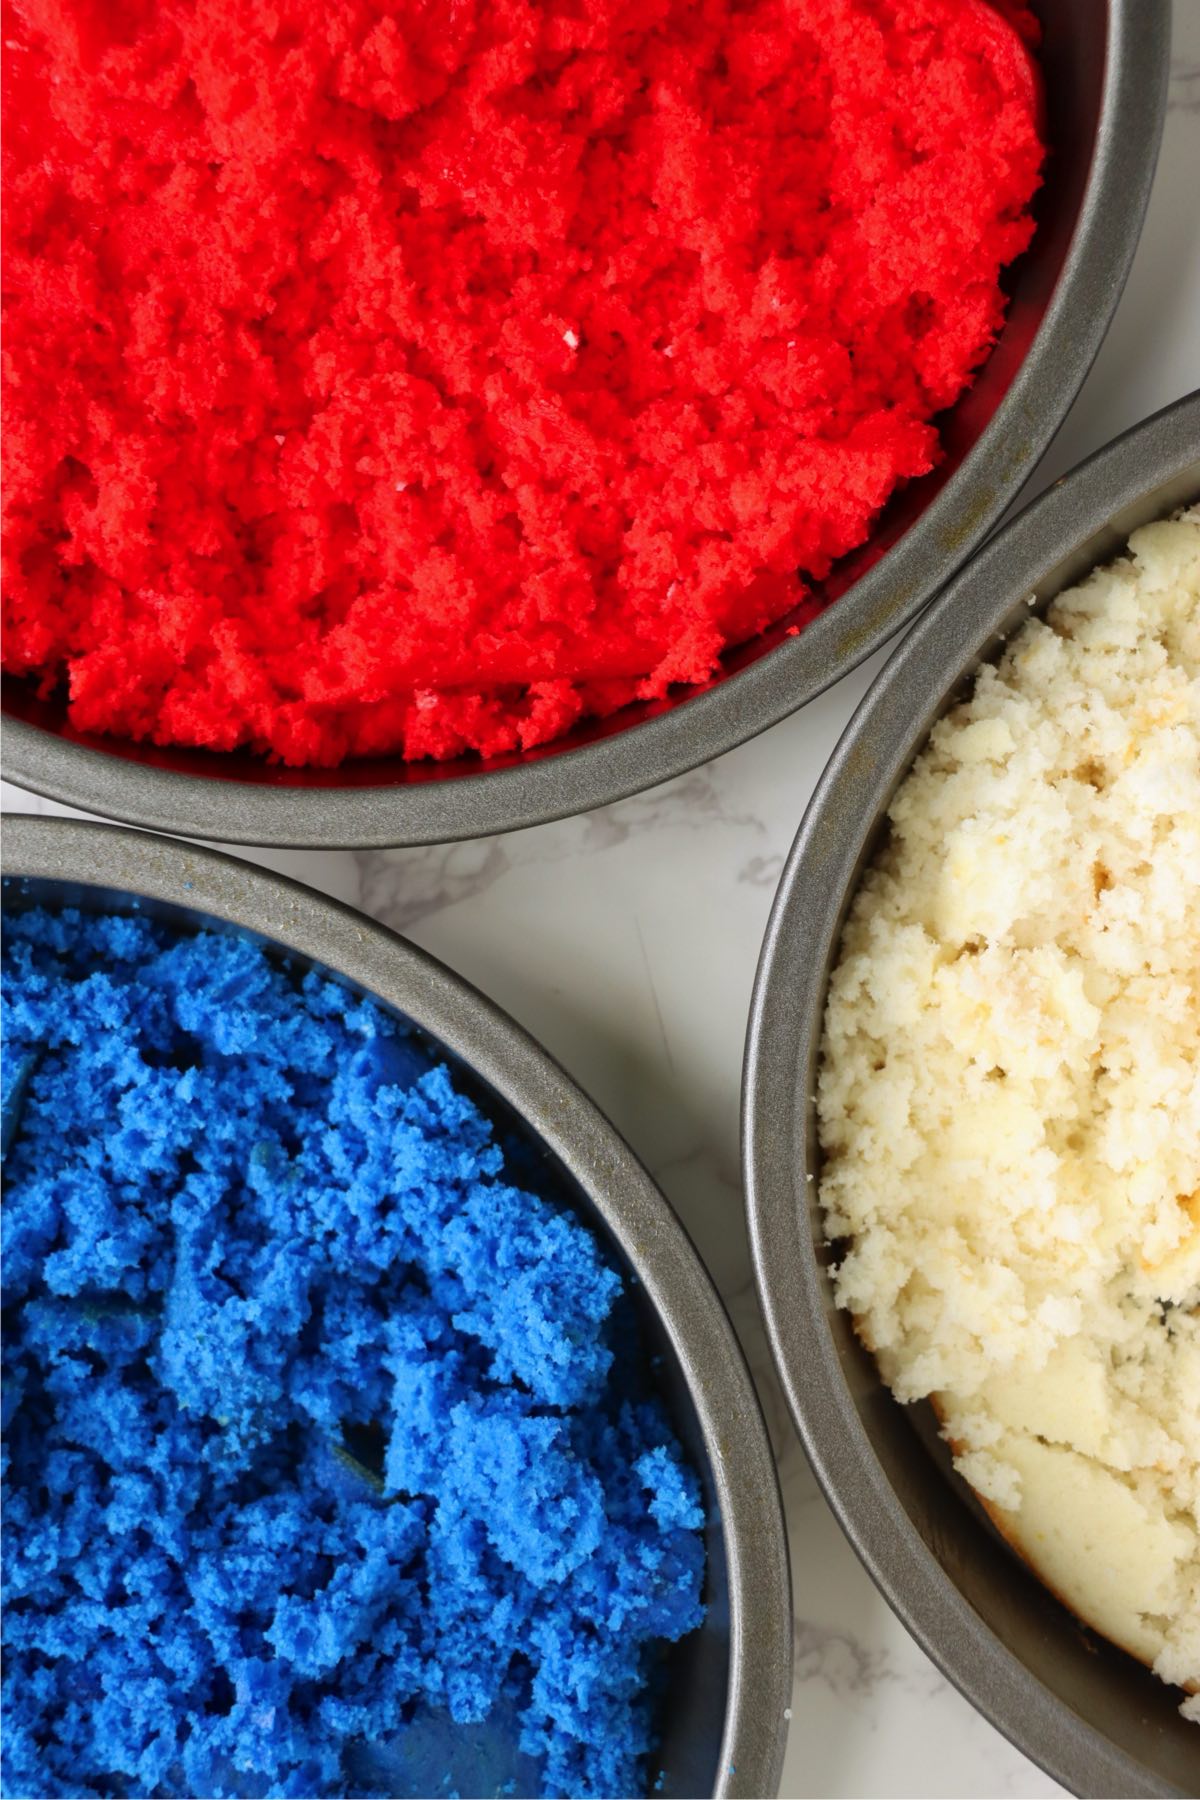
- Step 2: Let the cakes cool, then use a fork to crumble them into fine pieces right in the pans.
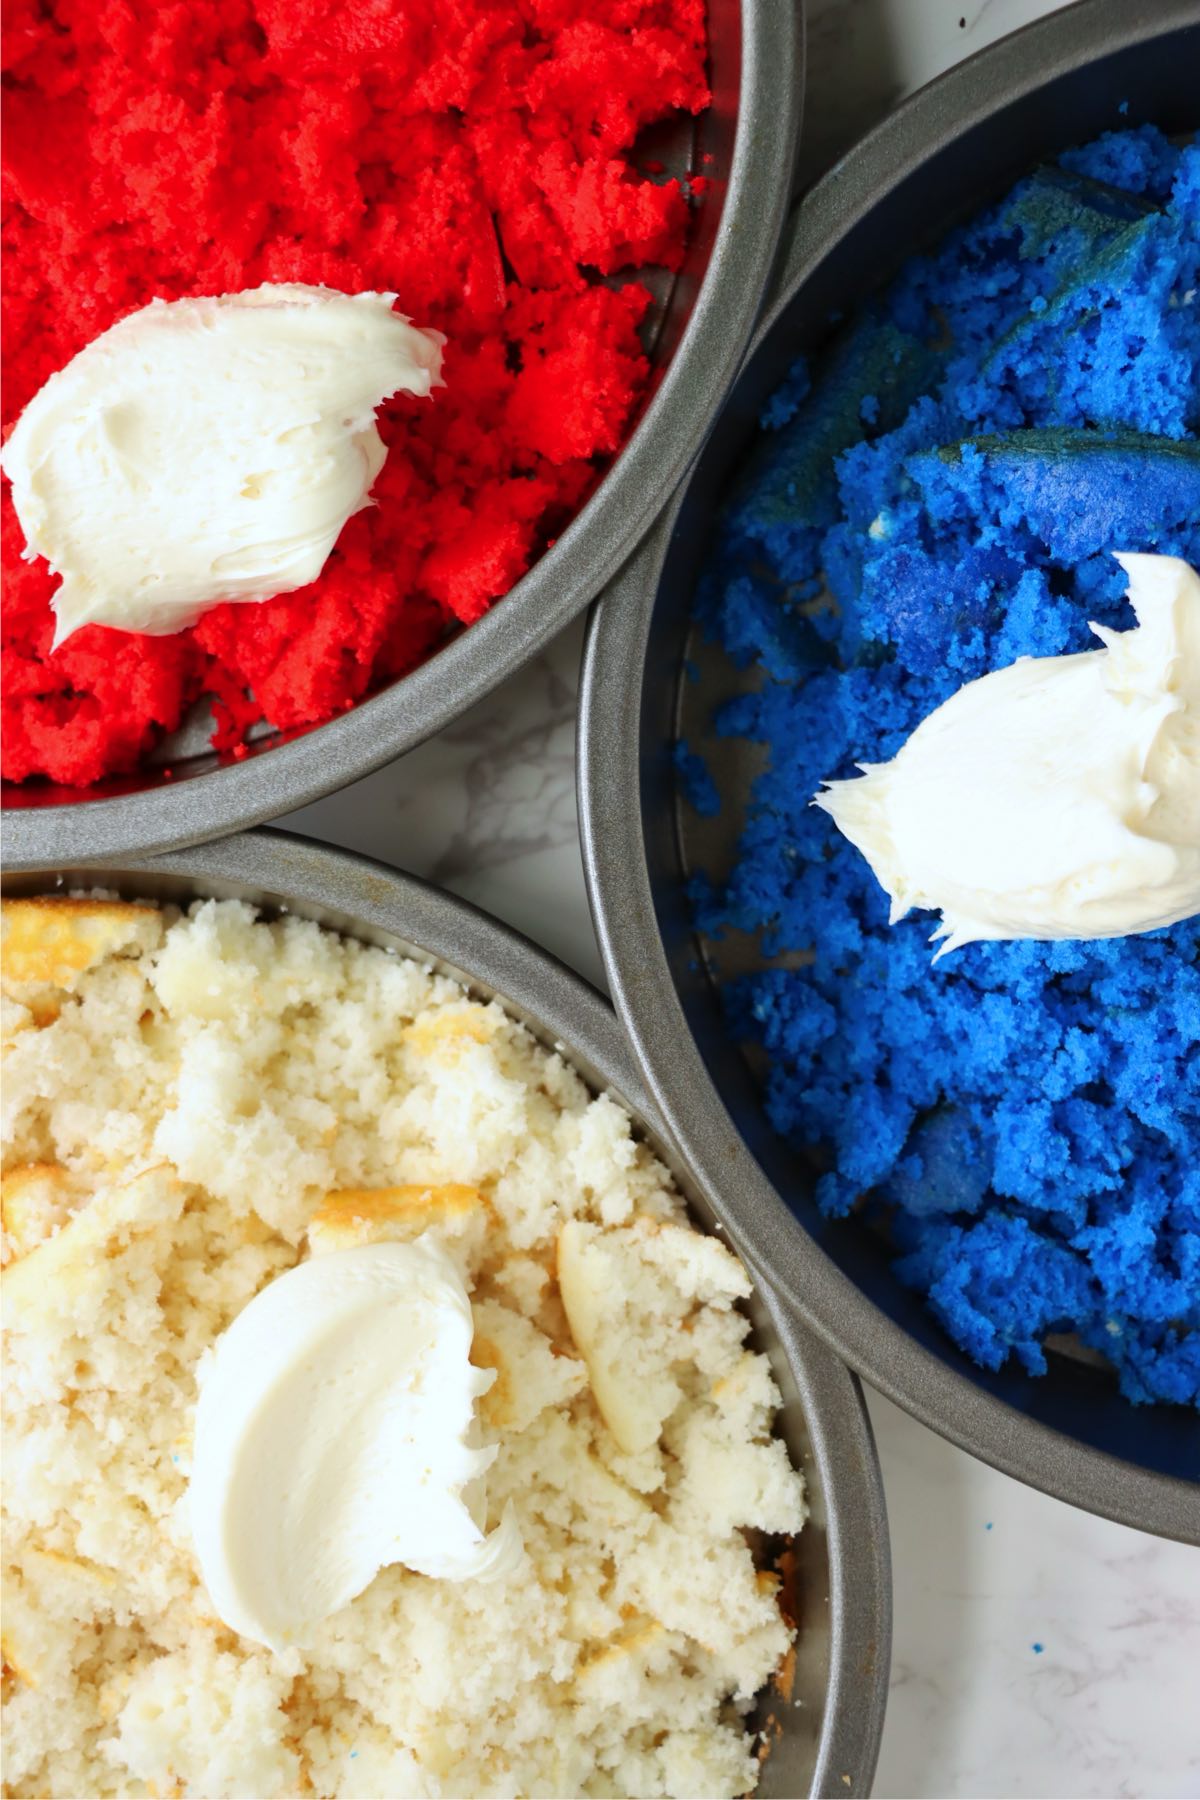
- Step 3: Add about a tablespoon of frosting to each of the cake pans.
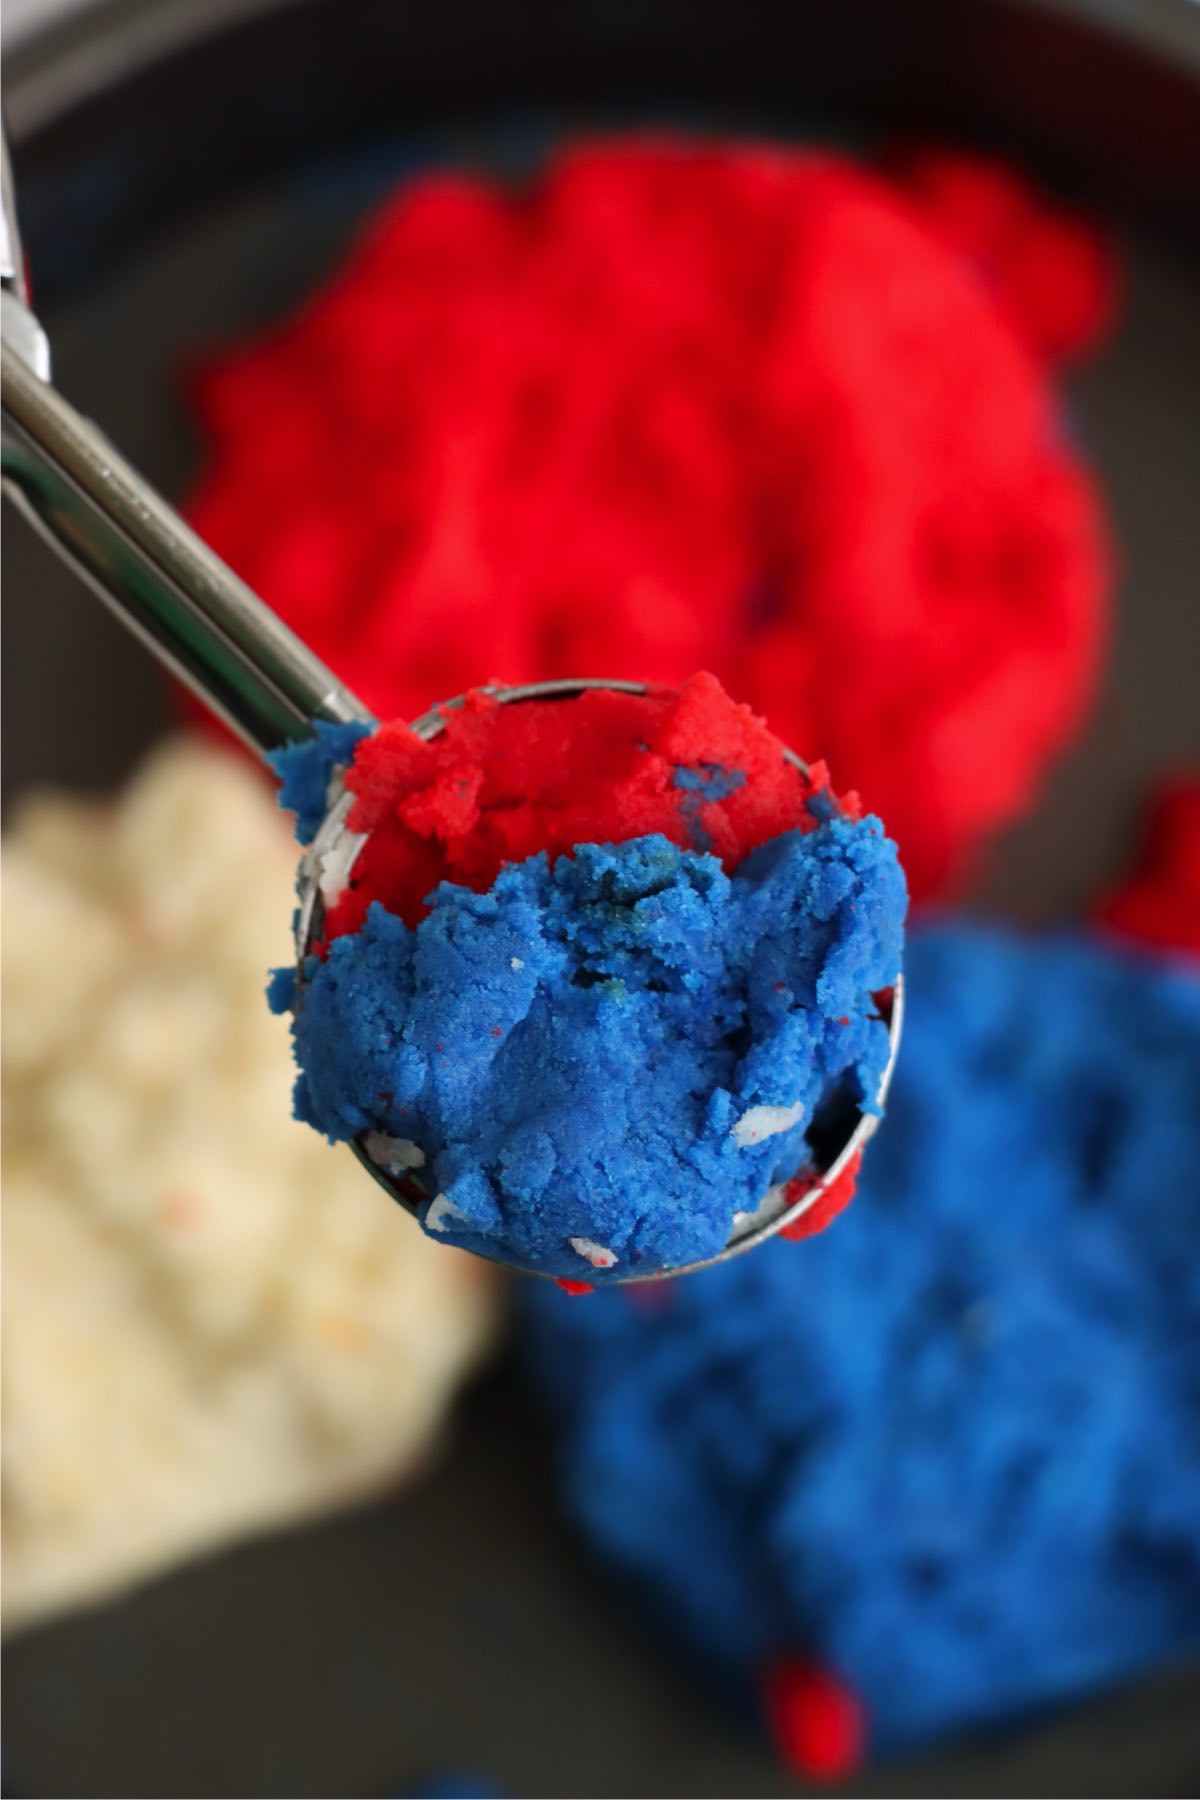
- Step 4: Mix in the frosting by hand until the crumbs form a dough, then combine all three colors in a cookie scoop
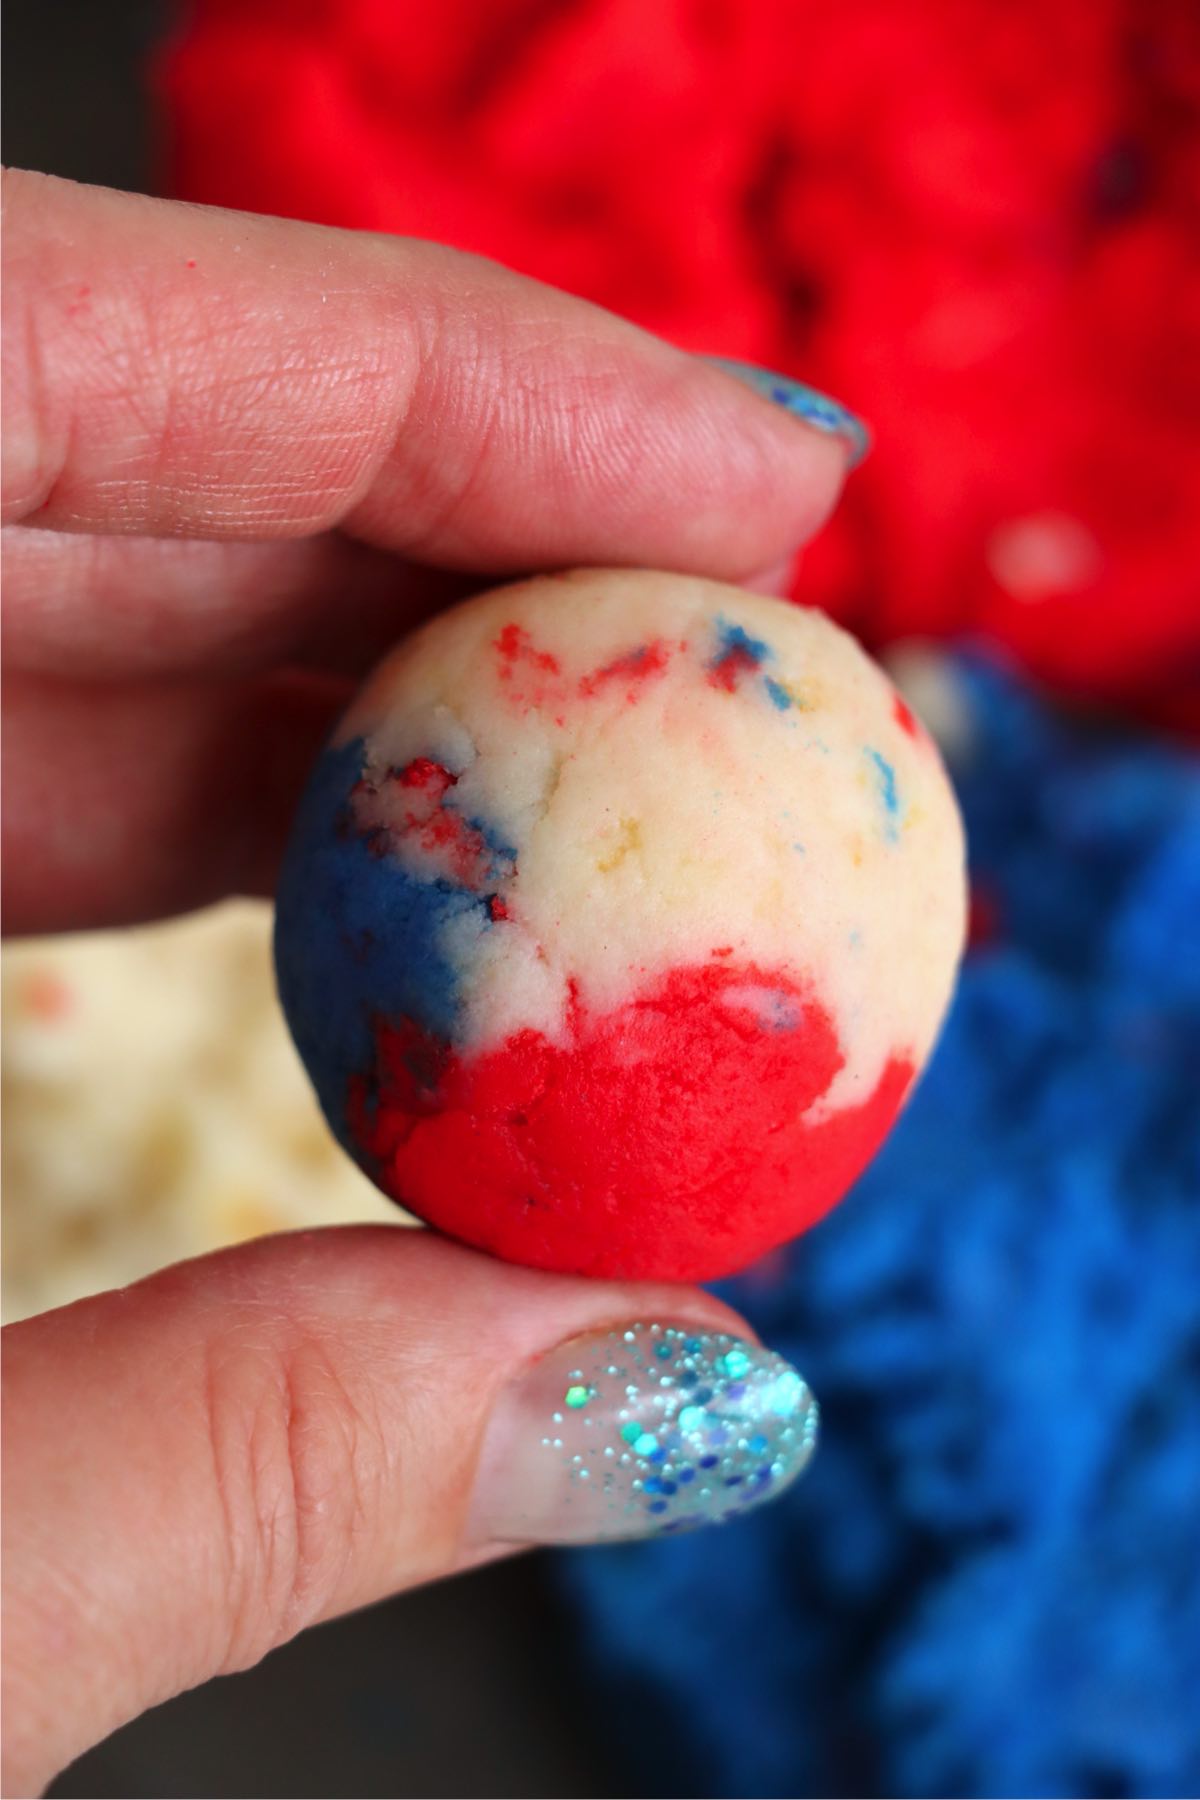
- Step 5: Roll into 1-inch balls, and freeze for 1 hour.
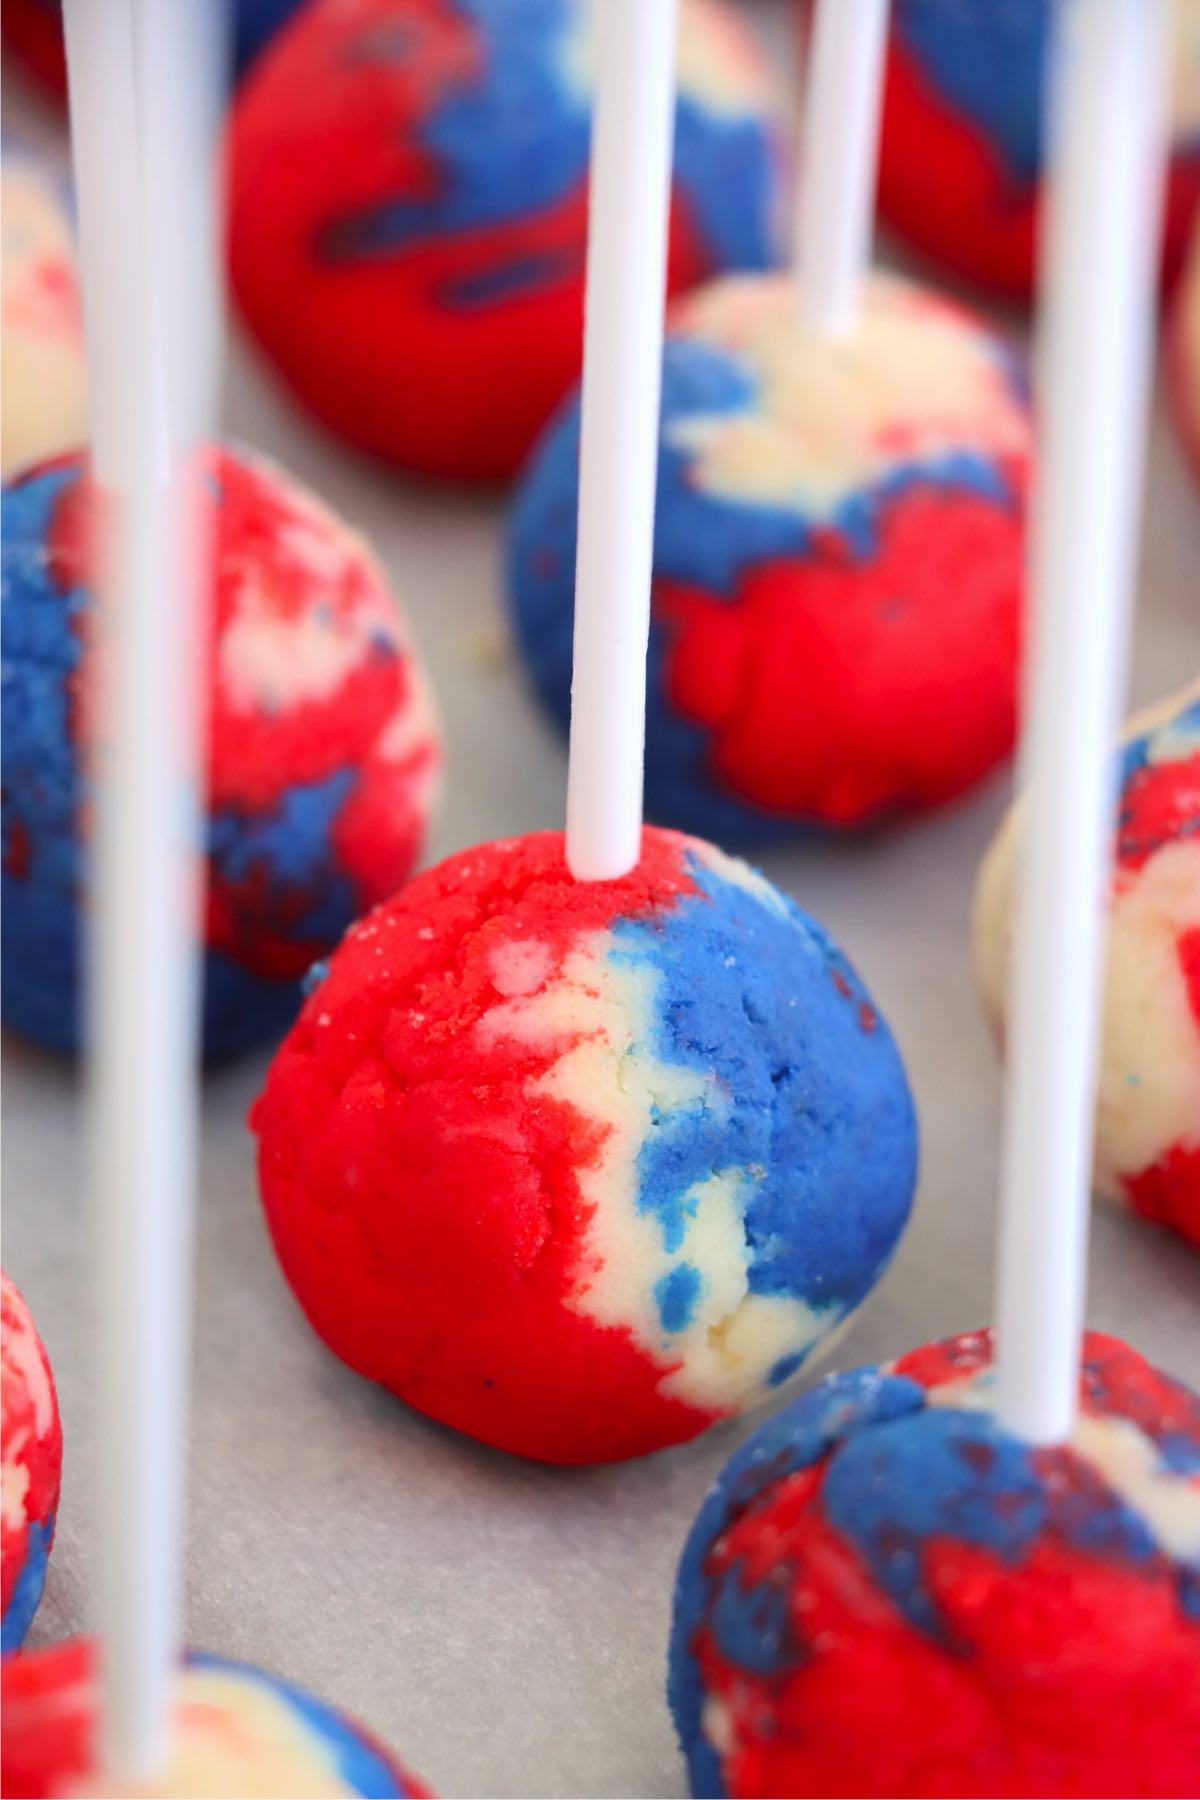
- Step 6: Gently push a cake pop stick halfway into each cake pop.
- Step 7: Melt vanilla bark in the microwave, stirring until smooth, then dip each cake pop.
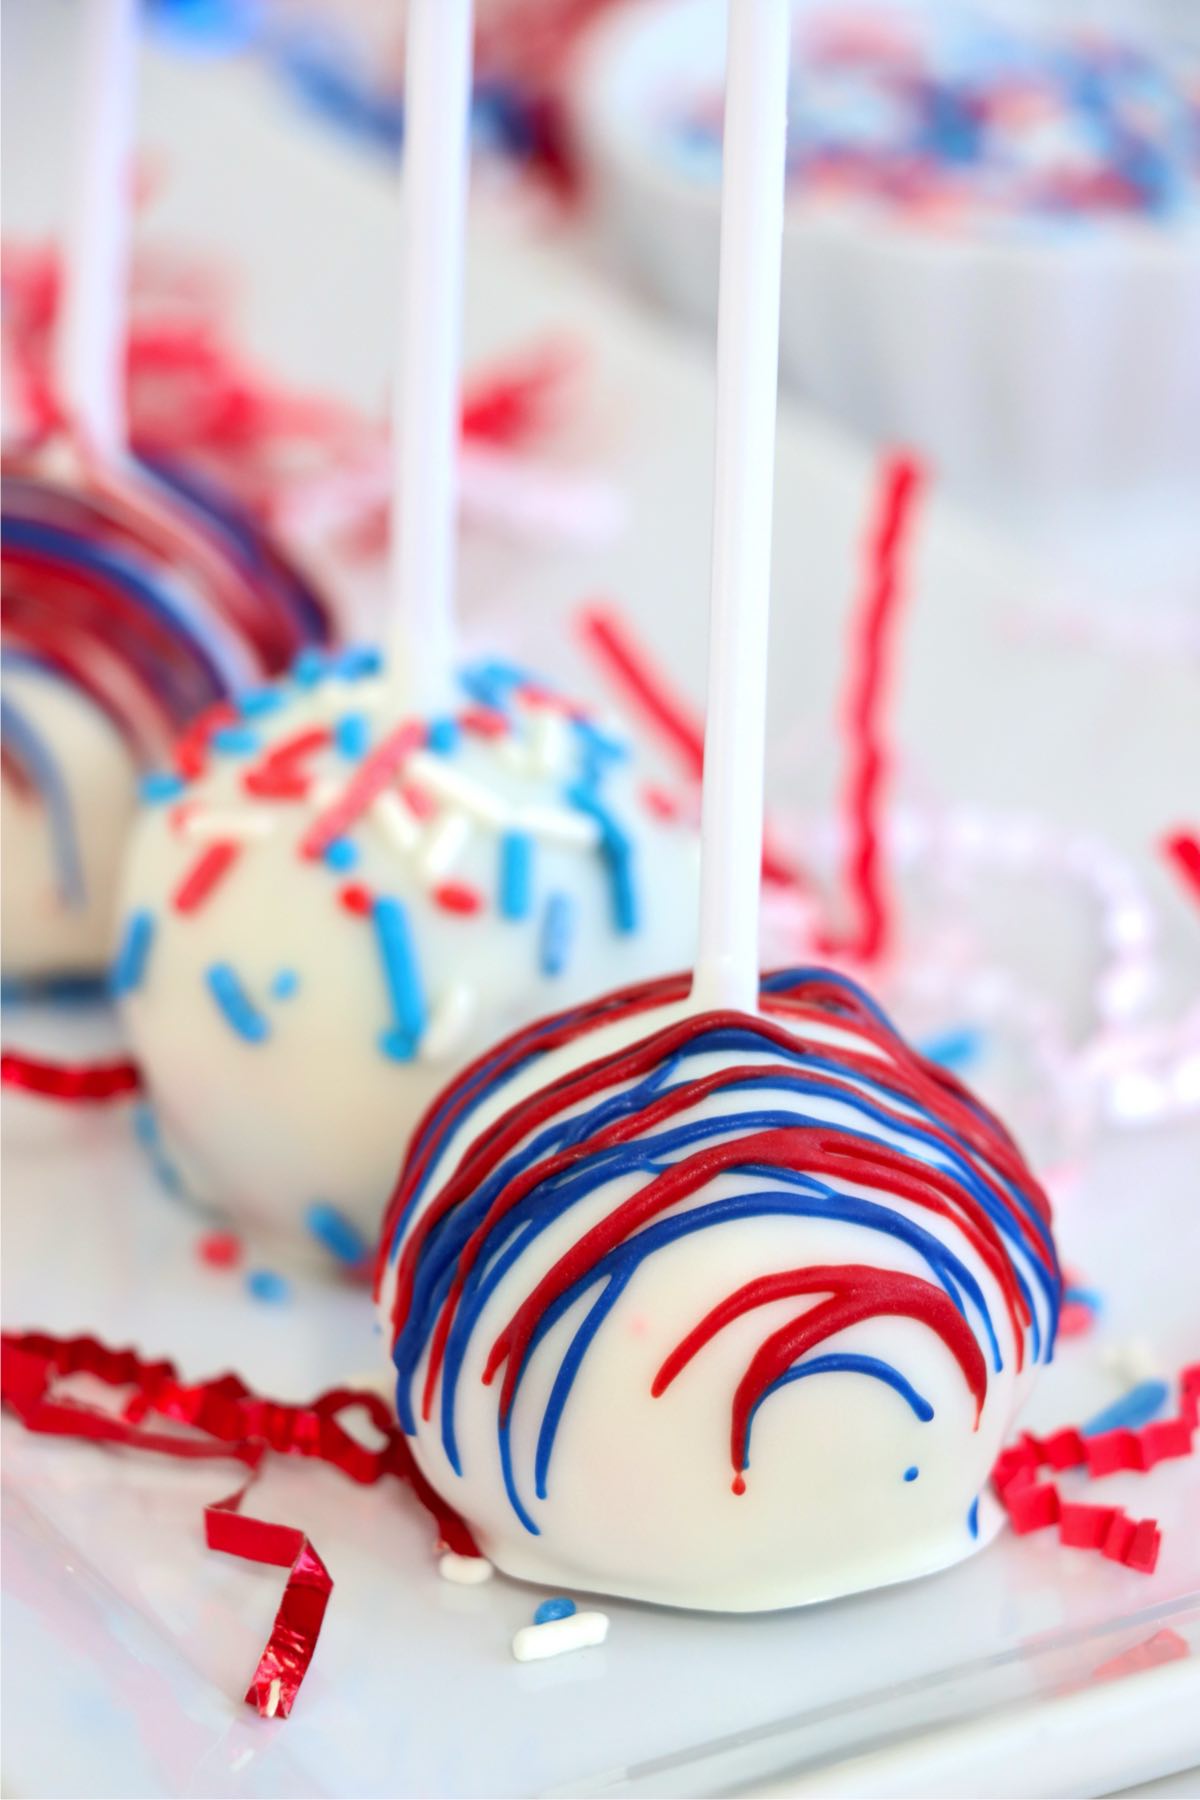
- Step 8: Let excess bark drip off, add sprinkles to half the pops, then drizzle the rest with tinted bark using a baggie. Chill until set.
Helpful Tips
- Have fun with decorating! Whether you want to pipe miniature American flags, stars, fireworks, or let your creativity run free, there are endless ways to decorate these delicious bite-sized treats!
- Serving options: These festive cake pops can be served on a platter as a fun centerpiece or stuck into a styrofoam block or cake pop stand for a more polished presentation.
- Make ahead of time: These cake pops are super simple to prepare and store in the refrigerator ahead of time. Then, all you have to do is frost and decorate the day of serving!
- Use gel food coloring: For vibrant red and blue cake layers, opt for gel food coloring instead of liquid. It provides bold color without changing the texture of your cake batter.
- Freeze briefly before dipping: After shaping the cake balls, place them in the freezer for about 20 minutes. This helps them stay firm and secure on the stick when dipping into the melted bark.
- Keep your bark warm: Melted bark can thicken as it sits. Keep it smooth and dippable by gently reheating in intervals or setting the bowl over warm water to maintain the right consistency.
Recipe FAQs
If the cake balls are too warm or soft, they may fall apart. Chill them in the freezer for an hour before dipping, and make sure to dip the stick into melted bark before inserting it into the cake ball to help it stay in place.
To make sure your candy coating is smooth and even, be sure to let the excess melted candy drip off. If you find that your coating is too thick, you can add a small amount of vegetable shortening to it to thin it out, making for easier dipping and a smoother coating.
You can prepare cake balls up to 2 days in advance and store them in the fridge. Dip and decorate the day of serving for best texture and appearance.
Storage & Freezing Instructions
Storage Instructions
To store your cake pops, keep them in an airtight container for 5-7 days in the refrigerator.
Freezing Instructions
You can freeze these cake pops for 3-4 months in a freezer safe container. Then, let them thaw in the refrigerator overnight before serving.
More Red White and Blue Recipes You'll Love
Looking for other easy patriotic recipes like this? Try these:
Did you try this recipe?
If you decide to try this Red White and Blue Cake Pops recipe or any other recipe on my website, please leave a ⭐️ star rating and let me know how it went in the 💬 comments below! I'd love to hear from you!
Red White and Blue Cake Pops Recipe
Ingredients
- Boxed white cake mix and ingredients in directions
- 2-3 tablespoons vanilla frosting
- 24 ounces vanilla bark
- Red and blue gel food coloring
- Red, white and blue sprinkles
- 24 cake pop sticks
Instructions
- Prepare cake batter according to package directions.
- Split batter equally into three bowls.
- Add red food coloring to one bowl, add blue to another bowl, and keep the third bowl white. The amount of food coloring needed will depend on the coloring you are using.
- Pour each color batter into one of three greased 9-inch round cake pans.
- Bake about 15-20 minutes or until a toothpick comes out clean.
- Allow cake to cool.
- Crumble cakes completely in its baking pan with a fork.
- Add frosting and work it into the cake crumbs with your hands until it forms a ball.
- Grab a small amount of all three colors and press them into a cookie scoop until it is full.
- Using your hands, roll dough into 1-inch balls and place them on a baking sheet lined with parchment paper.
- Freeze for 1 hour.
- Gently push a cake pop stick halfway into each cake pop.
- Melt a small amount of vanilla bark in a small microwave-safe glass. Microwave in 30-second intervals, stirring often, until melted and smooth.
- Roll each cake pop in melted chocolate, allowing excess to drip off.
- Add sprinkles quickly to half of the cake pops before bark hardens.
- For the remainder of the cake pops, mix red and blue food coloring with a small amount of the melted vanilla bark. Transfer it to a small ziplock baggie. Cut a small corner off and pipe both colors onto each cake pop.
- Chill to harden the bark before serving.
Notes
- Have fun with decorating! Whether you want to pipe miniature American flags, stars, fireworks, or let your creativity run free, there are endless ways to decorate these delicious bite-sized treats!
- Serving options: These festive cake pops can be served on a platter as a fun centerpiece or stuck into a styrofoam block or cake pop stand for a more polished presentation.
- Make ahead of time: These cake pops are super simple to prepare and store in the refrigerator ahead of time. Then, all you have to do is frost and decorate the day of serving!
- Use gel food coloring: For vibrant red and blue cake layers, opt for gel food coloring instead of liquid. It provides bold color without changing the texture of your cake batter.
- Freeze briefly before dipping: After shaping the cake balls, place them in the freezer for about 20 minutes. This helps them stay firm and secure on the stick when dipping into the melted bark.
- Keep your bark warm: Melted bark can thicken as it sits. Keep it smooth and dippable by gently reheating in intervals or setting the bowl over warm water to maintain the right consistency.
Leave a Reply