
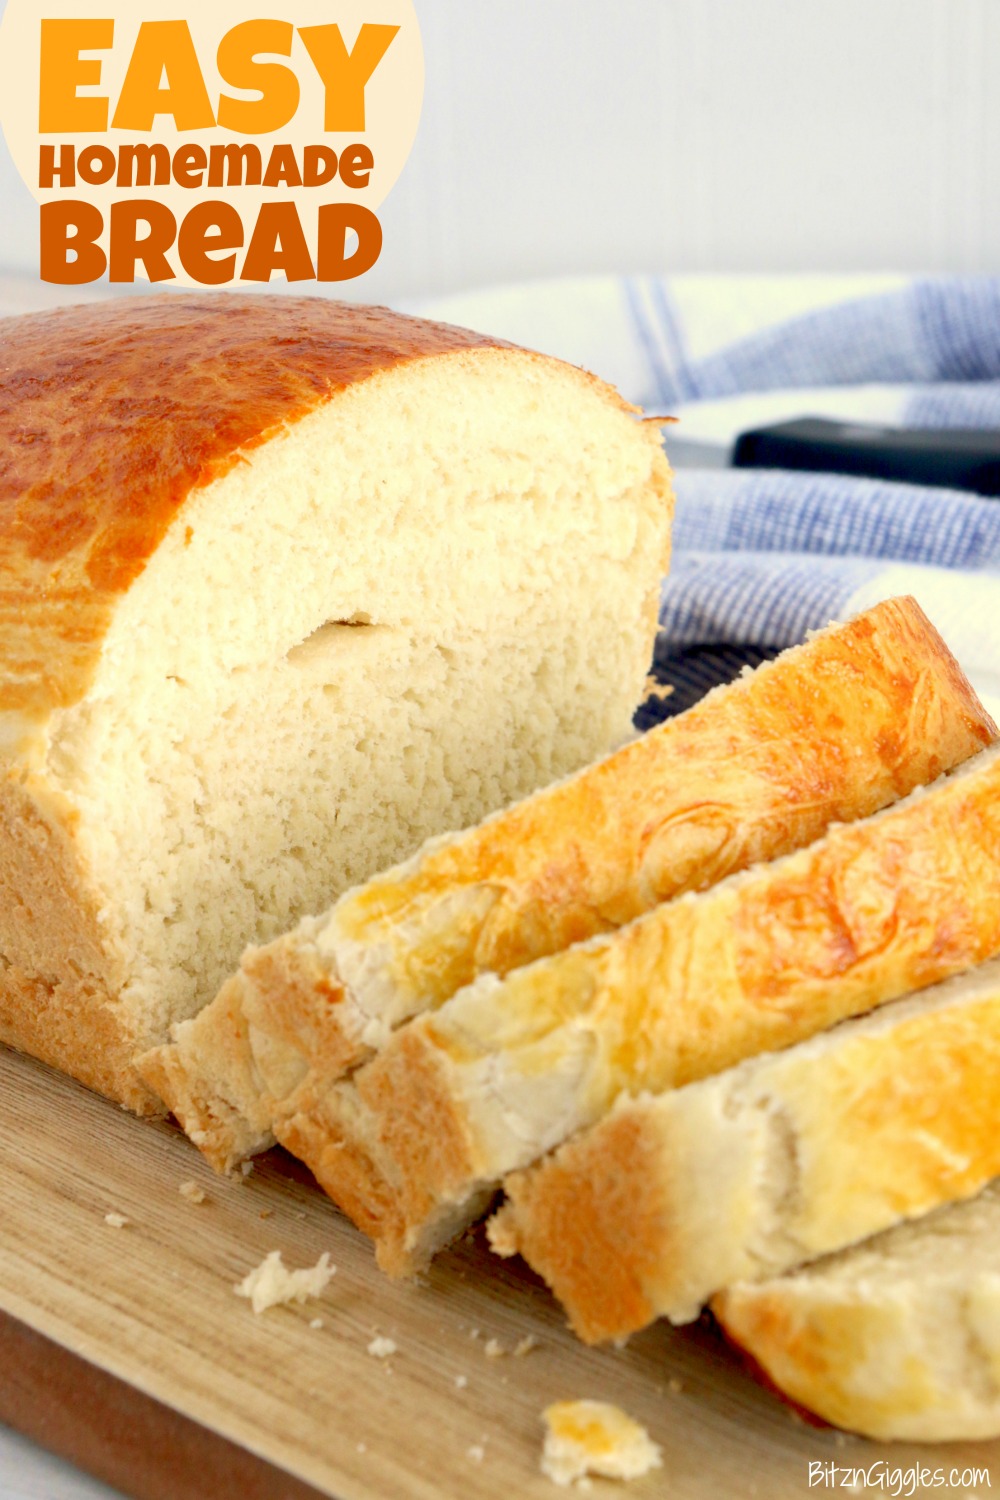
Easy Homemade Bread - A simple recipe for homemade bread using common pantry staples. It's perfect for making sandwiches, serving with meals or freezing to enjoy later on!
Want to Save This Recipe?
This post may include affiliate links. Please see my disclosure.
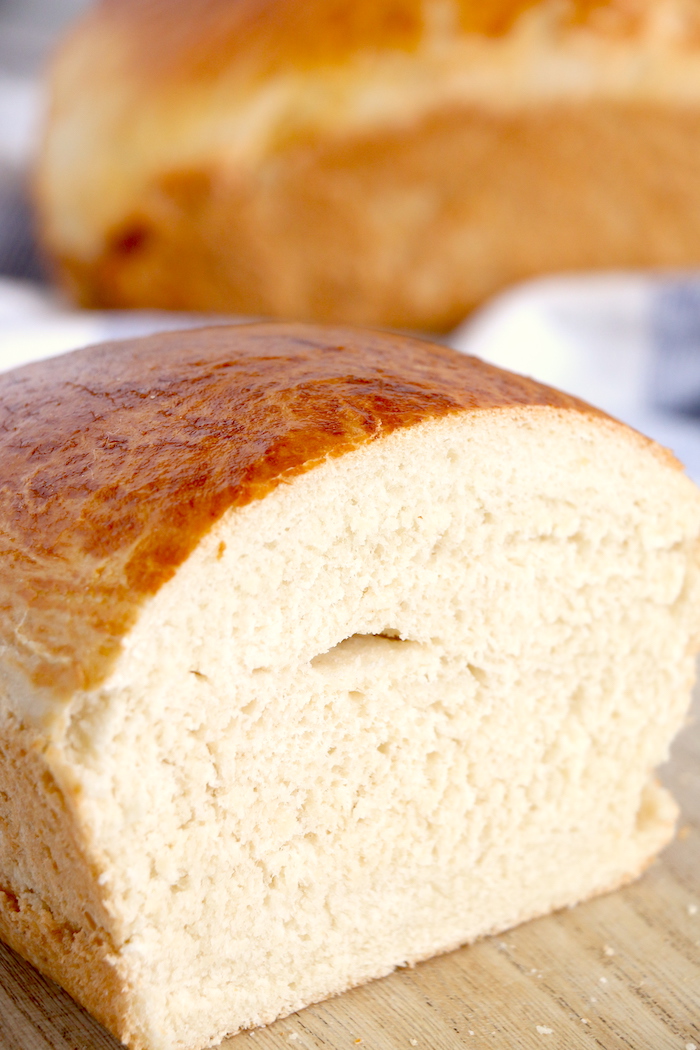
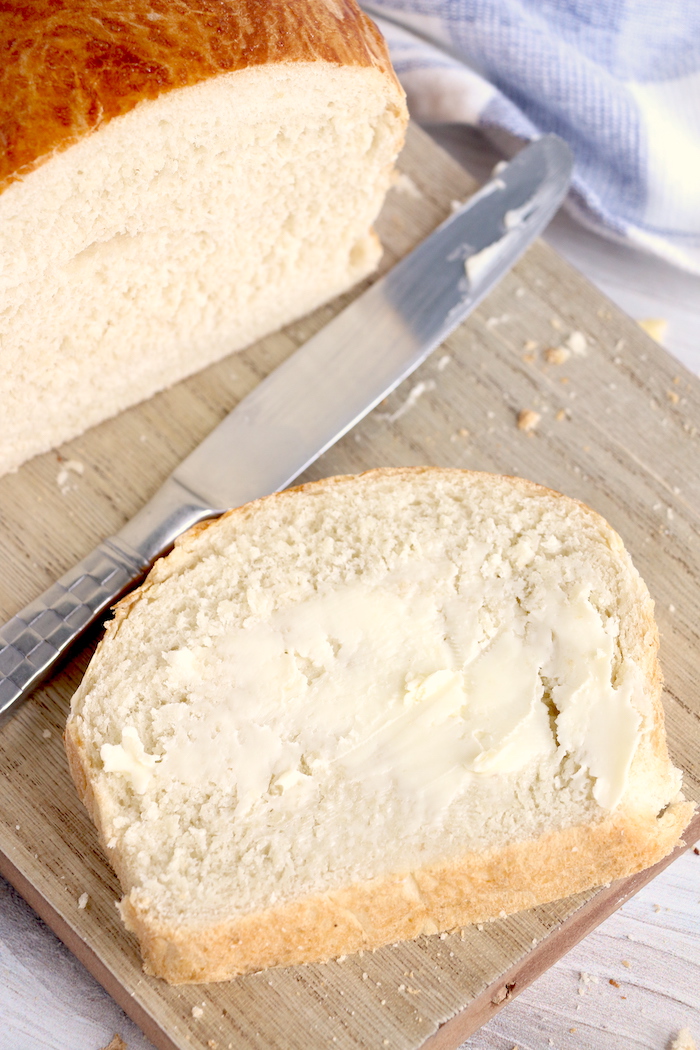
Everyone has been baking bread lately, including me! It's pretty easy to fall in love with the idea of homemade bread after you get a whiff of it baking in the oven. The family has really enjoyed it as well. We like to just slice it, spread on some butter and eat along with our meals, but if you're looking to use it for sandwiches, this bread is great for that, too!
If baking homemade bread is intimidating to you, stick with me. I've made it really easy with step-by-step instructions and photos that will guide you through the process.
Note: This recipe makes two loaves of bread, so go ahead and freeze one if you'd like.
HOW TO MAKE HOMEMADE BREAD:
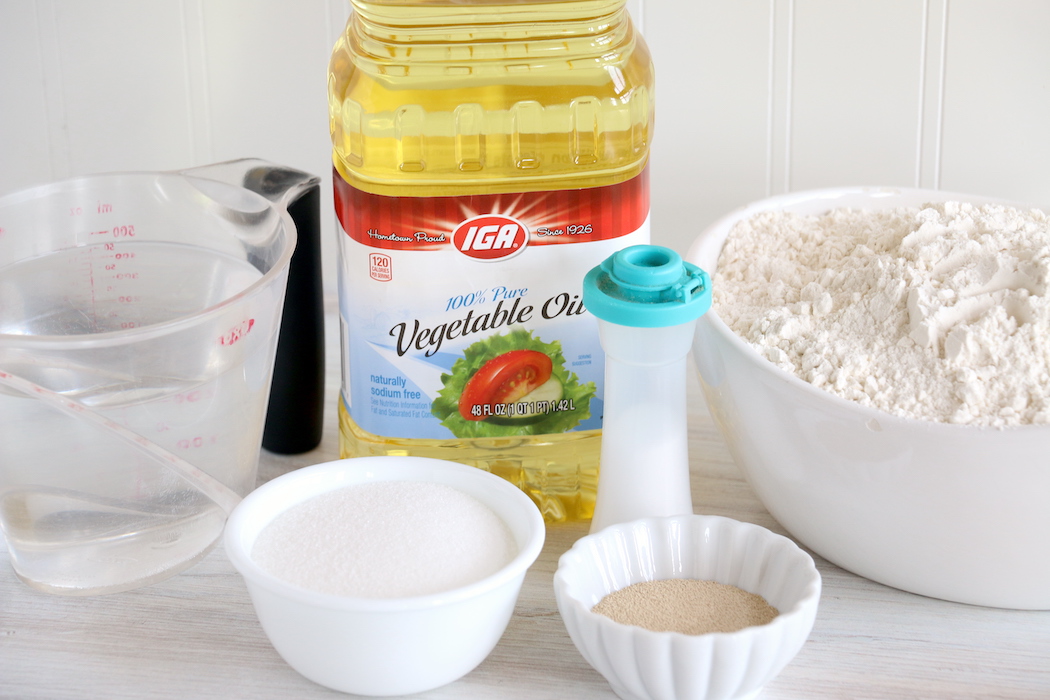
To make a couple loaves of this homemade bread, you'll need just a few pantry staples:
- Warm water
- Sugar
- Active dry yeast
- Salt
- Vegetable oil
- Flour
- Egg
Before we begin, let me share some quick tips on using active dry yeast!
WHAT DO I NEED TO KNOW ABOUT ACTIVE DRY YEAST?
Before you begin making the bread, make sure to check your yeast! If your yeast is too old, you're going to have to hold off on baking your bread - because it won't turn out.
The easiest way to find out if it's fresh enough to use is by dissolving a bit of the yeast in warm water with a pinch of sugar. If it doesn't bubble and foam within 10-15 minutes, it's dead and you'll need to run to the store to get some fresh yeast.
Opened packages of active dry yeast can be stored in the fridge for three to four months.
Got it? You've checked your yeast? Then, let's bake some bread!
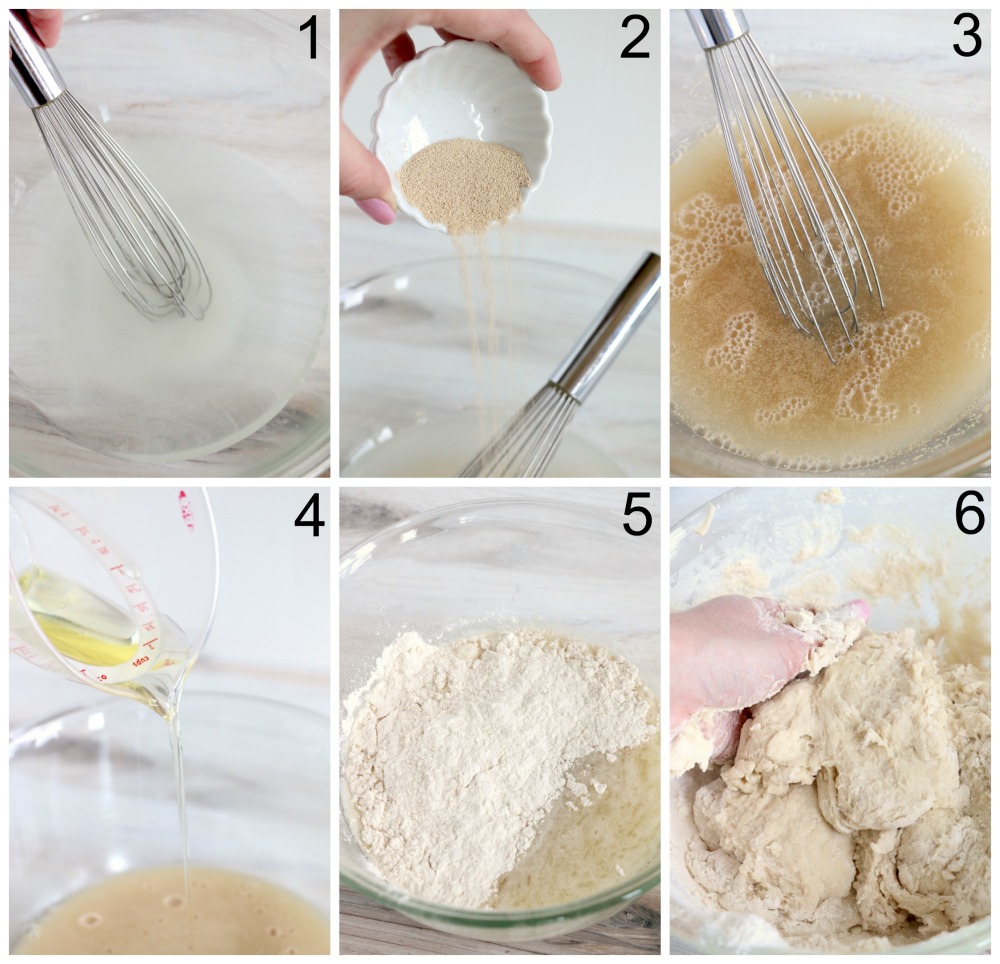
- In a large bowl, whisk warm water (between 70º - 110º Fahrenheit) and sugar together until the sugar dissolves.
- Stir in the yeast.
- Allow it to sit for 5-10 minutes until the mixture appears creamy and foamy.
- Add the salt and oil and mix well.
- Begin working 5 cups of flour into dough, 1 cup at a time.
- Continue to knead the flour into the dough.
You'll want to work the final cup of flour in while kneading the dough on a lightly-floured surface.
WHAT'S THE KEY TO A CONSISTENT BREAD DOUGH?
In this recipe we're adding 5 cups of flour into the dough, 1 cup at a time (reserving the last cup of flour to add in gradually). The key is to not add too much flour, so we want to add a little at a time until the dough reaches the right consistency.
You can always add more flour, but as far as trying to remove it? Forget about it!
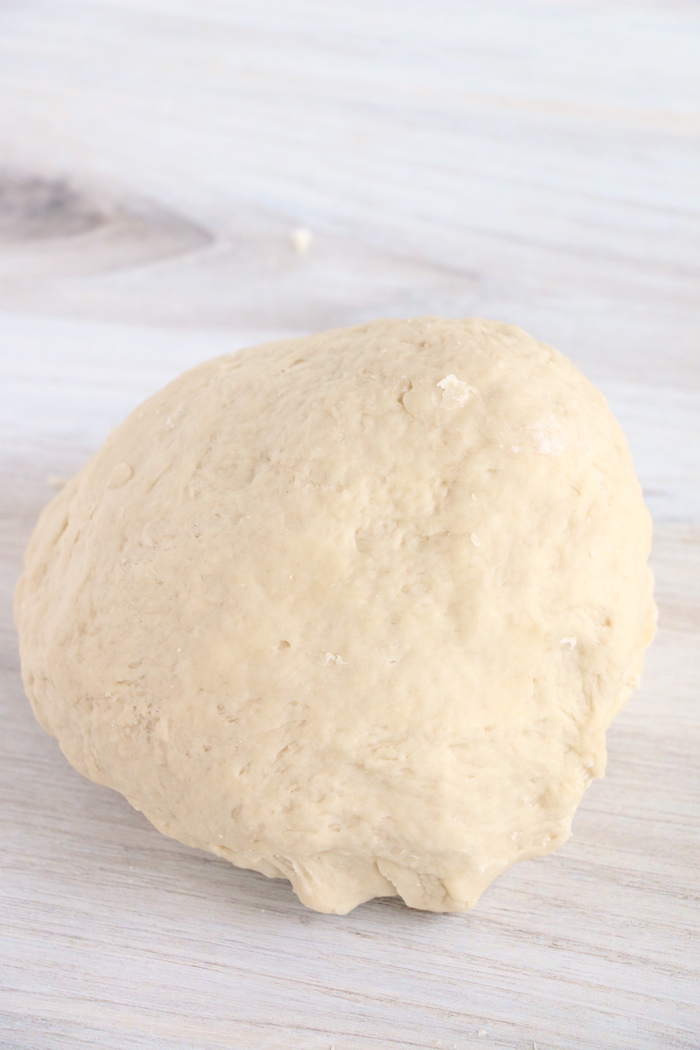
WHAT EXACTLY IS "KNEADING" WHEN IT COMES TO MAKING BREAD?
When you knead bread dough, you push, pull and stretch the dough until it's nice and smooth. Having a floured surface certainly helps. When dough is properly kneaded, it should be stretchy and smooth.
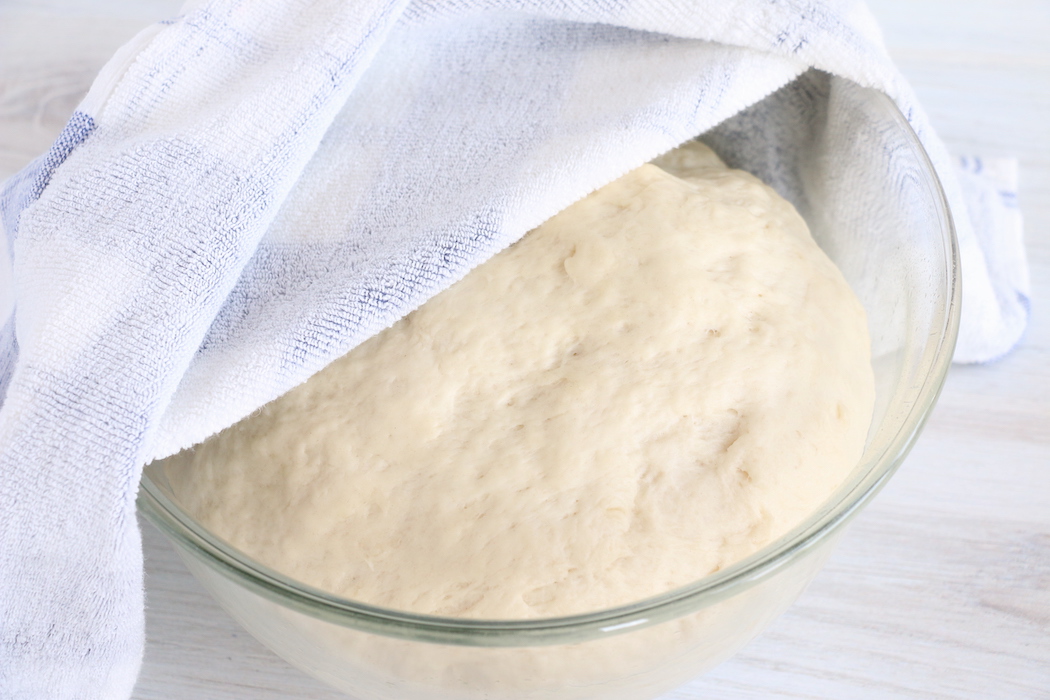
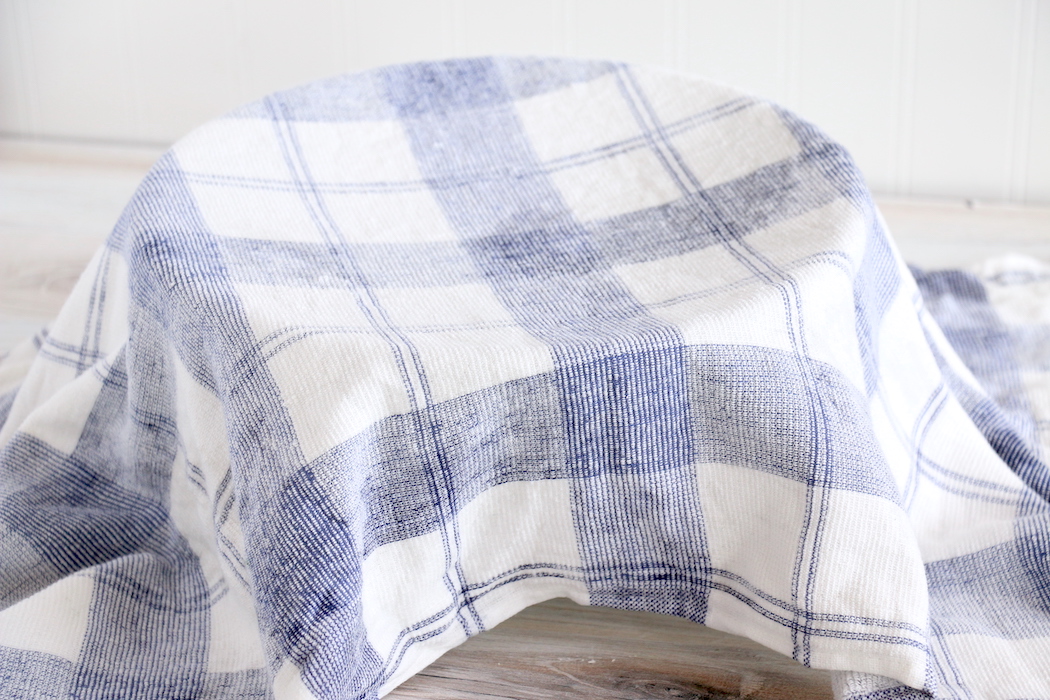
Place the dough into a greased bowl, making sure the dough is coated on all sides with oil. Now, cover the bowl with a dish towel (thick enough to hold the air in) or what professional bakers call a "couche."
DO YOU REALLY NEED TO COVER DOUGH WHILE IT RISES?
Yes! If you're not covering your dough with a couche or dish towel, opt for plastic wrap. You need to "incubate" the rising dough to help it retain warmth and help prevent a hard crust from forming on the dough.
Allow dough to proof (or rise) for about 1 hour or until it has doubled in size.
WHAT IS MEANT BY "PROOFING" DOUGH?
Proofing simply means allowing the bread dough to rise. In basic yeast bread recipes like this one, the dough will be proofed two times.
To get a good rise, the temperature in your home should be above 75º Fahrenheit. If that's way too warm for you, you could try proofing your bread in the oven.
Place a glass baking dish on the bottom rack of the oven filled with boiling water. Place your bowl of dough on the middle rack and shut the door. The steam and heat from the boiling water creates a nice warm environment for the dough to rise.
And if you plan to be a serious bread baker, you may want to look into investing in a proofing box or basket like these. Proofing boxes help you get a perfect rise every single time!
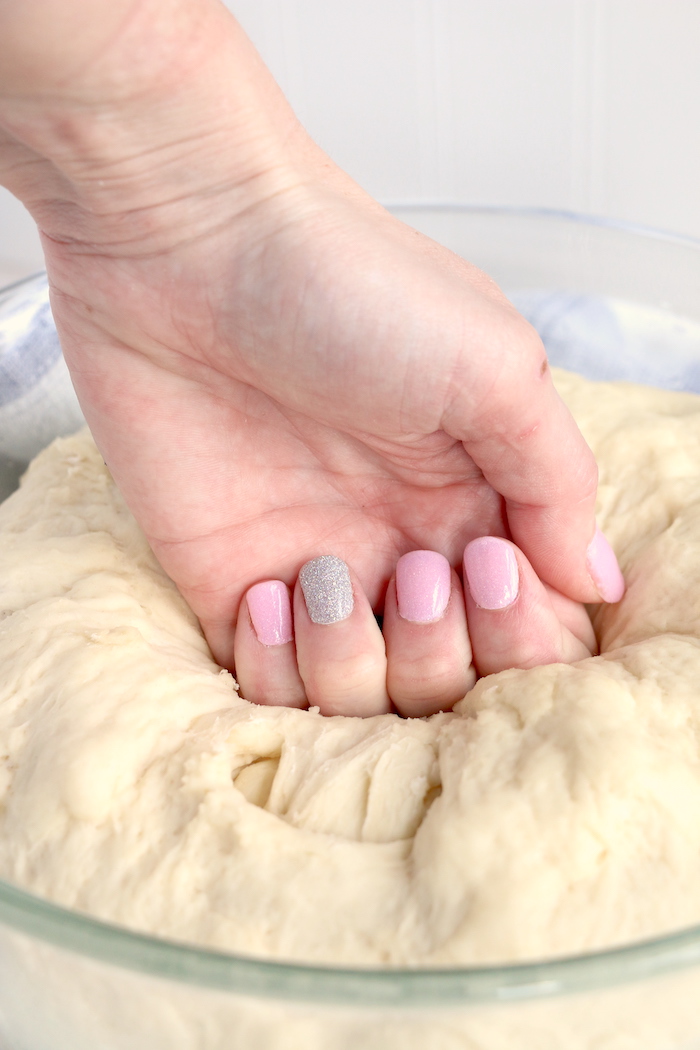
After an hour of proofing, go ahead and punch the dough down. Knead the dough for about a minute and divide the dough in half.
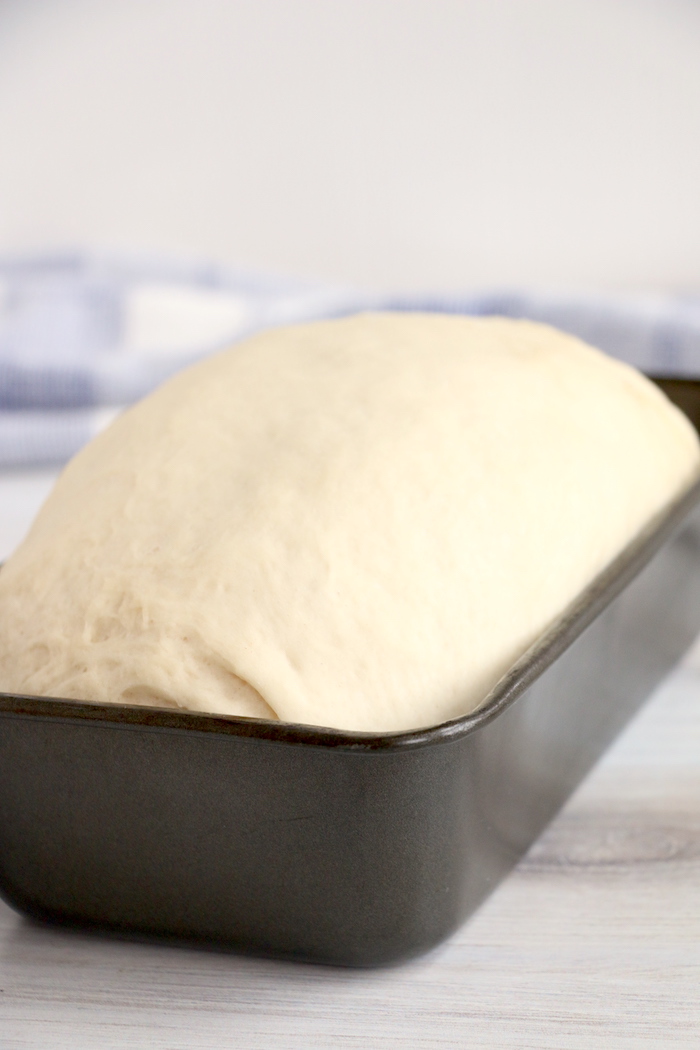
Place each half of dough into a greased loaf pan.
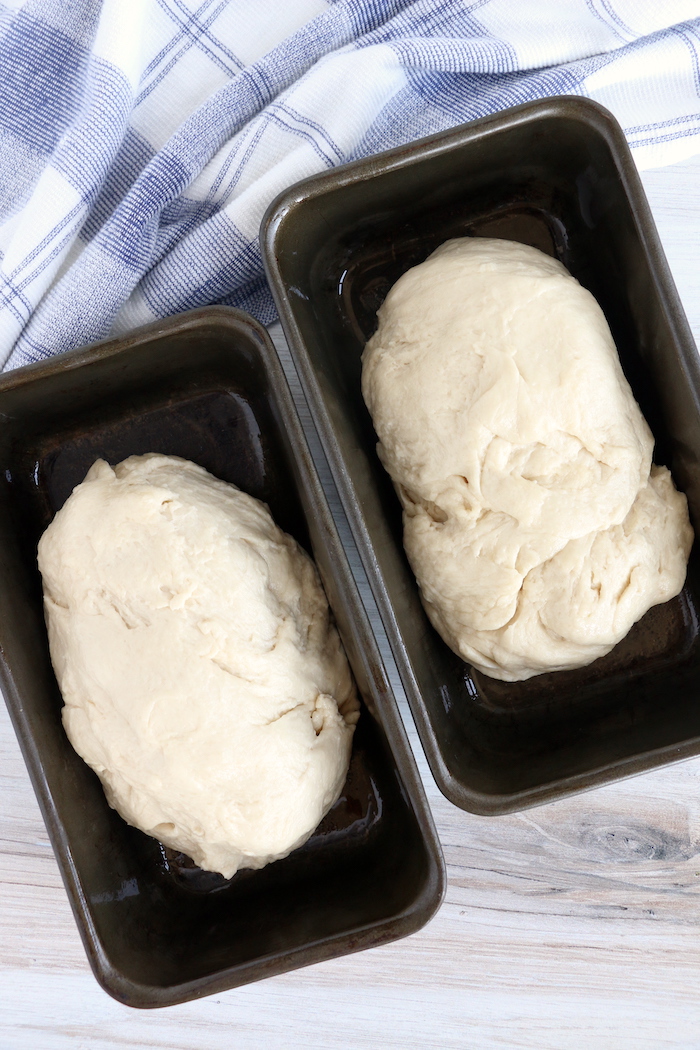
Now, cover the loaf pans for about 30 more minutes or until the dough rises an inch above the pans.
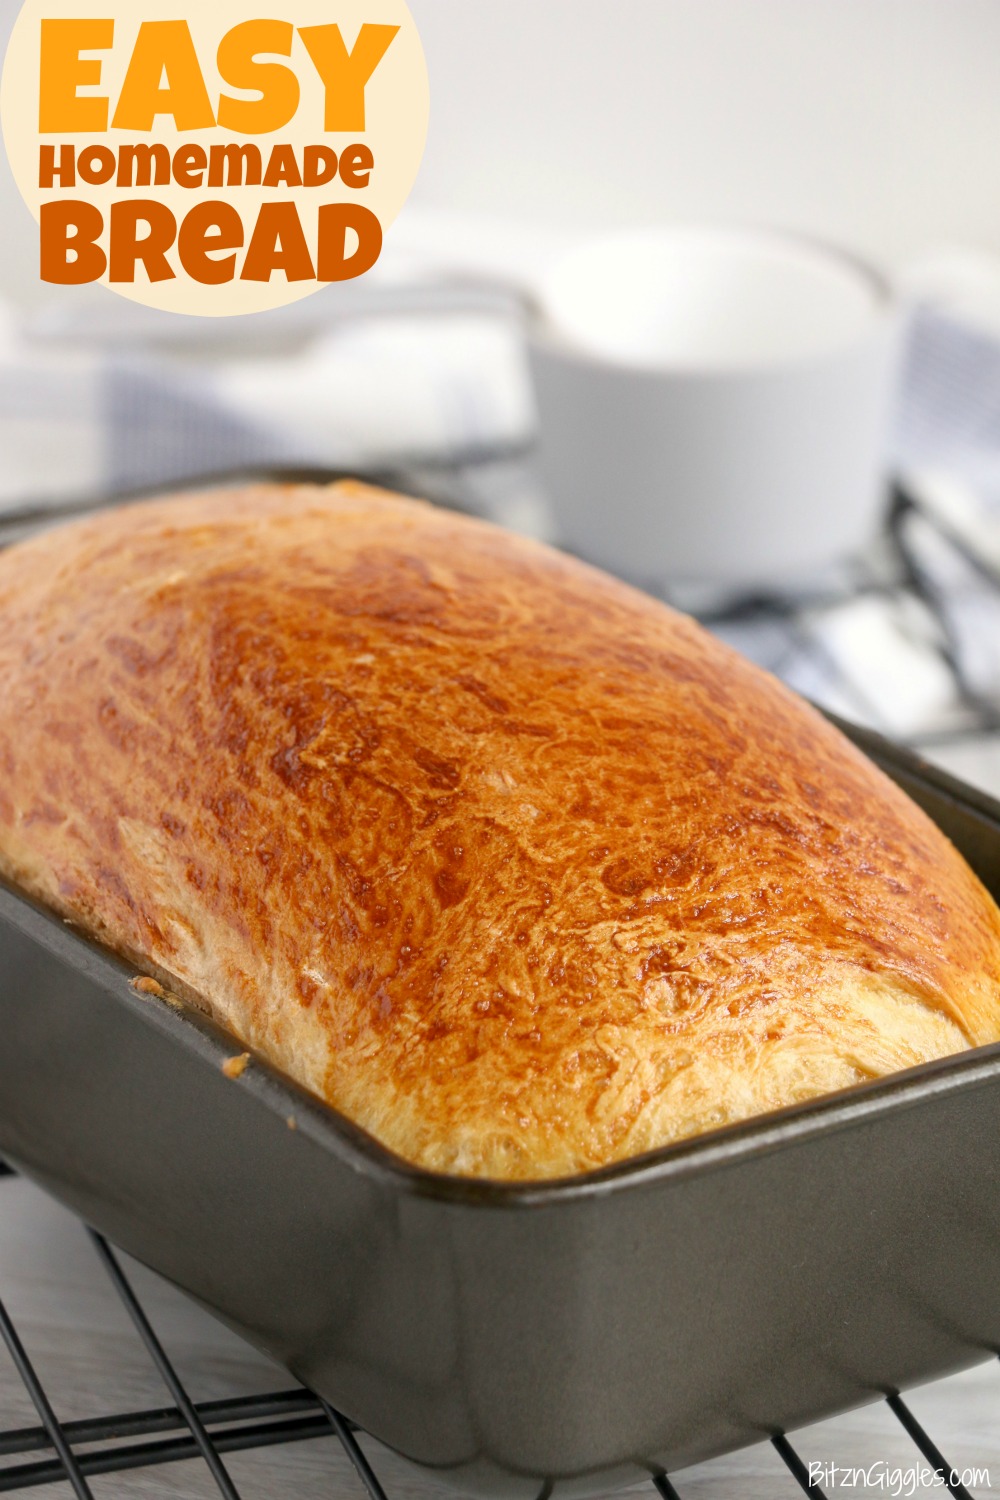
Brush the dough with an egg wash and bake for 30 minutes at 350º Fahrenheit.
WHAT'S AN EGG WASH?
An egg wash is egg beaten with water, milk or cream. I normally like to use one egg and a tablespoon of water. The egg wash enhances the golden color of the bread and adds a little shine.
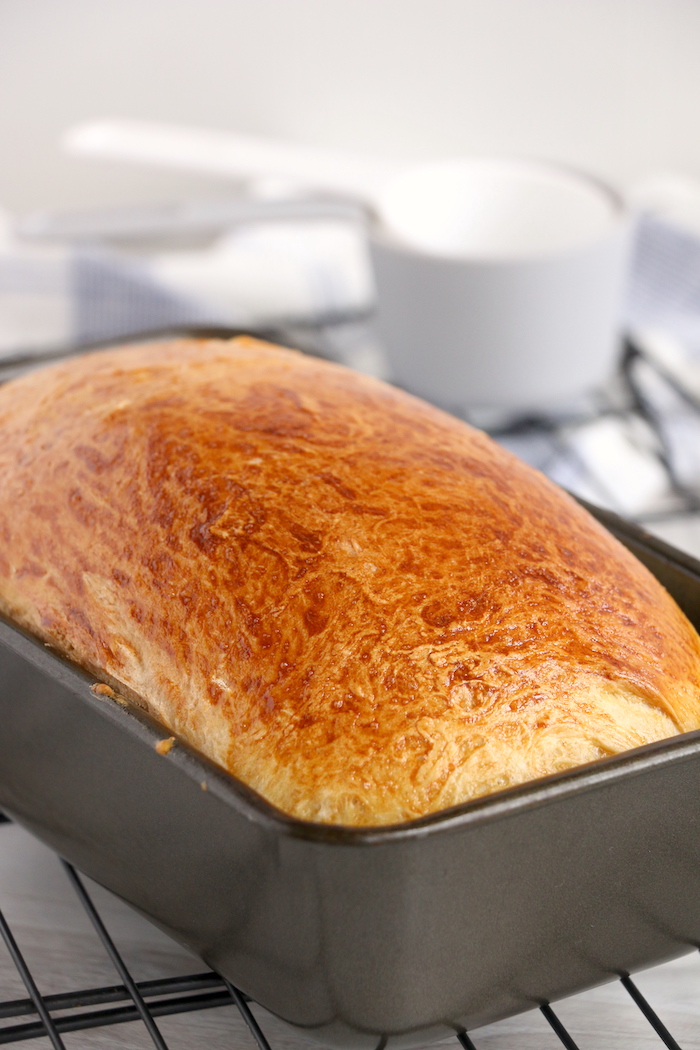
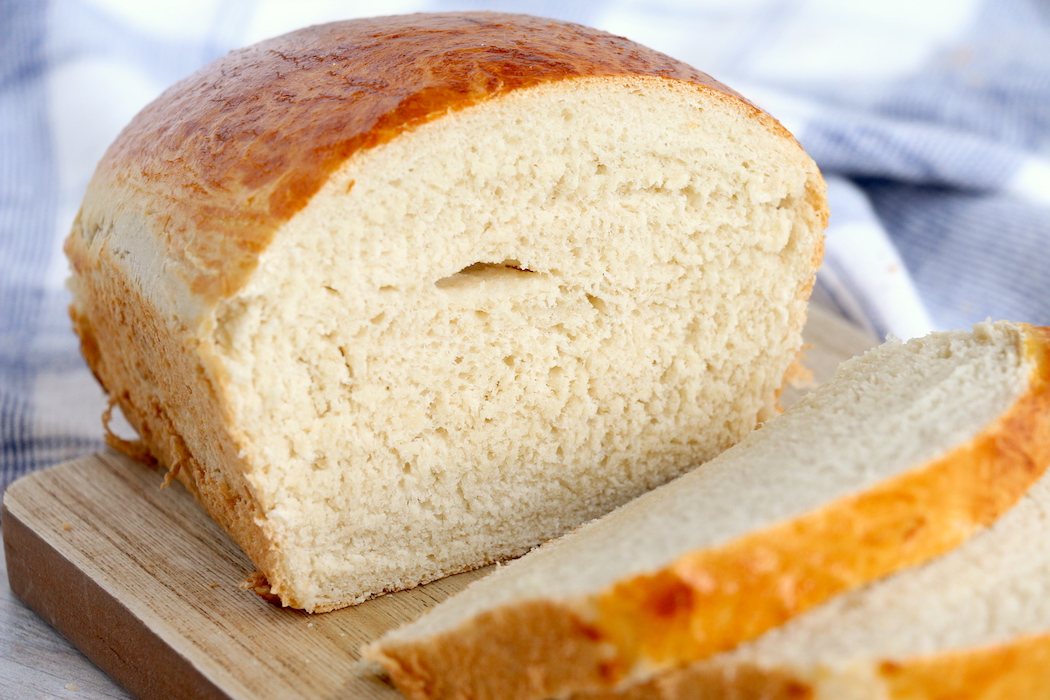
Just look at that beautiful color!
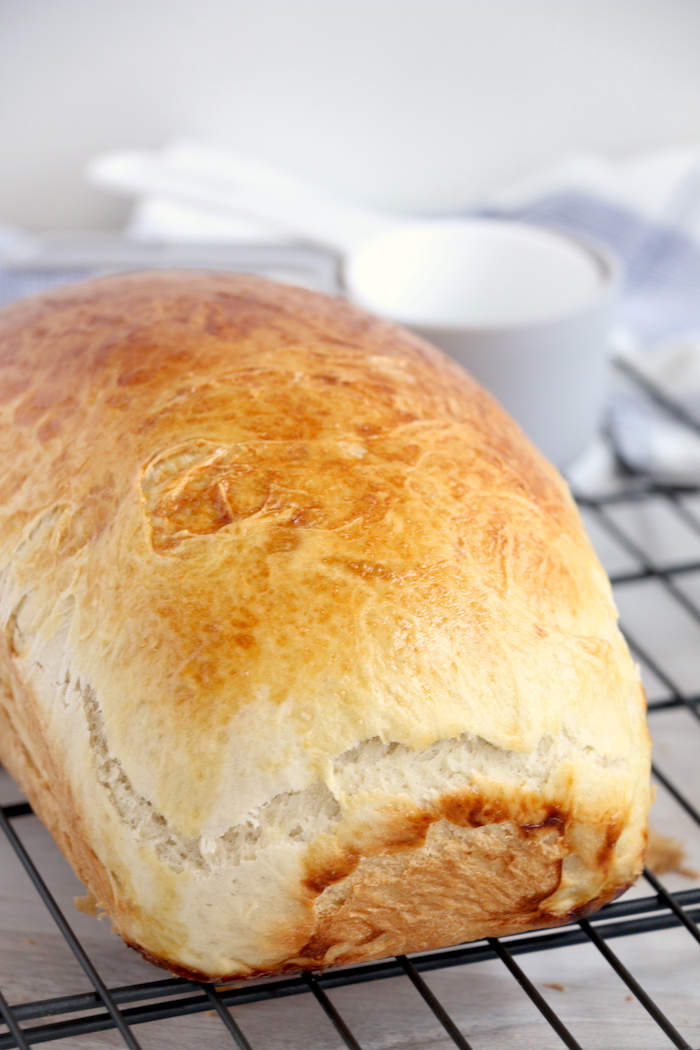
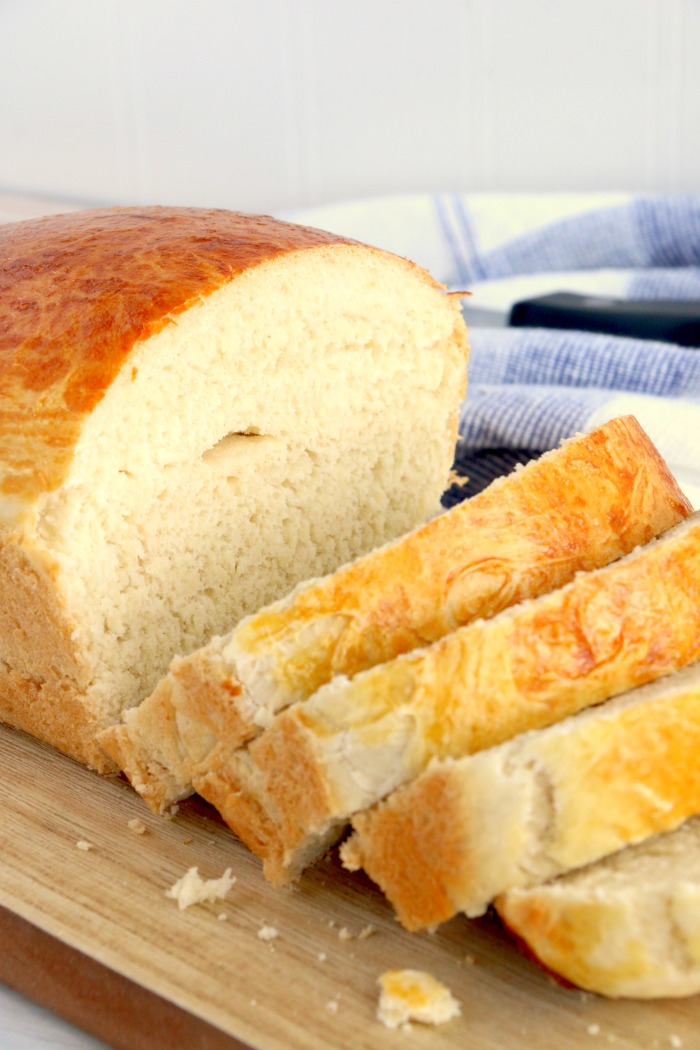
Now all you need to do is slice and serve!
WHY IS THE TEMPERATURE OF THE WATER IMPORTANT IN BREAD MAKING?
The water needs to be warm enough to activate the yeast. Water that's below 70°F may not be warm enough to activate the yeast and water over 120º Fahrenheit can damage or kill yeast.
HOW DO I STORE HOMEMADE BREAD?
Allow the bread to cool completely and store in a plastic storage bag or wrap in foil. The bread should keep about 2-3 days when stored at room temperature.
You can usually extend the life of the bread by a couple more days if you store it in the fridge. It's your choice!
HOW DO I FREEZE HOMEMADE BREAD?
If you're making multiple loaves or want to save the bread for later, cool the bread completely, slice the loaf, place it in a plastic bread bag and pop it into the freezer. To thaw the bread, I usually put the frozen loaf in the fridge for a few hours and allow it to thaw in there.
I like to keep homemade bread in the fridge anyway so it keeps a bit longer.
I hope you try your hand at making a loaf of this homemade bread. The whole family will love you for it. Good luck and enjoy!
READY FOR MORE BAKING FUN?
- Peanut Butter Bread
- Chocolate Chip Banana Bread
- Easy Dinner Rolls
- Easy Coffee Cake
- World's Greatest Peanut Butter Cookies
- Chocolate Zucchini Cake
Easy Homemade Bread
Ingredients
- 2 cups warm water (between 70º - 110º Fahrenheit)
- ⅔ cup sugar
- 2 tablespoons active dry yeast
- 1 ½ teaspoons salt
- ¼ cup vegetable oil
- 6 cups flour
For the Egg Wash
- 1 egg (beaten)
- 1 tablespoon water
Instructions
- In a large bowl, whisk warm water and sugar together until sugar dissolves.
- Stir in yeast. Allow to sit for 5-10 minutes until mixture appears creamy and foamy.
- When ready, add salt and oil. Mix well.
- Begin working 5 cups of flour into dough, 1 cup at a time.
- Work final cup of flour in while kneading dough on a lightly-floured surface.
- Place dough into an greased bowl.
- Roll the dough around the greased bowl to ensure it is coated on all sides.
- Cover bowl with a tea towel (should be thicker to "incubate" the dough) or plastic wrap.
- Allow dough to proof (rise) for about 1 hour or until it has doubled in size.
- When ready, punch dough down.
- Knead the dough for about a minute, then divide it in half.
- Place each half into a greased bread pan.
- Cover and proof for about 30 minutes or until the dough rises an inch above the pan.
- Combine the egg and water to create the egg wash.
- Brush dough with egg wash.
- Bake for 30 minutes at 350º Fahrenheit.
Notes
- This recipe makes 2 loaves of bread.
- Cover your dough while it rises to prevent a hard crust and retain warmth.
- Store bread in a plastic bag or foil on the counter for up to three days.
Bette Lorman
I usually use my bread machine to make the dough and bake in the oven. However, I have not been able to find yeast in any of the stores during the Covid-19 crisis. How would you use a sourdough starter in this recipe?
Sara
Hi Bette, I'm not a sourdough expert, but I found some information online for you. They said you could substitute 1 cup of starter for each "package" of yeast and then subtract about 1/2 cup of water and 3/4 cup flour from the recipe to compensate for the ingredients already in the starter. I hope this helps!
Bette Lorman
Thanks a lot Sara. I'll try it out.
Sara
Good luck, Bette!
Heather Maves
I just recently started making bread and started with another recipe that was good, I decided tried this one and it is amazing!!! This is my homemade recipe forever...I won’t try another! Instructions are very helpful, easy to follow! Thank you!!! ❤️
Sara
I'm so glad you enjoyed it, Heather! Once you make this bread, you want to make it over and over!