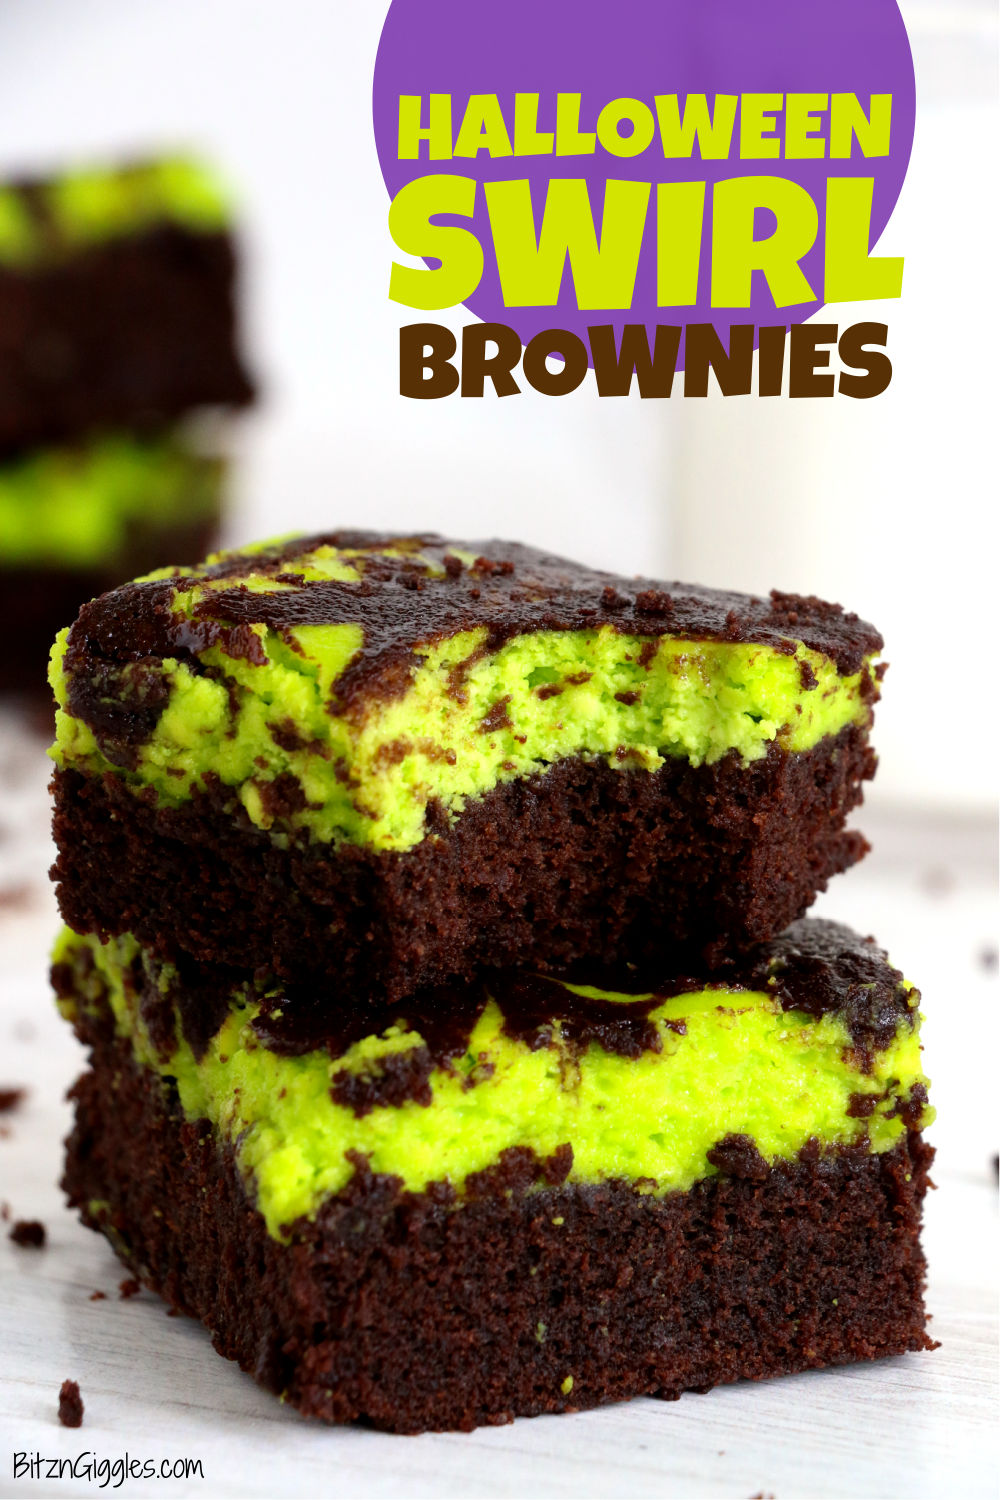
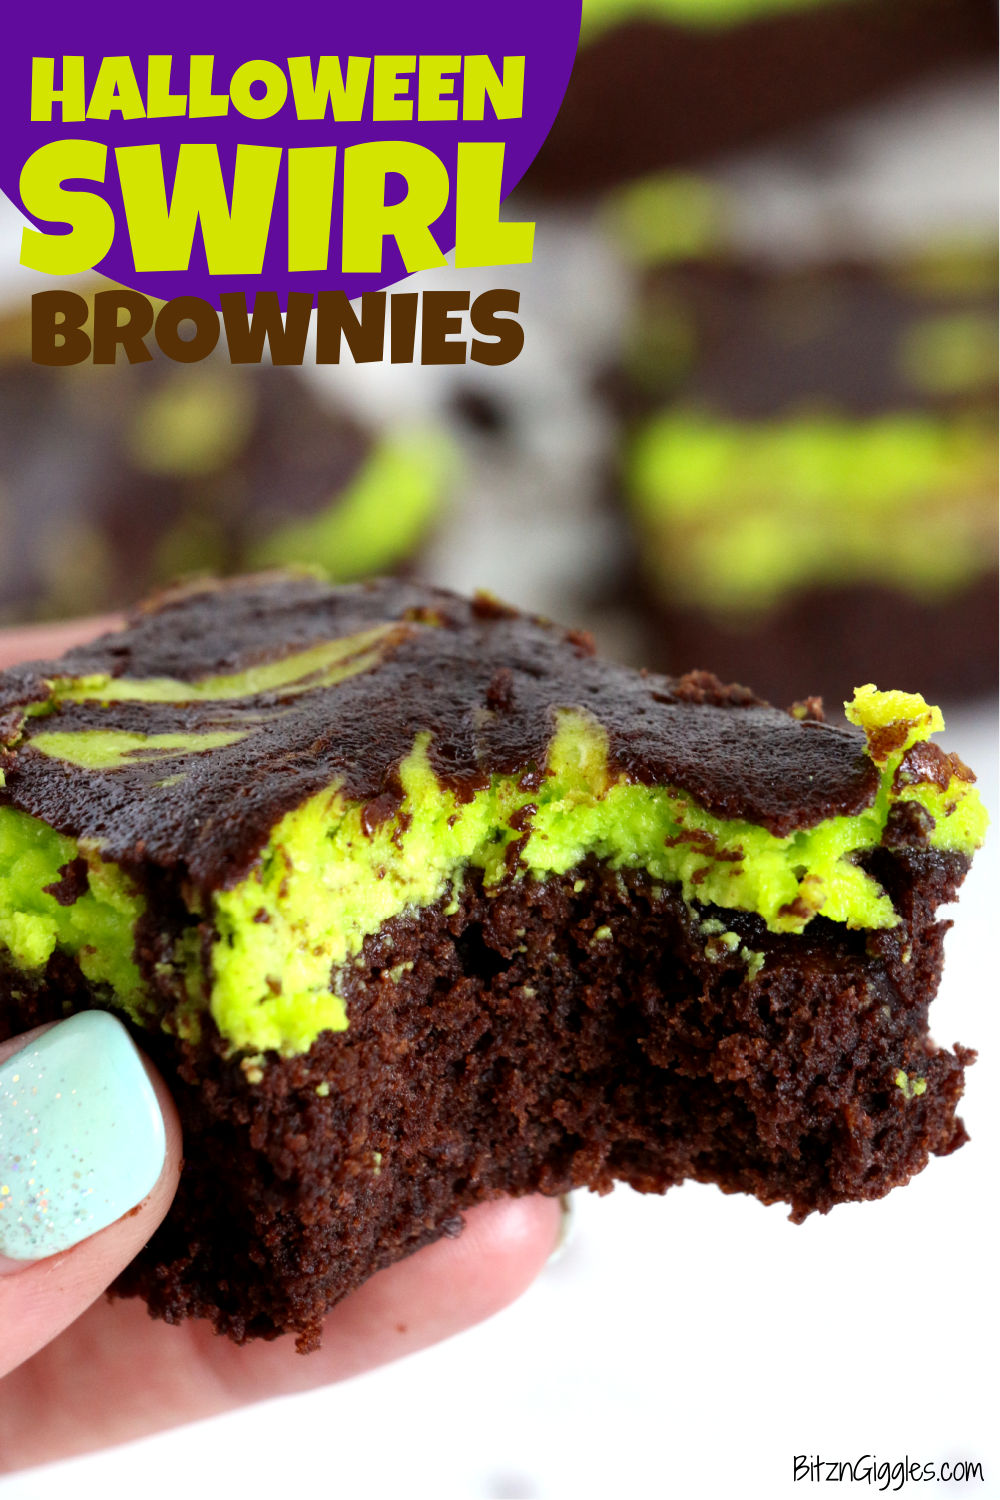
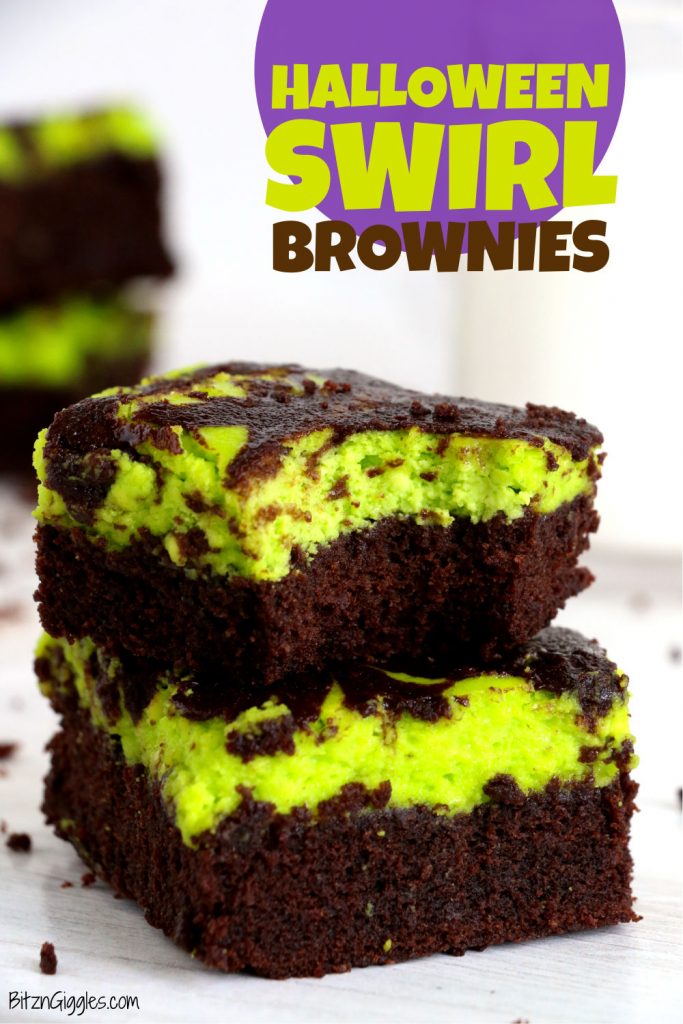
Halloween Swirl Brownies - Rich and fudgy chocolate and cream cheese layered brownies featuring a spooky Halloween green swirl!
Want to Save This Recipe?
This post may include affiliate links. Please see my disclosure.
The other day I ran into a big box retailer in the area and saw they already had Christmas decorations out. It makes me crazy sometimes how early stores start advertising and promoting the holidays.
Don't get me wrong, I LOVE celebrating all of the holidays, but since it's just October, can we just make it through Halloween first, please?
Does anyone else feel this way? It's a bit of a double-edged sword for me, because as a blogger, I'm expected to get recipes and ideas out in front of the holidays as well. But, I promise you that here in October, we're going to focus on Halloween before we get too far ahead of ourselves with Thanksgiving and Christmas!
With that being said, I ran across these brownies last year and knew I just had to try them for Halloween this year.
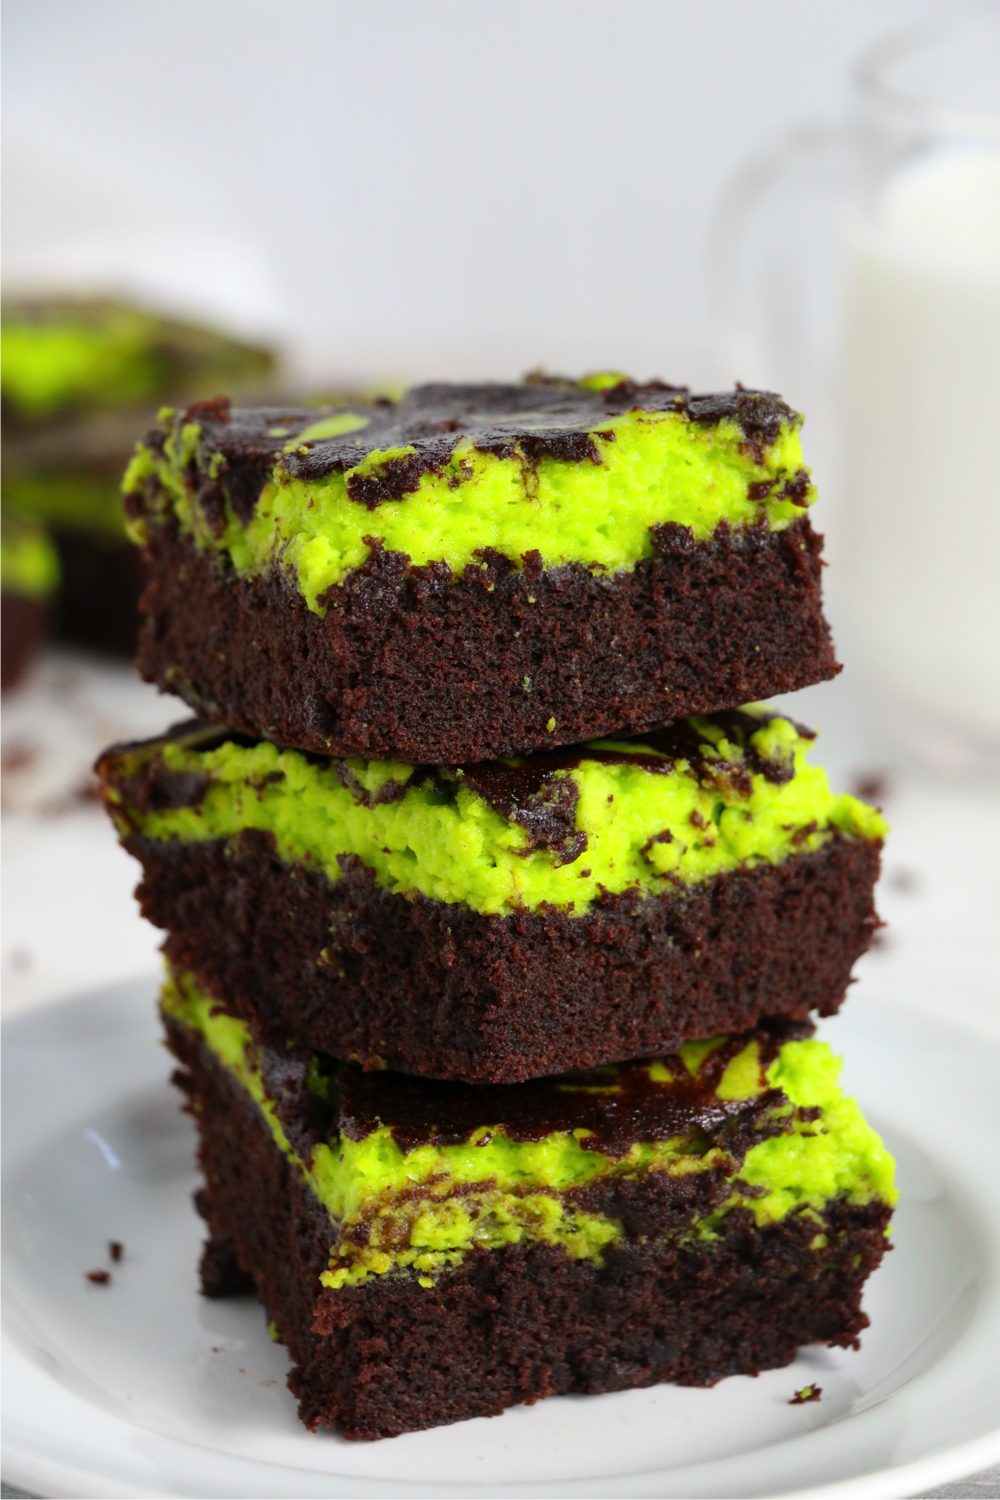
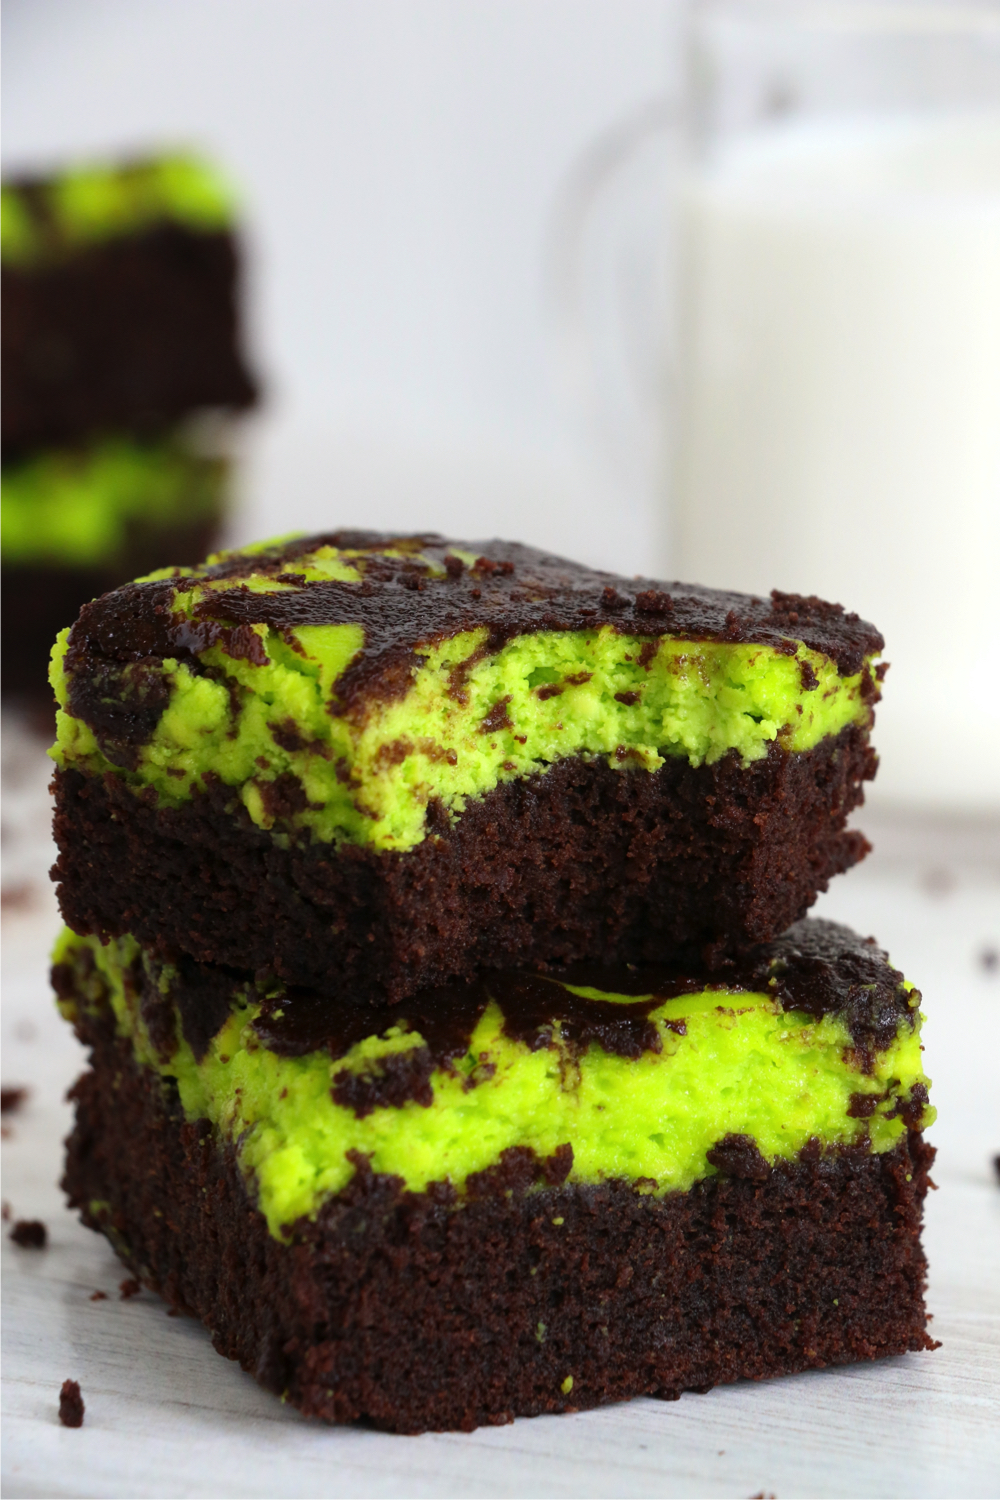
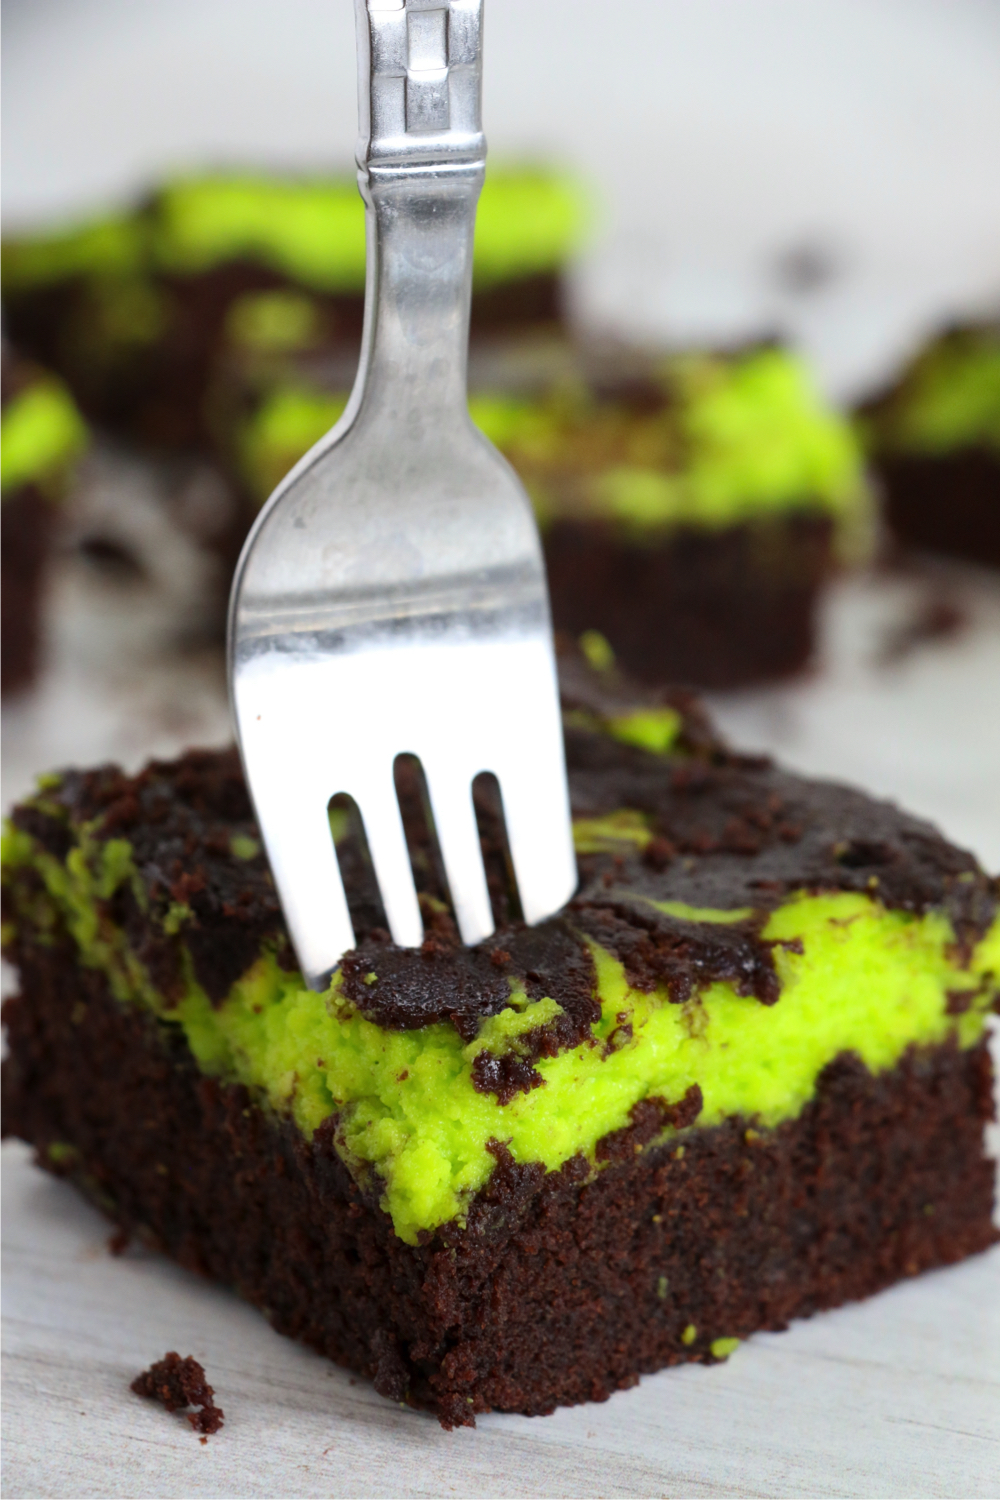
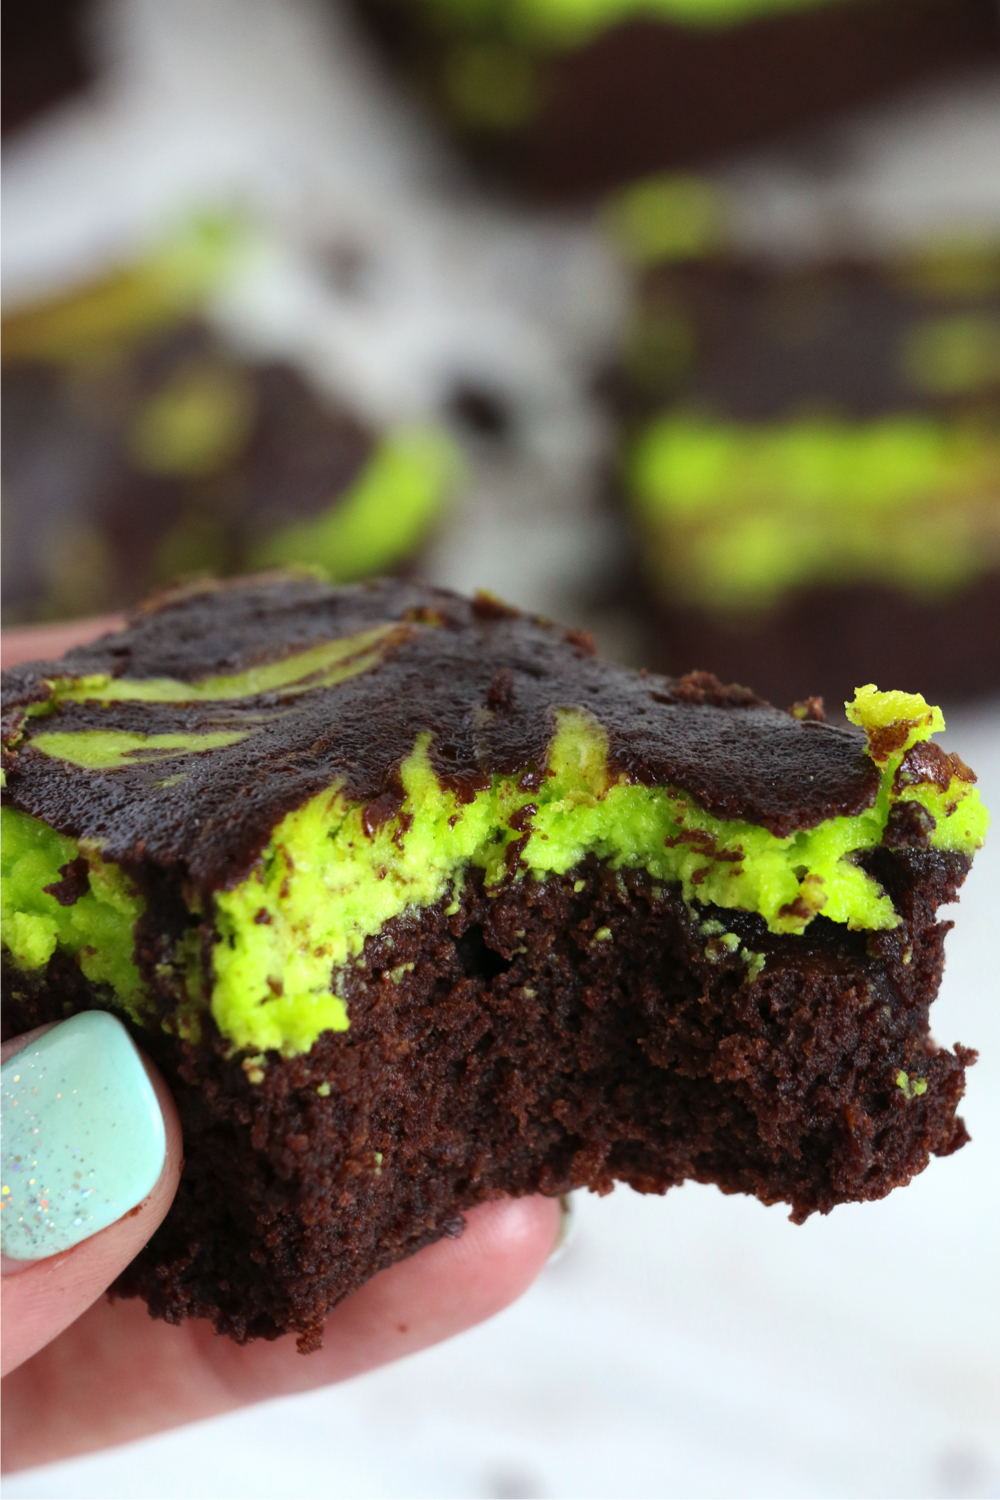
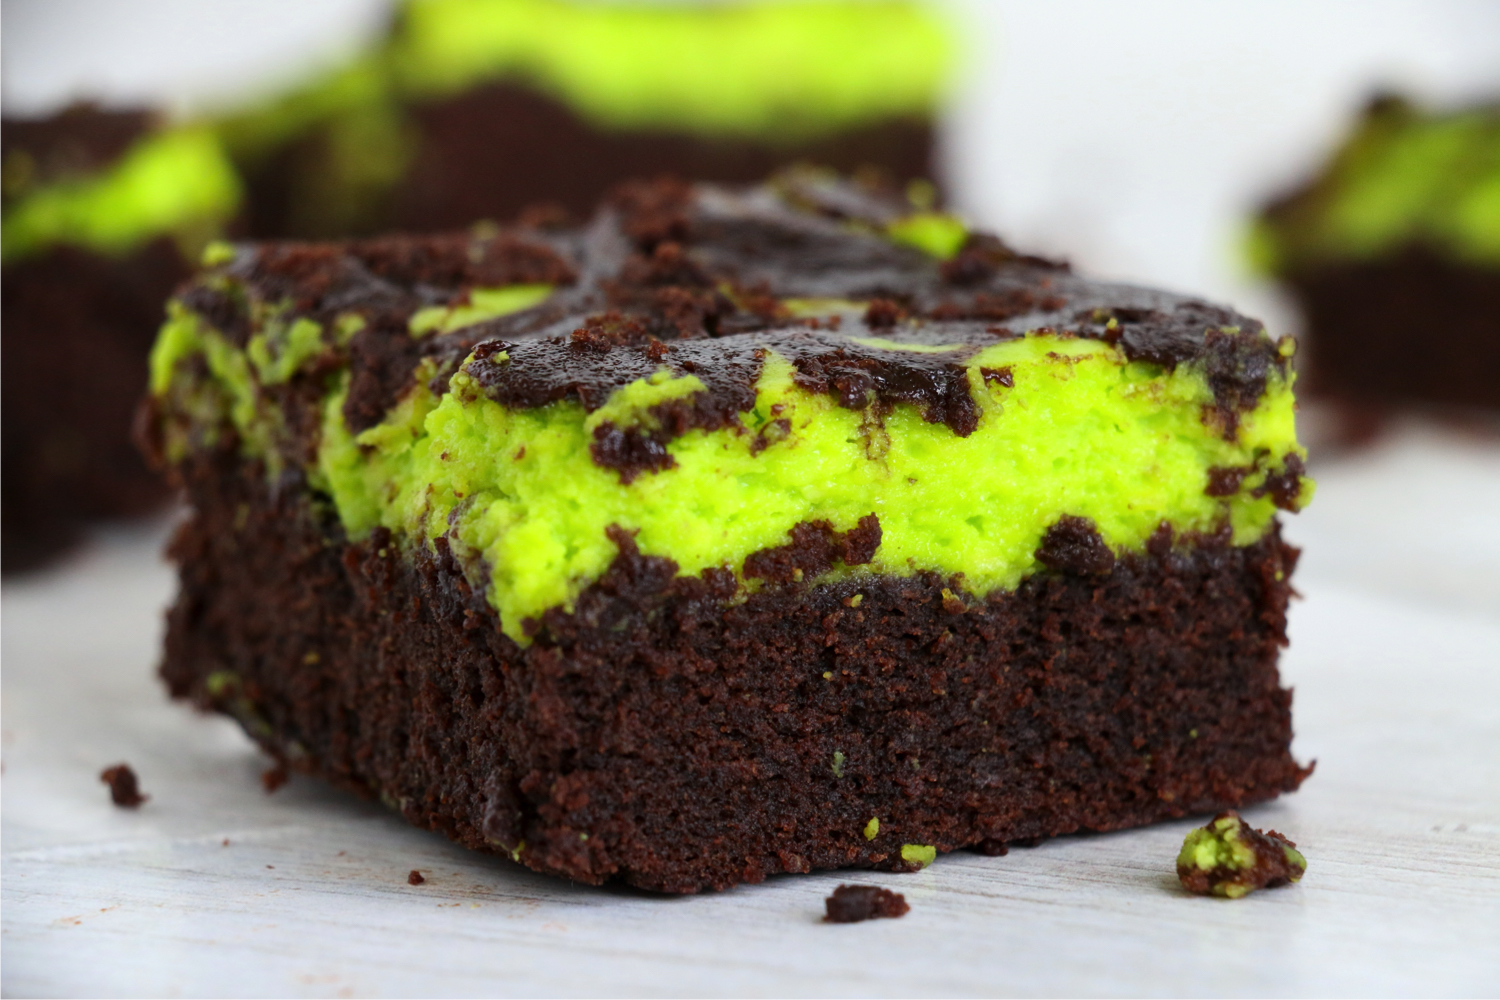
These are rich and fudgy chocolate and cream cheese layered brownies featuring a spooky Halloween green swirl! Instead of orange cream cheese swirls, I thought a neon "witchy" green would be even more striking.
Are you ready to start baking? Let's go!
HOW TO MAKE HALLOWEEN SWIRL BROWNIES
To make these fun and spooky Halloween brownies, you'll need:
- Sugar
- Flour
- Cocoa powder
- Salt
- Baking powder
- Eggs
- Vegetable oil
- Vanilla extract
- Water
- Cream cheese
- Neon green food coloring
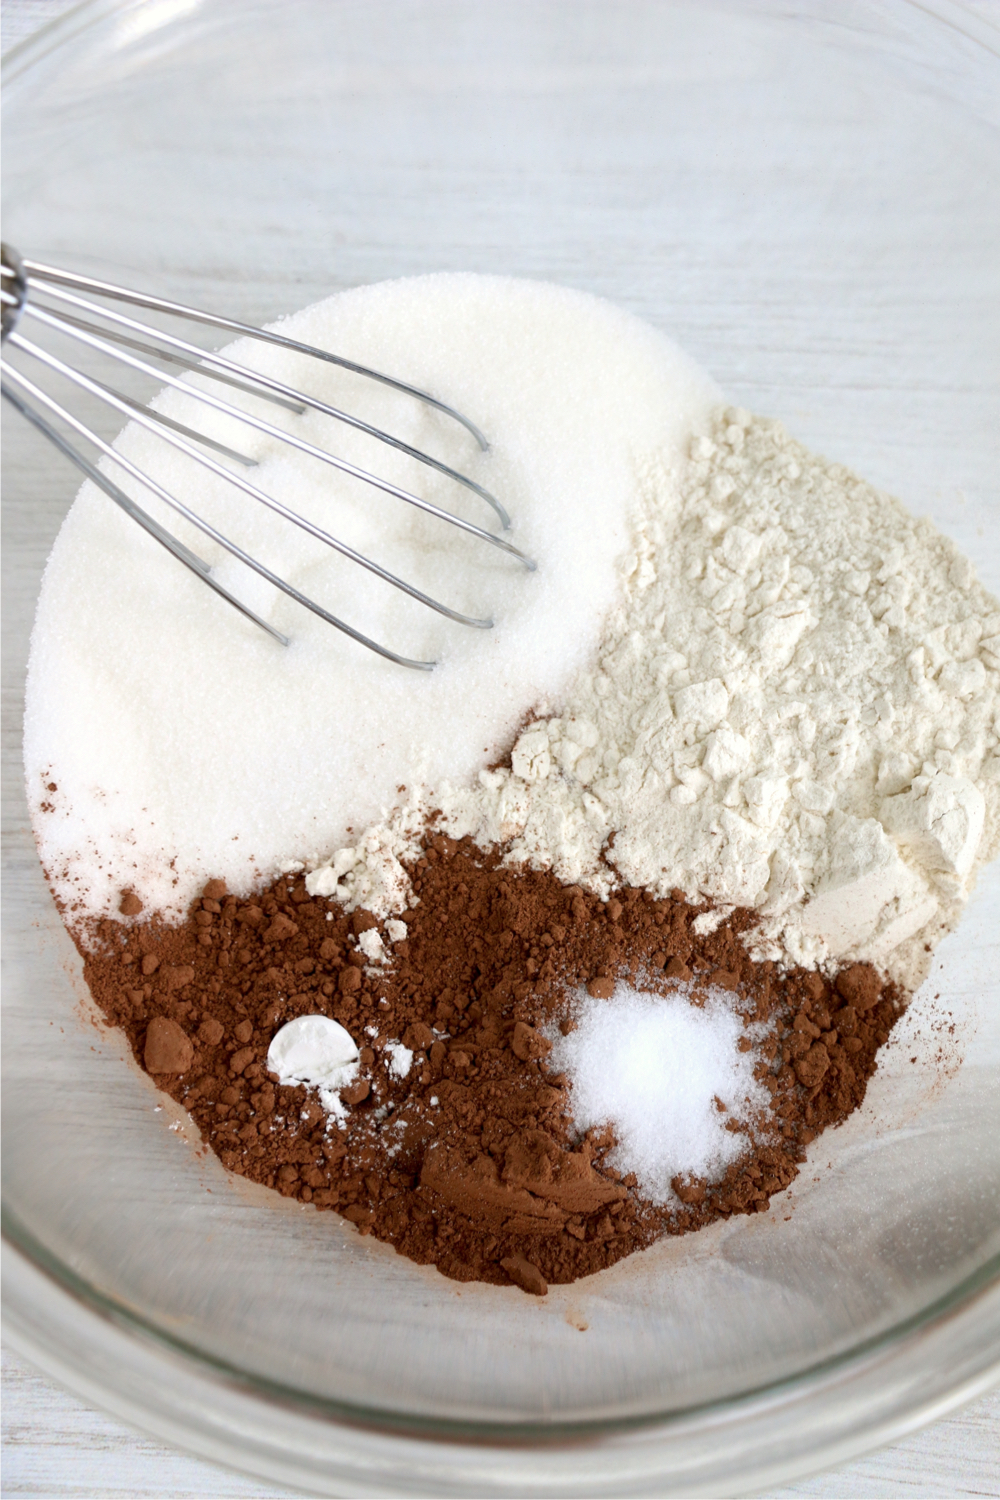
Once you have your supplies and ingredients together, whisk together the sugar, flour, cocoa powder, salt and baking powder.
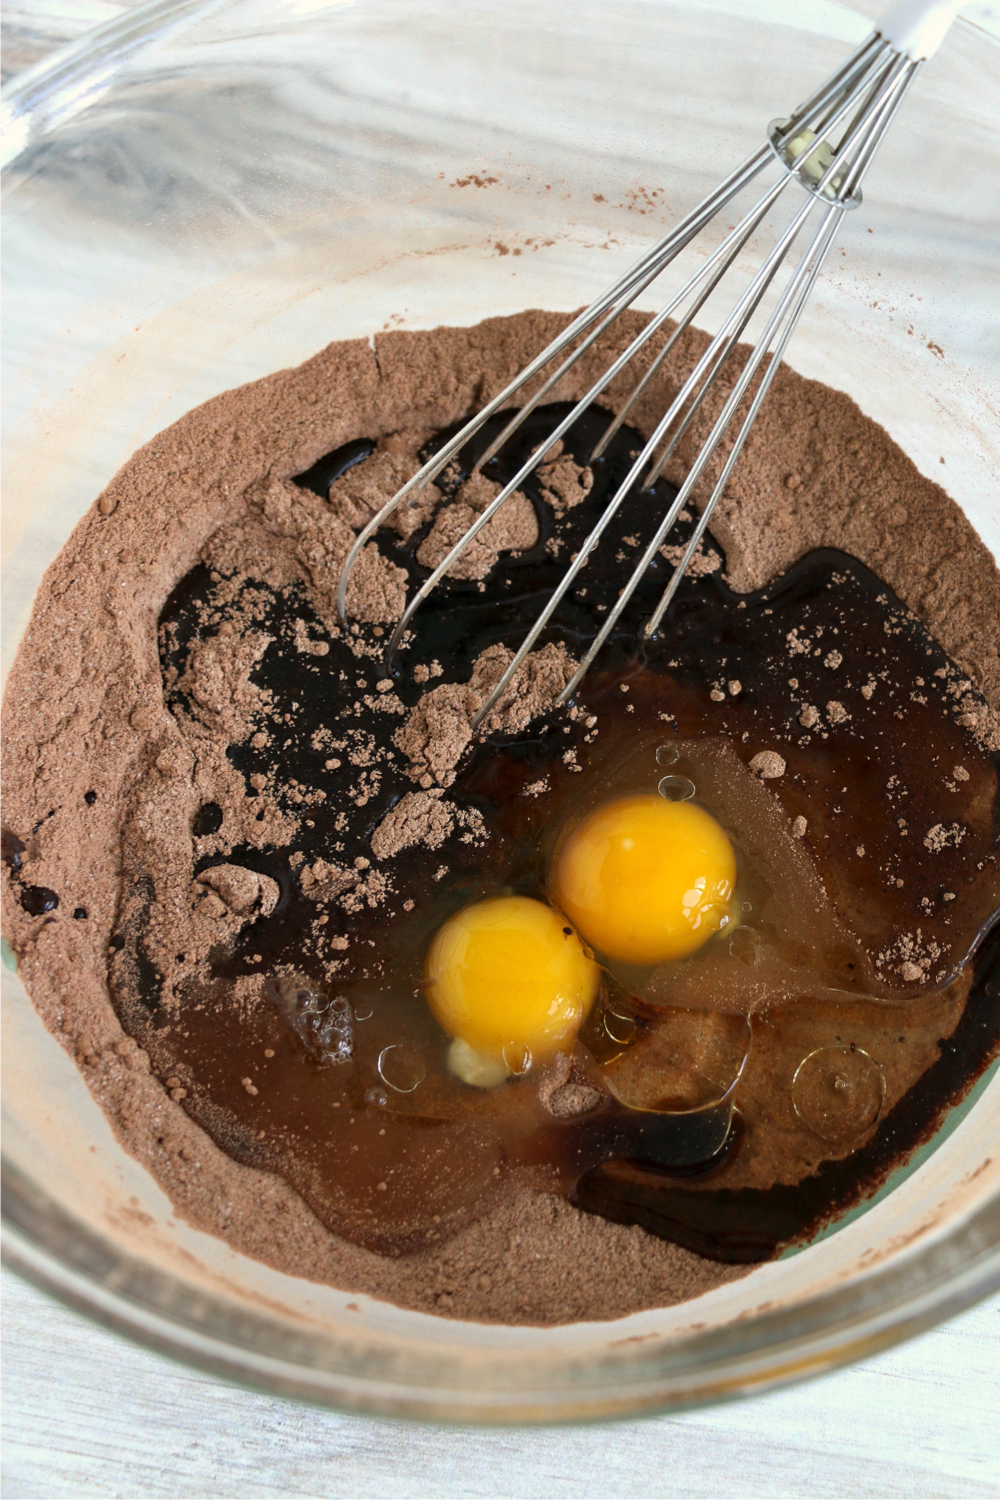
Add in the eggs, oil, vanilla and water and mix until combined.
You'll want to set aside ¼ cup of the batter.
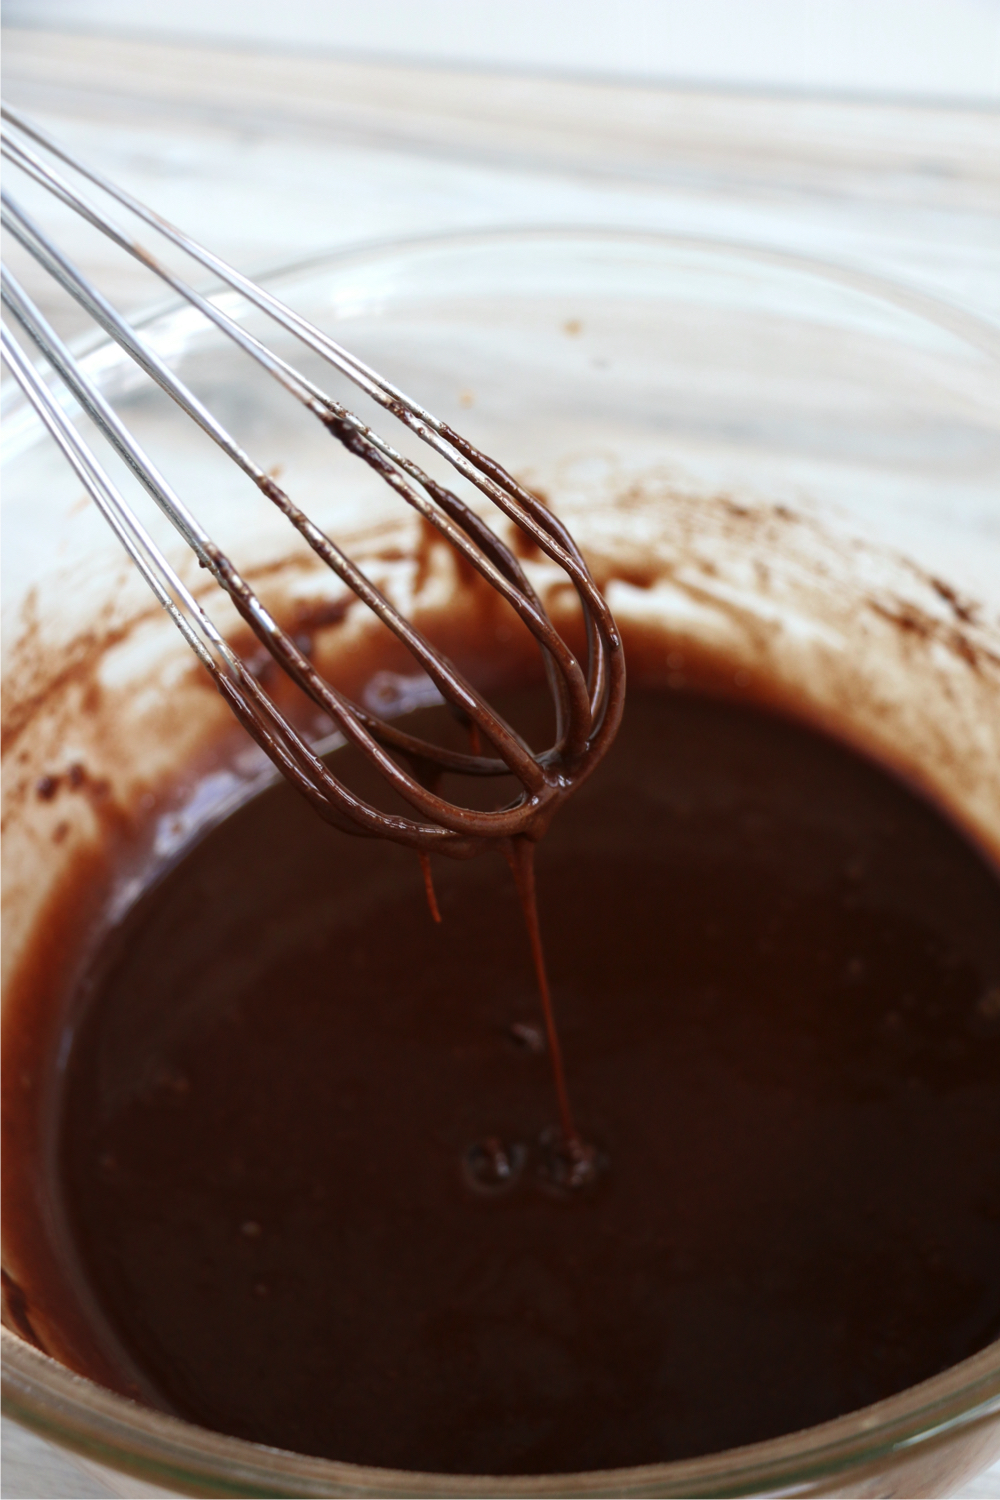
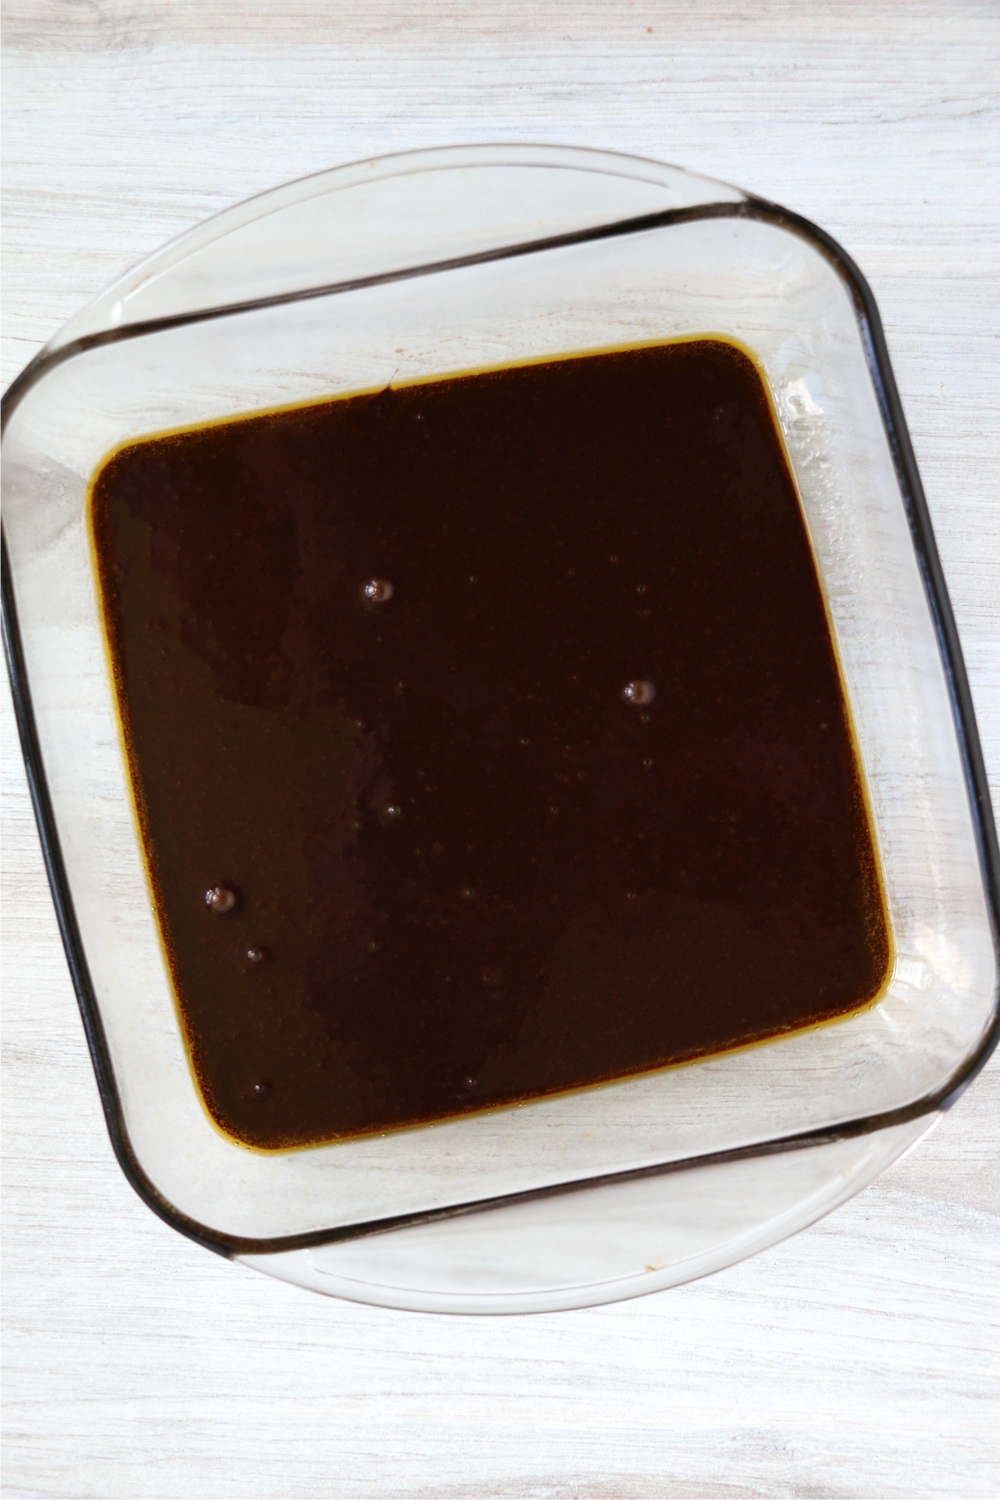
Pour the batter that's remaining in the bowl into a greased 8x8 baking dish - and set it aside while you whip up the cream cheese layer!
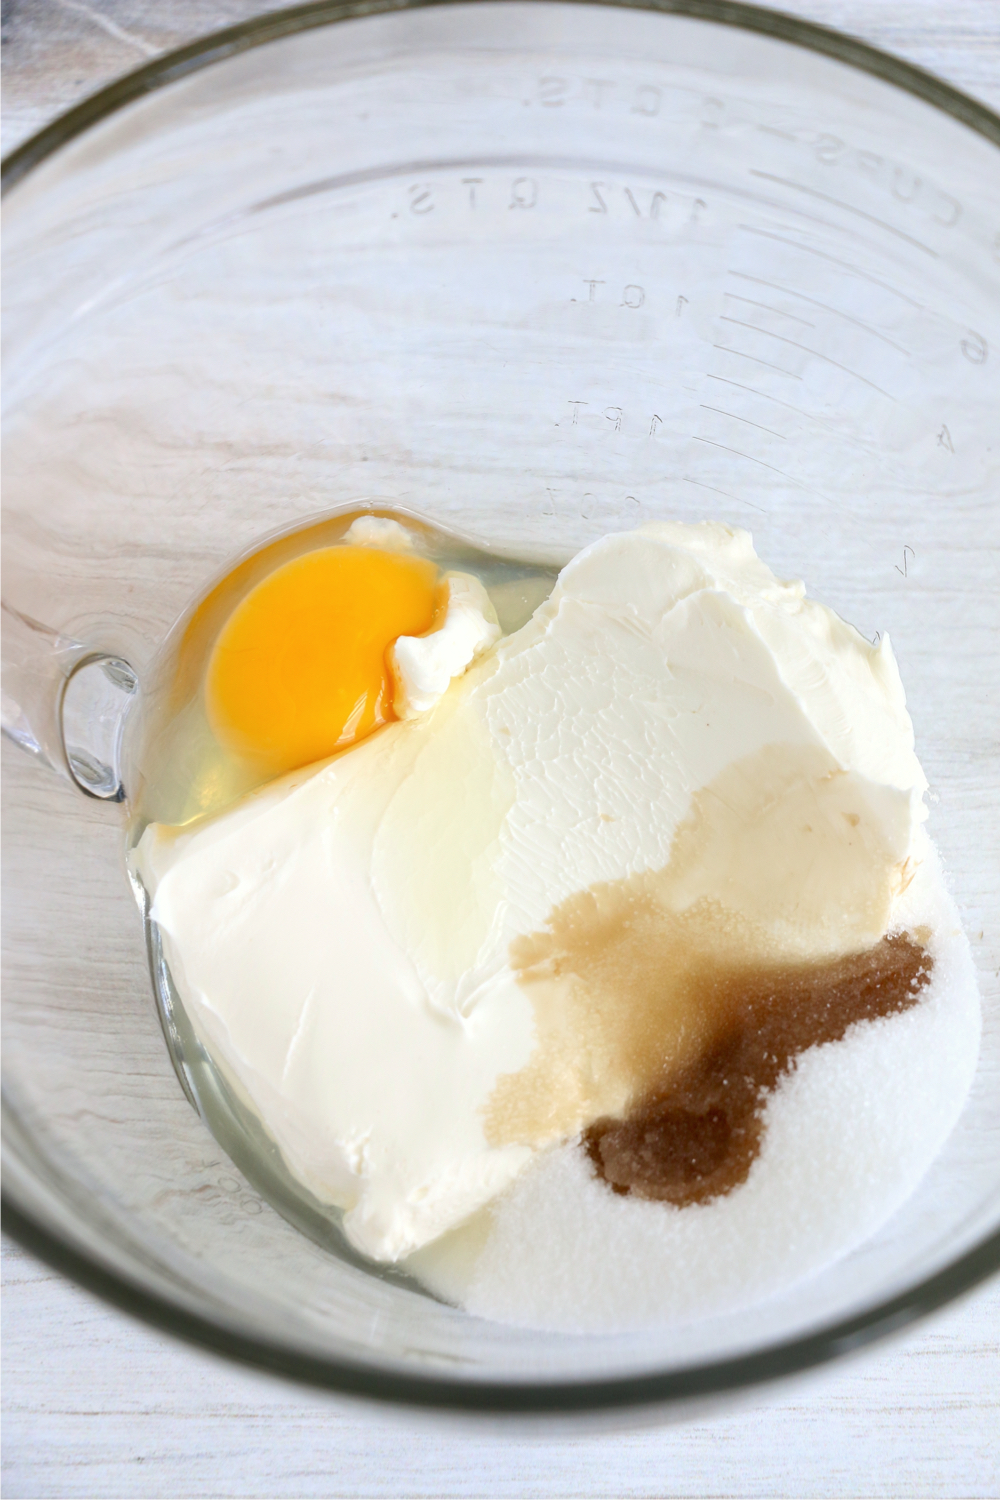
To create the cream cheese layer, add the cream cheese, sugar, egg and vanilla to a medium mixing bowl.
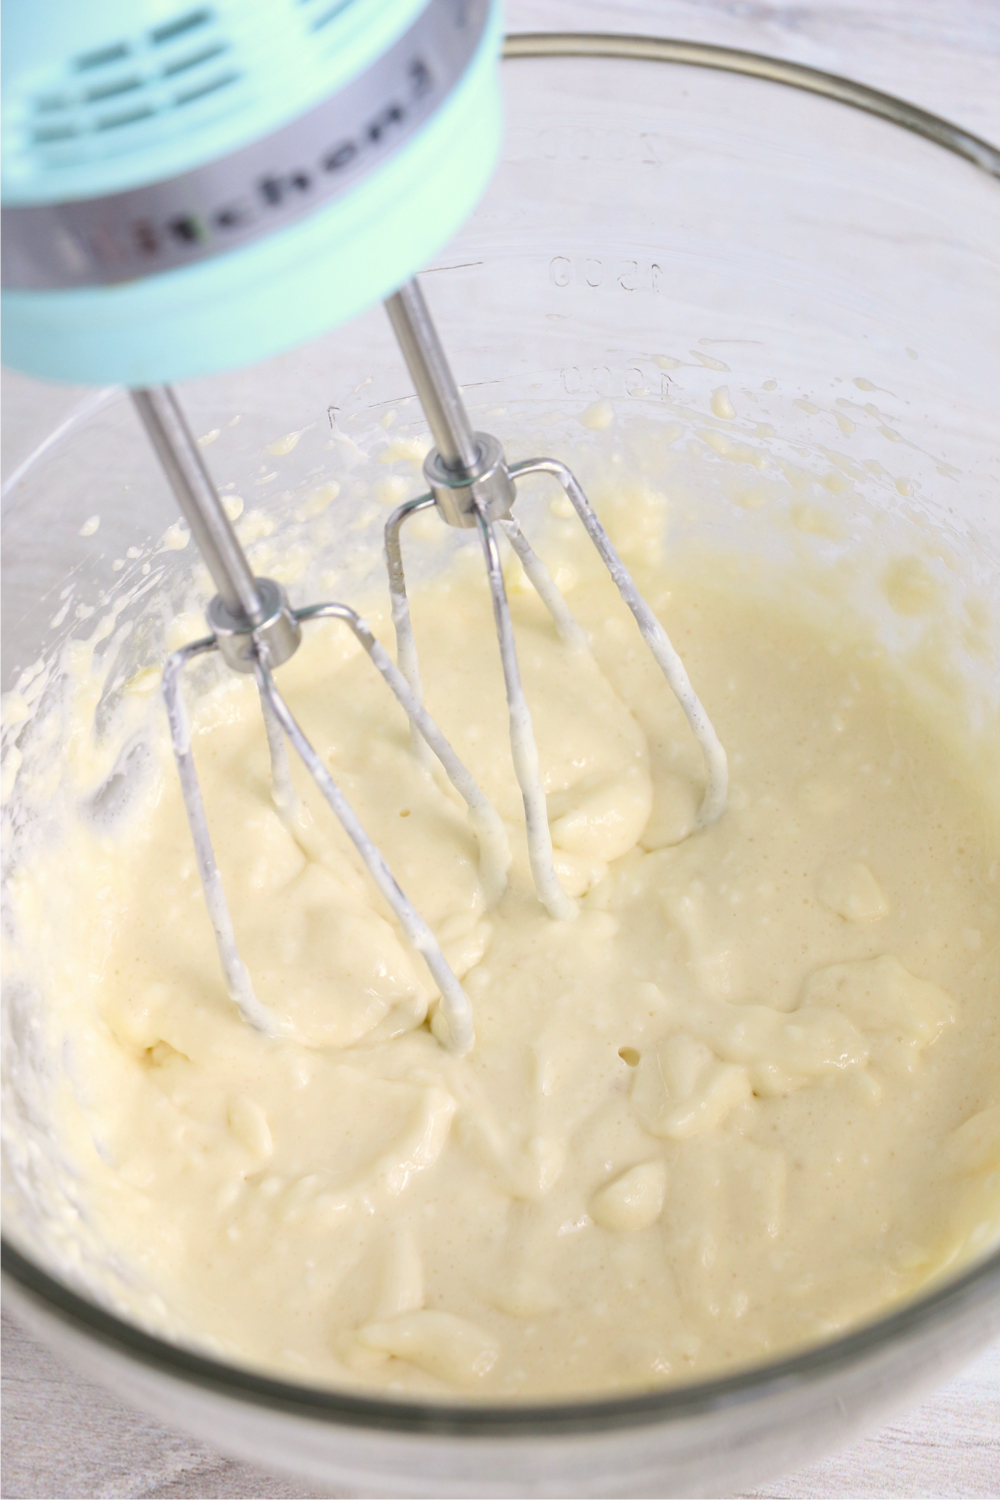
Beat the ingredients until smooth.
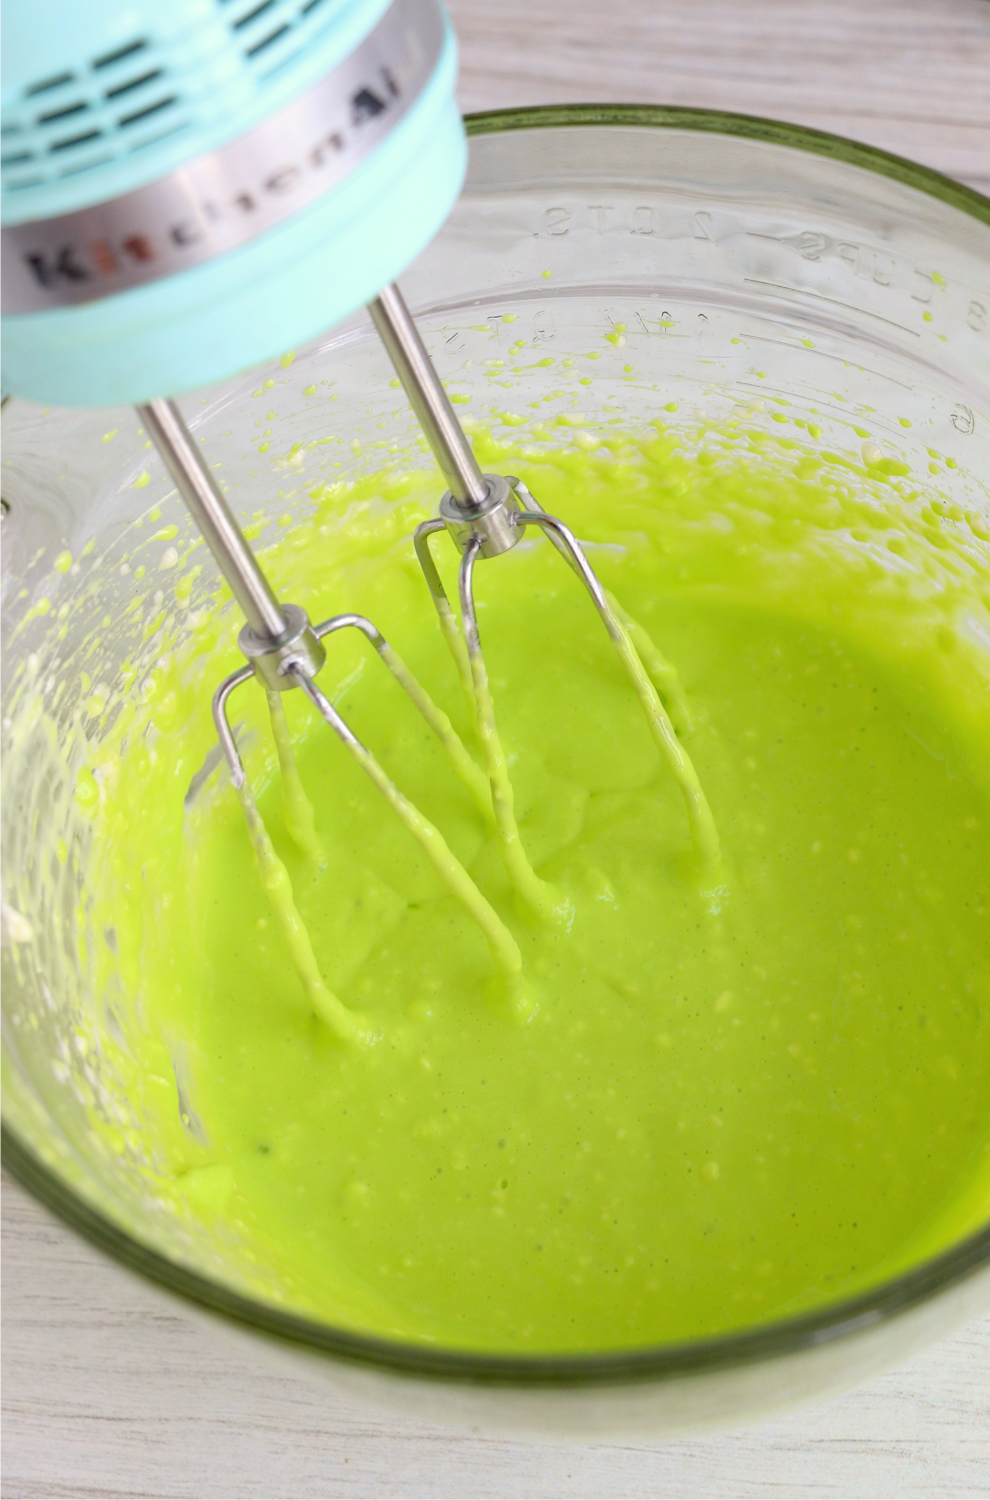
Add 6-8 drops of neon green food coloring and mix well.
Carefully spread the mixture over the top of brownie batter.
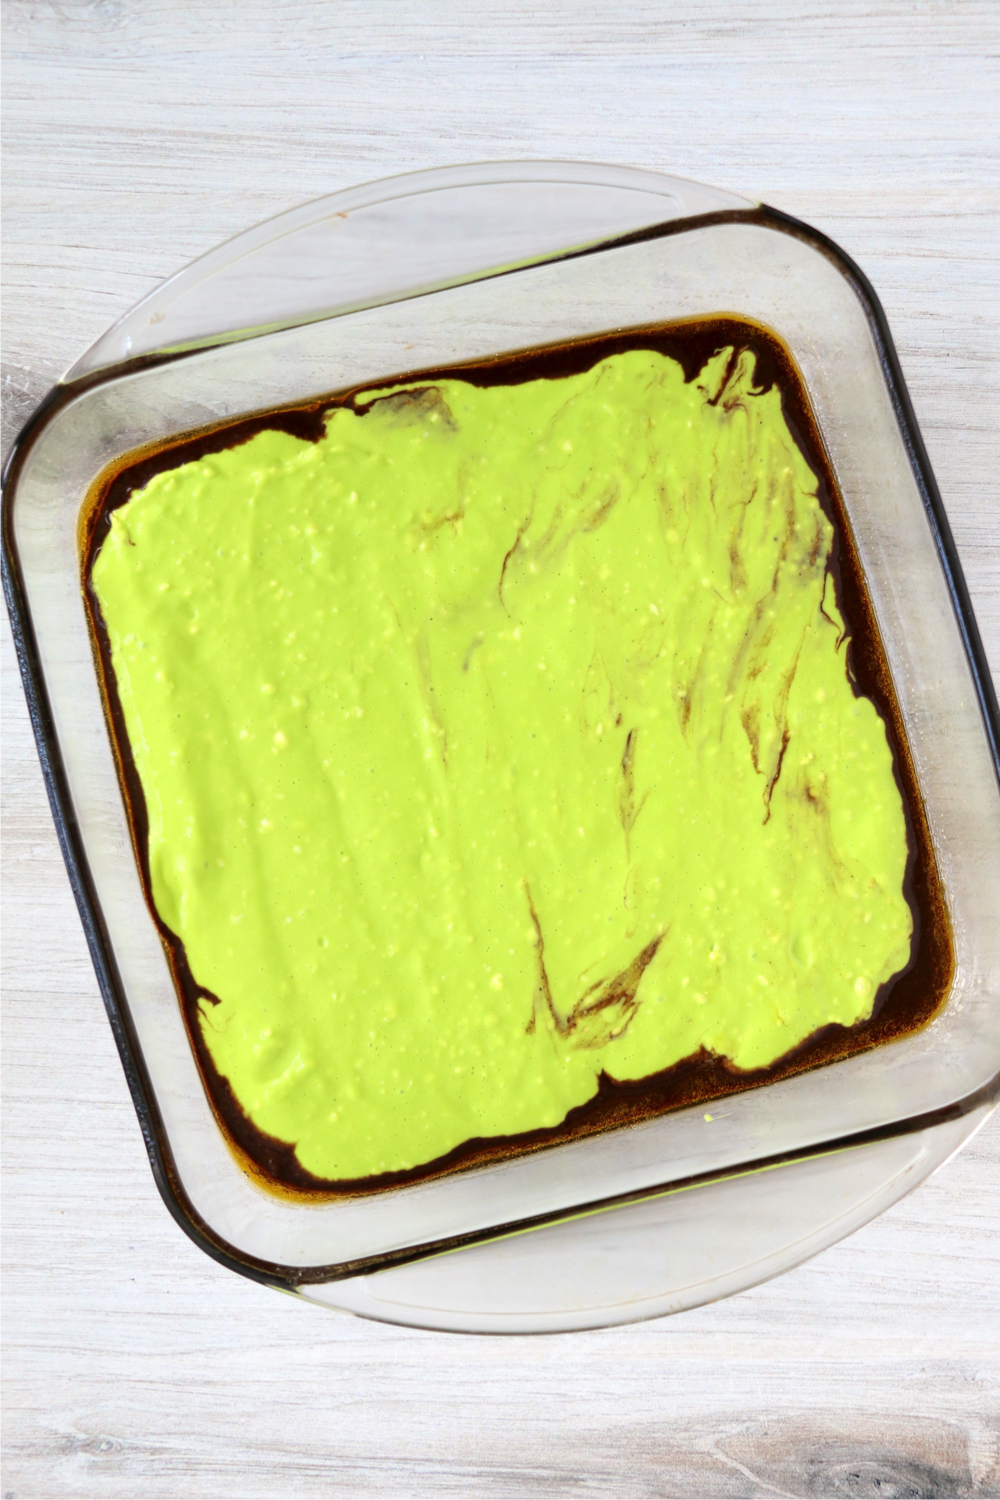
Drizzle the brownie batter that you had set aside over top of the cream cheese layer. Using a knife, gently swirl the layers and colors together. Taking care not to "over-swirl."
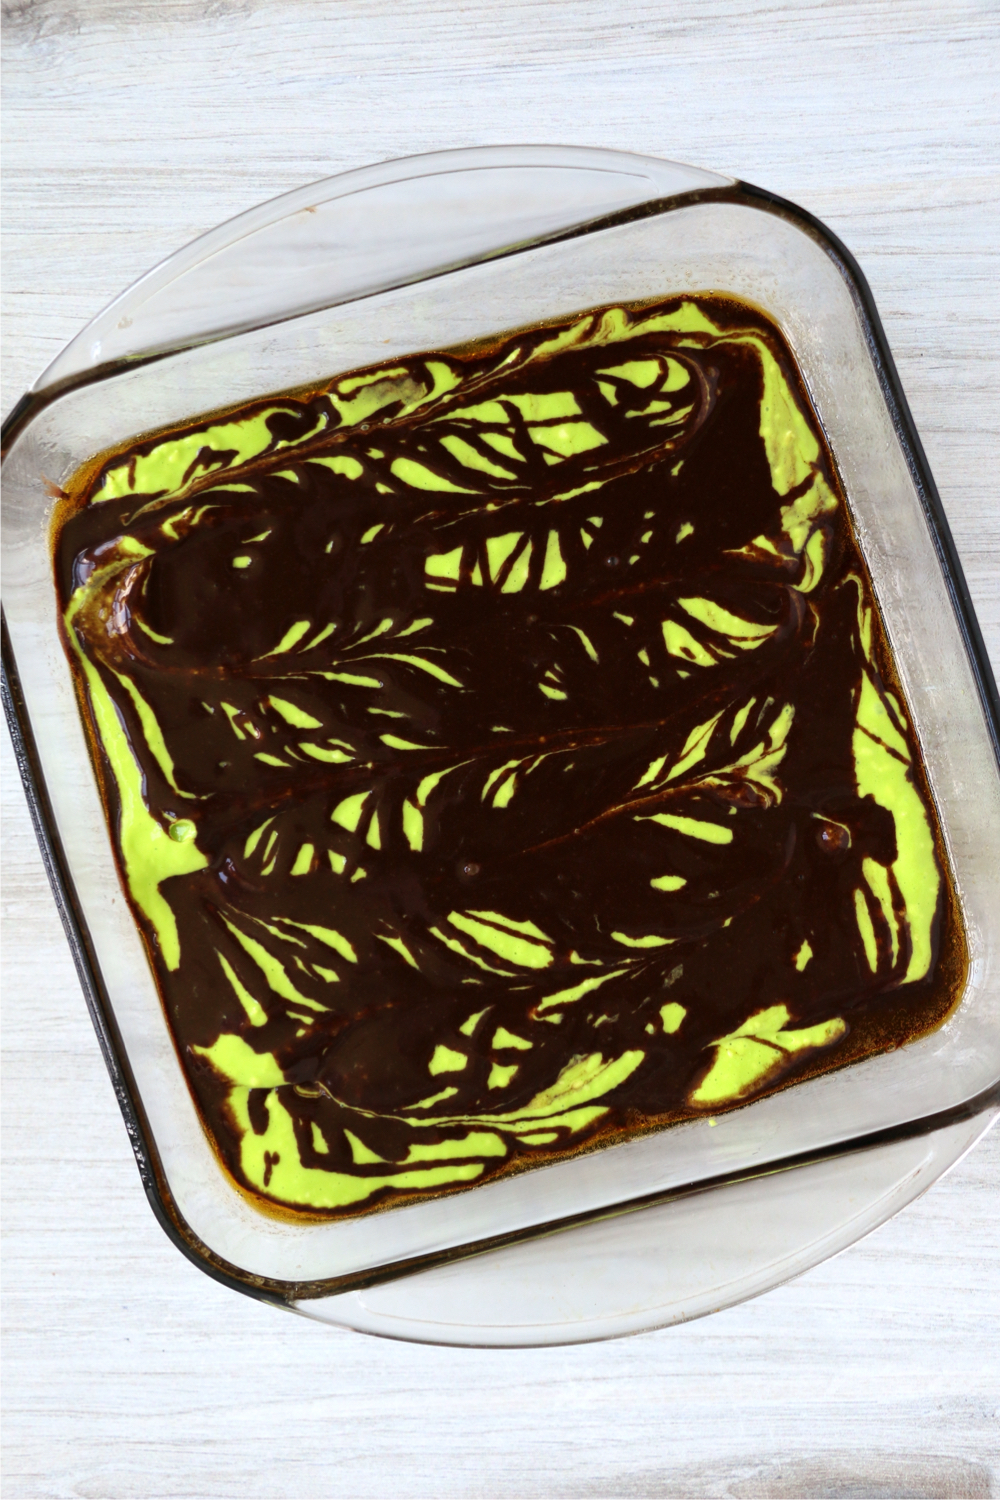
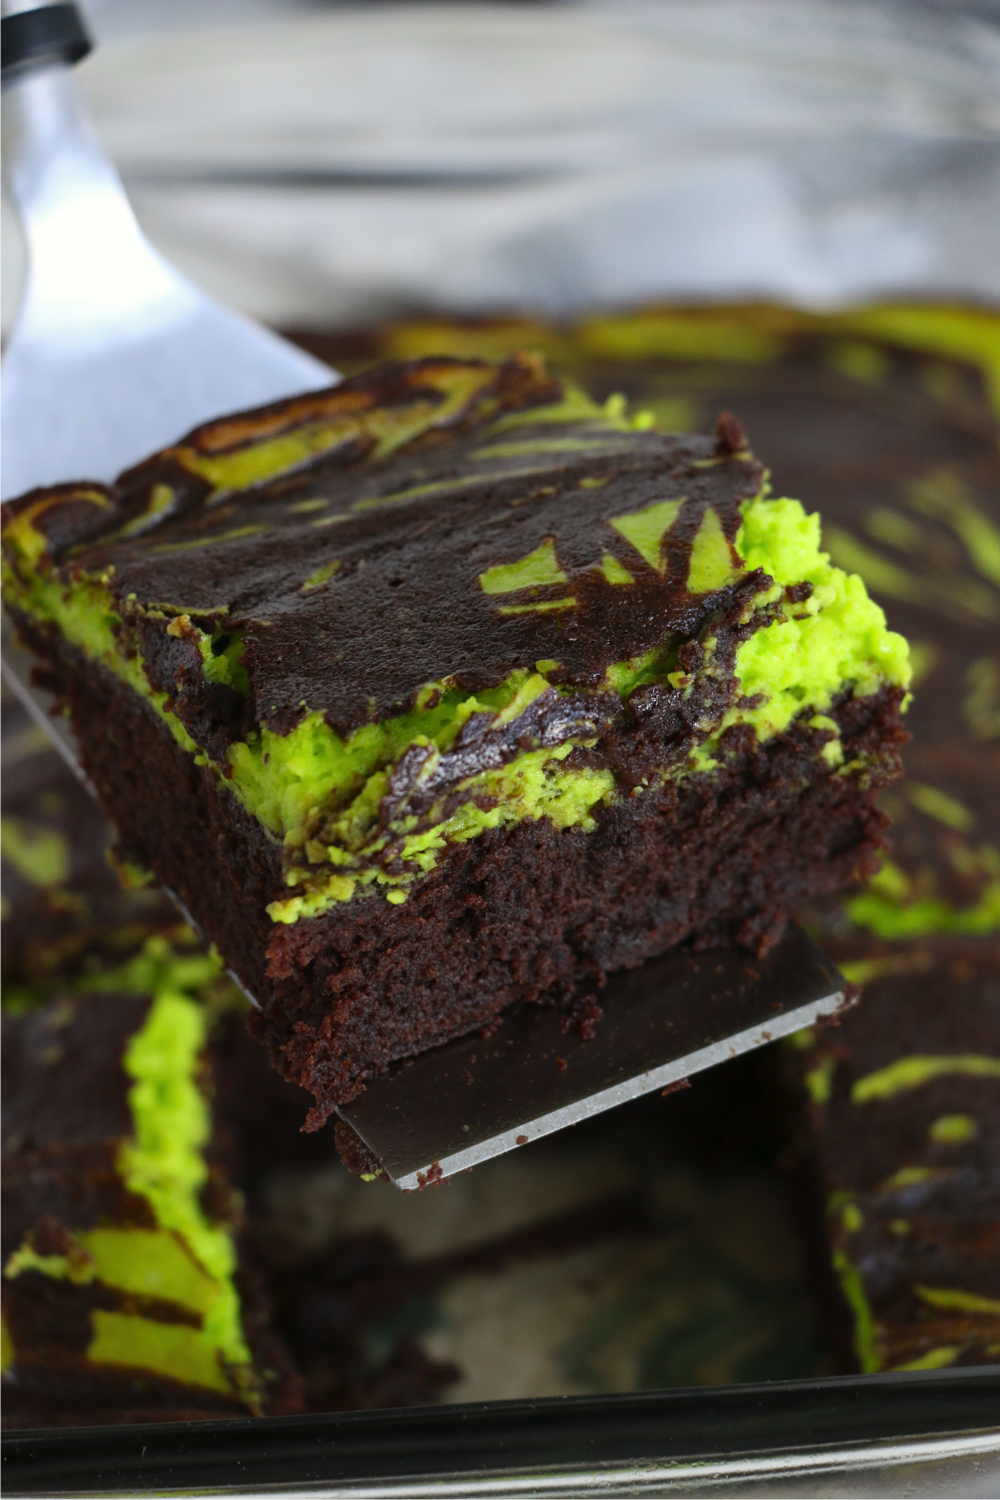
Bake for 30-35 minutes or until a toothpick comes out clean and allow to cool before serving.
CAN I USE FAT-FREE CREAM CHEESE?
I wouldn't. Opt for the brick form full-fat cream cheese. Anything lower in fat or any cream cheese that comes in a tub will not produce the same results.
SHOULD YOU LINE A BAKING PAN WITH PARCHMENT PAPER?
Sometimes I use parchment paper while baking, and sometimes I don't. For this recipe, I didn't use parchment paper (just some nonstick spray), but it can certainly make lifting your brownies out of the pan and cutting them much easier!
Once the brownies have cooled, using parchment paper, you can simply lift them out of the pan and place them on a sturdy cutting board. It's much easier and neater than cutting them in the pan.
HOW DO YOU KNOW WHEN BROWNIES ARE DONE?
Always keep an eye on brownies, because every oven is different. I like to start checking doneness at least 5 minutes before the oven timer runs out.
If you overbake the brownies, the cream cheese layer will turn brown and the brownies will not be as fudgy.
HOW DO YOU CLEANLY CUT BROWNIES?
Allow the brownies to cool completely before attempting to cut. To get really nice clean squares, refrigerate the brownies for at least 30 minutes before cutting. Run a knife under hot water, dry it off and cut. Make sure to wipe the knife clean between each cut.
HOW DO YOU STORE CREAM CHEESE BROWNIES?
You can store these brownies in an airtight container at room temperature for 3-4 days, or they can be refrigerated for up to a week. Go ahead and warm the brownies slightly in the microwave if you plan to enjoy them directly from the fridge.
CAN YOU FREEZE CREAM CHEESE BROWNIES?
You can wrap the brownies individually in plastic wrap and then place in a freezer bag or you can store the brownie squares in an airtight container with parchment paper between the layers. The brownies will keep for up to 3 months.
HOW DO YOU THAW FROZEN BROWNIES?
Frozen brownies will thaw quickly at room temperature or you can quickly warm them in the microwave in about a minute or less.
LOOKING FOR MORE HALLOWEEN TREATS & DRINKS?
- Witch Cauldron Mug Cakes
- Halloween Veggie Pizza
- Easy Wicked Witch Cupcakes
- Halloween Popcorn
- Spooky Halloween Punch
- Baked Apple Donuts
- Orange Screamsicle Sherbet
- Witchy Caramel Apples
- Gummy Worm Jello Treats
- Magic Potion Punch

Halloween Swirl Brownies
Ingredients
For the Brownie Layer
- 1 cup sugar
- ½ cup flour
- ½ cup cocoa powder
- ½ teaspoon salt
- ¼ teaspoon baking powder
- 2 eggs
- ½ cup vegetable oil
- 1 teaspoon vanilla extract
- ½ cup water
For the Cream Cheese Layer
- 8 oz cream cheese (softened)
- ¼ cup sugar
- 1 egg
- ½ teaspoon vanilla extract
- 6-8 drops neon green food coloring
Instructions
- Preheat oven to 350º Fahrenheit.
- In a medium bowl, whisk together sugar, flour, cocoa powder, salt, and baking powder.
- Add in the eggs, oil, vanilla and water and mix until combined.
- Set aside ¼ cup of the batter.
- Pour the remaining batter into a greased 8x8 baking dish.
- To create the cream cheese layer, add cream cheese, sugar, egg, and vanilla to a medium mixing bowl.
- Beat until smooth.
- Add the drops of green food coloring and mix well.
- Carefully spread mixture over top of brownie batter.
- Drizzle the brownie batter that you had set aside over top of the cream cheese layer.
- Using a knife, gently swirl the layers and colors together. Taking care not to over-swirl.
- Bake for 30-35 minutes or until a toothpick comes out clean.
- Allow to cool before serving.
Notes
- You can line your baking dish with parchment paper to easily lift your brownies once they’ve cooled.
- The best way to cleanly cut your brownies is to wait until they’re cooled completely and then run a knife under hot water, dry it off and then cut clean brownies!
- Wipe your knife between each cut.

Leave a Reply