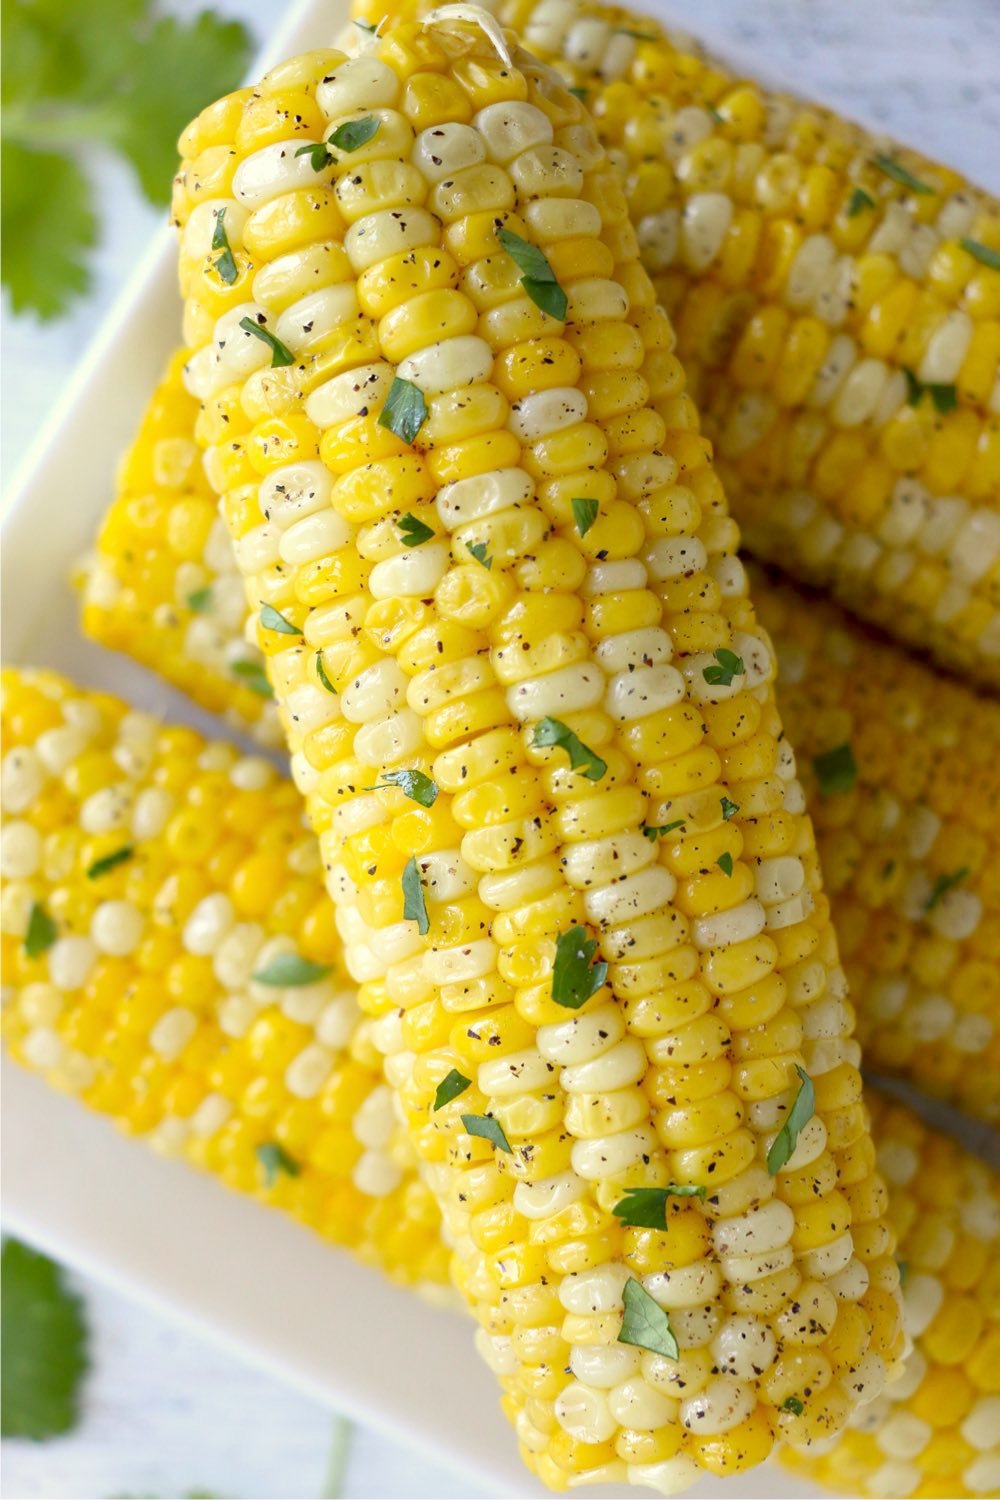
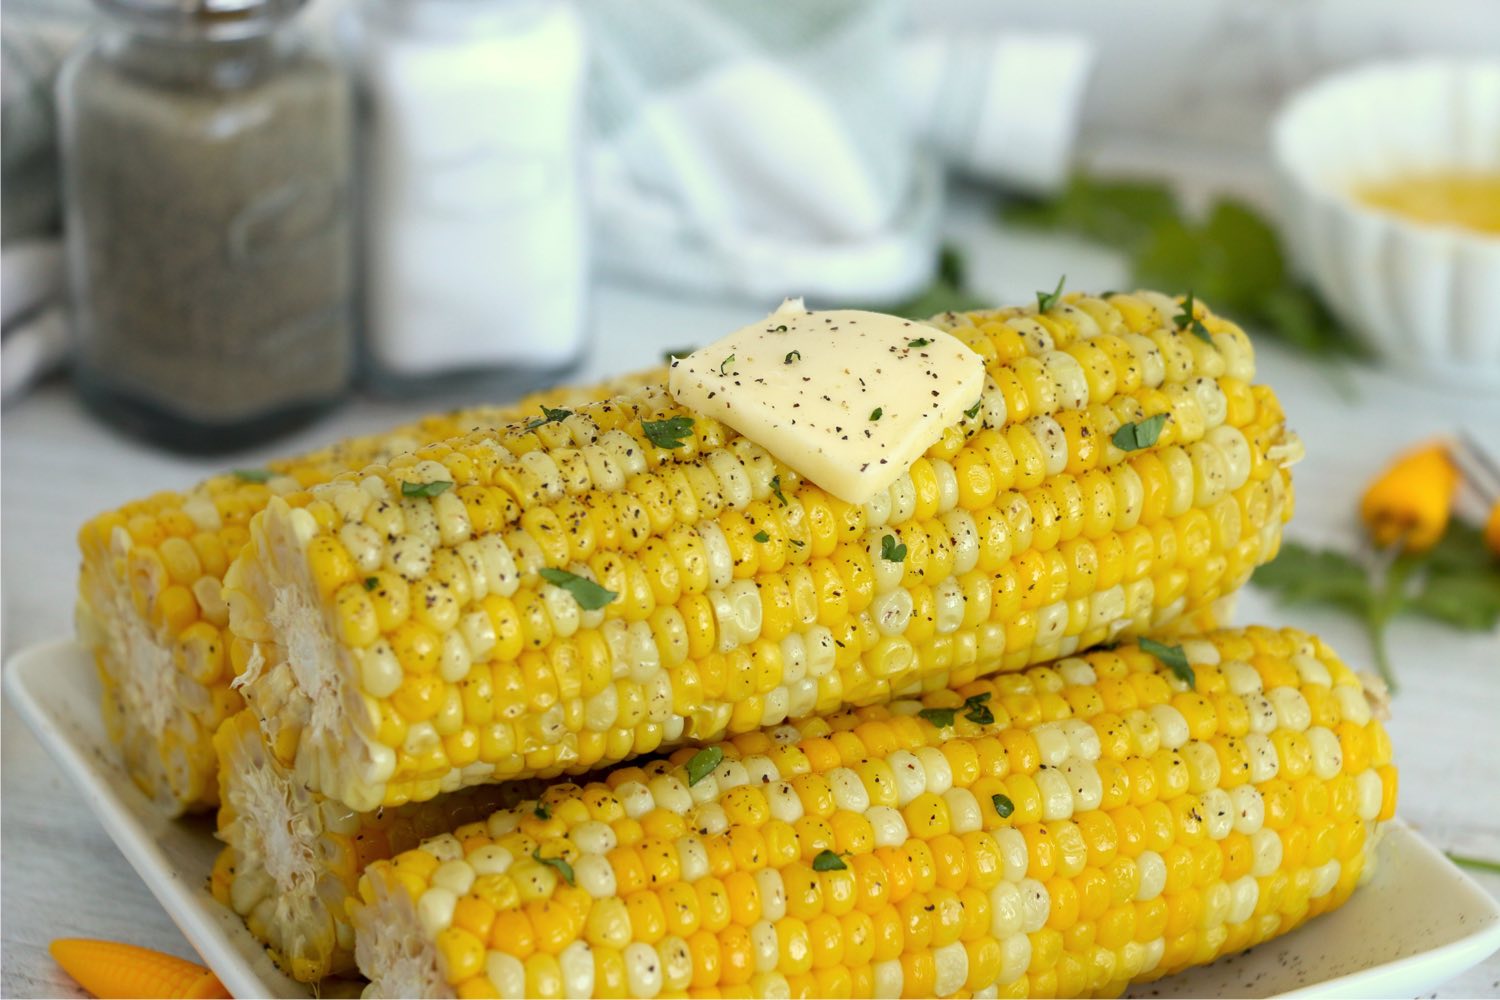
This Ninja Foodi Corn on the Cob is so quick and easy! You'll never make it any other way again!
Want to Save This Recipe?
This post may include affiliate links. Please see my disclosure.
Corn on the cob can be prepared in so many different ways, like boiling, grilling, baking, steaming and air frying. But by far, one of the easiest ways to prepare it is to pressure cook it in the Ninja Foodi.
Plus, the best part is you don't need anything but butter, salt and pepper to prepare it!
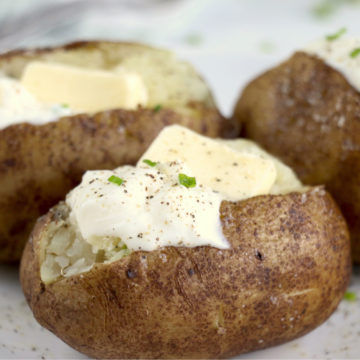
This Ninja Foodi Corn is full of flavor and goes great with meat, seafood and other vegetables. You can serve it with baked potatoes, asparagus, pork chops, grilled chicken, or pasta salad.
Jump to:
Why You'll Love This Recipe
- Speedy Cooking Time: The Ninja Foodi dramatically reduces cooking time. While traditional boiling might take 10-15 minutes, pressure cooking corn on the cob can be done in just 2-3 minutes once the pot comes to pressure!
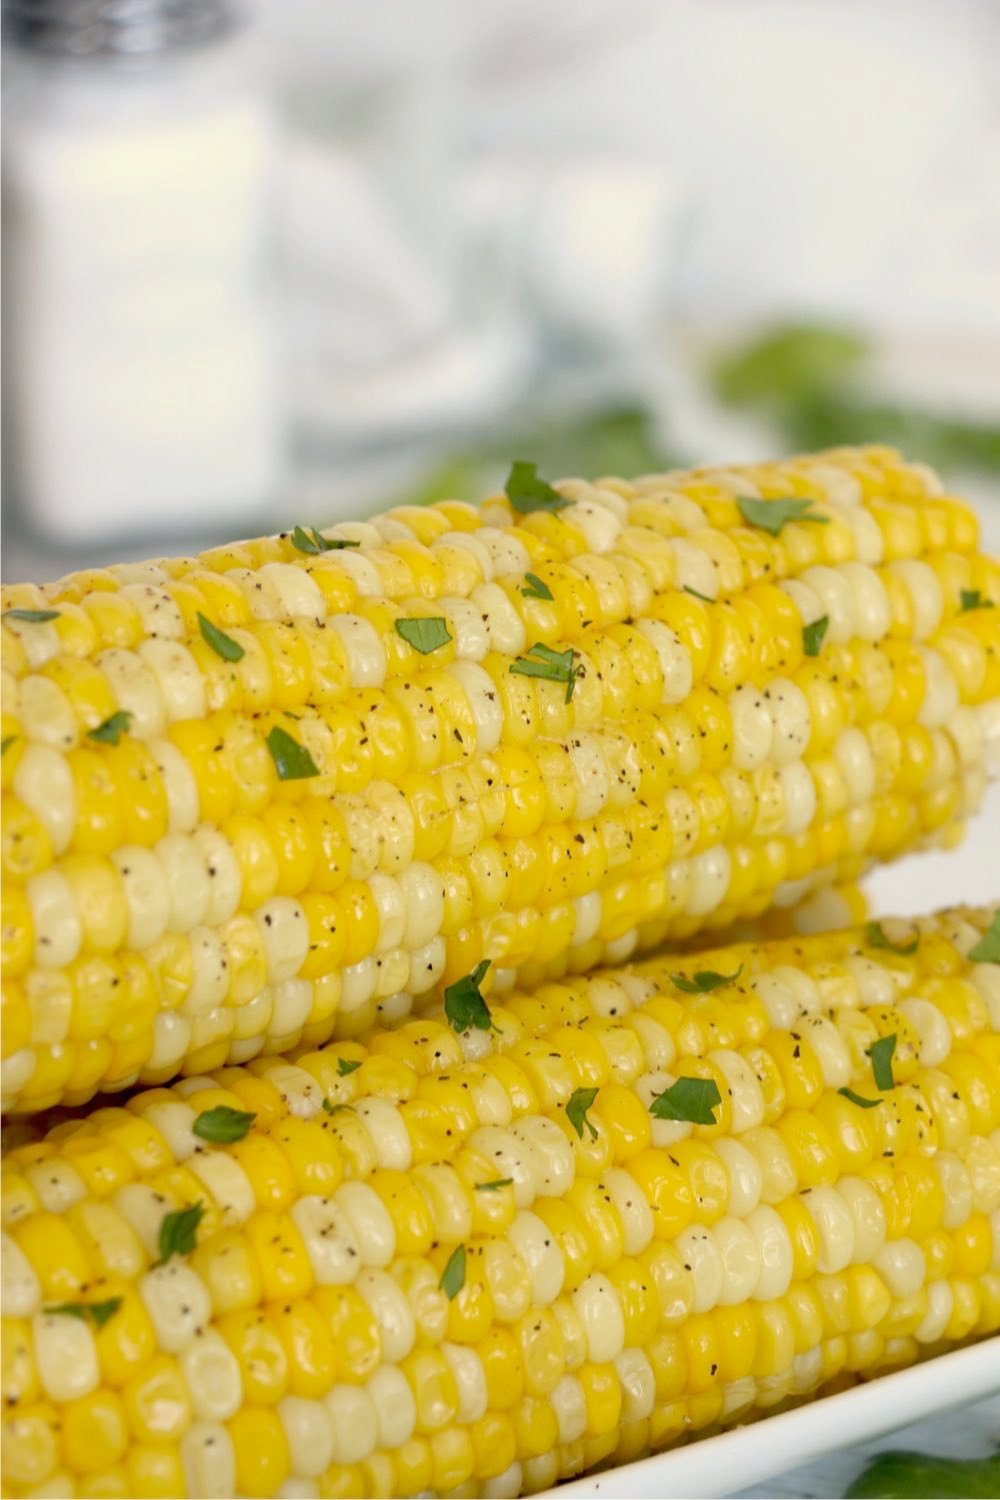
- Perfectly Cooked: Pressure cooking the corn locks in moisture, resulting in incredibly tender, juicy kernels that are bursting with flavor. The corn will be perfectly cooked through without being mushy.
- Minimal Cleanup: Since you cook it all in the pressure cooker, there's less mess to clean up afterward. Just remove the corn and serve!
Ingredients
Gather the ingredients below to make this Ninja Foodi Corn on the Cob!
- Corn: We love using fresh summer sweet corn for this recipe! You'll need to remove the husks and silks before cooking so feel free to grab the pre-husked kind from the grocery store for easy prep!
- Water: You'll need 1 cup of water to add the the Ninja Foodi to ensure the corn doesn't burn.
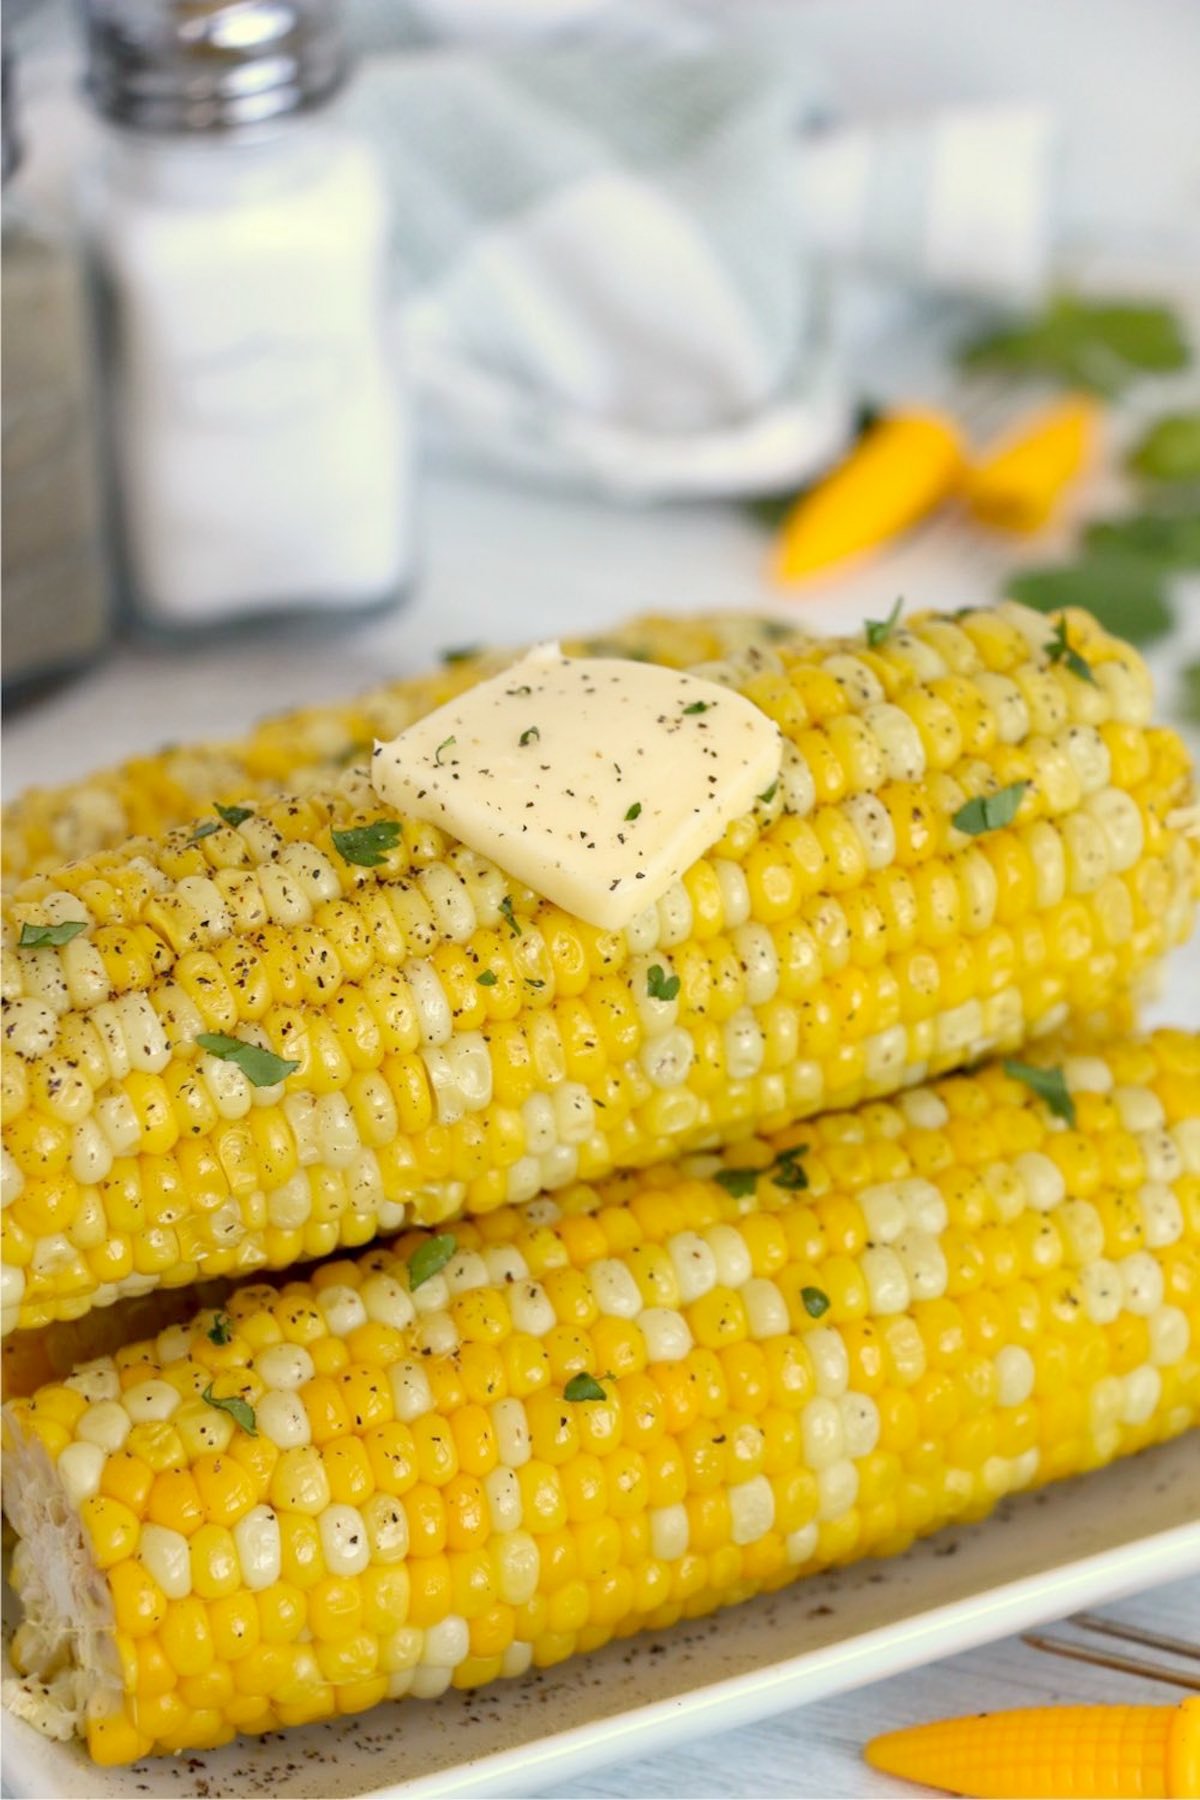
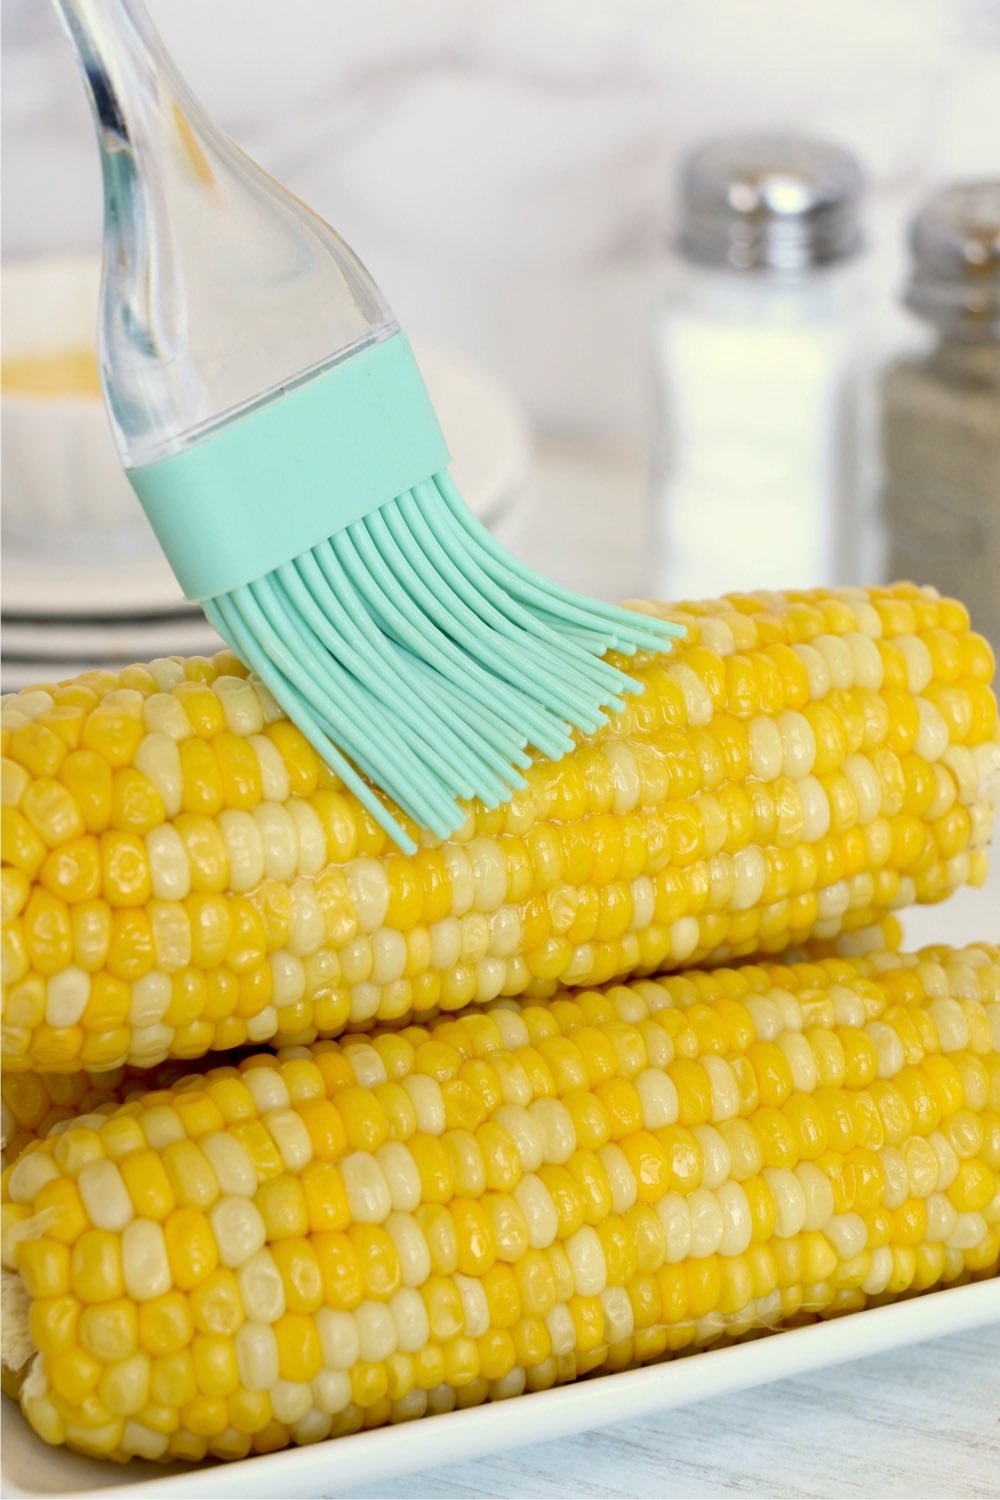
- Butter (optional): Once your corn is cooked, add butter to taste! If you ask me, you can never have too much butter for this delicious sweet corn!
- Salt and Pepper (optional): Keep it simple with salt and pepper to taste. Or get creative and add your favorite seasoning blend. See a few suggestions below!
See recipe card for full information on ingredients and quantities.
Substitutions & Variations
Butter is probably the most popular and most common topping for the corn on the cob - and for good reason - it's delicious. However, there are definitely other toppings you could try, like:
- Honey
- Seasoned salt
- Roasted garlic
- Herbs de Provence
- Chili powder
- Old Bay seasoning
How to Make Ninja Foodi Corn on the Cob
Once you've gathered all your ingredients, follow the steps below for this delicious corn on the cob!
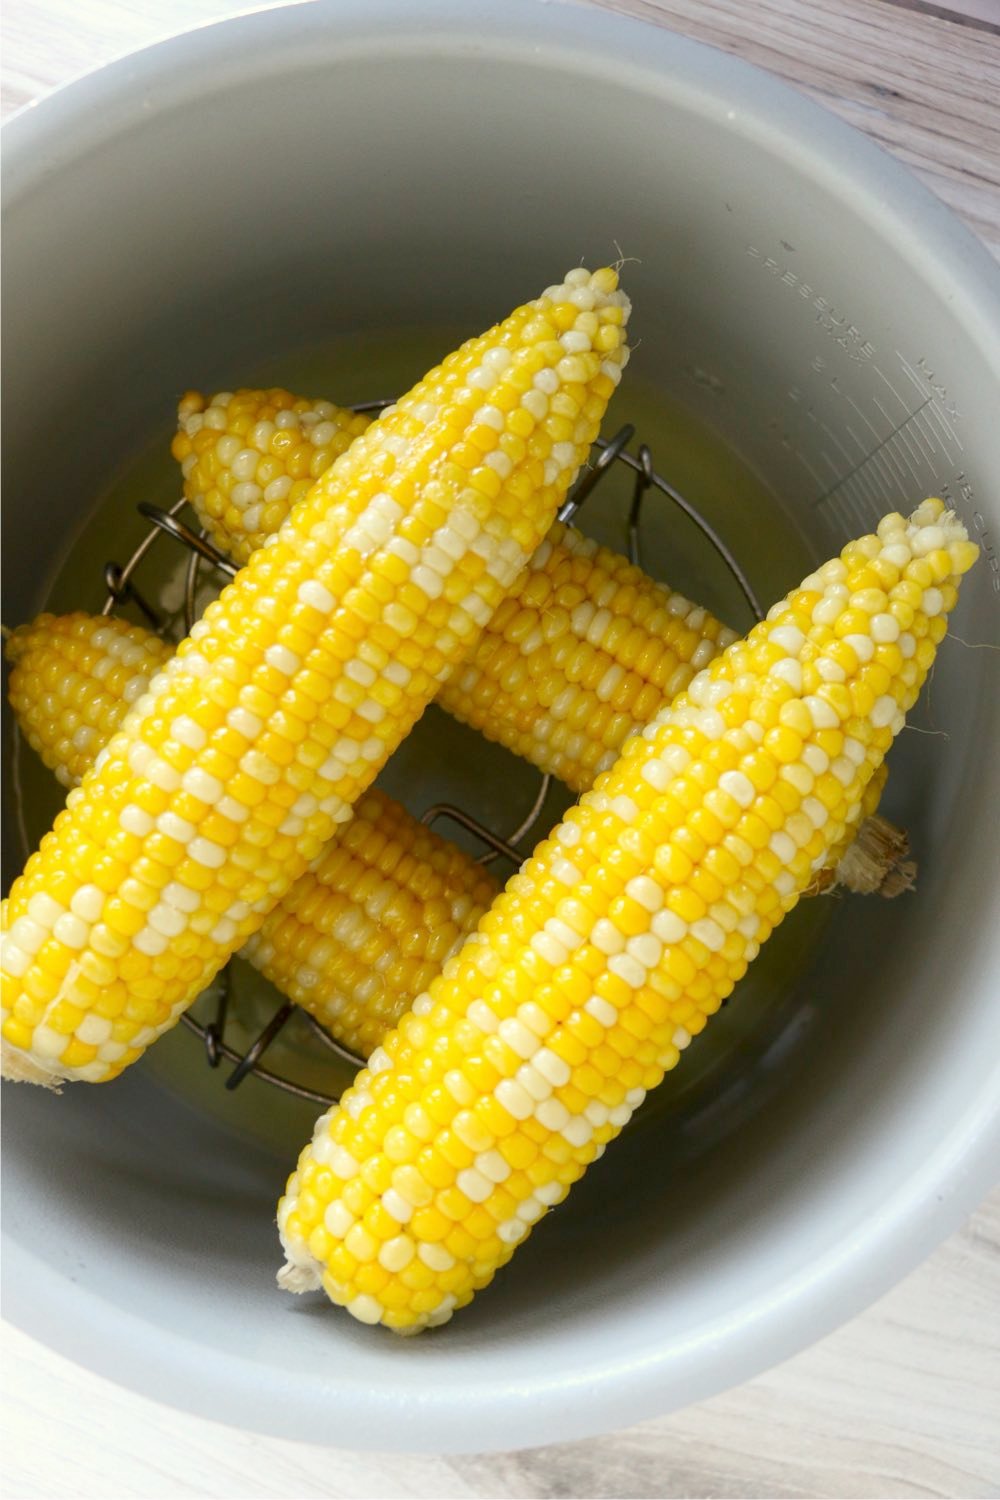
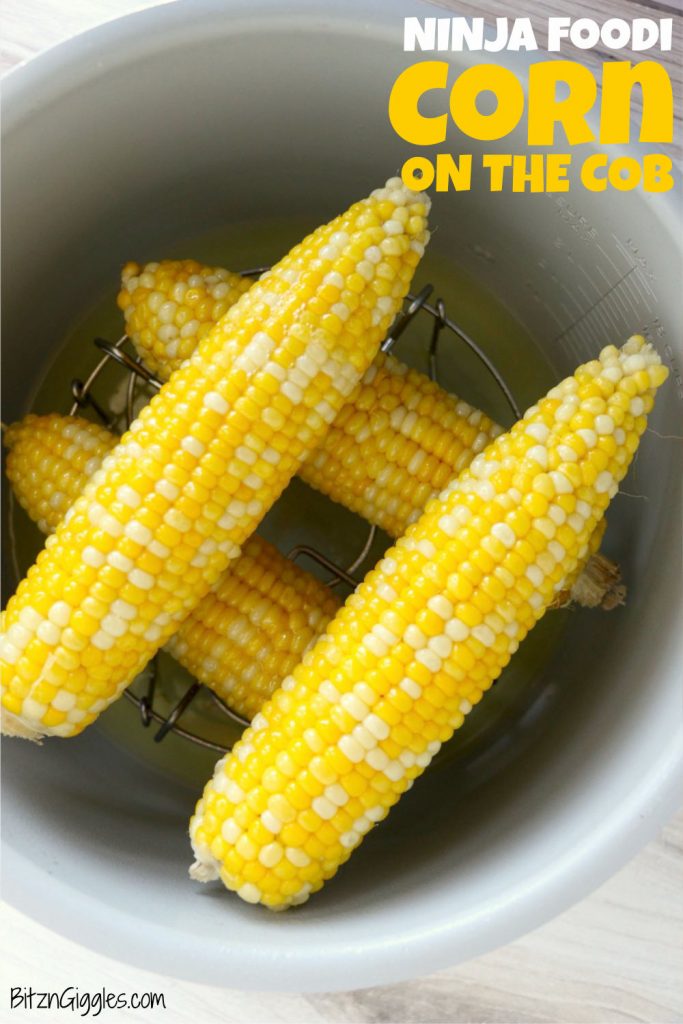
- Step 1: Add a cup of water to the Ninja Foodi cooking pot. Place the lower cooking rack at the very bottom of the pot. Place two ears of corn on the rack in one direction and a second layer of ears going in a separate direction from the first layer.
- Step 2: Pressure cook the corn on high for two minutes, then perform a quick release. Once all the pressure releases itself, you can take the lid off and remove the corn. Top it with your favorites, such as butter and salt.
Helpful Tips
- Bright Green Husks: Look for bright green, slightly moist, tightly-wrapped husks. Avoid any husks that are starting to yellow, brown or look dry.
- Firm Cobs: With the husk still intact, run your hand up and down the ear of corn. The ear as well as the individual kernels should feel plump and firm to the touch.
- Brown Tassel: The tassel of the corn should be light brown and slightly sticky to the touch. It should also have a sweet scent to it with no black coloring (which can indicate signs of decay).
- Corn Preparation: Ensure that the corn ears are husked and trimmed before placing them in the Ninja Foodi. Removing the husk and silk allows for even cooking and prevents burning. You can also cut the corn ears in half or into smaller pieces to fit them better in the basket, especially if they are too long.
Recipe FAQs
Summer is the best time to purchase corn on the cob. I love to visit our local farmer's market or roadside farm stands to get the freshest, sweetest cobs.
If your ears of corn don't fit in your Ninja Foodi, cut the ears of corn in half or into smaller pieces so they will fit. You may need to cook the corn in several batches if you are cooking more than four cobs at a time.
Yes, make sure to remove the husk and silk. Removing the husk and silk allows for even cooking and prevents burning. If you want to cook your corn with the husks still on, try this this easy way to make corn on the cob.
Storage & Freezing Instructions
Storage Instructions
Store your leftover corn in the fridge in a storage bag or wrap it in plastic wrap or foil. If you'd like to remove the kernels from the cobs before placing the fridge, you could do that as well.
When reheating the corn, simply microwave the cobs for 30-60 seconds or add it to the air fryer and reheat it for about two minutes or until warm.
Freezing Instructions
You can freeze corn on the cob after cooking it, but for the freshest texture, you might prefer freezing uncooked, blanched corn instead and cooking just before serving. However, if convenience is key, freezing after air frying works well for quick reheating.
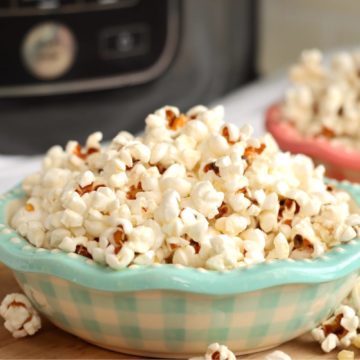
More Ninja Foodi Recipes You'll Love
Looking for other recipes like this? Try these:

Did you try this recipe?
If you decide to try this Ninja Foodi Corn on the Cob recipe or any other recipe on my website, please leave a ⭐️ star rating and let me know how it went in the 💬 comments below! I'd love to hear from you!
Ninja Foodi Corn on the Cob
Ingredients
- 4 cobs of corn (husks and silks removed)
- 1 cup water
- Optional toppings: butter (salt, and pepper)
Instructions
- Place water in your Ninja Foodi pot.
- Put the lower rack in the bottom of the pot. Set the ears of corn on the rack.
- Place two on the bottom layer going one direction and the other two in a second layer going the opposite direction.
- Secure the pressure lid onto your Ninja Foodi.
- Select HIGH PRESSURE for 2 minutes, then quick release.
- When all the pressure has released, remove the lid.
- If desired, top corn with butter, salt, and pepper prior to serving.
Notes
- Try to find bright green corn that are tightly wrapped in their husks for the sweetest corn.
- Store your corn on the cop in a storage bad in the fridge for up to three days.
- To reheat, place in the microwave and warm in 30 second increments.
Leave a Reply