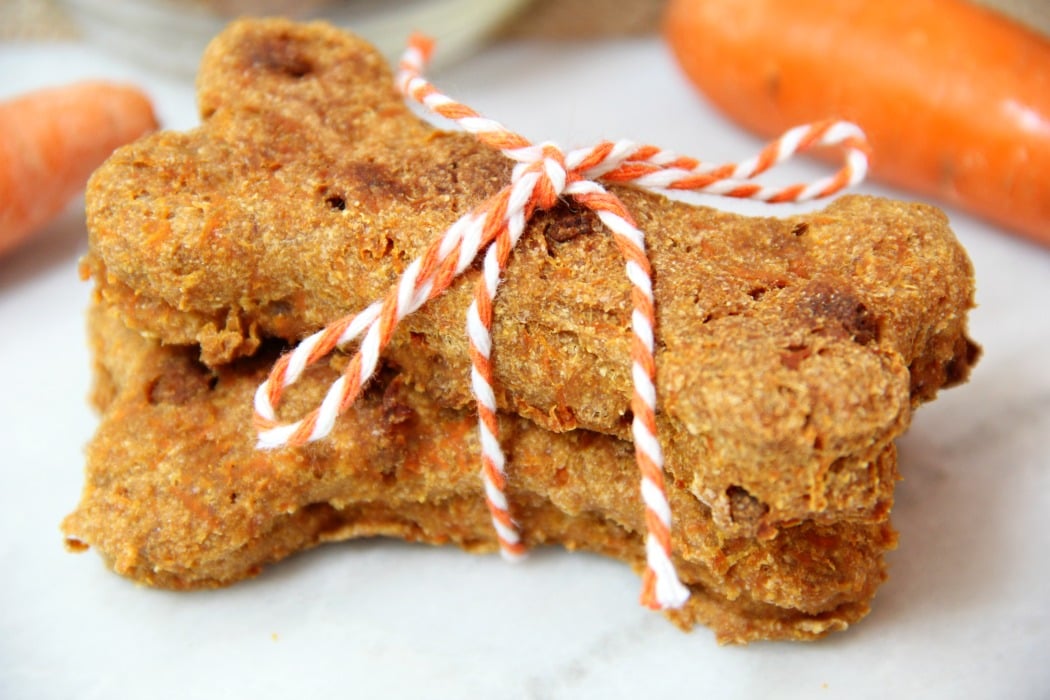
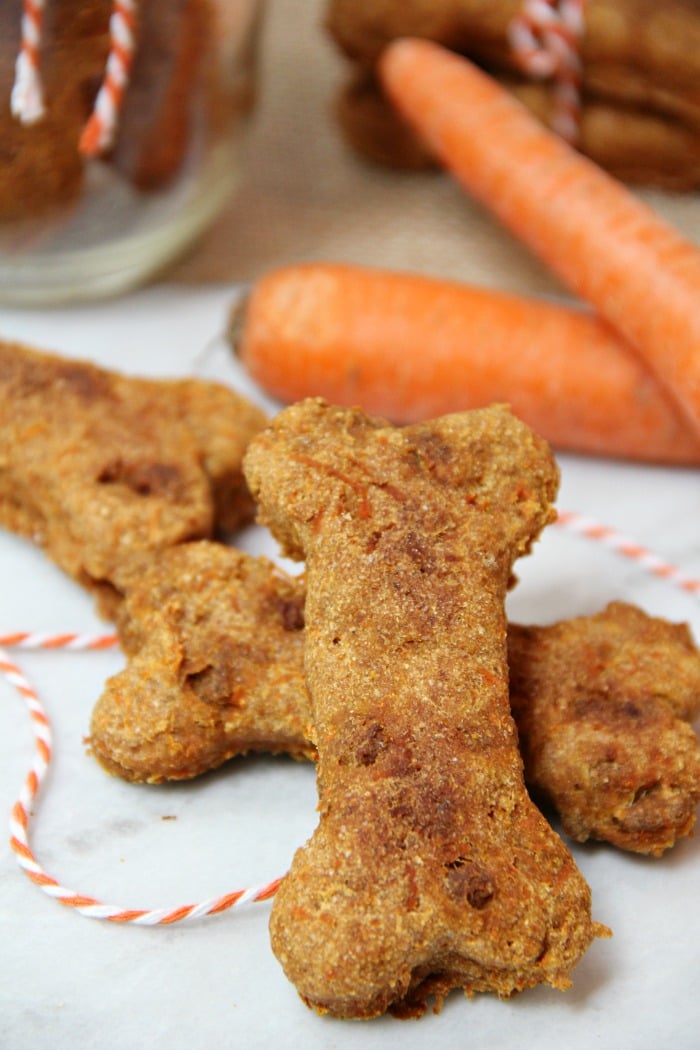
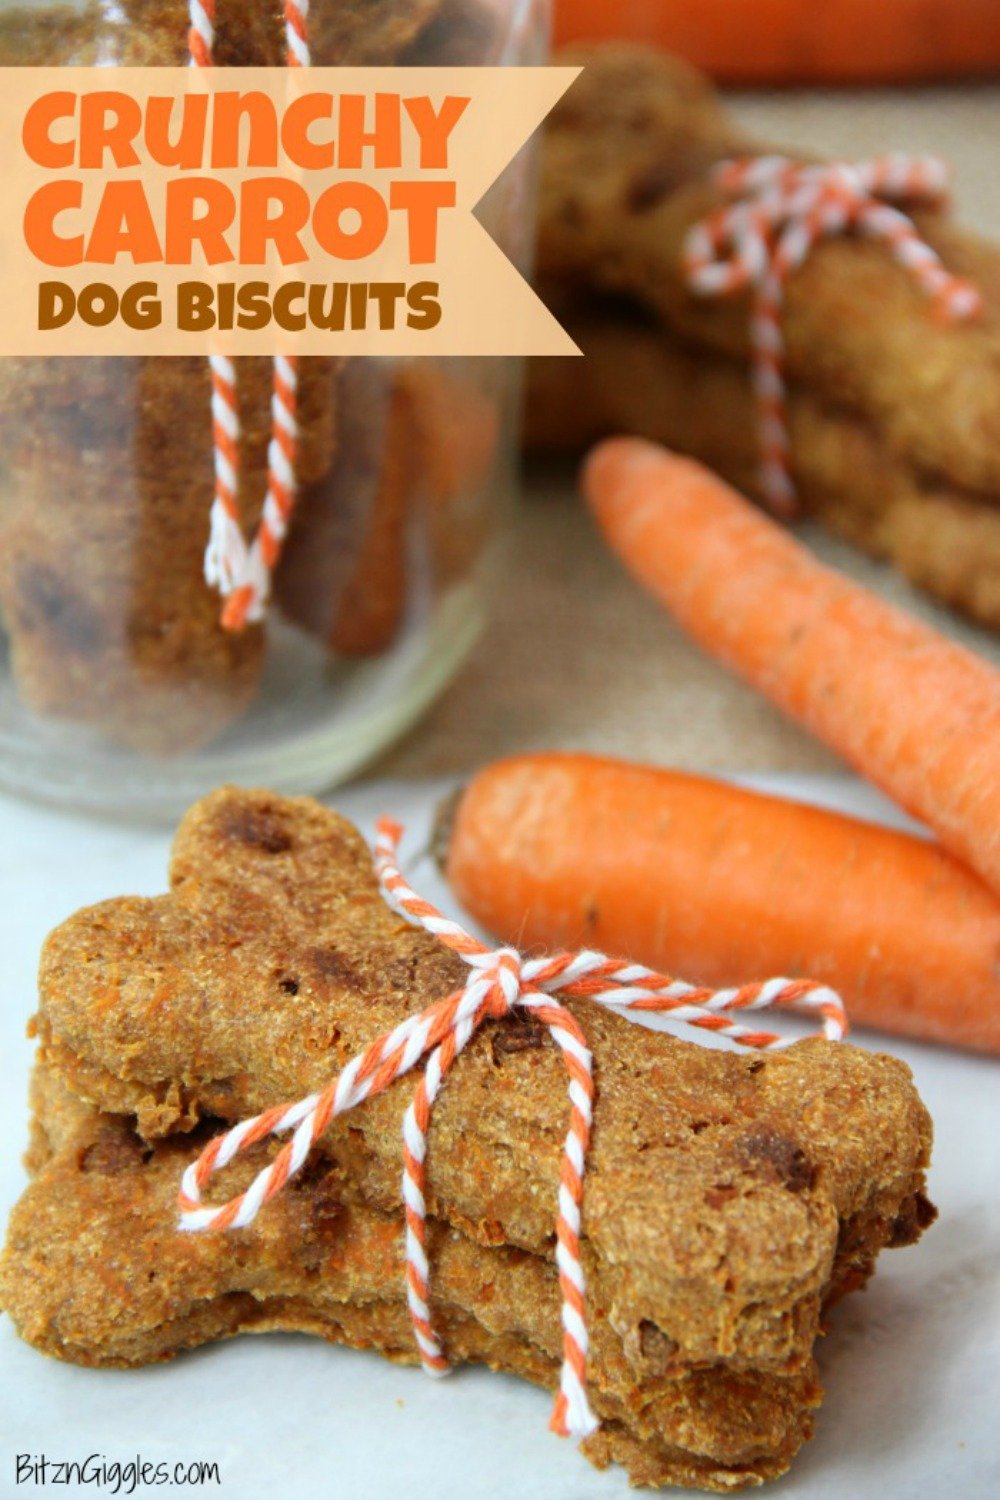
Crunchy Carrot Dog Biscuits - Flavorful, crunchy homemade dog biscuits naturally sweetened with carrots and applesauce.
This post may include affiliate links. Please see my disclosure.
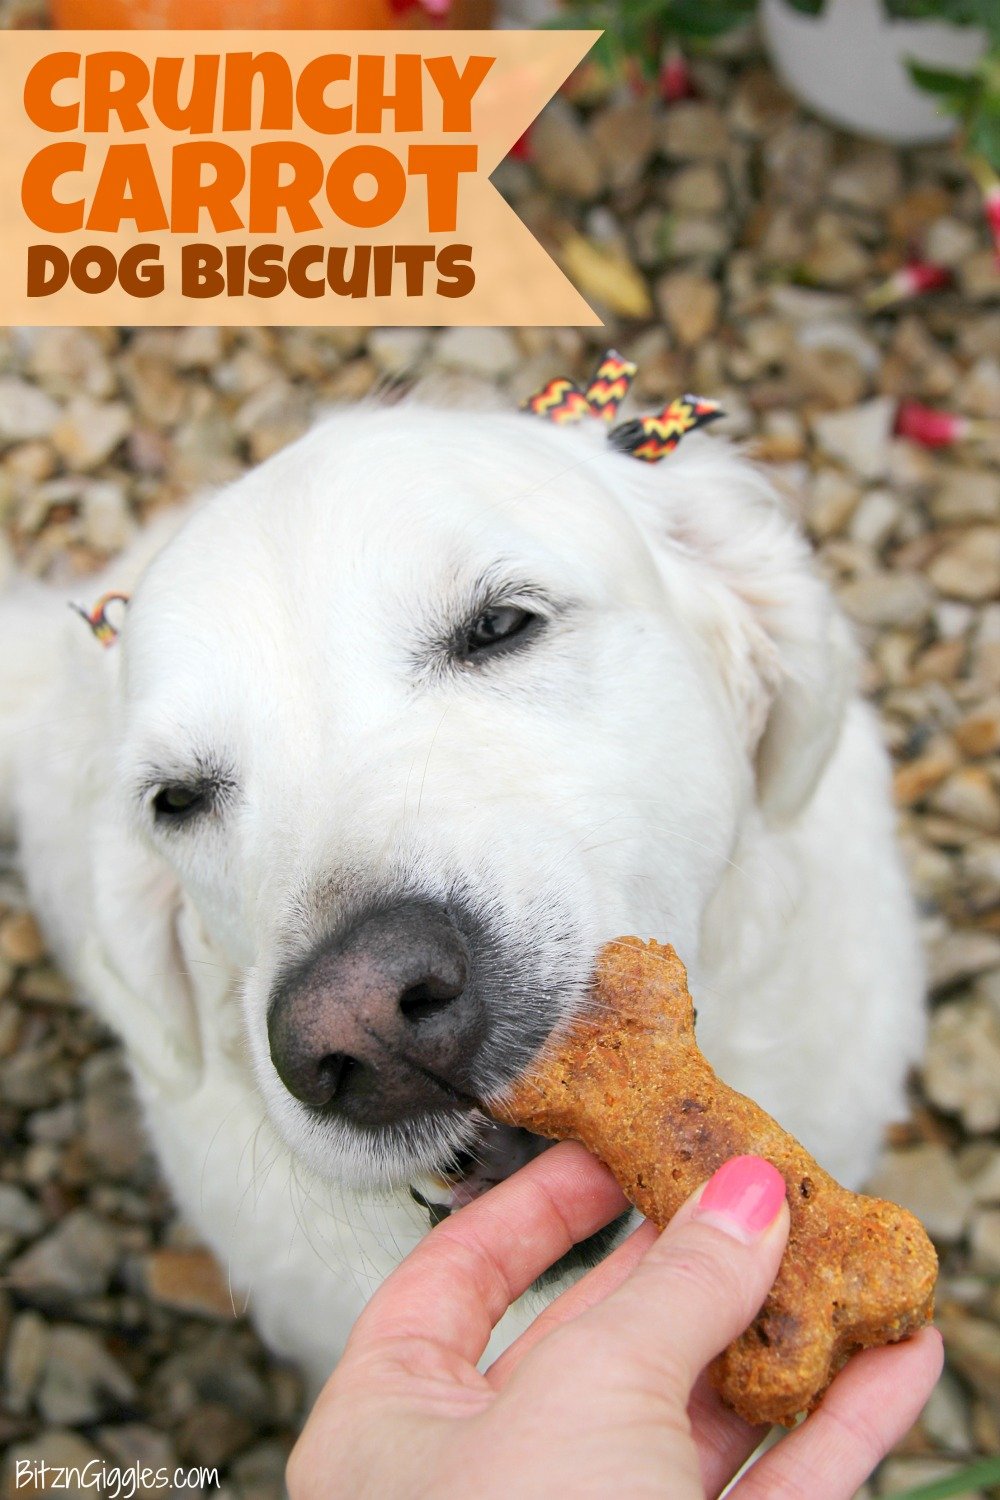
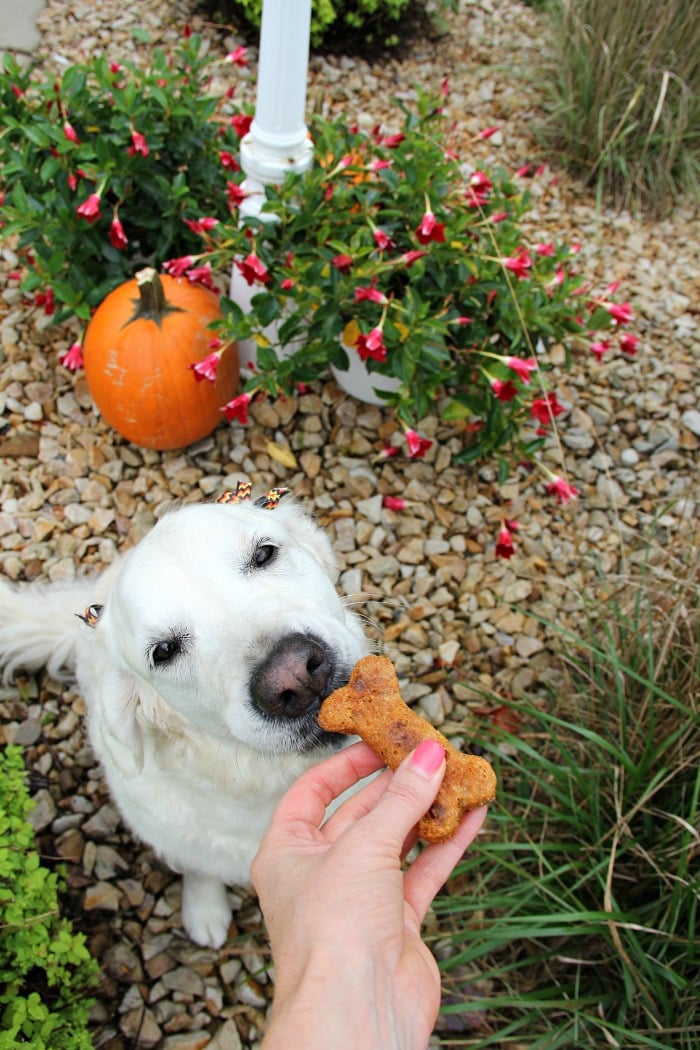
Our English cream golden retriever, Belle, has been moping around the house a bit lately. The kids are back to school, the weather is turning cooler and her weekends of swimming at the lake are coming to a close. All reasons for her to feel a little "blue."
So, to cheer her up, I whipped up these homemade Crunchy Carrot Dog Biscuits. She knew I was making something for her when I grabbed some of her dog food and started baking. I can just imagine what she was thinking, "Why would Mom be baking with my "nuggets (that's what we call her food)" if this wasn't for me?!"
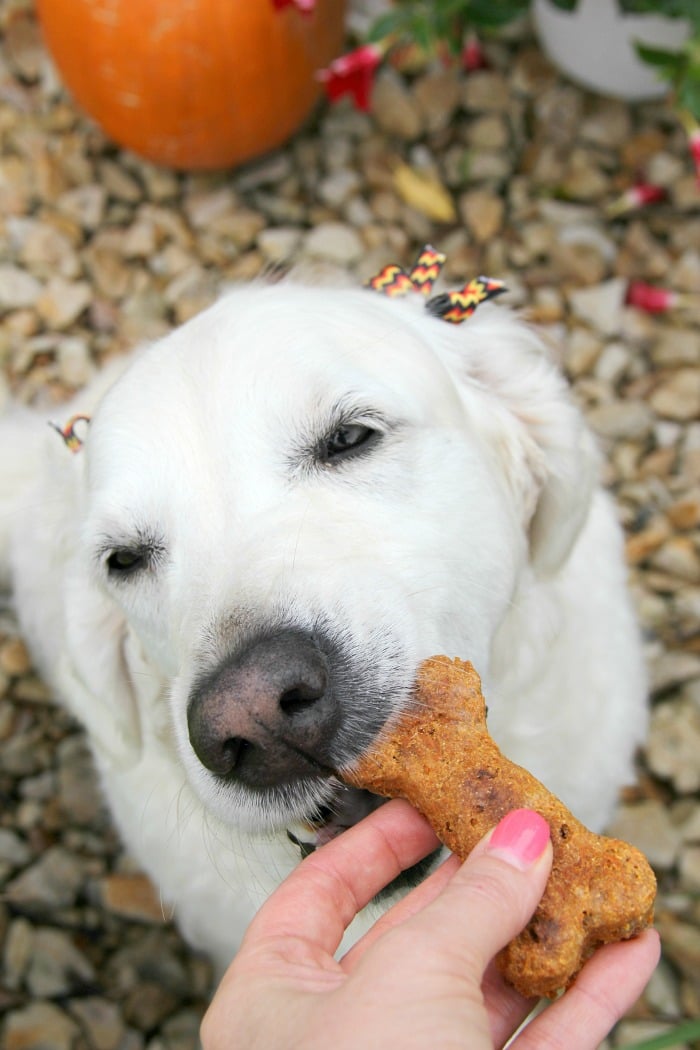
Well, these dog treats absolutely were for her and she gobbled them right up.
All you need are six simple ingredients to make these carrot dog biscuits. I hope your pooch loves them as much as Belle does!
HOW TO MAKE CARROT DOG BISCUITS
To make these crunchy carrot dog biscuits, you'll need:
- Dog food kibble
- Carrots
- Plain low fat yogurt
- Applesauce
- Whole wheat flour
- Baking powder
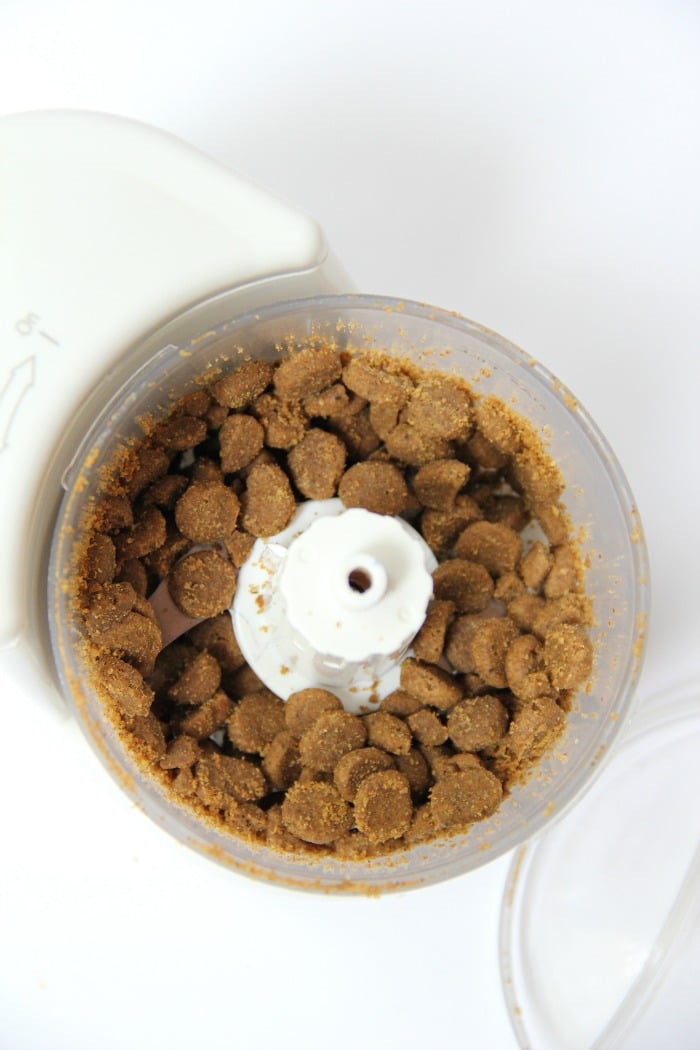
To begin making the biscuits, you'll want to put ½ cup of your dog's favorite kibble in a food processor or blender and pulse it until it's a coarse flour.
I used a mini food processor to do the job.
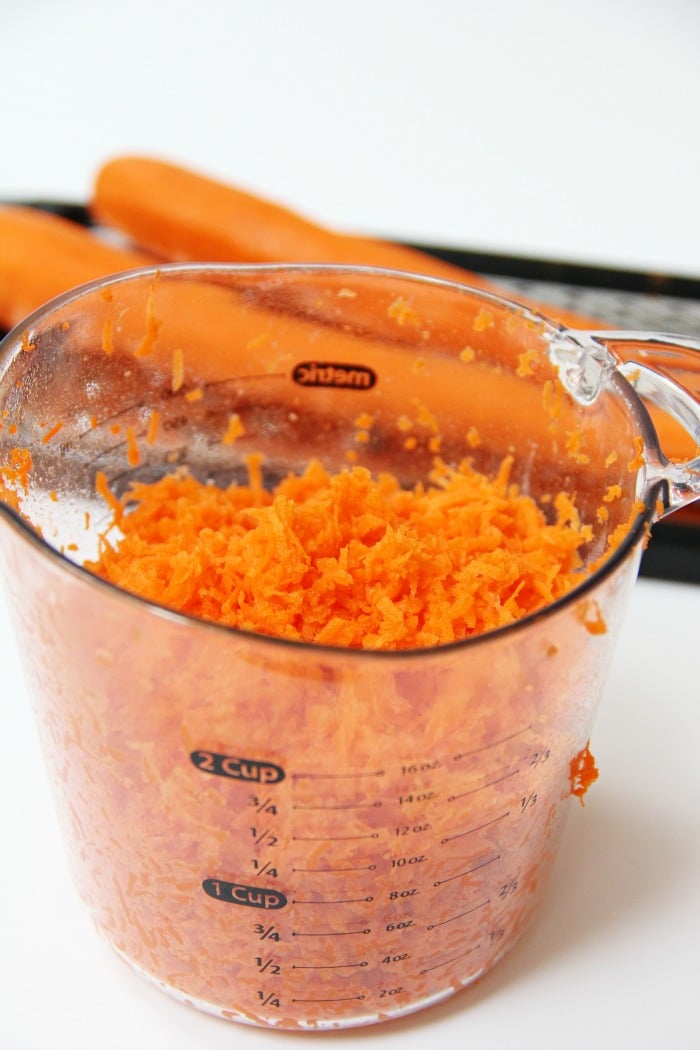
I also used a grater for my carrots. Approximately four full-sized carrots should be plenty.
ARE CARROTS GOOD FOR DOGS?
Yes! In addition to being high in fiber, antioxidants and vitamin A, munching on carrots is also good for dogs' teeth.
While carrots are considered to be very healthy for dogs, it's important to make sure they are given in bite-sized pieces to prevent choking, especially in smaller breeds.
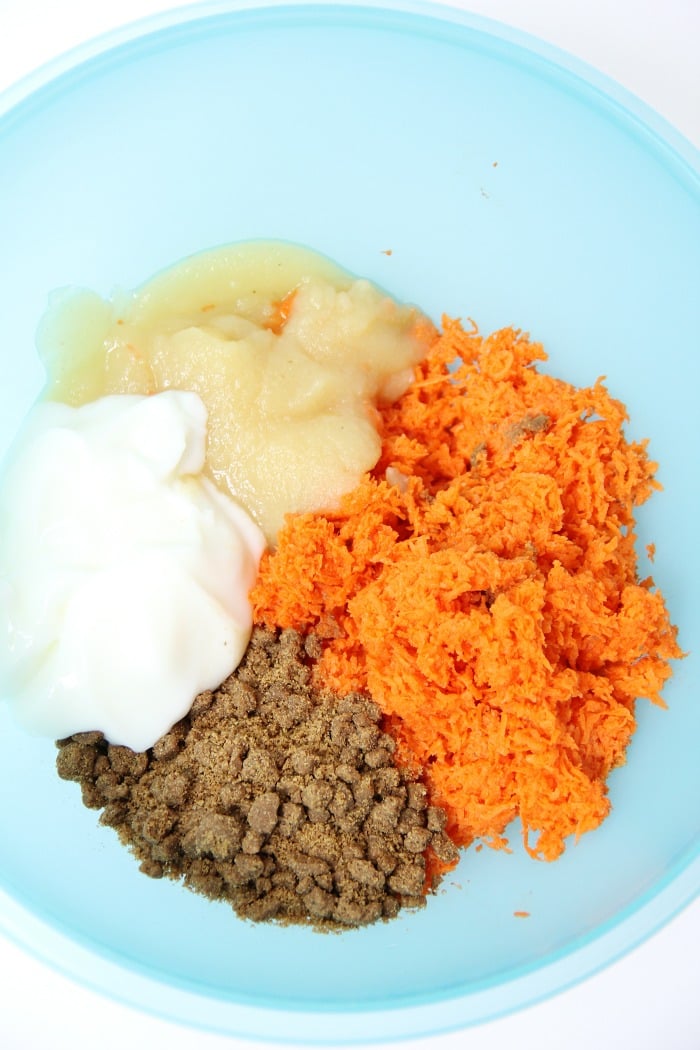
After your carrots are grated, mix them in a bowl with the kibble, yogurt and applesauce until well-combined.
Add the whole wheat flour and baking powder and knead with your hands until a dough forms. If the dough seems to be a bit too sticky, add a little more flour to the dough.
WHY USE WHOLE WHEAT FLOUR FOR DOG TREATS?
Whole wheat flour has a bit more nutritional value for dogs, but if your dog has a sensitivity to wheat, rice or all-purpose flour could be substituted.
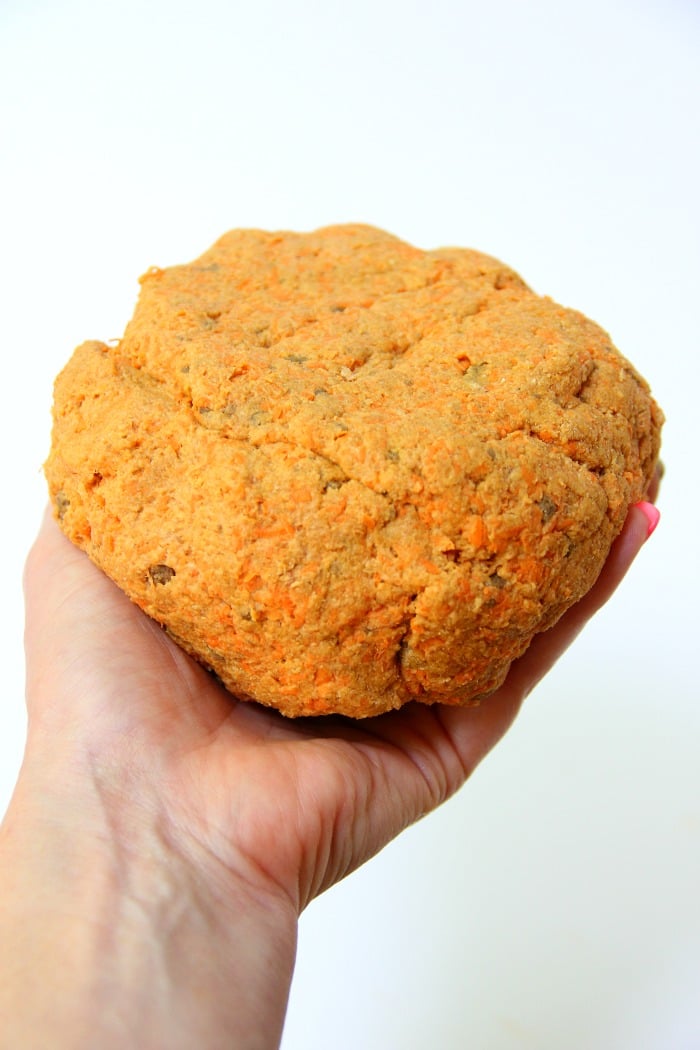
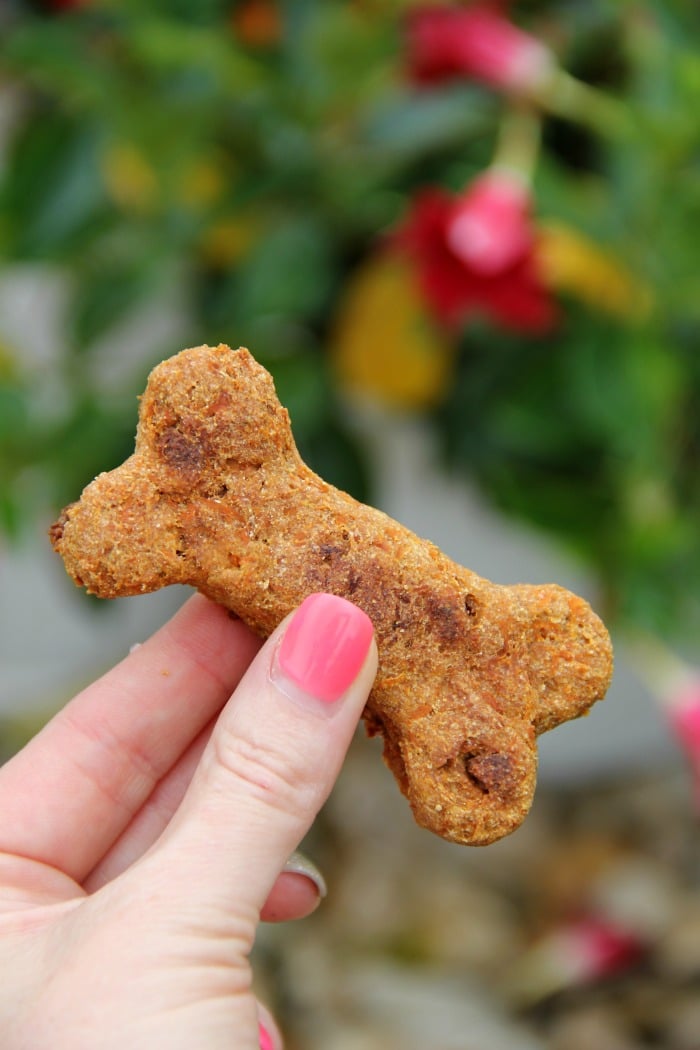
The dough should be a darker orange color and you will be able to see the shreds of carrot and pieces of kibble throughout. That's what makes these treats delicious for your pup!
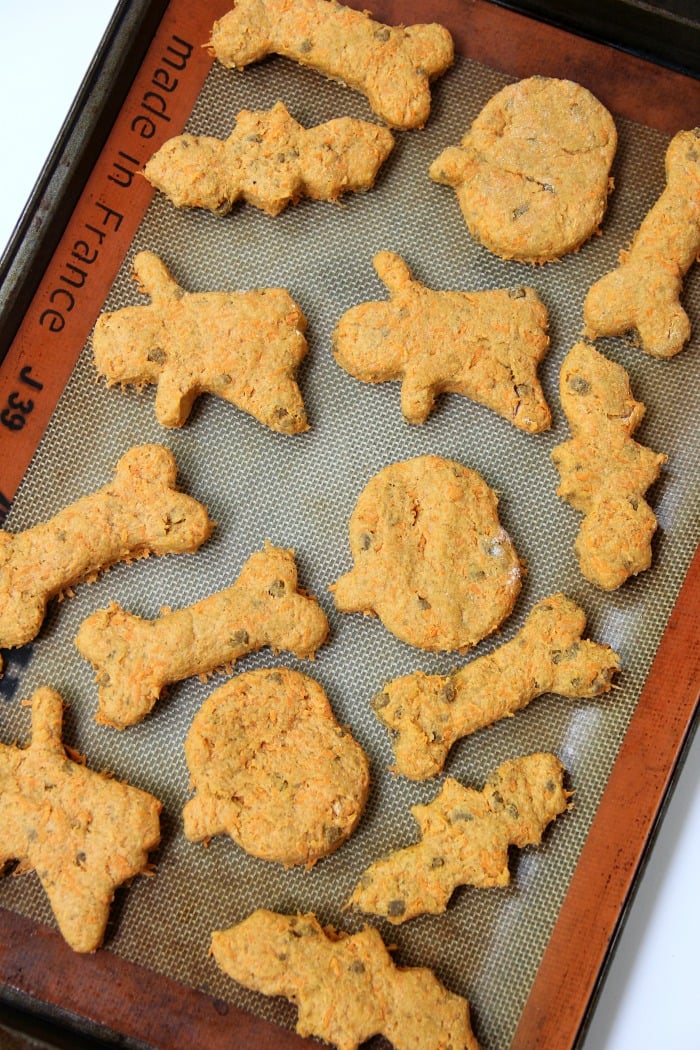
After you roll out the dough and cut out your shapes, it's time to put the treats in the oven!
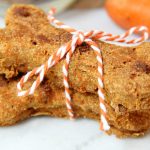
I grabbed my dog bone cookie cutter and some various Halloween cookie cutters I have at home to make a few ghosts, bats and pumpkins for Belle, too.
I think I got my Halloween-themed cookie cutters at Walmart a few years ago, but Amazon has some fun ones, too!
HOW MANY DOG BISCUITS WILL THIS RECIPE MAKE?
Well, that depends on the size of your cookie cutters. Normally, you should be able to get 20-24 treats out of this recipe.
Some of the cookie cutters I used were larger, so I ended up with about 16 treats. I normally break the biscuits in halves or thirds and give Belle pieces throughout the day.
HOW SHOULD I STORE HOMEMADE DOG BISCUITS?
The biscuits can be stored in an air-tight container at room temperature for up to two-three weeks. If you store them in the fridge they may keep even longer, but you may lose the "crunch."
Speaking of crunch. . .
WHAT IF MY DOG BISCUITS AREN'T CRUNCHY?
Some dogs prefer crunchier biscuits while others prefer the chewier variety. If you follow the recipe as written, the biscuits will still be a bit chewy.
If you'd like to get them as crunchy as possible, after the treats are baked, turn off the oven and leave the biscuits in the cooling oven for several hours or overnight to crisp up.
CAN I FREEZE HOMEMADE DOG BISCUITS?
Yes, you can. You can store the homemade treats in an airtight container in the freezer for up to 6 months. To prevent the biscuits from sticking together, use waxed paper between layers.
You will need to thaw the treats for about 15-20 minutes before serving to your dog.
The treats may be more chewy vs. crunchy coming out of the freezer as well.
So, what are you waiting for? Make these yummy biscuits for your favorite fur friend. You know they're worth it!?
IN SEARCH OF MORE HOMEMADE DOG TREATS?
- Peanut Butter Banana Biscuits
- Pumpkin Pup Pops
- Chewy Sweet Potato Treats
- Peanut Butter Pumpkin Treats
- Chewy Cheddar Puppy Puffs
- Easy Dog Cupcakes
Crunchy Carrot Dog Biscuits
Materials
- ½ cup ground dog food kibble
- 2 cups grated carrots
- ½ cup plain lowfat yogurt
- ½ cup applesauce
- 2 cups whole wheat flour
- 1 teaspoon baking powder
Instructions
- Preheat oven to 400º Fahrenheit.
- Grind the kibble to a coarse flour in a food processor or blender.
- Add the kibble, carrots, yogurt and applesauce to a medium size bowl and combine.
- Add the flour and baking powder, mix until a dough forms and knead with your hands until mixed well.
- Place the ball of dough onto a flat, floured surface and roll to slightly thicker than ¼ inch.
- Use cookie cutters to cut the rolled dough into shapes and place on greased cookie sheets.
- Bake for 10 minutes, flip and bake for another 10 minutes or until browned.
- Remove from oven, allow to cool and store in an airtight container.

[…] Source by BitznGiggles […]